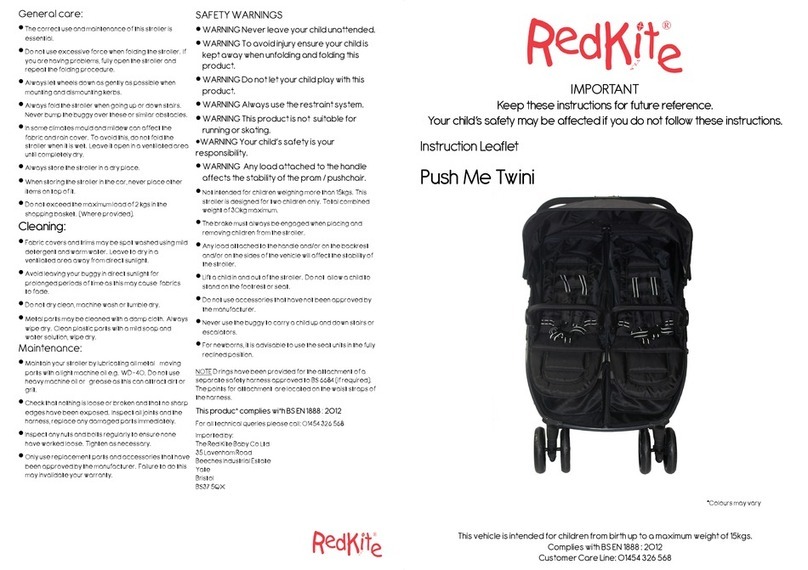
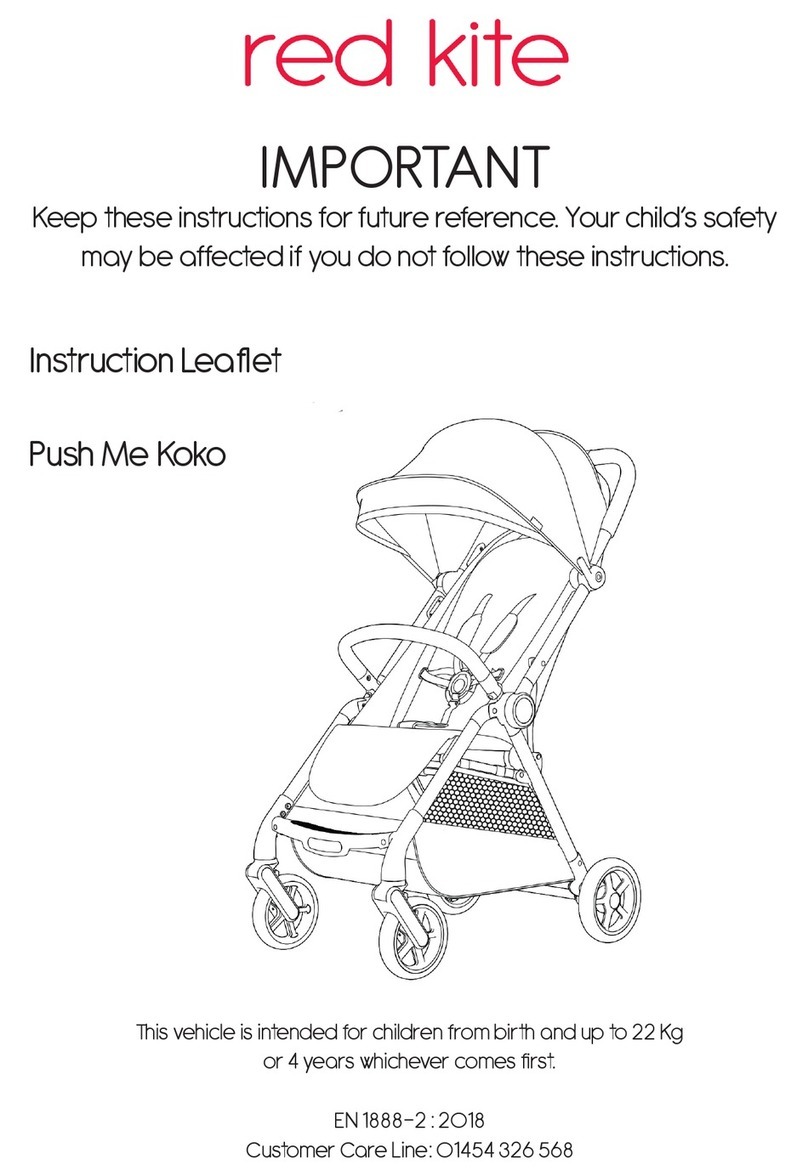
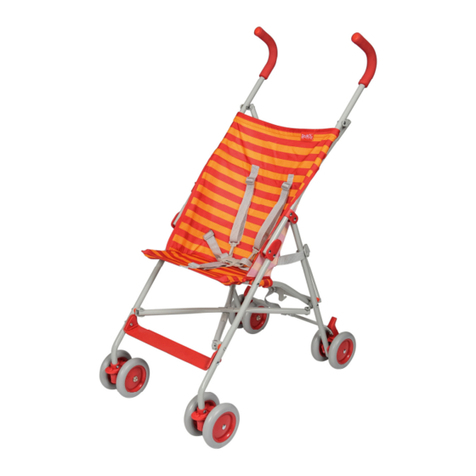
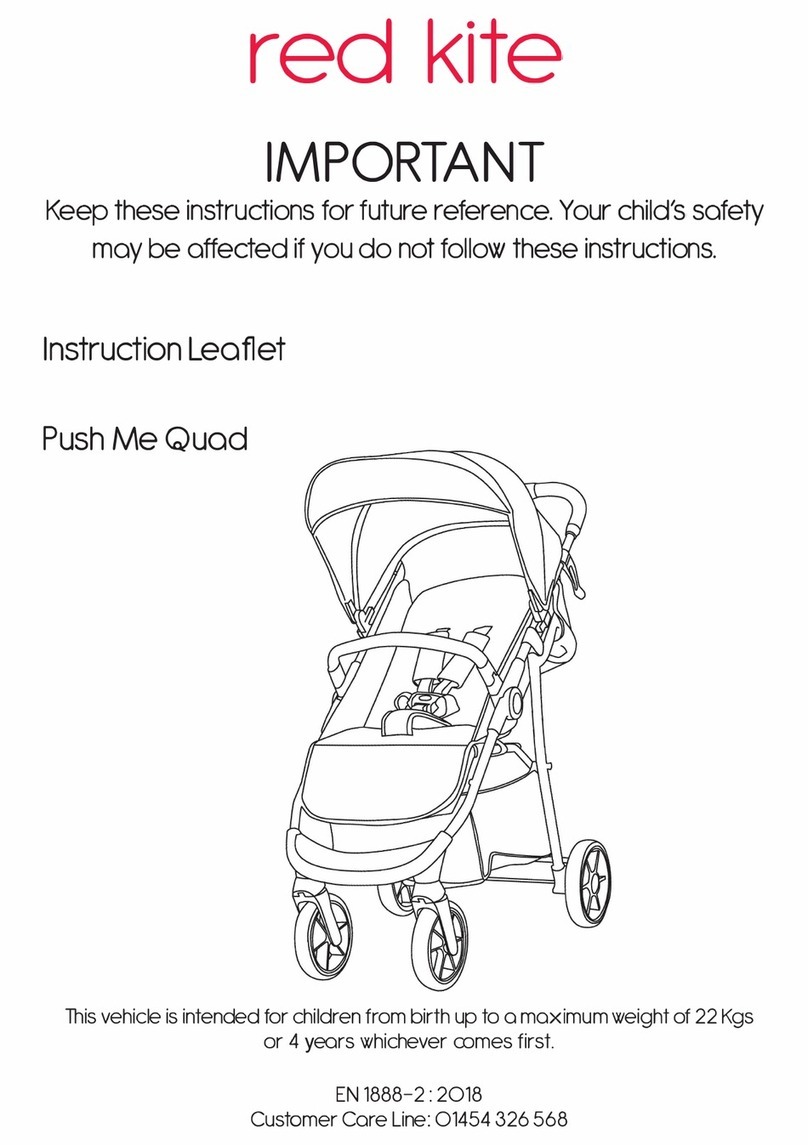
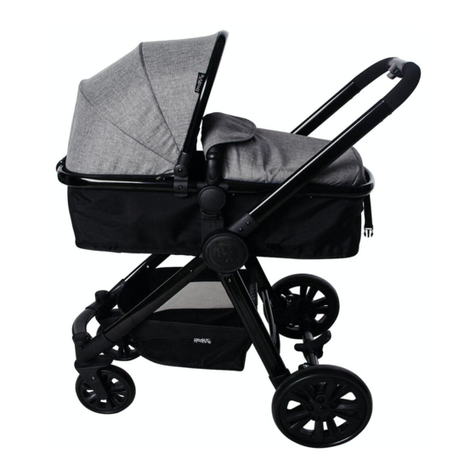
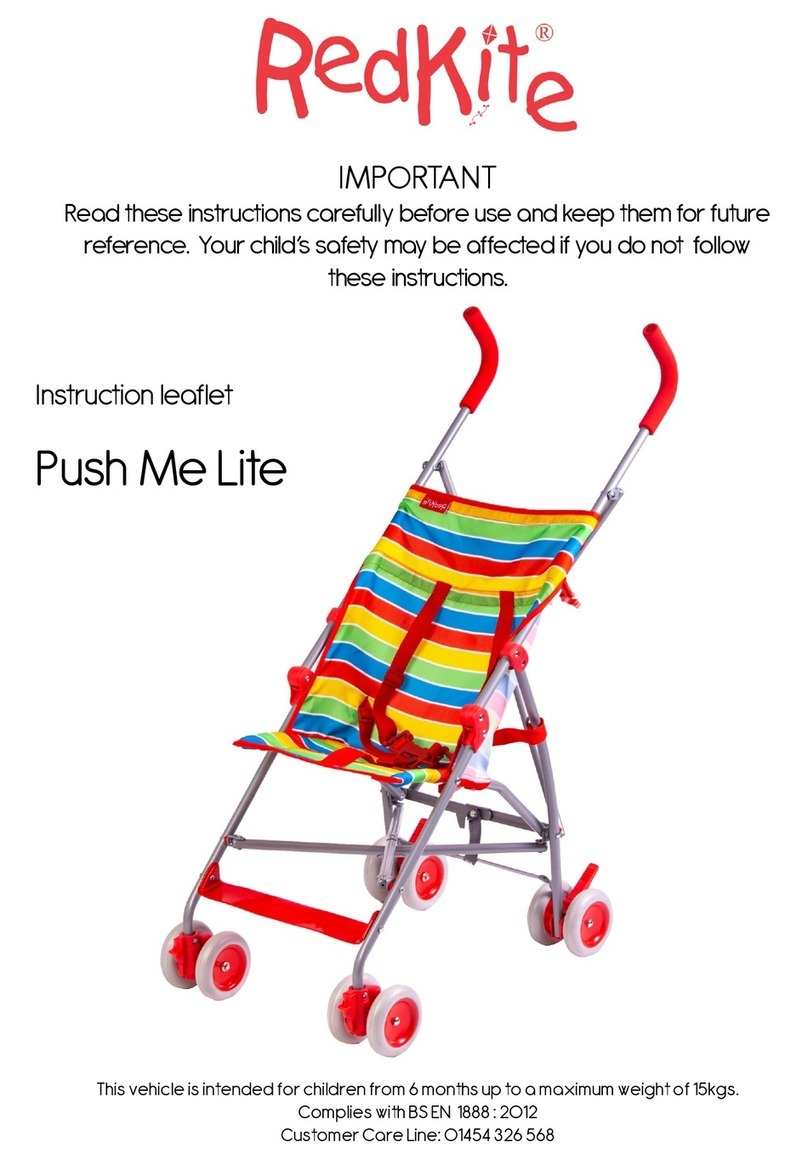
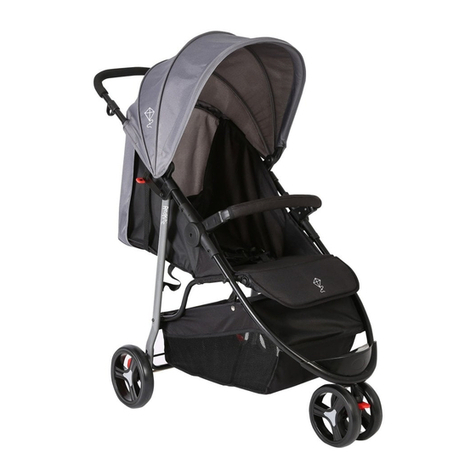
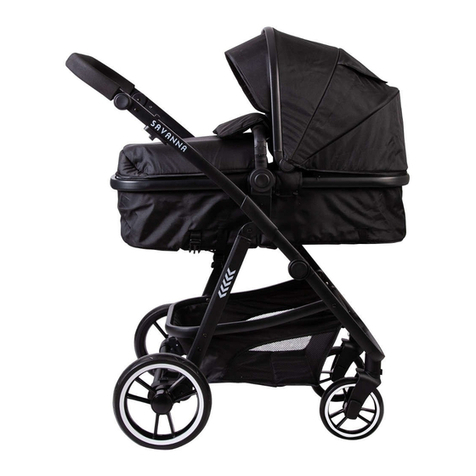
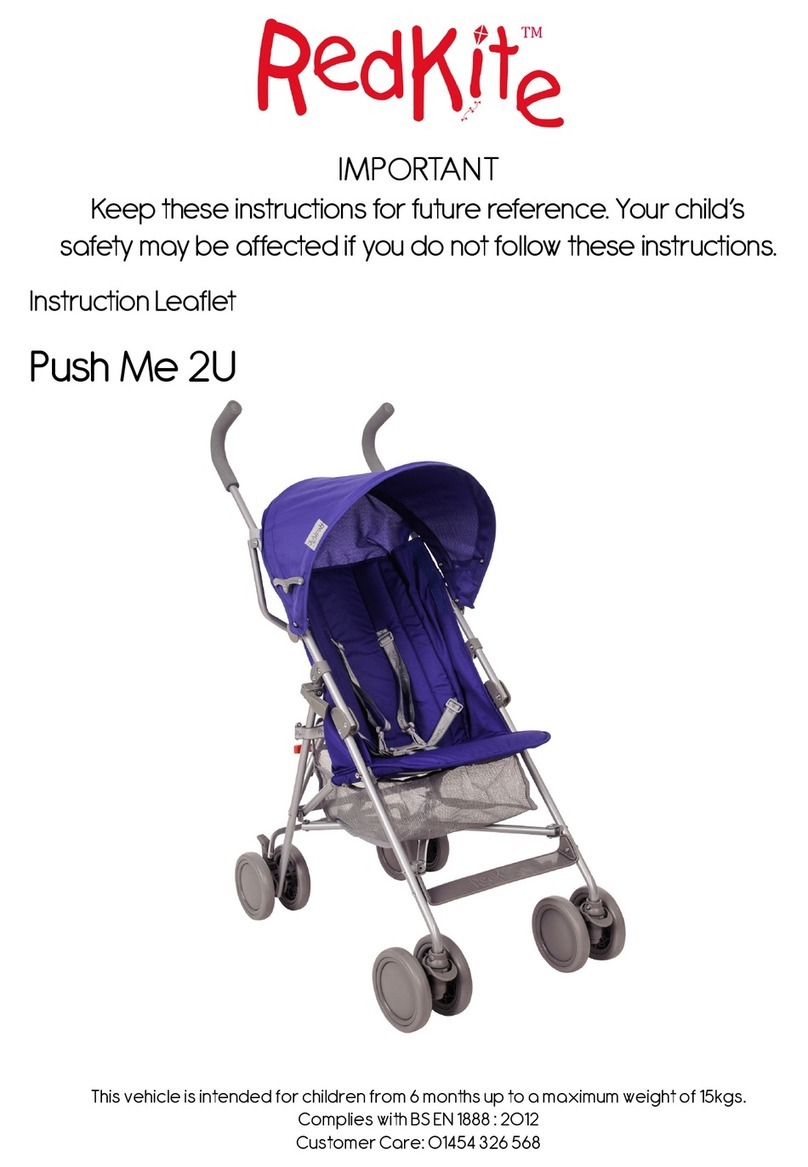
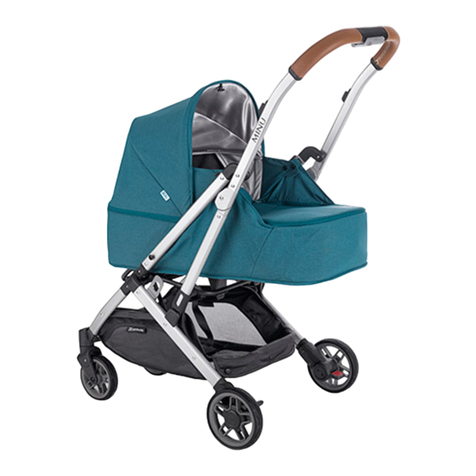
Red Kite Push Me Twini Manual

SAFETY WARNINGS
SAFETY WARNINGSSAFETY WARNINGS
SAFETY WARNINGS
•
WARNING Never leave your child
WARNING Never leave your child WARNING Never leave your child
WARNING Never leave your child
unattended.
unattended. unattended.
unattended.
•
WARNING To avoid injury ensure your
WARNING To avoid injury ensure your WARNING To avoid injury ensure your
WARNING To avoid injury ensure your
child is kept a ay hen unfolding and
child is kept a ay hen unfolding and child is kept a ay hen unfolding and
child is kept a ay hen unfolding and
folding this product.
folding this product.folding this product.
folding this product.
•
WARNING Do not let your child play ith
WARNING Do not let your child play ith WARNING Do not let your child play ith
WARNING Do not let your child play ith
this product.
this product.this product.
this product.
•
WARNING Al ays use the restraint
WARNING Al ays use the restraint WARNING Al ays use the restraint
WARNING Al ays use the restraint
system.
system.system.
system.
•
WARNING This product is not
WARNING This product is not WARNING This product is not
WARNING This product is not
suitable for running or skating.
suitable for running or skating. suitable for running or skating.
suitable for running or skating.
•WARNING Your child’s safety is your
WARNING Your child’s safety is your WARNING Your child’s safety is your
WARNING Your child’s safety is your
responsibility.
responsibility.responsibility.
responsibility.
•
WARNING Any load attached to the
WARNING Any load attached to the WARNING Any load attached to the
WARNING Any load attached to the
handle affects the stability of the pram /
handle affects the stability of the pram / handle affects the stability of the pram /
handle affects the stability of the pram /
pushchair.
pushchair.pushchair.
pushchair.
•
Not intended for children eighing more than 15kgs.
This stroller is designed for t o children only. Total
combined eight of 30kg maximum.
•
The brake must al ays be engaged hen
placing and removing children from the stroller.
•
Any load attached to the handle and/or on the
backrest and/or on the sides of the vehicle ill
accept the stability of the stroller.
•
Do not attach a buggy board or similar
product for a child to ride on.
•
Lift a child in and out of the stroller. Do not allo a
child to stand on the footrest or seat.
•
Do not use accessories that have not been
approved by the manufacturer.
•
Never use the buggy to carry a child up and do n
stairs or escalators.
•
For ne borns, it is advisable to use the seat units in
the fully reclined position.
NOTE
NOTENOTE
NOTE D rings have been provided for the
attachment of a separate safety harness approved to
BS 6684 (if required). The points for attachment are
located on the aist straps of the harness.
This product complies ith
This product complies ith This product complies ith
This product complies ith
BS EN 1888 : 2012
BS EN 1888 : 2012BS EN 1888 : 2012
BS EN 1888 : 2012
For all technical queries please call: 01454 326 568
For all technical queries please call: 01454 326 568For all technical queries please call: 01454 326 568
For all technical queries please call: 01454 326 568
Imported by:
Imported by:Imported by:
Imported by:
The Red Kite Baby Co Ltd
The Red Kite Baby Co LtdThe Red Kite Baby Co Ltd
The Red Kite Baby Co Ltd
35 Lavenham Road
35 Lavenham Road35 Lavenham Road
35 Lavenham Road
Beeches Industrial Estate
Beeches Industrial Estate Beeches Industrial Estate
Beeches Industrial Estate
Yate
YateYate
Yate
Bristol
BristolBristol
Bristol
BS37 5QX
BS37 5QXBS37 5QX
BS37 5QX
General care:
General care:General care:
General care:
•
The correct use and maintenance of this stroller
is essential.
•
Do not use excessive force hen folding the
stroller. If you are having problems, fully open
the stroller and repeat the folding procedure.
•
Al ays let heels do n as gently as possible
hen mounting and dismounting kerbs.
•
Al ays fold the stroller hen going up or do n
stairs. Never bump the buggy over these or
similar obstacles.
•
In some climates mould and milde can affect
the fabric and rain cover. To avoid this, do not
fold the stroller hen it is et. Leave it open in a
ventilated area until completely dry.
•
Al ays store the stroller in a dry place.
•
When storing the stroller in the car, never place
other items on top of it.
•
Do not exceed the maximum load of 2 kgs in the
shopping basket. (Where provided).
Cleaning:
Cleaning:Cleaning:
Cleaning:
•
Fabric covers and trims may be spot ashed
using mild detergent and arm ater. Leave to
dry in a ventilated area a ay from direct sun-
light.
•
Avoid leaving your buggy in direct sunlight for
prolonged periods of time as this may cause
fabrics to fade.
•
Do not dry clean, machine ash or tumble dry.
•
Metal parts may be cleaned ith a damp cloth.
Al ays ipe dry. Clean plastic parts ith a mild
soap and ater solution, ipe dry.
Maintenance:
Maintenance:Maintenance:
Maintenance:
•
Maintain your stroller by lubricating all metal
moving parts ith a light machine oil e.g.
WD-40. Do not use heavy machine oil or
grease as this can attract dirt or grit.
•
Check that nothing is loose or broken and that no
sharp edges have been exposed. Inspect all
joints and the harness, replace any damaged
parts immediately.
•
Inspect any nuts and bolts regularly to ensure
none have orked loose. Tighten as
necessary.
•
Only use replacement parts and accessories that
have been approved by the manufacturer.
Failure to do this may invalidate your arranty.
IMPORTANT
IMPORTANTIMPORTANT
IMPORTANT
Keep these instructions for future reference. Your child’s
safety may be affected if you do not follo these instructions.
Instruction Leaflet
Instruction LeafletInstruction Leaflet
Instruction Leaflet
Push Me T ini
Push Me T iniPush Me T ini
Push Me T ini
This vehicle is intended for children from birth up to a maximum eight of 15kgs.
Complies ith BS EN 1888 : 2012
Customer Care Line: 01454 326 568
*Colours may vary

Assembly instructions
Assembly instructionsAssembly instructions
Assembly instructions
To open the chassis
To open the chassisTo open the chassis
To open the chassis
Pull the folding catch to the side and lift the handle
up ards (1a) until the handle locks in place and the
red primary lock has fallen behind the catch (1b).
To attach rear axle and heels and functions
To attach rear axle and heels and functionsTo attach rear axle and heels and functions
To attach rear axle and heels and functions
Push the axle onto the rear legs (2a) until the spring
clips have popped through the holes. Push the
stems of the rear heels in to the axle until they click
in place (2b). Pull the heel gently to make sure
they are secure. To remove the rear heels, push the
silver button in and pull the heel out ards.
To operate the brakes
To operate the brakesTo operate the brakes
To operate the brakes
With your foot, push the foot pedal on the right side
do n until it clicks in to place (3). Lift up ards to
release the breaks.
WARNING Ensure that all the locking devices
WARNING Ensure that all the locking devices WARNING Ensure that all the locking devices
WARNING Ensure that all the locking devices
are engaged before use.
are engaged before use.are engaged before use.
are engaged before use.
Front heel assembly and functions
Front heel assembly and functionsFront heel assembly and functions
Front heel assembly and functions
Push the front heel on to the front legs of the
chassis until they click into place. Pull them gently to
make sure they are secure. (4).
Push the s ivel catch do n to select fixed heels or
up for s ivel heels.
To remove the front heels you can either push the
button in and pull the heel unit and stem off or you
can just remove the heel unit by pushing the
button located on the bottom of the leg and pull the
heel unit off.
Parts List
Parts ListParts List
Parts List
A Chassis
B Rear Axle
C Front Wheels x 2
D Bumper Bar x 2
E Footmuffs x 2
A
B
C
D
E
Fig. 1a
Fig. 2a
Fig. 2b
Fig. 3
S ivel
catch
Fig. 4
Folding catch
Fig. 1b
Accessories
AccessoriesAccessories
Accessories
A raincover is supplied ith this stroller.
The raincover should be placed over the hood
and folded then placed in the basket
hen not is use.
Shoulder
straps
Buckle B
Buckle housing
Slider
Buckle
A
Fig. 5
Fig. 6
Fig. 7
Fig. 11
Fig. 8
1. Primary lock
2. Secondary
lock
To attach the bumper bars
To attach the bumper barsTo attach the bumper bars
To attach the bumper bars
Push the ends of the bumper bars in to the slots on the
chassis until they ‘click’ in to place. To remove the bars,
push in the buttons on both sides and pull the bars off
(5).
Leg rest adjustment
Leg rest adjustmentLeg rest adjustment
Leg rest adjustment
Push the buttons on both sides of the leg rest and select
desired position (6).
To attach the foot covers
To attach the foot coversTo attach the foot covers
To attach the foot covers
Place the end of the leg rest in to the foot cover and
rap the top of the foot cover around the bumper bar (7)
and secure ith the press studs.
To operate the hood
To operate the hoodTo operate the hood
To operate the hood
Pull the hood for ard by the front rim of the hood. For
added shade / eather protection, the hood can be
unzipped further as sho n (8).
To operate the seat recline function
To operate the seat recline functionTo operate the seat recline function
To operate the seat recline function
Squeeze the trigger on the back of the seat unit and pull
do n ards. When the seat unit has reached the desired
position, release the trigger. To raise the seat unit, hold
both straps ith one hand and push the back of the seat
unit ith your other hand (9).
To adjust and secure the harness
To adjust and secure the harness To adjust and secure the harness
To adjust and secure the harness
Push the buckle prongs in to the buckle housing until
they snap into position. Adjust sliders to ensure a snug
fit for your child. After making adjustments to the seat
al ays re adjust the harness. Release the harness by
pressing the button on the buckle housing unit.
WARNING Al ays use the crotch strap in
WARNING Al ays use the crotch strap in WARNING Al ays use the crotch strap in
WARNING Al ays use the crotch strap in
combination ith the aist belt.
combination ith the aist belt. combination ith the aist belt.
combination ith the aist belt.
To fold the pram
To fold the pramTo fold the pram
To fold the pram
Make sure the seats are in the upright position, the hood
is retracted and the brakes are engaged. Lift the red
primary lock (1), squeeze the trigger on the handle (2).
Push the handle for ards and do n ards until the
folding catch has in locked in place (11).
Fig. 9
Seat recline
trigger
Fig. 10
Folding catch
Other Red Kite Stroller manuals

Red Kite
Red Kite Push Me Quad Manual

Red Kite
Red Kite Push Me Twini User manual

Red Kite
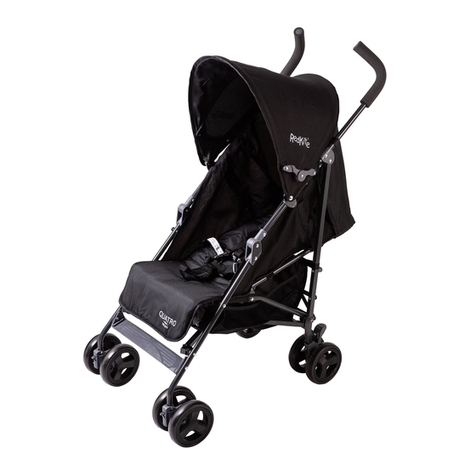
Red Kite Push Me Quatro Manual

Red Kite
Red Kite push me fusion Manual

Red Kite
Red Kite Push Me Savanna Manual

Red Kite
Red Kite Push Me Lite Manual

Red Kite
Red Kite Push Me Metro Manual

Red Kite
Red Kite Push Me Lite Manual

Red Kite
Red Kite Push Me Quatro Manual

Red Kite
Red Kite Push Me 2U Manual