manuals.online logo
Brands
  1. Home
  2. •
  3. Brands
  4. •
  5. Reimo
  6. •
  7. Tent
  8. •
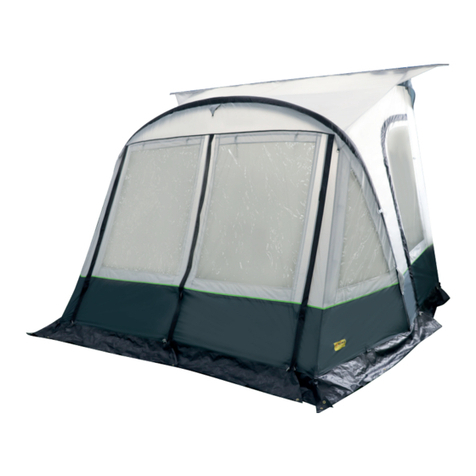
  9. Reimo Tour Action Air User manual

Reimo Tour Action Air User manual

This manual suits for next models

1

Other Reimo Tent manuals

Reimo Marina High Air 2.9 User manual

Reimo

Reimo Marina High Air 2.9 User manual

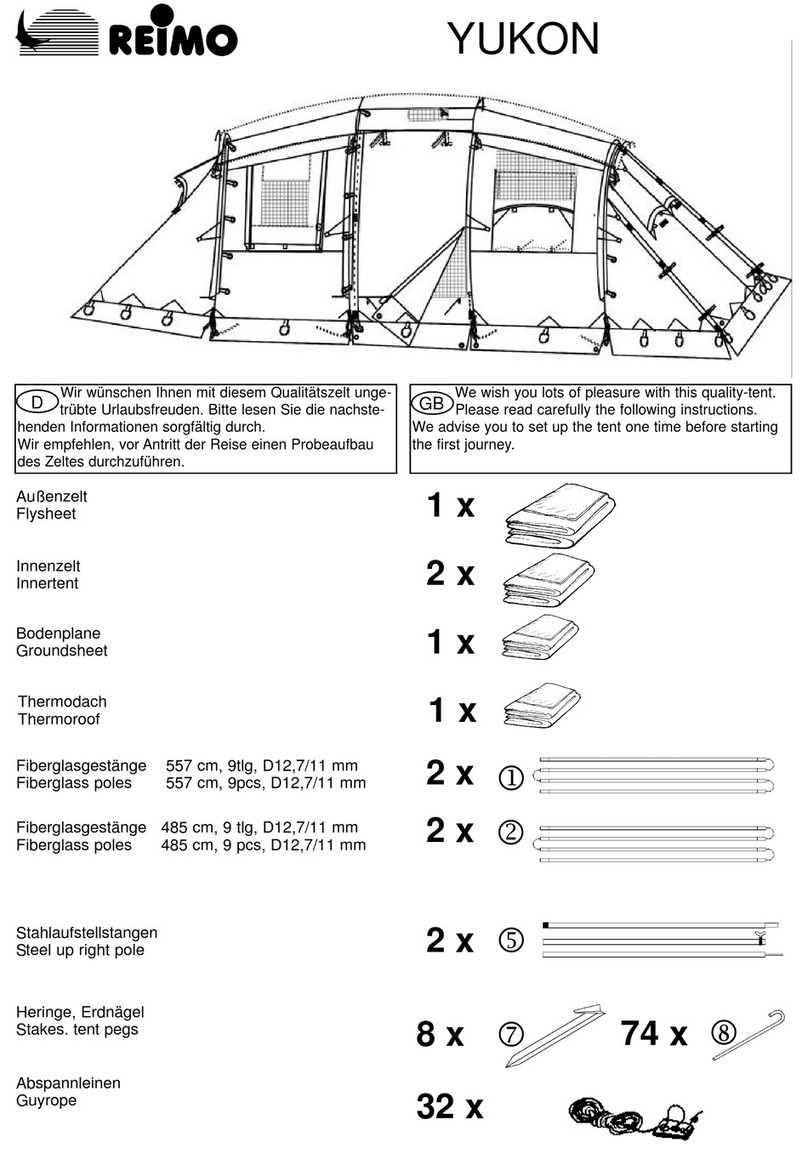
Reimo Yukon User manual

Reimo

Reimo Yukon User manual

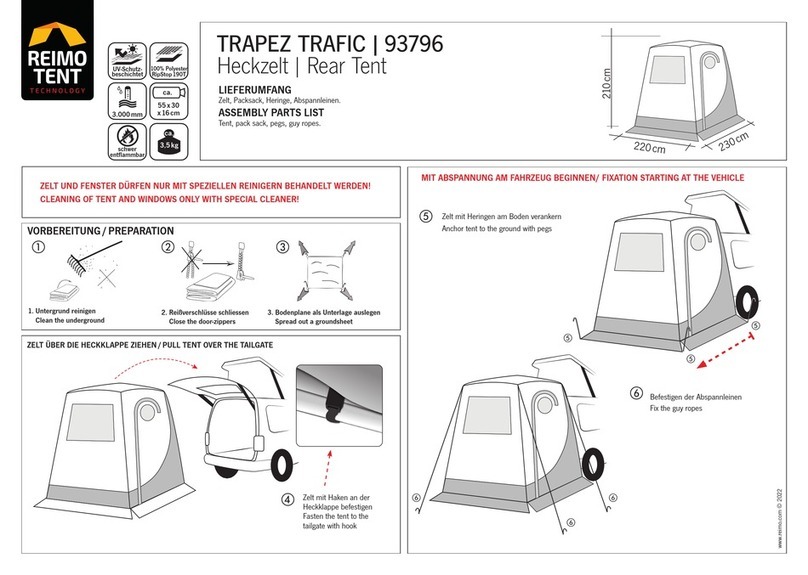
Reimo TRAPEZ TRAFIC 93796 User manual

Reimo

Reimo TRAPEZ TRAFIC 93796 User manual

Reimo Victoria Installation instructions

Reimo

Reimo Victoria Installation instructions

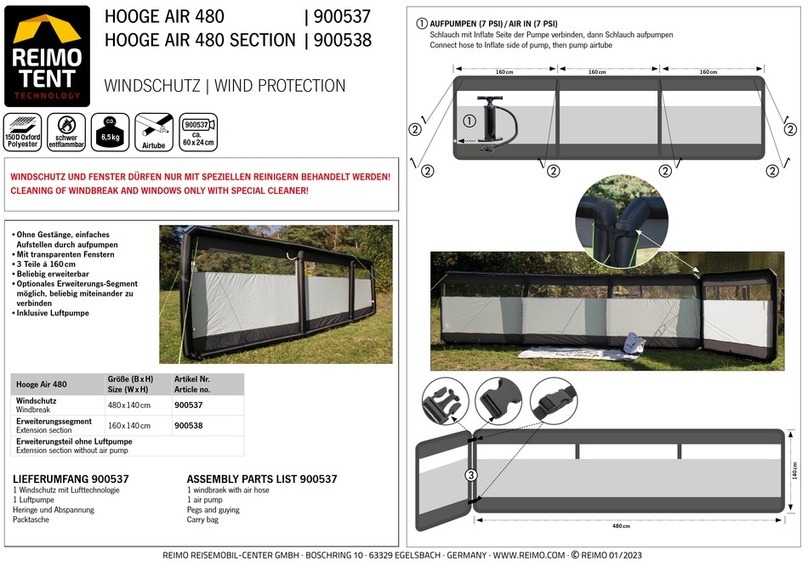
Reimo HOOGE AIR 480 User manual

Reimo

Reimo HOOGE AIR 480 User manual

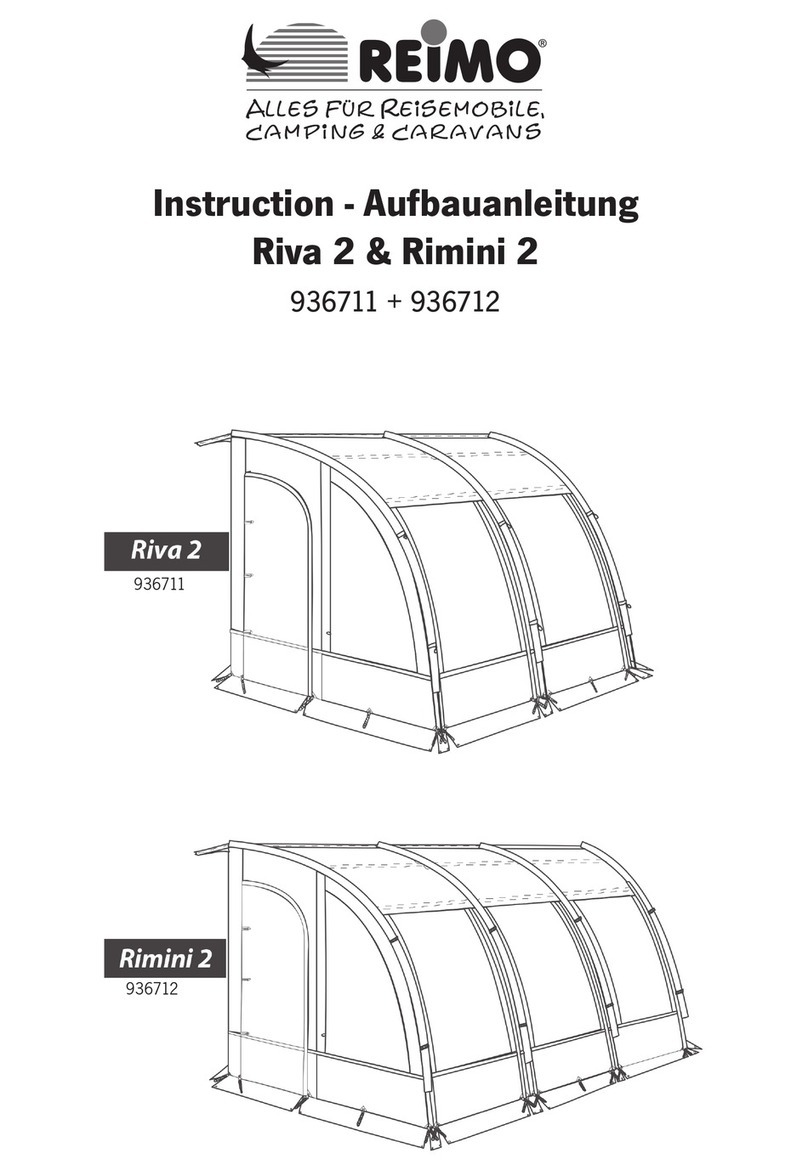
Reimo Riva 2 User manual

Reimo

Reimo Riva 2 User manual

Reimo ADRIA ACTION AIR 391 User manual

Reimo

Reimo ADRIA ACTION AIR 391 User manual

Reimo Marina User manual

Reimo

Reimo Marina User manual

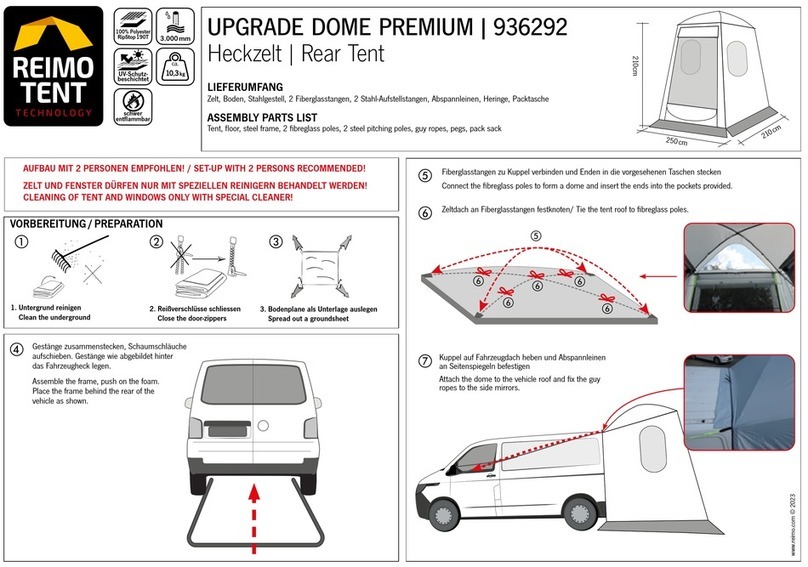
Reimo UPGRADE DOME PREMIUM 936292 User manual

Reimo

Reimo UPGRADE DOME PREMIUM 936292 User manual

Reimo ALICANTE User manual

Reimo

Reimo ALICANTE User manual

Reimo One Beam Air User manual

Reimo

Reimo One Beam Air User manual

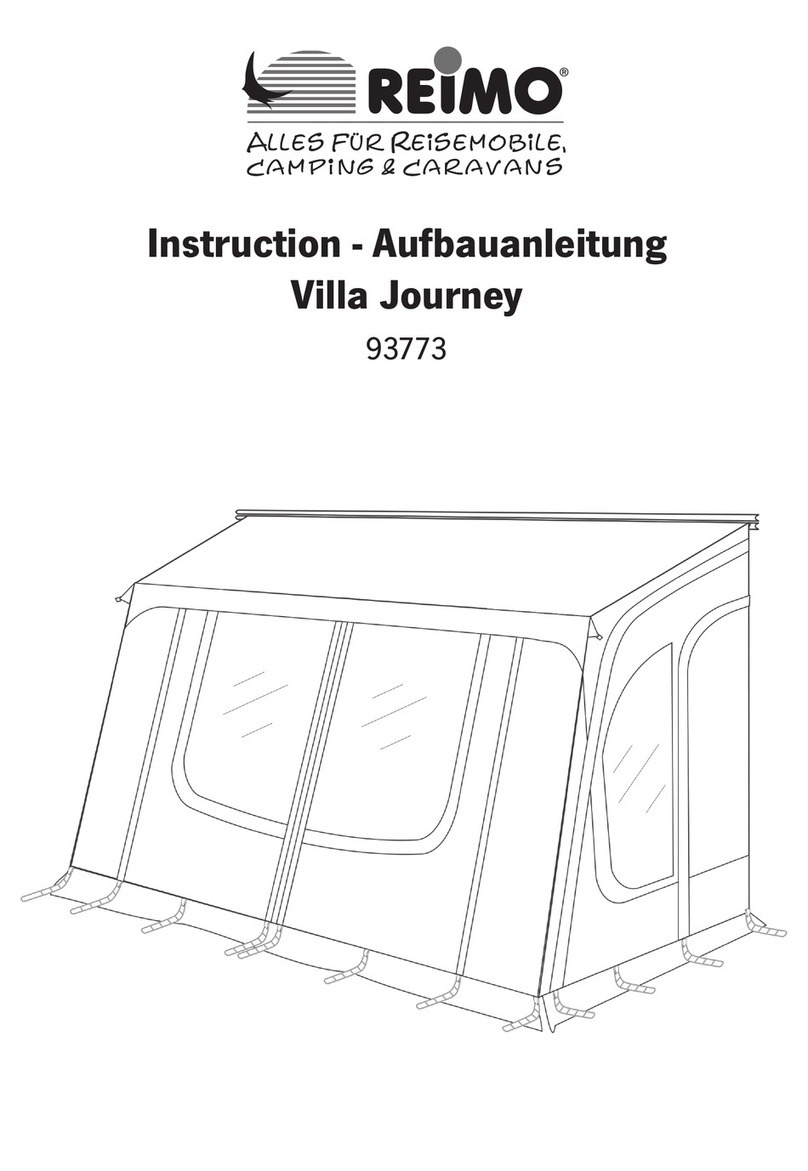
Reimo Villa Journey User manual

Reimo

Reimo Villa Journey User manual

Reimo Casa Air User manual

Reimo

Reimo Casa Air User manual

Popular Tent manuals by other brands

Nordcap Easy Up 400 Build-up instructions

Nordcap

Nordcap Easy Up 400 Build-up instructions

Zempire Neo Series instructions

Zempire

Zempire Neo Series instructions

CampTrails Grand Manan Assembly instructions

CampTrails

CampTrails Grand Manan Assembly instructions

Maanta ULISSE 90 Instructions and warnings

Maanta

Maanta ULISSE 90 Instructions and warnings

OZTENT JV SIGNATURE EDITION owner's manual

OZTENT

OZTENT JV SIGNATURE EDITION owner's manual

GigaTent Summer Chalet Mini Tent owner's manual

GigaTent

GigaTent Summer Chalet Mini Tent owner's manual

Outsunny 84C-230 manual

Outsunny

Outsunny 84C-230 manual

Crivit Outdoor 96716 instruction manual

Crivit Outdoor

Crivit Outdoor 96716 instruction manual

Outsunny 84C-063 Assembly instruction

Outsunny

Outsunny 84C-063 Assembly instruction

EuroTrail ATLANTIS PRO manual

EuroTrail

EuroTrail ATLANTIS PRO manual

TiiTENT TB300 manual

TiiTENT

TiiTENT TB300 manual

Coleman 2000033134 Assembly & instruction manual

Coleman

Coleman 2000033134 Assembly & instruction manual

Ozark Trail W784.1 Assembly instructions and owner's manual

Ozark Trail

Ozark Trail W784.1 Assembly instructions and owner's manual

SlingFin CrossBow 2 instructions

SlingFin

SlingFin CrossBow 2 instructions

Coleman 9600-141 instructions

Coleman

Coleman 9600-141 instructions

Palram Arizona 5000 Wave - WINGS manual

Palram

Palram Arizona 5000 Wave - WINGS manual

COVERPRO 56184 Owner's manual & safety instructions

COVERPRO

COVERPRO 56184 Owner's manual & safety instructions

Vango Zenith 100 instructions

Vango

Vango Zenith 100 instructions

manuals.online logo
manuals.online logoBrands
  • About & Mission
  • Contact us
  • Privacy Policy
  • Terms and Conditions

Copyright 2025 Manuals.Online. All Rights Reserved.

1
Tour Action Air
900014
Aufbauanleitung
Assembly Instructions
www.reimo.com
2
Vielen Dank, dass Sie sich für das Rimini Air 390 Vorzelt entschieden haben. Bitte lesen Sie sich vor dem Aufbau diese
Anleitung ausführlich durch und bewahren Sie diese für zukünftiges Nachschlagen gut auf.
Bei sachgemäßer Verwendung werden Sie sehr lange Freude an Ihrem neuen Vorzelt haben. Wir empfehlen Ihnen, Ihr
Zelt gegen versehentliche Schäden sowie Sturmschäden zu versichern, da diese nicht durch die Garantie abgedeckt sind.
Thank you for purchasing your Rimini Air 390 awning. Please read these instructions carefully before attempting to set
up your awning and retain them for future reference.
If used correctly, your awning shoud give you years of trouble free use. We recommend that your awning is insured
against accidental and storm damage as this is not covered by the warranty.
INHALT / INDEX
Lieferumfang / Assembly parts list .....................................................................................................3
Empfehlungen / Recommendations....................................................................................................4
Luftkammern / About the inflatable frame.........................................................................................4
Aufpumpen / Pump and inflation........................................................................................................5
Aufbauanleitung / Assembly instructions............................................................................................8
Allgemeine Pflege- und Gebrauchshinweise / General Care and usage instrutions .........................12
Bitte lesen Sie vor dem Aufbau diese Anleitung ausführlich durch und bewahren Sie diese
für zukünfiges Nachschlagen auf
Please read instructions and warnings carefully before attempting to set up! Please keep
it for future reference!
3
LIEFERUMFANG / ASSEMBLY PARTS LIST
Optional / Optional
Packsack / Carry Bag
Abspanngurte / Storm Strap
Spannstange
Connector Pole
Innenzelt / Inner Tent Bodenplane / Groundsheet
Außenzelt / Flysheet
Gummiösen / Elastic Ring
Aufstellstange für Tür
Canopy Poles Kit
Saugnapf / Suction Hook
Metallheringe / Metal Peg
Sturmstangen
Storm Roof Pole
Luftpumpe mit Überdruckventil
Pump & Safety Pressure Valve
1x
1x
1x 1x
8x 8x
3x
30x
1x
1x 2x 1x
4
EMPFEHLUNGEN
• Bitte legen sie vor dem Auspacken eine Bodenplane aus, um das Material Ihres Vorzeltes vor Nässe, Schmutz und
Schaden zu schützen.
• Bauen Sie das Vorzelt vor Antritt Ihrer Reise schon einmal zuhause auf, um sich mit dem Aufbau vertraut zu ma-
chen und um sicherzustellen, dass Sie vor dem ersten Gebrauch alle benötigten Teile haben.
• Wählen Sie zum Aufbau eine glatte, ebene Fläche und entfernen Sie alle spitzen Gegenstände.
• Vermeiden Sie, den Eingang gegen den Wind aufzustellen.
• Unter Bestimmten Bedingungen kann sich im Inneren des Vorzeltes Kondenswasser bilden. Abhängig von
den gegebenen Bedingungen, dem Wetter sowie der Bodenfeuchtigkeit, kann Kondenswasser schwerwie-
gende Folgen haben und mit Undichtigkeit verwechselt werden, da es entlang der Innenseite des Daches
herablaufen sowie an Einrichtungsgegenständen heruntertropfen kann. Wenn sie vermuten, Ihr Vorzelt sei
undicht, ist dies in den meisten Fällen durch Kondenswasser begründet und kann durch gute Belüftung
verbessert werden.
• Dieses Vorzelt ist als Reisevorzelt entwickelt worden, sowie zur Nutzung bei leichtem bis mäßigem Wetter. Bei
starkem Wind oder Schneefall empfehlen wir Ihnen, das Vorzelt abzubauen. Dieses Zelt ist nicht als Dauerstandzelt
geeignet.
RECOMMENDATIONS
• Please lay down a groundsheet in advance, to prevent your awning fabric becoming wet, dirty and damaged, before
uppacking.
• Assemble the awning at home before setting off on your trip in order to familiarise yourself with its assembly and
ensure you have not forgotten anything, especially the first use.
• Choose preferably a smooth, level site and remove all sharp objects.
• Avoid placing the entrance toward the wind.
• Under certain conditions awnings will suffer from condensation.
Depending upon the conditions, the weather and the amount of moisture in the ground, the condensation
could be quite servere and is commonly mistaken for leaking, it can run down the inside of the roof and
drips off internal fittings. If you suspect your awning is leaking it is almost certainly condensation this
can be improved by ensuring adequate ventilation.
• This awning is designed as a touring awning and for touring use in light to moderate weather. During strong winds
or snowfall we recommend that you take the awning down.
This awning is not designed for static, seasonal, permanent pitching or commercial use.
DER LUFTKAMMER-RAHMEN
• Der Rahmen besteht aus 3-lagigen Luftschläuchen, welche sich in Reißver-
schluss-Schutzhüllen befinden. So sind diese sicher, geschützt und lassen
sich bei Bedarf einfach austauschen.
• Der innere Luftschlauch besteht aus einem extra stabilen TPU-Material,
welches robust und wetterbeständig ist und lange halten wird.
• Die Schutzhüllen bestehen aus einem robusten, stichfesten PE-Material. Die
Schutzhüllen werden an Hülsen an der Innenseite des Zeltes per Reißver-
schluss befestigt.
• Die Reißverschlüsse von Schutzhülle und Hülse müssen mit Verbindern
(z.B. Kabelbindern) aneinander befestigt sein. Diese Verbinder sollten
bei normaler Nutzung niemals entfernt werden. Die Reißverschlüsse
dürfen Sie nicht öffnen. Entfernen Sie diese nur, wenn Sie einen Luft-
schlauch entfernen, ersetzen oder reparieren müssen. Wenn Sie die
Verbinder entfernen, muss dies geschehen bevor Sie das Zelt aufpum-
pen, da Sie sonst die Luftschläuche beschädigen oder auch durchste-
5
chen könnten, was nicht durch die Garantie abgedeckt wird.
• Um sicherzustellen, dass sich das aufblasbare Gestänge in der richtigen Po-
sition befindet, achten Sie bitte darauf, dass der Klettverschluss der Kammer
mit dem Klettverschluss am Zeltboden verbunden ist.
ABOUT THE INFLATABLE FRAME
• The frame is made up of air tubes which are placed inside zipped protective
covers making them secure, protected and easy to replace if required.
• The air tubes themselves are made of very strong TPU material which is
strong, resistant to weather and will last for years.
• The protective covers are made from a strong, puncture resistant PE material. The protective cover is zipped inside
the sleeve on the awning.
• The zips on the sleeve and protective cover are locked together with ties. These ties should never be remo-
ved under normal use. They are only to be removed,if you need to remove, replace or repair your air tube.
If you do remove the ties then you must replace them before inflating your awning otherwise you could
cause damage to the air tube, even puncturing it which is not covered under your warrranty.
• To ensure the air tube frame is in the correct position, please check that the protective cover is located on the
velcro pads at all times.
!!ACHTUNG!!
Die Reißverschlüsse von Schutzhülle und Hülse müssen
mit Verbindern (z.B. Kabelbindern) verriegelt werden.
Diese Verbinder sollten bei normaler Nutzung niemals
entfernt werden. Die Reißverschlüsse dürfen sich nicht
öffnen können. Wenn dieser Verbinder entfernen wurde,
können die Luftschläuche und auch ihr Zelt beschädigt
oder durchstochen werden, was nicht durch die Garantie
abgedeckt wird.
Pumpen Sie die Luftschläuche niemals auf, wenn einer der beiden Reißverschlüsse geöffnet ist.
!!ATTENTION!
The zips on the air tube sleeve and protective cover are locked together by a plastic tie.
Never remove this plastic tie under normal use. If this tie is removed then it could cause damage to your air
tubes or awning and is not covered by the warranty.
Never inflate the air tube if either of the zips are undone.
AUFPUMPEN
LUFTPUMPE
Verbinden Sie das Sicherheitsventil mit der Inflate Seite der Luftpumpe und
befestigen Sie den Schlauch am Sicherheitsventil, wie in der Abbildung links dar-
gestellt. Verwenden Sie die Luftpumpe niemals ohne das Sicherheitsdruckventil
mit Ihrem Vorzelt. Das Sicherheitsdruckventil stellt sicher, dass Sie nicht zu viel
Luft in das Gestänge pumpen können.
Eine Nichtverwendung des Sicherheitsdruckventils beim Aufblasen ihres Zeltes
kann dazu führen, dass Sie die Luftschläuche zu stark aufpumpen, was zu einem
Verlust der Garantie führt.
Wichtig:
Der Ideale Luftdruck für dieses Vorzelt beträgt 0,48 bar ( 7 PSI).
Bitte achten Sie darauf, dass Sie diesen Druck nicht überschreiten. Wenn Sie
ihre eigene Luftpumpe nutzen, stellen Sie sicher, dass diese über ein Sicherheits-
druckventil, welches auf 0,48 bar voreingestellt ist, bzw. über ein Manometer
6
verfügt, so dass Sie jederzeit den Druck kontrollieren können.
Übermäßiges Aufpumpen wird nicht durch die Garantie abgedeckt.
PUMPEN SIE IHR ZELT NICHT ZU STARK AUF. ÜBERMÄßIGES AUFPUMPEN FÄLLT NICHT UNTER DIE GARAN-
TIE UND KANN IHR VORZELT BESCHÄDIGEN!
AUFPUMPEN:
• Um die Luftschläuche aufzupumpen, lösen Sie die Abdeckkappe und verbinden sie das Ventil der Luftpumpe mit
dem Lufteinlass (wie unten abgebildet). Sie können nun die Luftschläuche aufpumpen.
Wenn Ihr Luftschlauch gleich wieder Luft verliert, überprüfen Sie bitte, ob das Ventil richtig befestigt wurde, da fehlerhaf-
tes Anschließen zu ausströmender Luft führen kann.
ENTLEEREN: 1 Luftventil / Deflation plug - 2 Luftadapter / Air inlet - 3 Ventillasche / Cap
• Zum Ablassen der Luft, entfernen Sie einfach das Luftventil vom Schlauch,
indem Sie es abschrauben.
Seien Sie vorsichtig, wenn sie das Ventil abschrauben, da ein unnötiges Verdre-
hen des Ventils und des Schlauchs zu einer unnötigen Belastung des Ventils
führen kann. Beim Abschrauben des Ventils halten sie den Schlauch mit einer
Hand fest und Schrauben das Ventil mit der anderen Hand ab, um sicherzustel-
len, dass sich Ventil und Schlauch nicht verdrehen können.
• Wenn Sie das Ventil wieder aufschrauben, achten Sie darauf, dass der Rand
der Ventillasche nicht unter das Ventil gerät, da dies dazu führen kann, dass
das Ventil nicht mehr vollständig abdichtet und die Schläuche auch ohne
eine Beschädigung Luft verlieren.
Wenn ihre Luftschläuche Luft verlieren, überprüfen Sie immer zuerst den korrekten Sitz des Ventils.
PUMP AND INFLATION
PUMP:
Connect the safety valve to the inflate side of the pump and attach the hose to the safety valve as shown in the diagram
to the left. Never attach the pump to the awning without the included safety pressure valve. The safety pressure valve
ensures that you cannot over inflate the awning.
Failure to use the safety pressure valve when inflating the awning could case you to over inflate the air tube which would
invalidate your warranty.
IMPORTANT:
The ideal inflation pressure for this awning is 7 PSI (0.48 bar).
Do not inflate the awning any more than this. If you use your own pump then ensure it is connected to a safety pressure
valve set to 7PSI or has a pressure gauge on so you can tell what the pressure is at all times.
Over inflation is not covered under your warranty.
7
Note: Do not over inflate, over inflation is not covered under your warranty and could damage your awning!
INFLATION:
• To inflate your air tube, unscrew the top cap and attach the pump nozzle to the air inlet (as shown below). You are
now ready to pump your air tube up.
If your air tube deflates straight away check that the value is correctly fitted as this could lead to air escaping from the
tube.
DEFLATION:
• To deflate your air tube simply remove the air valve by unscrewing it from the tube.
Be careful when unscrewing the valve as twisting the valve and tube unnecessarily could cause unneeded stress on the
valve. When unscrewing the valve hold the tube in place with one hand and unscrew the valve with the other thus ensu-
ring the valve and tube are not twisted.
• When you screw the valve back in place be careful not to get it caught on the rim of the valve pocket as this can
stop you creating a seal with the valve and can lead to air being lost from the tube even though there is no punc-
ture.
If your air tube does deflate always first check that the valve is correctly screwed into place.
8
AUFBAUANLEITUNG / PITCHING INSTRUCTIONS
1. AUSPACKEN / UNPACKING
• Packen Sie das Vorzelt aus und entfalten Sie es so, dass die Bodenplane unten liegt und das Außenzelt oben.
• Befestigen Sie die vier Ecken vorübergehend mit den enthaltenen Metallheringen. Dies hilft sicherzustellen, dass
das Zelt beim Aufblasen an Ort und Stelle bleibt.
• Unpack the awning and unfold so the groundsheet is on the bottom and the flysheet is on the top.
• Temporarily peg the four corners with the included metal pegs. This is to help ensure the awning stays in place
whilst being pumped up.
2. AUFPUMPEN / PUMPING
• Bevor Sie mit dem Aufpumpen des Vorzeltes beginnen, stellen Sie sicher, dass Sie die Hinweise und Anweisungen
zur Nutzung der Pumpe sorgfältig gelesen und verstanden haben. Sie müssen diese Anweisungen befolgen, um Ihr
Zelt aufzupumpen.
• Pumpen Sie das Zelt auf, achten Sie dabei darauf, dass das Sicherheitsdruckventil immer mit der Pumpe verbun-
den ist.
• Pumpen Sie die Schläuche nacheinander auf, bis alle vollständig mit Luft gefüllt sind und sich aufgerichtet haben.
• You are ready to inflate your awning.
• Before you inflate your awning make sure you have read and understood the pump and inflation section of these
instructions. You must follow these instructions to ensure proper inflation of your awning.
• Inflate your awning using the pump supplied ensuring the safety pressure valve is connected to the pump at all
times.
• Pump each air tube(s) in turn, until all have been pumped up and sprung into place.
9
AUFBAUANLEITUNG / PITCHING INSTRUCTIONS
3. ANBRINGEN DER STANGEN / ADDING POLES
• Montieren Sie die 3 Dachstangen wie in den obigen Abbildungen dargestellt.
• Stecken Sie je ein Ende der Dachstangen in eine der vorgesehenen Taschen und das andere Ende in die gegen-
überliegende Tasche.
• Überspannen Sie die Stangen nicht.
• Assemble the 3 storm roof poles as shown in the diagrams above.
• Insert each pole in turn, into their pocket and extend into the opposite pocket.
• Do not over tension these poles
10
4. OPTIONAL: ANBRINGUNG DES INNENZELTS / INNER TENT
• Installieren Sie das Innenzelt erst, wenn das Vorzelt bereits aufgeschlagen und befestigt wurde.
• Nehmen Sie das Innenzelt aus seiner Tasche und legen sie es auf den Boden im Vorzelt.
• Befestigen Sie die Befestigungsriemen des Innenzeltes an den zugehörigen Ringen im Dach des Vorzelts.
• Verbinden Sie jede Ecke am unteren Ende des Vorzelts mit den Ringen am Boden im Vorzelt, wie auf der obigen
Abbildung gezeigt.
• This should only be done once the awning has been pitched and pegged.
• Take the inner tent out of its bag and lay it on the ground inside the awning.
• Attach each of the toggled straps to their corresponding o-rings in the roof of the awning.
• Clip each bottom corner of the inner tent to the o-ring located on the groundsheet as shown in the diagram above.
AUFBAUANLEITUNG / PITCHING INSTRUCTIONS (OPTIONAL)