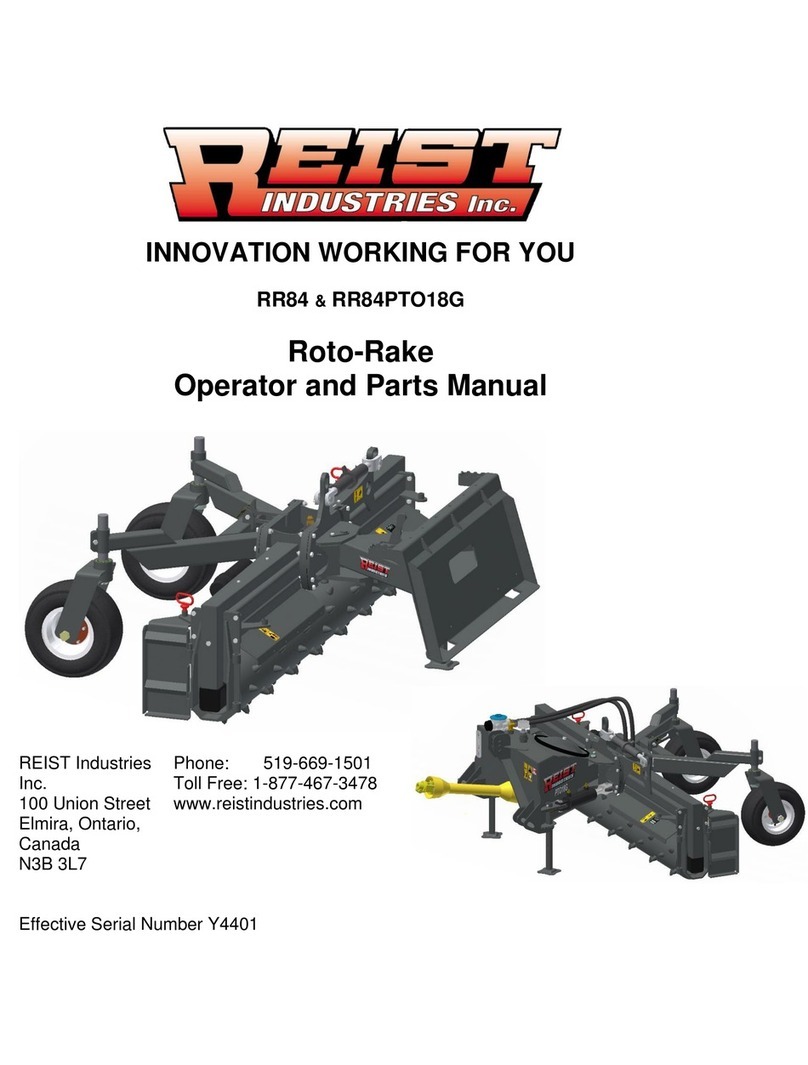
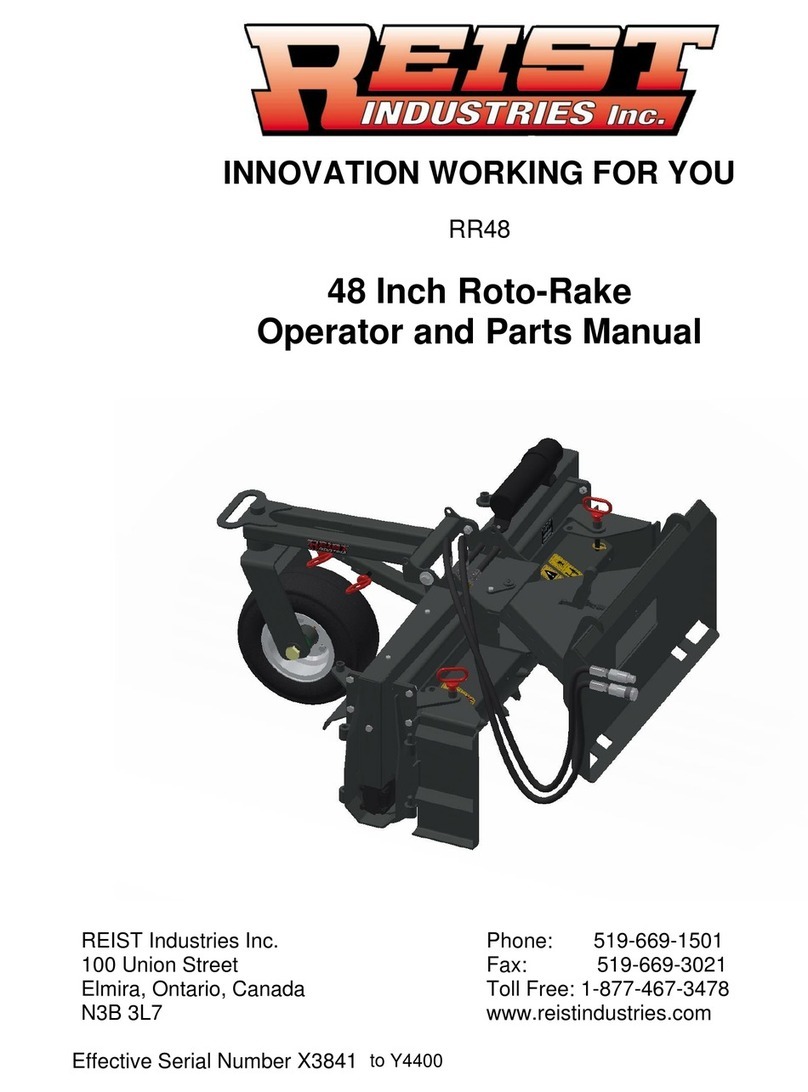
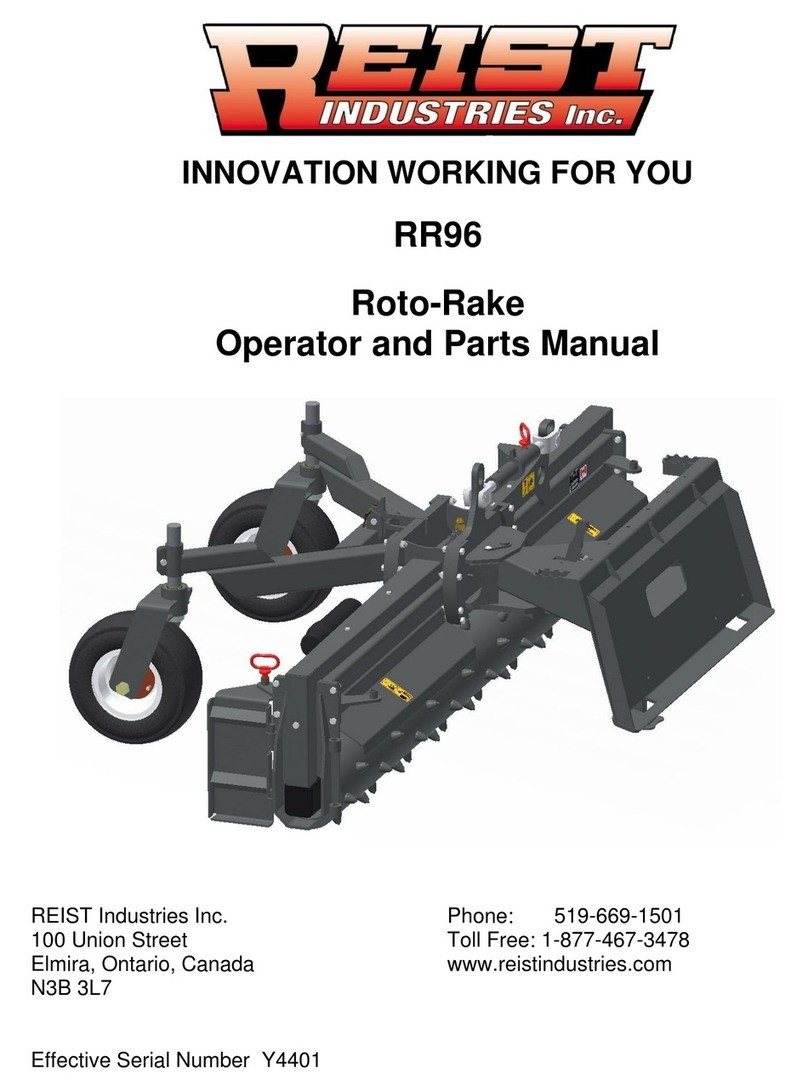
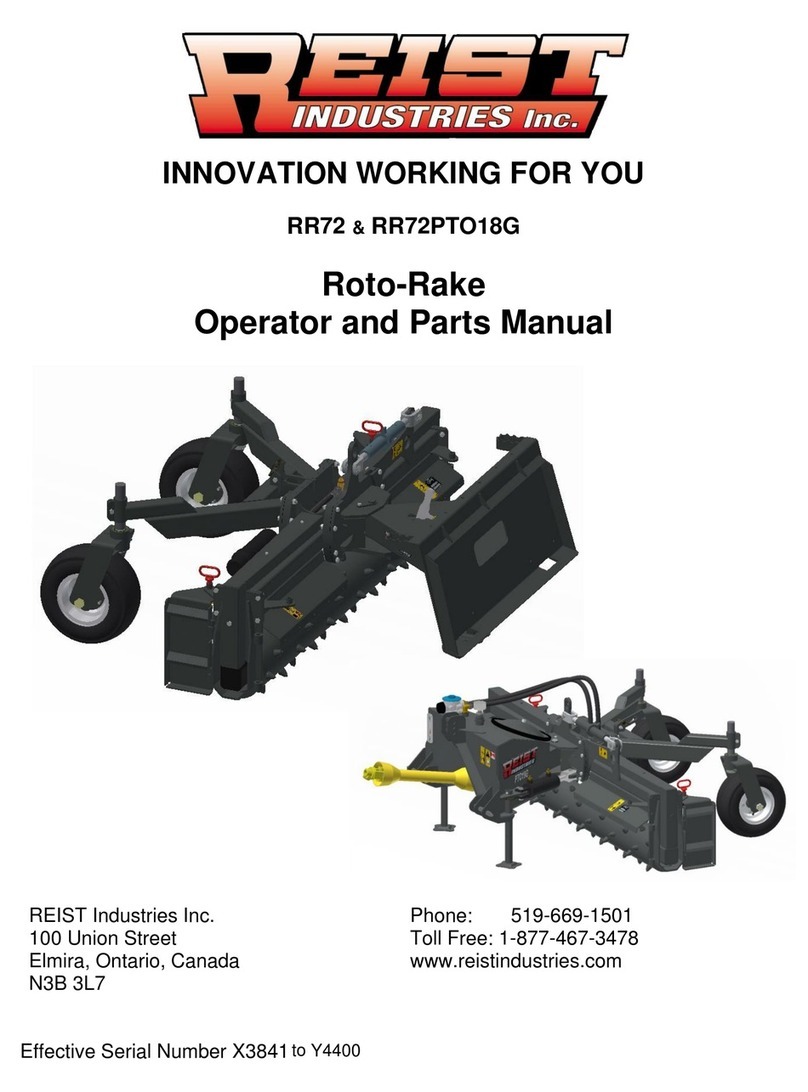
REIST INDUSTRIES Roto-Rake RR60 Product manual

INNOVATION WORKING FOR YOU
RR60 &RR60PTO18G
Roto-Rake
Operator and Parts Manual
REIST Industries Inc.
100 Union Street
Elmira, Ontario, Canada
N3B 3L7
Phone: 519-669-1501
Toll Free: 1-877-467-3478
www.reistindustries.com
Effective Serial Number Y4401


Contents
INTRODUCTION......................................................................................................................... 2
PRODUCT CONFIGURATION ................................................................................................... 3
GENERAL SAFETY PRECAUTIONS ......................................................................................... 4
OPERATION AND TRANSPORTATION ON PUBLIC ROADS AND AREAS............................. 6
SAFETY DECALS....................................................................................................................... 7
MAINTENANCE.......................................................................................................................... 8
ADDITIONAL MAINTENANCE FOR THE PTO18G SERIES...................................................... 8
PTO18G OIL FILTER MAINTENANCE....................................................................................... 9
STANDARD SETUP INSTRUCTIONS...................................................................................... 10
SKID-STEER HOOKUP INSTRUCTIONS ................................................................................ 10
OPERATION OF ROTO-RAKE................................................................................................. 10
PTO18G SETUP INSTRUCTIONS ........................................................................................... 11
PTO18G HOOKUP INSTRUCTIONS........................................................................................ 11
OPERATION OF PTO ROTO-RAKE......................................................................................... 11
GROUND SPEED:.................................................................................................................... 11
FLOAT SETUP INSTRUCTIONS.............................................................................................. 12
RR60 - STANDARD FEATURES ASSEMBLY.......................................................................... 13
RR60 ROTO RAKE - ASSEMBLY............................................................................................. 14
RR60 WHEEL ASSEMBLY....................................................................................................... 15
STANDARD 15 DEGREE SWIVEL FRAME ASSEMBLY......................................................... 16
RR60 + 15 DEGREE BASE SWIVEL FRAME ASSEMBLY...................................................... 17
OPTIONAL ON THE FLY HYDRAULIC VALVE BLOCK........................................................... 18
OPTIONAL HYDRAULIC VALVE BLOCK DETAILS................................................................. 19
OPTIONAL HYDRAULIC VALVE BLOCK DETAILS................................................................. 20
OPTIONAL VALVE BLOCK WIRING HARNESSES................................................................. 21
OPTIONAL DIVERTOR VALVE................................................................................................ 22
OPTIONAL DIVERTOR VALVE ASSEMBLY DETAILS............................................................ 23
OPTIONAL DIVERTOR VALVE DETAILS & SCHEMATIC....................................................... 24
CURRENT WIRING HARNESSES ........................................................................................... 25
RR60PTO18G - ASSEMBLY .................................................................................................... 26
PTO18G –EXPLODED VIEW .................................................................................................. 27
PTO18G –PARTS LIST............................................................................................................ 28
OPTIONAL SIDE CUTTERS - RRSCK..................................................................................... 29
OPTIONAL PLOW ATTACHMENT ASSEMBLY....................................................................... 30
WARRANTY INFORMATION.................................................................................................... 31
Record your product information for future reference:
Model Number: ______________
Serial Number: ______________
In Service Date: _____________
Sold By: ___________________

REIST Industries Inc. © (revised April 2022)
Page 2
INTRODUCTION
Thank you for choosing the REIST RR60 / RR60PTO18G ROTO-RAKE.
We feel confident that this equipment will meet your expectations in workmanship, reliability and
performance when used as designed. This manual is to assist you with the safe operation of the
REIST ROTO-RAKE. It also has a parts list to help you when replacement parts are required.
Any person who will be assembling, attaching, maintaining, or operating this product and the
prime mover to which it is attached, are required to read and completely understand the
information and instructions contained in this manual and that of the prime mover. Always
obtain further assistance by contacting the dealer from which this product was purchased or by
contacting REIST Industries at the telephone number or address below. Keep this manual
available for reference whenever this product is being handled or used and we recommend that
it is reviewed periodically and before seasonal use. Provide this manual to any new owners
and/or operators and ensure they fully understand the safe operation of this equipment before it
is placed in service.
Replacement copies of this manual are available for downloading at:
www.reistindustries.com
Innovation Working for You
REIST Industries Inc.
100 Union Street
Elmira, Ontario, Canada
N3B 3L7
Phone: 519-669-1501
Toll Free: 1-877-467-3478
The illustrations and information contained within this manual were current at the
time of publication. Under our policy of continuous improvement, we reserve the right
to change specifications and designs without prior notice. The illustrations do not
necessarily show the standard version of product offered by REIST Industries.

REIST Industries Inc. © (revised April 2022)
Page 3
PRODUCT CONFIGURATION
To ensure that the ROTO-RAKE is matched to the right prime mover, REIST ROTO-
RAKE models are as follows:
ROTO-RAKE
Model
Working
Width
GPM
Max
PSI
Mount
Pounds
Kilograms
RR60
60”
18 to 35
3000
Skid Steer
1150
520
With optional Valve Manifold add 120 lbs (55 kg)
PTO ROTO-RAKE
Model
Working
Width
PTO
Spline &
RPM
Hp
TPH
Mount Cat
Pounds
Kilograms
RR60PTO18G
60”
540
35 min.
1 & 2
1350
615
The following references are used throughout this Operator’s and Parts Manual:
Attachment,
Implement
Refers to the ROTO-RAKE whether attached or separate from the prime
mover
Prime Mover
The engine-driven machine to which this product is attached
Equipment
Refers to the Implement and or prime mover whether separate or
connected
WARNING,
DANGER,
IMPORTANT
A notice that relates to the safe and efficient operation of the ROTO-
RAKE or prime mover. Read and understand the reference before
attaching or operating the ROTO-RAKE or the prime mover.
Exceeding the recommended specifications can result in damage to the equipment
and will void all REIST Industries warranties.

REIST Industries Inc. © (revised April 2022)
Page 4
GENERAL SAFETY PRECAUTIONS
Careful operation is the best assurance against accidents. It is the owner’s responsibility to
make sure that all operators read and understand this manual and follow the recommendations,
cautions and warnings before connecting to a prime mover and operating the equipment. The
REIST ROTO-RAKE was designed for use to grade and level all types of soil including stone
dust, gravel or similar products.
Familiarize yourself with all controls and know how to quickly stop the equipment and all
rotating parts in the case of an emergency.
Never let an untrained person or a child operate equipment.
DO NOT MODIFY THE ROTO-RAKE OR PRIME MOVER
Modifications may weaken the integrity of the ROTO-RAKE and may impair the
operation, safety, and performance of the product. When making repairs, only
qualified technicians using the manufacturer’s genuine parts, following authorized
instructions, shall attempt the repair. Never modify any ROPS (Roll Over Protection
Structure) or FOPS (Falling Object Protective Structure) equipment or other safety
device or remove guarding. Any modifications must be sanctioned in writing by an
authorized representative of the manufacturer.
MAINTAIN AND REPAIR EQUIPMENT SAFELY
•Do not wear loose clothing, or any accessories that can catch in moving parts
•If you have long hair, cover or secure it so that it does not become entangled
in the equipment
•Work on a level surface in a well-lit area.
•Always lower raised equipment to the ground or securely support it to prevent
unintentional movement
•Remove and retain the prime mover’s ignition key
•Use the correct tool for the job at hand. Make sure they are in good condition
for the task required
•Wear the protective equipment specified by the tool manufacturer
•Use care when working on hydraulic systems and understand how to check
for and release trapped hydraulic pressure

REIST Industries Inc. © (revised April 2022)
Page 5
GENERAL SAFETY PRECAUTIONS
Never use your hands to clear if clogged. Never allow anyone to reach into the rotor housing.
The rotor can crush and/or dismember. Keep everyone clear of the rotor until the prime mover
engine is off and the hydraulic pressure has been relieved.
•Do not operate an engine in confined or non-ventilated area
•Do not perform adjustments or repairs with the engine running
•Always lower raised equipment to the ground or securely support it to prevent
unintentional movement
•Do not operate on excessive inclines or side slopes –know the limitations of the prime
mover –be careful when turning on slopes as a rollover condition may exist
•Never carry passengers
•Keep bystanders away from the machine when in operation
•Be aware of pedestrians
•Know how to quickly stop the equipment and all rotating parts in the case of an
emergency
•Stop the prime mover, lower implements and turn off the engine before dismounting
•Refer to the prime mover’s Operator’s Manual for additional information
STAY CLEAR OF ROTATING OBJECTS
Keep hands, feet and clothing away from power driven rotating parts.
READ OPERATOR’S MANUAL BEFORE OPERATING
Do not operate equipment until you are completely trained by a qualified operator in
how to use the controls, understand the machine’s capabilities, dimensions, and all
safety requirements. Refer to your operator’s manual for these instructions.

REIST Industries Inc. © (revised April 2022)
Page 6
OPERATION AND TRANSPORTATION ON PUBLIC ROADS AND
AREAS
Always adhere to the local laws and regulations concerning traveling or operating on public
roadways and areas. Clean all lights, reflectors and mirrors ensuring that all lighting is in
working order before moving. Know the area! i.e. Elevations, steep side drop offs. Watch out for
pedestrians and use caution when approaching pedestrians, hazardous objects (stones, etc.)
may inadvertently be discharged. Do not engage or disengage the PTO while roading. Always
be alert while transporting or operating the equipment. Select a safe ground speed when
transporting from one area to another. When operating, or driving on roadways, travel in such a
way that faster moving vehicles may pass you safely.

REIST Industries Inc. © (revised April 2022)
Page 7
SAFETY DECALS
Contact REIST Industries if replacement decals are required.
DECAL PART NUMBERS
Item Part Number Description
RD107 REIST Decal
RD115 Made in Canada Decal
RD132 RotoRake Decal
RD134 RR60 Decal
Serial Serial Number Decal
WD111 WARNING Rotating Knives & Spikes
WD112 Read Manual Decal
7

REIST Industries Inc. © (revised April 2022)
Page 8
SAFETY DECALS . . . cont’d
DECAL PART NUMBERS
Item Part Number Description
WD114 Drive Line Decal
WD116 Flying Objects Decal
MAINTENANCE
Refer to the General Safety Precautions, page 5 of this manual before performing any
maintenance.
1. Always ensure the ROTO-RAKE is properly installed, the prime mover is positioned
on a level surface with the park brake set and the ROTO-RAKE positioned on the
ground.
2. Shut-off the engine and remove and retain the ignition key
3. Chock the wheels to prevent movement and release residual hydraulic pressure
4. Grease hinge points every 50 hrs.
5. At the beginning of each season, ensure that all fasteners are properly torqued, all
safety guards are in place and that operator’s manual is reviewed and understood
6. At the end of season, perform all maintenance activities protect exposed hose ends
and the PTO drive splines (if equipped). Always check for missing or damaged parts
and repair as required
ADDITIONAL MAINTENANCE FOR THE PTO18G SERIES
1. Check oil level in sight glass. Use a Universal hydraulic oil if top up is required.
2. Change filter as instructed on the Oil Filter Maintenance page (9).
3. Grease PTO crosses if applicable daily (or 8 hours of operation) with EP2

REIST Industries Inc. © (revised April 2022)
Page 9
PTO18G OIL FILTER MAINTENANCE

REIST Industries Inc. © (revised April 2022)
Page 10
STANDARD SETUP INSTRUCTIONS
Improper installation, operation, or maintenance of this equipment could result in serious injury
or death. FOLLOW ALL SAFETY INSTRUCTIONS IN THIS MANUAL AND THE PRIME
MOVER'S MANUAL(S).
Refer to the operator’s manual(s) for your prime mover and follow the mounting instructions
contained therein.
SKID-STEER HOOKUP INSTRUCTIONS
The standard ROTO-Rake has a universal Skid Steer mount. Attach Skid steer to Roto-Rake
and attach the two Hydraulic hoses. Different makes of skid steers have different wiring
configurations. You need the correct wiring harness.
OPERATION OF ROTO-RAKE
•Be sure the area is clear of all bystanders
•Refer to the prime mover starting instructions
•Lower ROTO-RAKE to ground, putting skid steer arms in float position.
•For leveling control, you want the weight on the wheels of the Roto-Rake
•Tip the bucket cylinders of the skid steer until tips of rotor are at desired depth.
STAY CLEAR OF ROTATING OBJECTS
Keep hands, feet and clothing away from power driven rotating parts.

REIST Industries Inc. © (revised April 2022)
Page 11
PTO18G SETUP INSTRUCTIONS
PTO18G HOOKUP INSTRUCTIONS
The PTO ROTO-RAKE hitch has category one or two. Use the proper pin sizes when attaching
the ROTO-RAKE to the prime mover. Do not attach the PTO driveline at this time.
a. Always ensure that the PTO shaft is proper length! Make sure PTO shaft doesn’t
bottom out or come apart throughout the range of movement for the 3 PTH.
b. Connect the ROTO-RAKE to the lower arms of the 3-point hitch. Be sure the 3-
point hitch is set in the non-sway position (See prime mover manual for details)
c. Measure the distance from the end of the prime mover PTO shaft to the end of the
gear box shaft on the ROTO-RAKE
d. Lay driveline on flat surface and measure the distance from one end to the other
in the most collapsed position
e. If distance from the end of the prime mover PTO shaft to the end of the gear box
shaft on the ROTO-RAKE is greater than 9” more than the overall length of the
collapsed driveline, the driveline may be too short. When the PTO shaft is at the
longest position there should be a minimum of 3” overlap.
f. Once the driveline is installed, connect the upper link
g. When it is safe to do so, slowly lift the ROTO-RAKE thru the complete arc of the
3-point mount. Make sure driveline does not bottom out at anytime throughout the
arc. Make sure the driveline shields are in place and do not separate
-Note a 540 rpm PTO drive has 6 splines or teeth and is 1 ⅜ inch in diameter.
OPERATION OF PTO ROTO-RAKE
•Be sure the area is clear of all bystanders
•Refer to the prime mover starting instructions
•Always use proper pin and bushing sizes when attaching Roto-Rake to tractor.
•Stabilized 3 PTH arms to centre.
•Lower ROTO-RAKE to ground, putting 3 PTH lever to max. down position.
•Adjust top link until tips of rotor are at desired depth.
GROUND SPEED:
•Travel speed is governed by the condition of the surface being graded.
•The deeper the cut and harder the material the more power is required and the speed
has to be adjusted according.

REIST Industries Inc. © (revised April 2022)
Page 12
FLOAT SETUP INSTRUCTIONS
The ROTO-RAKE can be used in a float condition that will allow it to follow minor ground
contours instead of gouging the terrain with a rigid connection. With the ratchet set so that the
Roto Rake is horizontal on level ground, the operator can engage the Float feature.
FLOAT SETUP OF ROTO-RAKE
•Remove the locking hairpin from the pin holding the tilt adjuster end in the hole under the
slot and pull it out.
•Raise the tilt adjuster end until the clevis hole lines up with the slot and insert the pin.
•Secure the pin in the slot with the hairpin.
•The float position allows the Roto-Rake to tilt and follow minor variations in the contours
of the ground.
•The float position allows 5” of up and down movement as the Roto Rake travels across
uneven ground.
•The Wheel Attachment may be left either engaged or disengaged at the discretion of the
operator.
Rigid Position Float Position

REIST Industries Inc. © (revised April 2022)
Page 13
RR60 - STANDARD FEATURES ASSEMBLY

REIST Industries Inc. © (revised April 2022)
Page 14
RR60 ROTO RAKE - ASSEMBLY

REIST Industries Inc. © (revised April 2022)
Page 15
RR60 WHEEL ASSEMBLY

REIST Industries Inc. © (revised April 2022)
Page 16
STANDARD 15 DEGREE SWIVEL FRAME ASSEMBLY

REIST Industries Inc. © (revised April 2022)
Page 17
RR60 + 15 DEGREE BASE SWIVEL FRAME ASSEMBLY

REIST Industries Inc. © (revised April 2022)
Page 18
OPTIONAL ON THE FLY HYDRAULIC VALVE BLOCK
This manual suits for next models
3
Table of contents
Other REIST INDUSTRIES Farm Equipment manuals
Popular Farm Equipment manuals by other brands

Schaffert
Schaffert Rebounder Mounting instructions

SPRINGER MAGRATH
SPRINGER MAGRATH Stock Prod instruction manual

Ware Manufacturing
Ware Manufacturing HD Chick-N-Rabbit Pen Assembly instructions

Spudnik
Spudnik 990 Owner/Operator & Parts Manual

VAN DER ENDE
VAN DER ENDE AIRMIX user manual

brent
brent 1082 manual