3LAMINIEREN ●LAMINATING ●PLASTIFICADO ●PLASTIFICATION ●LAMINOVÁNÍ ●
LAMINEREN ●LAMINOVANIE
4
6 5
50
70
90
110
130
150
160
4
6 5
50
70
90
110
130
150
160
F
Plastification à froid.
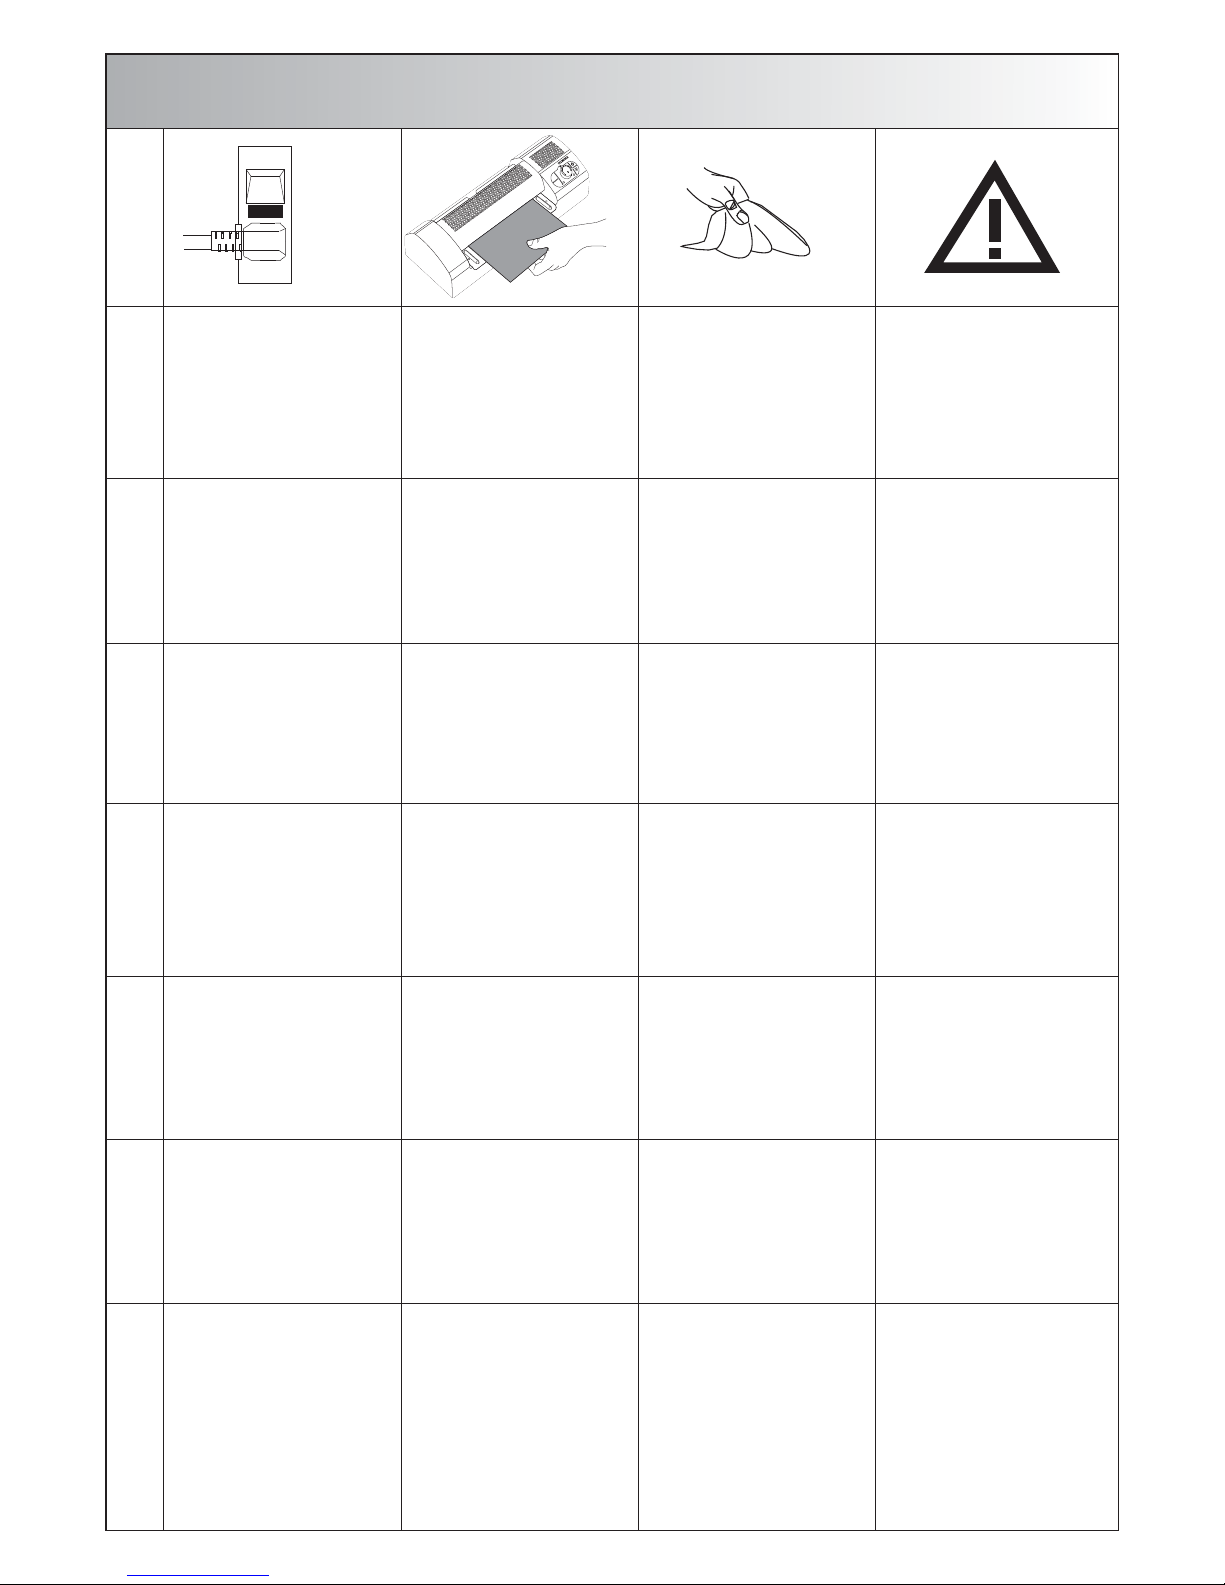
Mettez la machine en marche à l’aide
de l’interrupteur (1) placé à l’arrière
de l’appareil. L‘indicateur de
disponibilité (6) s‘allume en rouge.
Mettez le bouton de réglage de la
température (5) sur position „froid“
.
Après environ 10 sec. l‘indicateur
„ready“ (4) s‘allume en vert. La
machine est prête à plastifier.
Attention! La plastification à froid
est possible seulement quand la
machine est froide. Si vous avez
plastifiez auparavant à chaud, veillez
à ce que la machine soit froide avant
de commencer avec la plastification
à froid.
Plastification à chaud.
Mettez la machine en marche à l’aide
de l’interrupteur (1) placé à l’arrière
de l’appareil. L‘indicateur de
disponibilité (6) s‘allume en rouge.
Réglez la température souhaitée à
l’aide du bouton de réglage de la
température (5) , par ex. 110°.
L‘indication „ready“ (4) scintille en
vert jusqu‘à ce que la température
choisie est atteinte. Après l‘indication
„ready“ (4) s‘allume en permanence
en vert.
Veuillez vous référer aux paramètres
indiqués sur la machine et dans le
manuel.
Attention! Ces paramètres ne sont
que des valeurs approximatives et
peuvent varier.
Introduisez le document à plastifier
dans une pochette à plastifier
adéquate et veillez à ce que la marge
de la feuille soit régulière.
Une marge de 3 mm serait parfaite.
Vérifiez si la température de
plastification souhaitée a été
atteinte : C‘est le cas lorsque
l‘indicateur de température (4) est
allumé en vert.
Glissez la pochette transparente, son
côté fermé étant devant, tout droit
dans la fente d‘alimentation jusqu’à
ce que le document soit saisi par les
rouleaux de plastification et inséré.
Le document passe par la machine
et sort à l‘arrière de la machine.
Retirez le document plastifié et
laissez-le refroidir pendant quelques
secondes à plat. Préparez le
document suivant et procédez tel que
décrit ci-devant. Ainsi vous assurez
une continuité des opérations.
CZ
Laminace za studena.
Přístroj zapněte hlavním vypínačem
(1) na zadní straněpřístroje,
provozní kontrolka „Power“ se
rozsvítí červeně(6). Nastavovací
tlačítko (5) otočte do polohy za
studena. Za cca 10 vteřin se rozsvítí
zelená indikace Ready (4).
Přístroj je připraven k provozu.
Pozor! Na laminaci za studena
používejte jen studený přístroj.
Přístroj, se kterým se laminovalo za
tepla, je před studenou laminací
nutno nechat kompletněvychladnout.
Laminace za tepla.
Přístroj zapněte hlavním vypínačem
(1) na zadní straněpřístroje,
provozní kontrolka „Power“ se
rozsvítí červeně(6). Na regulátoru
teploty (5) nastavte požadovanou
teplotu, např. 110°. Během
regulace na nastavenou teplotu bliká
zelená kontrolka „Ready“ (4). Poté
zelená kontrolka „Ready“ (4) svítí
nepřetržitě. Teplotu nastavíte podle
tabulky na přístroji, kterou najdete i v
návodu k obsluze.
Pozor! Jedná se o přibližné
hodnoty, které se mohou mírnělišit
od skutečnosti.
Laminovaný materiál zasuňte do
vhodné laminovací kapsy. Okraje
fólie by měly být stejnoměrněširoké.
Optimální je okraj fólie o šířce 3.mm.
Zkontrolujte, zda byla dosažena
požadovaná laminovací teplota:
její dosažení poznáte podle
nepřetržitězeleněsvítící teplotní
indikace „Ready“ (4).
Kapsovitou fólii zasuňte uzavřenou
stranou rovnědo vstupního otvoru
laminátoru, kde jej převezmou
laminovací válce, které jej vtáhnou
do nitra přístroje. Dokument prochází
celým přístrojem, který opouští zadní
stranou. Laminovaný dokument
vyjměte, položte na rovnou plochu
a nechte na několik vteřin
vychladnout. Poté si připravíte další
materiál, se kterým naložíte opět
popsaným způsobem.
Takto se s přístrojem pracuje
maximálněplynule a efektivně.
NL
Koud lamineren.
Apparaat met hoofdschakelaar (1)
aan de achterzijde van het apparaat
inschakelen, het lampje “Power” (6)
wordt dan rood. Draai de
temperatuurknop (5) op positie koud.
Na ca. 10 seconden wordt het lampje
“Ready” (4) groen. De machine is
dan klaar voor gebruik.
Let op! Koud lamineren is alleen
mogelijk wanneer het apparaat koud
is. Indien het apparaat gebruikt
is voor warm lamineren, laat het
apparaat dan eerst afkoelen.
Warm lamineren.
Het apparaat met de
hoofdschakelaar (1) aan de
achterkant inschakelen, het rode
lampje “Power” (6) brandt. De
gewenste temperatuur met de
instelknop (5) instellen, bijvoorbeeld
110 graden. Lampje “Ready” (4)
knippert groen totdat de ingestelde
temperatuur bereikt is, daarna brandt
deze constant groen (4).
Gebruik de tabel die tevens op het
apparaat is afgebeeld.
Let op! Dit is slechts een indicatie
en kan variëren.
Leg uw document in het
lamineerhoesje en let op een
gelijkmatige rand. Ideaal is 3 mm aan
elke kant.
Controleer of de gewenste
lamineertemperatuur bereikt is: dit is
het geval wanneer het
temperatuurlicht groen is.
Schuif de hoes met de gesloten
kant naar voren, gelijkmatig in de
invoer, totdat het document gegrepen
wordt door het lamineerrollen. Het
document wordt door het apparaat
getrokken en komt aan de achterkant
uit de machine. Laat het document
afkoelen voor enige seconden op
een gelijkmatig oppervlak. U kunt nu
uw volgende document voorbereiden
en lamineren zoals beschreven in het
bovenstaande.
SK
Laminovanie za studena.
Prístroj zapnite pomocou hlavného
vypínača (1) na zadnej strane
prístroja. Kontrolka pripravenosti
zariadenia „Power“ (6) sa rozsvieti
červenou farbou. Tlačidlo nastavenia
(5) otočte do polohy za studena.
Po asi 10 sekundách sa rozsvieti
zelená kontrolka Ready (4).
Stroj je pripravený na prevádzku.
Pozor! Laminovanie za studena
vykonávajte len v prípade, ak je
prístroj studený. Ak sa predtým
laminovalo za horúca, nechajte
prístroj pred lamináciou za studena
úplne vychladnúť.
Laminovanie za horúca.
Prístroj zapnite pomocou hlavného
vypínača (1) na zadnej strane
prístroja. Kontrolka pripravenosti
zariadenia „Power“ (6) sa rozsvieti
červenou farbou. Požadovanú
teplotu nastavte regulátorom teploty
(5), napr. 110°. Kontrolka „Ready“ (4)
bliká zelenou farbou, kým sa
nedosiahne nastavená teplota.
Potom sa rozsvieti kontrolka „Ready“
(4) zelenou farbou a svieti trvale.
Údaje pre nastavenie teploty
prevezmite z tabuľky, ktorá je
umiestnená na stroji a zobrazená aj
v návode na použitie.
Pozor! Tieto údaje sú približné
hodnoty a môžu sa líšiť.
Laminovaciu predlohu je nutné
zasunúťdo príslušného vrecka fólie
a dávaťpozor na rovnomerný okraj
fólie.
Optimálny je okraj fólie 3 mm.
Skontrolujte, či sa dosiahla
požadovaná teplota laminovania:
je to tak, ak kontrolka teploty„Ready“
(4) trvale svieti zelenou farbou.
Vrecko fólie s uzavretou stranou
smerom dopredu zasuňte rovno do
vstupnej šachty tak, aby bol Vrecko
fólie s uzavretou stranou smerom
dopredu zasuňte rovno do vstupnej
šachty tak, aby bol dokument
uchopený laminovacími valcami
a vtiahnutý smerom dovnútra.
Dokument prejde prístrojom a vyjde
na jeho zadnej strane.
Laminovaný dokument vyberte
a nechajte niekoľko sekúnd ochladiť
na rovnej ploche. Pripravte
nasledovnú predlohu a postupujte
tak, ako je zobrazené vyššie.
Tak je zabezpečený kontinuálny
priebeh práce.