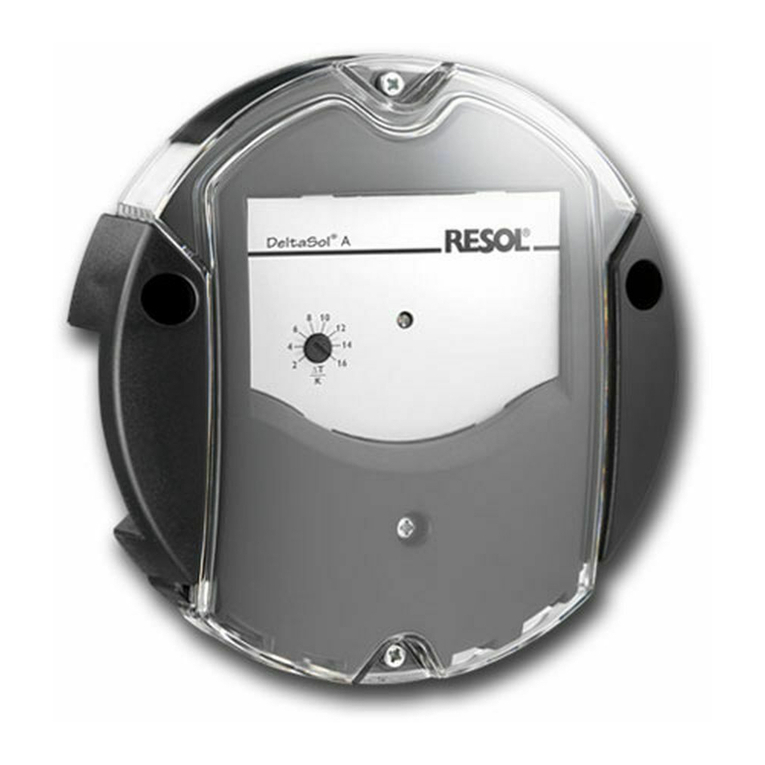
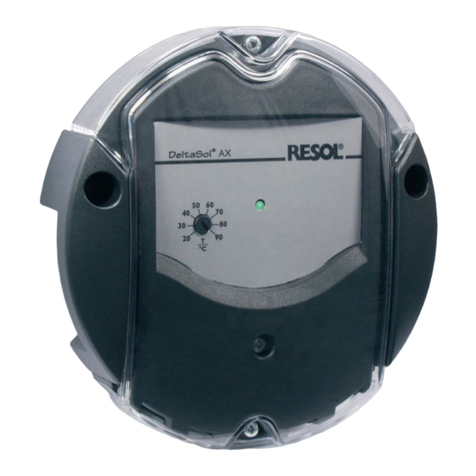
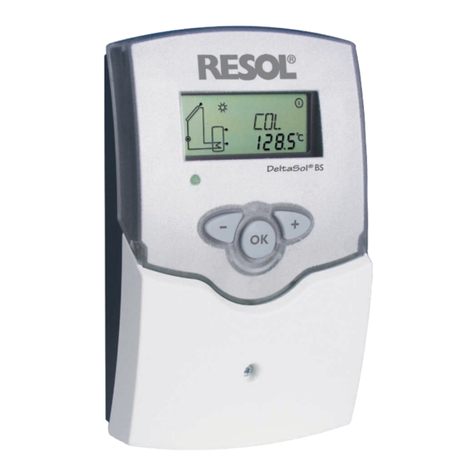
Resol DeltaSol A User manual

*48005060*
48005060
Thank you for buying this RESOL product.
Please read this manual carefully to get the best performance from this unit.
Please keep this manual safe.
DeltaSol®
A
Mounting
Connection
Operation
Troubleshooting
Differential temperature controller for solar, heating & air conditioning systems
Manual for the
specialized craftsman
www.resol.com
Manual
en-US/CA

2
en
© 20190924_48005060_DeltaSol_A.monus.indd
Safety advice
Please pay attention to the following safety advice in order to avoid danger and
damage to people and property.
Instructions
Attention should be paid to
• Valid national and local standards and regulations
• Respective valid standards and directives Equipment to be installed and used in
accordance with the rules of the National Electrical Code (NEC) or with Cana-
dian Electrical Code (CEC), Part I.
Information about the product
Proper usage
The differential temperature controller is designed for electronically controlling
solar thermal, heating and air conditioning systems in compliance with the technical
dataspeciedinthismanual.
Improper use excludes all liability claims.
Note
Strongelectromagneticeldscanimpairthefunctionofthedevice.
ÎMake sure the device as well as the system are not exposed to strong
electromagneticelds.
Subject to technical change. Errors excepted.
Target group
These instructions are exclusively addressed to authorized skilled personnel.
Onlyqualiedelectriciansareallowedtocarryoutelectricalworks.
Initialcommissioningmustbeeffectedbythesysteminstallerorqualiedpersonnel
named by the system installer.
Description of symbols
WARNING! Warnings are indicated with a warning triangle!
ÎThey contain information on how to avoid the danger
described.
Signal words describe the danger that may occur, when it is not avoided.
• WARNING means that injury, possibly life-threatening injury, can occur.
• ATTENTION means that damage to the appliance can occur.
Note
Notes are indicated with an information symbol.
ÎArrows indicate instruction steps that should be carried out.
Disposal
• Dispose of the packaging in an environmentally sound manner.
• Dispose of old appliances in an environmentally sound manner. Upon request we
will take back your old appliances bought from us and guarantee an environmen-
tally sound disposal of the devices.

3
en
Differential temperature controller DeltaSol®A
The DeltaSol®A controller is the simplest solution for all differential controls.
It is equipped with an adjustable temperature difference and an antifreeze function
which can be activated / deactivated with a jumper.
The enclosed silicone sealing cord guarantees a protection against dripping water.
130
45
Drill hole positions
112 mm
Contents
1 Overview .............................................................................................. 4
2 Installation ........................................................................................... 4
2.1 Mounting ........................................................................................................................4
2.2 Electrical connection ...................................................................................................6
3 Operation and function ...................................................................... 6
3.1 Flashing codes ...............................................................................................................6
3.2 Jumper and potentiometers.......................................................................................6
4.2 Switch-on temperature difference............................................................................7
4.3 Antifreeze function ......................................................................................................7
4 Examples .............................................................................................. 7
4.1 Standard solar system with 1 tank ...........................................................................7
4.4 Heating circuit return preheating .............................................................................8
4.5 Heat exchange control................................................................................................8
5 Accessories .......................................................................................... 9
6 Troubleshooting................................................................................... 9

4
en
1 Overview
• Adjustable temperature difference 2 … 16 K [3.6 … 28.8 °Ra],
hysteresis 1.6 K [2.9 °Ra]
• Antifreeze function adjustable by jumper
• Protection against dripping water
Technical data
Inputs: 2 Pt1000 temperature sensors
Outputs: 1 electromechanical relay (changeover)
Switching capacity: 4 (1) A 115V~ (electromechanical relay)
Total switching capacity: 4 A 115 V~
Power supply: 115 V~
Supply connection: type Y attachment
Standby: 1,35 W
Mode of operation: Type 1.B
Rated impulse voltage: 2.5 kV
Functions: antifreeze function
Housing: plastic, PC-ABS and PMMA
Mounting: wall mounting
Indication / Display: 1 operating control LED
Operation: 1 potentiometer and 1 jumper
Protection type: IP 20/DIN EN 60529 (with seal IP 22)
Protection class: II
Ambient temperature: 0 … 40 °C / 32 … 104 °F
Degree of pollution: 2
Dimensions: Ø 139 mm / 5.2”, depth 45 mm / 1.8”
2 Installation
2.1 Mounting
WARNING! Electric shock!
Upon opening the housing, live parts are exposed!
ÎAlways disconnect the device from power supply
before opening the housing!
Note:
Strongelectromagneticeldscanimpairthefunctionofthecontroller.
ÎMake sure the controller as well as the system are not exposed to
strongelectromagneticelds.
The unit must only be located in dry interior rooms.
The controller must additionally be supplied from a double pole switch with con-
tact gap of at least 3 mm.
Please pay attention to separate routing of sensor cables and power supply cables.

5
en
In order to mount the device to the wall, carry out the following steps:
2.2
1
112mm
2
45
67
3
8
T4A fuse
Power supply
connection
Relay (load)
Grounding terminal
(common terminal block)
Jumper
antifreeze function
Potentiometer
Temperature limitation
Sensor 2
Sensor 1

6
en
2.2 Electrical connection
WARNING! Electric shock!
Upon opening the housing, live parts are exposed!
ÎAlways disconnect the device from power supply
before opening the housing!
ATTENTION! ESD damage!
Electrostatic discharge can lead to damage to electronic
components!
ÎTake care to discharge properly before touching the
inside of the device! To do so, touch a grounded sur-
face such as a radiator or tap!
Note
Connecting the device to the power supply must always be the last step
of the installation!
Note
It must be possible to disconnect the device from the power supply at
any time.
ÎInstall the power supply plug such that it is accessible at any time.
ÎIf this is not possible, install a switch that can be accessed.
Do not use the device if it is visibly damaged!
The controller is supplied with power via a power supply cable.The power supply
of the device must be 115V~.
The controller is equipped with 1 electromechanical relay to which a load such as
a pump, a valve, etc. can be connected
Relay 1
7 = normally open contact (RO)
8 = normally closed contact (RC)
9 = neutral conductor (N)
Grounding terminal ⌯(common terminal block)
The power supply connection is at the terminals:
10 = neutral conductor (N)
11 = conductor (L)
Grounding terminal ⌯(common terminal block)
Connect the temperature sensors (S1 and S2) to the corresponding terminals
with either polarity:
1 / 2 = Sensor 1 (e. g. collector sensor)
3 / 4 = Sensor 2 (e. g. tank sensor)
3 Operation and function
3.1 Flashing codes
The operating control lamp indicates the current status of the controller.
Colour Permanent Flashing
Green Relay active Antifreeze function
3.2 Jumper and potentiometers
A
B
The jumper (A) can be used for activating or deactivating the antifreeze function.
With the potentiometer (B), the switch-on temperature difference can be adjusted
(in K).

7
en
The antifreeze function activates the loading circuit between
the collector and the tank when the collector temperature
falls below +4°C/39,2°F.This will protect the uid against
freezing or coagulating. If the temperature at S1 reaches
+5 °C / 41 °F, the pump will be switched off.
When the antifreeze function is active, the operating control
lampashesquickly.
4 Examples
4.1 Standard solar system with 1 tank
S1
RO
S2
⌯Use the grounding terminal!
The controller calculates the temperature difference between collector sensor
S1 and tank sensor S2. If the difference is larger than or identical to the adjusted
switch-on temperature difference, the pump (R1) will be switched on and the tank
will be loaded. If the temperature difference falls by 1.6K / 2.9 °Ra (non-adjustable
hysteresis) below the adjusted temperature difference, the pump will be switched
off.
S1 = Collector sensor
S2 = Tank sensor
RO = Solar pump
⌯
1
S1 S2
2 3 4 7
RO RC N N L
8 9 10 11
22 33
Power
supply
4.2 Switch-on temperature difference
Adjustment range: 2 … 16 K
Factory setting: 6 K
The controller calculates the temperature difference between
the temperature sensors S1 and S2. If the difference is larger
than or identical to the adjusted nominal value, the relay will
be switched on. The operating control LED is green. If the
temperature difference falls by 1.6 K/ 2.9 °Ra (non-adjustable
hysteresis) below the nominal value, the relay will be switched
off.
4.3 Antifreeze function
Deactivated by default
Note
Since this function uses the limited heat quantity of the tank, the anti-
freeze function should be used in regions with few days of temperatures
around the freezing point.

8
en
⌯Use the grounding terminal! ⌯Use the grounding terminal!
4.4 Heating circuit return preheating
The controller calculates the temperature difference between collector sensor
S1 and tank sensor S2. If the difference is larger than or identical to the adjusted
switch-on value, the controller switched the 3-port valve.The heat of the tank is
used for increasing the return temperature of the heating circuit. If the tempera-
ture difference falls by 1.6 K / 2.9°Ra (non-adjustable hysteresis) below the adjusted
temperature difference, the valve will be put into its initial position.
S1 = Tank sensor
S2 = Heating circuit return sensor
RO = 3-port valve
S1
RO
S2
1
S1 S2
2 3 4 7
RO RC N N L
8 9 10 11
22 33
⌯
Power
supply
4.5 Heat exchange control
S2
S1
RO
When the temperature difference between sensor 1 (tank 1) and sensor 2 (tank
2) exceeds the adjusted value, the circulating pump will be activated. Heat will
be transferred from tank 1 into tank 2. If the temperature difference falls by
1.6 K / 2.9 °Ra (non-adjustable hysteresis) below the adjusted temperature differ-
ence, the pump will be switched off.
S1 = Sensor tank 1
S2 = Sensor tank 2
RO = Circulating pump
1
S1 S2
2 3 4 7
RO RC N N L
8 9 10 11
22 33
⌯
Power
supply

9
en
5 Accessories
SP10 Overvoltage
protection device
Note:
For answers to frequently asked questions (FAQ) see www.resol.com.
Disconnected temperature sensors can be checked with an ohmmeter. Please
check if the resistance values correspond with the table.
HR230 Auxiliary relay
6 Troubleshooting
Spare fuse
(inside the cover)
In the case of an error, please check the following:
Check the supply line and recon-
nect it.
The fuse of the controller could be
blown.The fuse holder (which holds
the spare fuse) becomes accessible
when the cover is removed.The fuse
can then be replaced.
Check the power supply of the controller. Is it disconnected?
no yes
Resistance values of Pt1000 sensors
°C °F Ω
Pt1000
°C °F Ω
Pt1000
-10 14 961 55 131 1213
-5 23 980 60 140 1232
0 32 1000 65 149 1252
5 41 1019 70 158 1271
10 50 1039 75 167 1290
15 59 1058 80 176 1309
20 68 1078 85 185 1328
25 77 1097 90 194 1347
30 86 1117 95 203 1366
35 95 1136 100 212 1385
40 104 1155 105 221 1404
45 113 1175 110 230 1423
50 122 1194 115 239 1442

10
en

11
en

Distributed by: RESOL –Elektronische Regelungen GmbH
Heiskampstraße 10
45527 Hattingen / Germany
Tel.: +49 (0) 23 24 / 96 48 - 0
Fax: +49 (0) 23 24 / 96 48 - 755
www.resol.com
Important note
The texts and drawings in this manual are correct to the best of our knowledge.As
faults can never be excluded, please note:
Your own calculations and plans, under consideration of the current standards and
directions should only be basis for your projects.We do not offer a guarantee for
the completeness of the drawings and texts of this manual - they only represent
some examples.They can only be used at your own risk. No liability is assumed for
incorrect, incomplete or false information and / or the resulting damages.
Note
The design and the specications can be changed without notice.
The illustrations may differ from the original product.
Imprint
This mounting- and operation manual including all parts is copyrighted. Another
use outside the copyright requires the approval of RESOL– Elektronische Rege-
lungen GmbH. This especially applies for copies, translations, micro lms and the
storage into electronic systems.
© RESOL – Elektronische Regelungen GmbH
Other manuals for DeltaSol A
1
Table of contents
Other Resol Temperature Controllers manuals
Popular Temperature Controllers manuals by other brands

Thermo Technologies
Thermo Technologies USDT 2004B Installation and user guide

S+S Regeltechnik
S+S Regeltechnik THERMASGARD RTF Series Operating Instructions, Mounting & Installation

Jaga
Jaga BRIZA 12 manual

Rio Grande
Rio Grande Sentry Express manual

Keysight Technologies
Keysight Technologies E2307A user guide

MULTISPAN
MULTISPAN TC-49 quick start guide