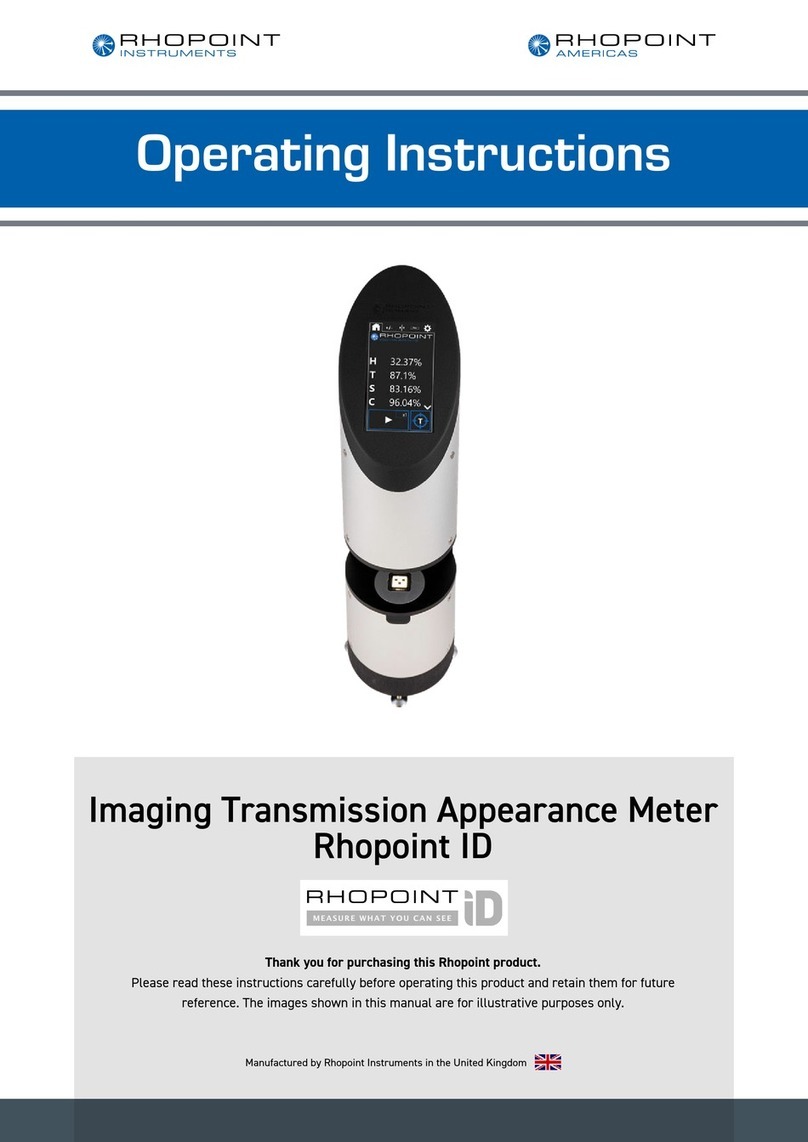
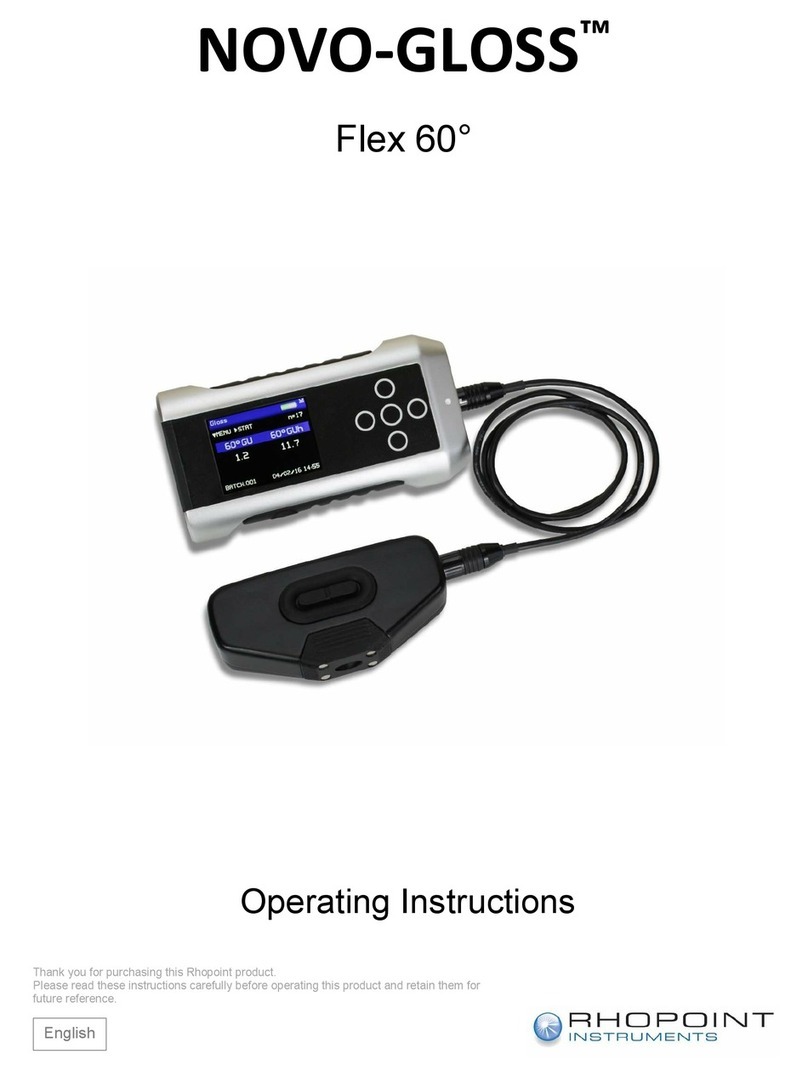
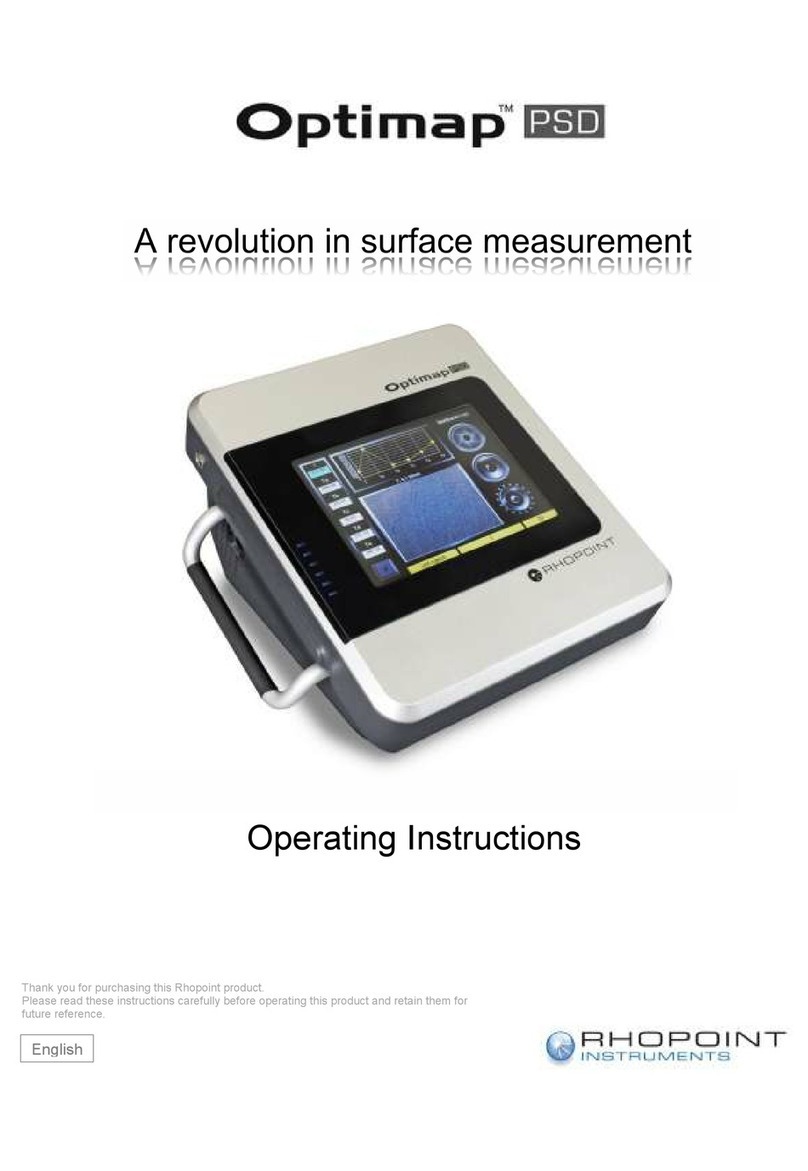
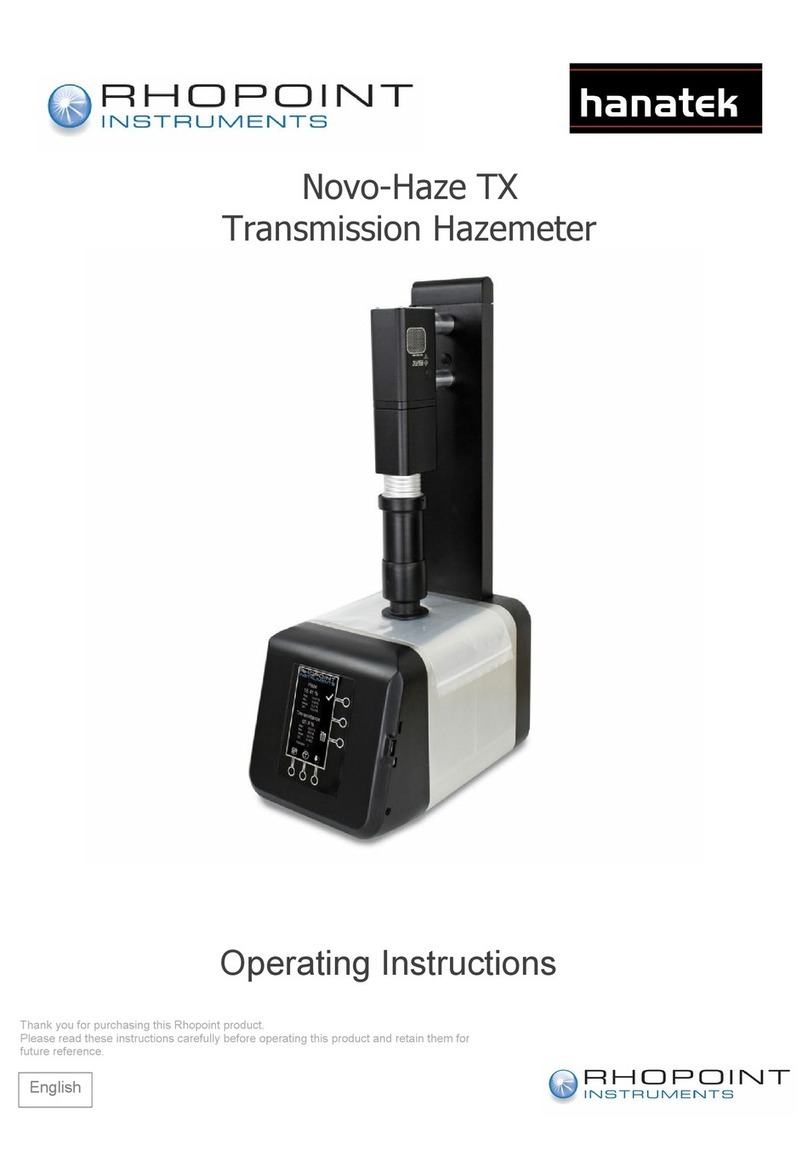
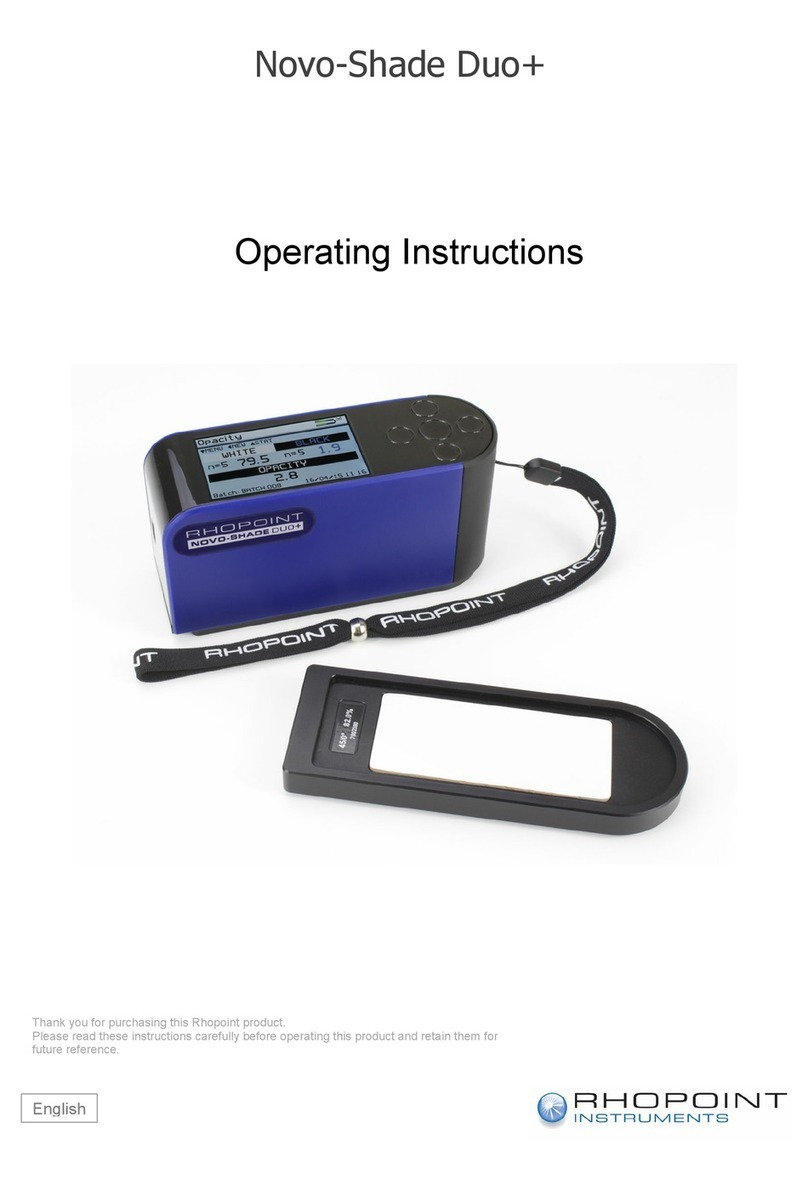
Rhopoint NOVO-SHADE DUO User manual

RHOPOINT
NOVO-SHADE DUO™
45/0˚ reflectometer
User Manual

Information in this document is subject to change without notice.
Companies, names and data used in examples herein are fictitious
unless otherwise noted.
© 2005 Rhopoint Instrumentation Ltd. All rights reserved.
Novo-Shade Duo™, Novo-Soft™, Novo-Gloss™, Novo-Curve™ and
Rhopoint™ are either registered trademarks or trademarks of Rhopoint
Instrumentation Ltd in the UK and other countries.
Other product and company names mentioned herein may be trademarks
of their respective owners.
Published by:
Rhopoint Instrumentation Ltd.
12 Beeching Road,
Bexhill-on-Sea,
TN39 3LG
United Kingdom
Tel: +44 (0)1424 214291
Fax: +44 (0)1424 730600
Email: [email protected]
Web: www.rhopointinstruments.com
Version 1.0 English
July 2005
Document number: D5000-020A
Printed in the UK

1
Contents
Features
Accessories
Power
The control panel
Calibration check
Calibration
Automatic calibration mode (default mode)
Manual calibration mode
Maintaining the Novo-Shade Duo™ and calibration tile
Before taking a reading
Choosing/switching between shade/opacity modes
Taking a single reflectance (shade) reading
Continuous reading mode
Measuring the opacity of a sample
Deleting data
Viewing statistics
Definition of terms used in statistical mode
Changing the configuration
Menu structure
Novo-Soft™
Rhopoint Instrumentation – other products
Declaration of conformity
2
3
4
5
6
7
8-9
10-11
12
13
14-15
16
17
18-19
20-21
22
23
24-26
27
28
29-30
31

Features
The Novo-Shade Duo™ instrument from Rhopoint™ is a dual function
45/0˚ reflectometer designed to assess the shade of flat surfaces or the
opacity of coatings, paper and plastic films or any semi-opaque flat product.
• Shade Mode – assess the shade of any flat surface from black
(0% reflectance) to brilliant white (100% reflectance)
• Opacity Mode – automatically calculate the opacity/hiding power of
any sample measured over a black and white substrate or test plate
• 0.1% resolution
• Move and read feature for quick assessment of large surfaces
• Built-in statistical analysis
• Download and analyse results with Novo-Soft™ software
• Calibrate to any standard
• Automatic or manual calibration
• Automatic standard check before calibration if required
• Conforms to the following international standards:
ISO 2814
BS 3900-D4
ASTM E97
ASTM E1347
ISO 6504
ASTM D4214
ASTM D2805
• Extended life light source – over 10 years under normal operating
conditions

3
Accessories
Included accessories for the Novo-Shade Duo™:
• Novo-Shade Duo™ 45/0˚ reflectometer
• Traceable black and white calibration tiles in protective case
• Traceability certificate for calibration tile
• Mini-CD containing Novo-Soft™ and PDF versions of manuals
• Registration card – for extended warranty
• Data cable (RS232)
• Cleaning cloth
• 4 x AA batteries
• Instrument carry case
• Screwdriver
Register your new Novo-Shade Duo
™
at
www.rhopointinstruments.com
to qualify for an extended two year warranty

4
Power
The Novo-Shade Duo™ is supplied with 4 x AA dry cell batteries.
To install or replace these batteries, first remove the battery panel by
unscrewing the two screws. Place the cells in the battery clips as shown
in figure 1.
Replace the back panel and re-tighten the fixing screws.
*Note: The Novo-Shade Duo
™
can only be used with dry cell alkaline AA
batteries.
FIGURE 1. The battery unit

5
The control panel
FIGURE 2. The Novo-Shade Duo™ control panel
Read/select key
This key has three functions:
• Power: This key is used to turn the instrument on after a
power down
• Read: In measurement mode pressing this key initiates a
new measurement
• Select: When navigating through the set-up menus this key
selects an item or confirms a previous selection
*Note: The instrument has a user definable power down time. This can be
adjusted by connecting the instrument to a PC and changing the power
down time (30-120 seconds) in the preferences in Novo-Soft
™
.
Scroll up/scroll down
This key is used to navigate the set-up and operation menus in the
Novo-Shade Duo™. It is also used to change the calibration value
in the calibration set-up menu.
Colour change/calculate opacity/cancel key
In opacity mode this key switches between black and white
measurements, once measurements are completed this key should
be pressed and held for three seconds to calculate opacity.
During calibration this key is used to cancel the process and revert
to previously stored calibration constants.
Scroll up
Scroll down Colour change/
Calculate opacity/
Cancel
Power/
Read/
Select
c

6
Calibration check
It is necessary for the user to visually inspect the calibration tile for
smears or defects before calibration.
The instrument will also automatically check the condition of the standard
tile. If the reading is outside calibration tolerances the following warning
messages will be seen:
The white tile must be checked for permanent marks and deep scratches.
If these are seen on the tile the CLEAR key should be pressed – the
calibration value will not be stored. The tile must then be carefully cleaned
and inspected. The calibration procedure must then be repeated. See
page 12 for cleaning procedure.
*Note: If there are permanent marks or scratches the tile must be returned for
recalibration by Rhopoint Instrumentation.
Checking the calibration value
Place the instrument on the white calibration tile and take a reading by
pressing the READ/SELECT key.
Compare the measured value with the assigned value of the tile. If the
value matches the value printed on the tile case the instrument is within
calibration and ready for use.
If the readings do not match it will be necessary to check the value for
the tile stored in the instrument memory – see the ‘Set calibration value’
section (page 24).
Poss. Cal. Error
Check Calib tile
Accept new
Calibration?
ARE YOU SURE?
Press Read Key

7
Black calibration tile (zero)
White calibration tile (high ref.)
Assigned calibration values
Calibration
Initial calibration notes
Before taking a reading it is necessary to check the calibration of the
instrument. Follow the calibration check procedure (see page 8).
Calibration mode – automatic or manual
The Novo-Shade Duo™ has two user-selectable calibration methods. It
can be switched between automatic and manual modes by connecting to
a PC and altering the setting in the preference file in Novo-Soft™.
*Note: The instrument is supplied in default automatic calibration mode.
*Note: The black zero tile is supplied certified in a clean and defect free
condition. A visual inspection for smears or damage is recommended before
each subsequent calibration as dirty or defective tiles may lead to inaccurate
measurement. The white reflectance tile should also be checked for any deep
scratches, marks or fingerprints. (See page 12 for tile cleaning procedure.)
FIGURE 3. The Novo-Shade Duo™ calibration standard

8
Automatic calibration mode (default mode)
The instrument calibration procedure is as follows:
To turn the instrument on press the POWER key. For two seconds
the display will show the following message:
Rhopoint
Novo-Shade Duo
The display will then indicate the current measurement mode of the
instrument.
Note: To switch between measurement modes see page 15
After a further two seconds the instrument will revert to
measurement mode as seen below:
Use the SCROLL UP/DOWN key to select the following option:
Press the READ/SELECT key to start the procedure.
Press the READ/SELECT key to confirm your selection.
The display now reads:
Rhopoint
Shade Mode
Rhopoint
Opacity Mode
ANGLE Value No.
45/0 99.4 7
WHITE Value No.
45/0 99.4 7
TO CALIBRATE
Press Read Key
ARE YOU SURE?
Press Read Key
Calibrate
Sample Black Ref
Opacity modeShade mode

9
Automatic calibration mode (default mode) (continued)
Place the instrument on the black zero value tile. (See figure 4.)
Press the READ/SELECT key to set the zero value. The instrument
will then prompt:
Place the instrument on the white reference standard. Press the
READ/SELECT key when it is in position.
The instrument will then display:
The instrument is then calibrated and ready for use.
Calibrate
Sample White Ref
45/0 ANGLE
Completed

10
Manual calibration mode
The instrument calibration procedure is as follows:
To turn the instrument on press the POWER key. For two seconds
the display will show the following message:
Rhopoint
Novo-Shade Duo
The display will then indicate the current measurement mode of the
instrument.
Note: To switch between measurement modes see page 14.
After a further two seconds the instrument will revert to
measurement mode as seen below:
Use the SCROLL UP/DOWN key to select the following option:
Press the READ/SELECT key to start the procedure.
Press the READ/SELECT key to confirm your selection.
The display now reads:
Rhopoint
Shade Mode
Rhopoint
Opacity Mode
ANGLE Value No.
45/0 99.4 7
WHITE Value No.
45/0 99.4 7
TO CALIBRATE
Press Read Key
ARE YOU SURE?
Press Read Key
Calibrate
Sample Black Ref
Opacity modeShade mode

11
Manual calibration mode (continued)
Place the instrument on the black zero value tile. (See figure 4 on
page 13.)
Press the READ/SELECT key to set the zero value. The instrument
will then prompt:
Place the instrument on the white reference standard. Press the
READ/SELECT key when it is in position.
The instrument will then display:
This represents the value measured for the white tile. If the value
does not match the certified value of the calibration tile use the
SCROLL UP/DOWN key to adjust the reading until it matches
that value.
Press the READ/SELECT key to store.
The instrument will display:
...and return to measurement mode.
Calibrate
Sample White Ref
Calibrate
45/0 99.7
ANGLE Value No.
45/0 0 0
45/0 ANGLE
Completed

12
Maintaining the Novo-Shade Duo™ and
calibration tile
The tiles should be checked to ensure that they are clean and in good
condition. If necessary the tile may be wiped with a cloth moistened with
warm soapy water and dried with a lint-free cloth.
Marks on the surface of the white reflectance tile should be removed
by carefully scraping the surface with a scalpel. For accurate calibration
a flat surface must be maintained. If the tile is damaged with deep
scratches a replacement tile must be purchased.
It is important that tiles have an up-to-date certificate. Recalibration is
normally required every 12 months.
The instrument should be checked to ensure the metal base plate is
clean. Care should always be taken to avoid damage to the instrument
base plate. The optic cavities and lenses must also be free of dust and
other contamination.

Before taking a reading
Calibration check
If the instrument has not been used for some time it is advisable to check
the calibration. Place the instrument on the white calibration tile.
Take a reading by pressing the READ/SELECT key. Compare the
measured value with the assigned value for the tile. If it matches the
value printed on the tile case, the instrument is within calibration and
ready for use.
If the value does not match the assigned value, follow the calibration
check procedure on page 6.
If the measured value matches the assigned value for the tile the
instrument is ready for use.
Positioning the instrument
When the instrument is placed on the sample to be measured the
aperture is hidden, but its position can be pinpointed by the intersection
of the arrows marked on the front of the instrument case with those on
the side (see figure 4).
FIGURE 4. Locating the Novo-Shade Duo™ for a measurement
13

14
Choosing between Shade and Opacity modes
Measuring using 45/0˚ geometry, the Novo-Shade Duo™ excludes the
surface specular reflectance (gloss) component and looks only at the
colour or shade.
Shade mode – the measured value can be used to grade surfaces from
black (0% reflectance) to brilliant white (100% reflectance). Coloured
surfaces can also be measured; the value will indicate the luminous
intensity of the colour (lightness/darkness).
Opacity mode – the sample must be drawn down on or measured over
a substrate with black and white portions. The instrument uses these
measurements to automatically calculate the hiding power or opacity of
the sample.
Switching between Shade and Opacity modes
To turn the instrument on press the POWER key. For two seconds
the display will show the following message:
The display will then indicate the current measurement mode of the
instrument.
After two seconds it then will revert to measurement mode.
Rhopoint
Novo-Shade Duo
Rhopoint
Shade Mode
Rhopoint
Opacity Mode
ANGLE Value No.
45/0 99.4 7
WHITE Value No.
45/0 99.4 7
Use the SCROLL UP/DOWN key to select the following option:
System Set-Up
Press Read Key
Press the READ key to confirm your selection.
continued...
Opacity modeShade mode

15
Use the SCROLL UP/DOWN key to select the following option:
Use the SCROLL UP/DOWN key to cycle between these two options.
Press the READ key to change the instrument type.
Please note that changing between Opacity and Shade instrument will
reset the internal memory – any readings that have not been downloaded
to PC will be permanently lost.
Press the C key to cancel the change and revert to previous
measurement mode with memory intact.
Press the READ key to confirm your selection.
The display will read:
Select Inst Type
Press Read Key
Opacity Inst.
Press Read Key
Shade Inst.
Press Read Key
When the instrument mode required is displayed, press the READ key.
The instrument will prompt:
Inst type change
Old data LOST!
Are you sure?
Press Read Key
Choosing between Shade and Opacity modes
(continued)
Opacity modeShade mode

16
Taking a single reflectance (shade) measurement
Turn the instrument on by pressing the POWER key. For two
seconds the display will show the following message:
Rhopoint
Novo-Shade Duo
Rhopoint
Shade Mode
ANGLE Value No.
45/0 99.7 1
The display will then indicate the current measurement mode of the
instrument.
*Note: To take reflectance readings the instrument should be set to
Shade mode. For the procedure to switch between modes see pages 14-15.
Press the READ key to initiate a reading. A line of arrows will
move across the screen whilst the instrument takes a measurement.
After a further two seconds the instrument will revert to
measurement mode as seen below:
ANGLE Value No.
45/0 0 0
Once the instrument has taken the reading the display will show the
results as in the example below:
ANGLE Value No.
45/0>>>>>
1. The value shown in the display is the reflectance value for the
section of the sample covered by the aperture.
2. This value has been stored in the memory and the number of
stored readings increased by one.
1. 2.

17
Continuous reading mode
Using the move and read feature
The Novo-Shade Duo™ has a unique feature to quickly assess large
surfaces for shade variations.
To use this feature press and hold the READ/SELECT key.
The unit will now start to take a reading and a line of arrows will move
across the screen whilst the instrument takes the measurement.
A value will be shown in the display – this is the reflectance value for the
part of the sample currently covered by the measurement aperture.
To assess the rest of the sample continue to hold the READ/SELECT key
and carefully slide the instrument to the next area to be inspected.
The value in the display will update in real time to reflect the shade value
of the surface under the aperture at that time.
As soon as the READ/SELECT button is released the last value
measured will be displayed. This is also the value stored in the memory.
Taking subsequent readings
Repeat the above procedure to take further readings. Each time a
reading is taken the number of samples stored increases by one. If an
erroneous measurement is taken it can be deleted (see pages 20-21).

18
Measuring the opacity of a sample
To measure the opacity of a coating it must be drawn down on a Leneta
type opacity chart at the required film weight and allowed to fully dry.
To measure the opacity of plastic film, paper, textile or any other
semi-opaque material, place the sample to be measured over a black
and white test bed.
Rhopoint
Novo-Shade Duo
WHITE Value No.
45/0 89.7 1
Turn the instrument on by pressing the POWER key. For two
seconds the display will show the following message:
The display will then indicate the current measurement mode of the
instrument.
After a further two seconds the instrument will revert to
measurement mode as seen below:
*Note: To take reflectance readings the instrument should be set to
Opacity mode. For the procedure to switch between modes see pages 14-15.
WHITE Value No.
45/0 0 0
The text on the top left hand side of the instrument display indicates
the part of the sample to be measured. In the above example
‘WHITE’ is indicated. Up to six positions on the sample over the
white substrate should now be measured.
Press the READ key to initiate a reading. A line of arrows will
move across the screen whilst the instrument takes a measurement
and the display will show the results as in the example below.
Rhopoint
Opacity Mode
continued.
Repeat this to take up to five further measurements as necessary.
Table of contents
Other Rhopoint Measuring Instrument manuals
Rhopoint
Rhopoint NOVO-GLOSS User manual

Rhopoint
Rhopoint Novo-Shade Duo+ User manual

Rhopoint
Rhopoint IQ User manual

Rhopoint
Rhopoint Hanatek Novo-Haze TX User manual

Rhopoint
Rhopoint Novo-Gloss 20/60/75 User manual
Rhopoint
Rhopoint Optimap PSD User manual

Rhopoint
Rhopoint NOVO-GLOSS IQ User manual

Rhopoint
Rhopoint ID User manual

Rhopoint
Rhopoint Optimap3 PSD User manual

Rhopoint
Rhopoint NOVO-GLOSS Flex 60 User manual