Ricoh SP 313SFNW V User manual


1
How to Read This Manual
For safe and correct use, be sure to read the Safety Information in "Safety Information" before using the machine.
Introduction
This product requires special network settings.
What Can be Done with this Machine
The rental model is a printing equipment management system using a cloud service. Using the rental model, you can receive the fol-
lowing service:
Preventing Equipment Failure
By periodic inspection according to the machine’s condition, you can prevent equipment failure.
Minimizing downtime by prompt action
You can minimize the device downtime at the time of failure by such means as automatic notification, checking the status, promptly
calling the customer engineer, and simplifying the procedure for requesting repair.
Maintaining print quality
You can secure an environment in which genuine toner is always available according to use. Thus, you can prevent consumable
shortage and specify where to buy consumables.
Supporting device management
Using the web browser, you can check the use counter and operational status of the device.
•
•
•
•
•

2
Place to Install
Space Required for Installation
The recommended (or minimum) space requirements are as
follows:
70 cm
(27.6")
20 cm
(7.9")
40 cm
(15.8")
20 cm
(7.9")
10 cm
(4")
DPH057
Optimum Environmental Conditions
Permissible and recommended temperature and humidity
ranges are as follows:
CER119
White area: Permissible Range
Blue area: Recommended Range
To avoid possible build-up of ozone, locate this machine in
large well ventilated room that has an air turnover of more
than 30m3/hr/person.
•
•
Unpacking
Take the machine out of the box and then out of the
plastic bag.
DPH027
1
2
DPH028
1
2
DPH007
DPH008
1. Setting Up the Machine

3
DPH009
DPH035
Take the toner out of the box.
DPH068
CMC014
DPH045
DPH052
Close the cover.

4
Loading Paper
Loading Paper into Tray 1
DPH059
CVW519
CVW522
CVW047
CVW032
CVW033
DPH039

5
21
DPH040
Loading Paper into Bypass Tray
Open the bypass tray.
DPH041
Slide the side guides outward, then load paper with
the print side up, and push in until it stops against
the machine.
DPH042
Adjust the side guides to the paper width.
DPH043
Connection
1
2
DPH015
DPH016

6
Using the Fax Function
1. Connecting the Handset
CVW512
Attach the telephone receiver cradle to the left side
of the machine.
DPH005
DPH006
CVW515
2.Connection
CVW516
2
3
1
1. Handset Connector
2. External Telephone Connector
3. G3 (analog) Line Interface Connector
DPH011
DPH012

7
3. Selecting the Telephone Line Type
There are two types of telephone lines: those for touch-tone
and those for pulse-dialing.
Check which dialing system is being used in advance.
Press the [ ] key.
cvw104
Press the [ ] or [ ] key to select [Admin. Tools], and
then press the [OK] key.
Press the [ ] or [ ] key to select [Dial/Push Phone],
and then press the [OK] key.
Press the [ ] or [ ] key to select the telephone line
type appropriate for your telephone service, and
then press the [OK] key.
Press the [ ] key to return to the initial screen.
4. Selecting the Telephone Network Connection
Type
There are two types of telephone line connections: public
switched telephone network (PSTN) and private branch
exchange (PBX).
When using the machine in a domestic environment, set it
to [PSTN].
Press the [ ] key.
Press the [ ] or [ ] key to select [Admin. Tools], and
then press the [OK] key.
Press the [ ] or [ ] key to select [PSTN / PBX], and
then press the [OK] key.
Press the [ ] or [ ] key to select [PSTN] or [PBX],
and then press the [OK] key.
Press the [ ] key to return to the initial screen.
•
•
5. Setting the Outside Line Access Number
If you have selected PBX, use the following procedure.
Press the [ ] key.
Press the [ ] or [ ] key to select [Admin. Tools], and
then press the [OK] key.
Press the [ ] or [ ] key to select [PBX Access
Number], and then press the [OK] key.
Enter the outside line access number using the
number keys, and then press the [OK] key.
Press the [ ] key to return to the initial screen.
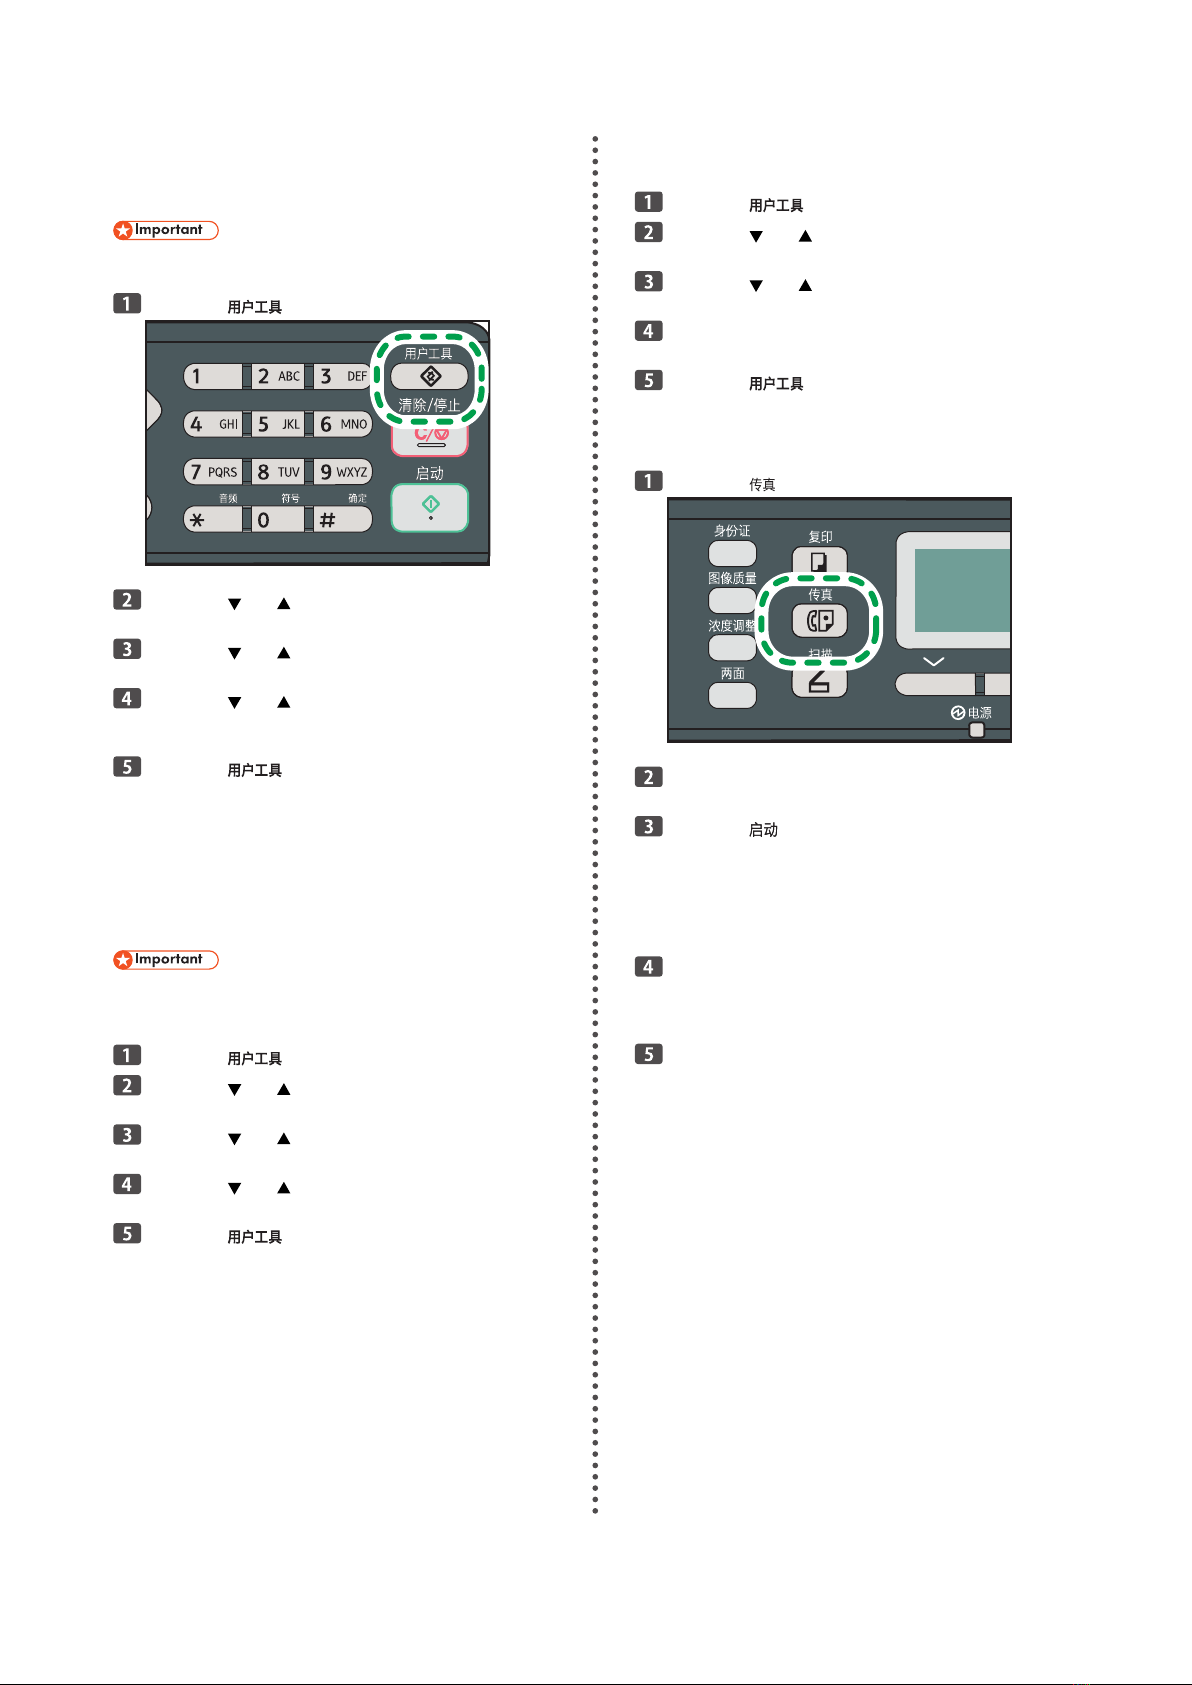
6. Basic Operation for Sending a Fax
Press the [ ] key.
CVW102
Place the original on the exposure glass or in the
ADF.
Press the [ ] key.
Depending on the machine's settings, you may be
prompted to enter the fax number again if you manually
entered the destination fax number. Enter the fax number
within 60 seconds. If the fax numbers do not match, go
back to Step 3.
If you have more originals to scan, press [Yes]
within 60 seconds, place the next original on the ex-
posure glass, and then press [OK]. Repeat this step
until all originals are scanned.
When all originals have been scanned, press the [#]
key to start sending the fax.

8
Using the Scan Function
When using the scan function, configure the following set-
tings:
When using the machine in a network environ-
ment
When using the machine in a network, specify the ma-
chine's IP address.
For details about specifying the IP address, see page 22
"Wire LAN Settings".
When using the machine as a scanner
Install the TWAIN driver.
Installation procedure:
See page 10 "Connecting the Machine via USB".
See page 13 "Quick Install for Network".
Operation procedure:
"Scanning from a Computer", User Guide
•
•

9
2. Installing the Software
Select the available connection
Select the connection method in
1
, Internet environment in
2
, and then follow the procedure described in the sections referred
to in
3
.
2
3
Yes
No
No
1
Want to use it
wireless
Want to use it
wired
Can you press
the router button?
Ethernet
USB
“Connecting the Machine via USB”
“Connecting the Machine via Network”
“Wire LAN Settings”
“Connecting the Machine via Network” ,
User Guide
“Quick and Easy Setup Using the WPS Button”
“Quick and Easy Setup Using the PIN Code”
“Manual Settings (Confirm the SSID and
Encryption key)”
“Connecting the Machine via Network”
Want to use the PIN code
Want to set manually
See page 10
See page 12
See page 22
See page 12, 15
See page 12, 17
See page 12, 19
Ad-hoc Mode
This machine must be connected to the Internet. Even when printing via a USB connection, use the network cable for connection.
For details, see page 33 "3. PaaS (Printer as a Service) Settings".
•

10
Connecting the Machine via USB
This section explains how to connect the machine to a computer using a USB cable.
DPH029
Perform the setup according to the following procedures.
1. Quick Install for USB (See page 10)
2. Connecting the Computer and Machine (See page 11)
DPH030
1. Quick Install for USB
Do not turn the machine on until prompted to do so in the installer window.
Do not connect the USB cable to the machine until prompted to do so in the installer window.
DPH013
CXP122
•
•

11
Make sure the machine is off.
Turn on the power of the computer.
Insert the CD-ROM into the CD-ROM drive.
If the CD-ROM cannot be used, see page 29 "Installing the Software without Using the CD-ROM".
CXP066
Select a language and product for the interface, and then click [OK].
Click [USB Quick Install].
DPH036
Follow the instructions in the installation wizard.
If a message to turn on the power and connect the USB cable appears, do the following.
2. Connecting the Computer and Machine
Connect the machine and computer with a USB cable.
DPH014
Plug the other end of the cable into a network device, such as a hub.
If it is necessary to specify the subnet mask, gateway, DNS server, or proxy server, see page 31 "How to Specify the Subnet, Gate-
way, DNS Server, and Proxy Server".
•

12
Connecting the Machine via Network
This section explains how to connect the machine to a computer using a network cable or wireless LAN.
DPH031
Perform the setup according to the following procedures.
1. Checking the IP Address Settings(See page 12)
2. Printing the Configuration Page (See page 13)
3. Quick Install for Network (See page 13)
4. Wire LAN Settings (See page 22)
Connecting the Computer and Machine (See page 23)
Configuring network settings (See page 23)
IPv4
IPv6
•
•
5. Wi-Fi Settings (See page 15)
Quick and Easy Setup Using the WPS Button (See page 15)
Quick and Easy Setup Using the PIN Code (See page 17)
Manual Settings (Confirm the SSID and Encryption key) (See
page 19)
•
•
•
If using the Ethernet cable, proceed to step 4. If using Wi-Fi connection, proceed to step 5.
1. Checking the IP Address Settings
Confirm the network environment you want to use. Perform the following procedure using a computer on the network to which the
printer will be connected. The following procedure uses Windows 7 as an example.
Click the [Start] menu.
Enter "cmd" in the [Search programs and files] field, and then press the [Enter] key.
The command prompt appears.
Enter "ipconfig /all", and then press the [Enter] key.
The details about the network environment appear.
1
2
CVW601
1. DHCP Enabled
"Yes" is displayed if the addresses on the screen were assigned by DHCP. The network settings can be automatically config-
ured.
"No" is displayed if the addresses on the screen were not assigned by DHCP.
2. IP address, subnet mask, and default gateway
The IP address, subnet mask, and default gateway that have been assigned to the computer are displayed.
For manual configuration, use the same values as displayed here.
To manually specify the setting using Ethernet connection, make a note of the checked IP address.
•
•

13
2. Printing the Configuration Page
Press the [ ] key.
cvw104
Press the [ ] or [ ] key to select [Print List/Report], and then press the [OK] key.
Press the [ ] or [ ] key to select [Configuration Page], and then press the [OK] key.
Press [Yes] in the confirmation screen.
3. Quick Install for Network
Turn on the power of the computer.
Quit all applications currently running.
Insert the CD-ROM into the CD-ROM drive.
If the CD-ROM cannot be used, see page 29 "Installing the Software without Using the CD-ROM".
CXP066
Select a language and product for the interface, and then click [OK].
Click [Network Quick Install].
DPH037
Read the entire license agreement carefully. If you accept its terms, click [I accept the agreement.], and then click
[Next >].
Select [Add a new printer], and then click [Next>].

14
Select the printer detection method, and then click [Next>].
If DHCP is On:
Search for printers automatically, select [Search for printers automatically].
If DHCP is Off:
To search for a printer by its IP address, select [Search for printers by specified IP Address].
If the two settings stated above cannot be configured:
To select a port or specify a new port, select [Select a port or specify a new port]. If a dialog box for selecting the port type ap-
pears, it is recommended to select the standard TCP/IP port.
Follow the instructions in the installation wizard.
•
•
•

15
Wi-Fi Settings
Wireless LAN has two modes: infrastructure mode for connection through an access point and ad-hoc mode for establishing direct
connection with a wireless LAN-capable device (such as a laptop). For details about specifying Ad-hoc mode, see User Guide.
Infrastructure mode
Infrastructure mode can be specified by either of the following three methods: specifying the PIN code, pressing the WPS button,
or manually specifying the mode when the WPS button is unavailable.
Ad-hoc mode
To connect directly to a device that has a wireless LAN such as laptop, you need to configure the settings manually.
Quick and Easy Setup Using the WPS Button
First, follow the procedure described on page 12, "Connecting the Machine via Network".
About the WPS button and connection using a PIN code
Depending on the access point (router) used, setup may be possible using either the WPS button, a PIN code, or both meth-
ods.
To establish a connection using a PIN code, the configuration screen of the access point (router) must be displayed on the
computer.
About WPS connection security
The encryption method for the devices is automatically configured by WPS.
Security settings depend on the connection environment. Accordingly, it cannot be assumed that the configured security set-
ting is the most secure.
Check that the wireless LAN router and the access point are working correctly.
Press the [ ] key.
cvw104
•
•
•
•
•

16
Press the [ ] or [ ] key to select [Network Settings], and then press the [OK] key.
Press the [ ] or [ ] key to select [Wi-Fi], and then press the [OK] key.
Press the [ ] or [ ] key to select [WPS], and then press the [OK] key.
Press the [ ] or [ ] key to select [PBC], and then press the [OK] key.
Press [Yes].
"Please push the [AP] within 2 minutes" appears, and the machine starts to connect in PBC method.
Press the WPS button on the access point within two minutes.
For details about how to use the WPS button, refer to the manuals for the wireless LAN router and access point.
The name of the button may vary depending on the device you are using.
Check the result.
Connection has succeeded:
Press the [EXIT] key to return to the screen displayed in Step 6, and then press the [ ] key to return to the initial
screen.
Connection has failed:
If it is necessary to specify the subnet mask, gateway, DNS server, or proxy server, see page 31 "How to Specify the Subnet, Gate-
way, DNS Server, and Proxy Server".
•
•
•

17
Quick and Easy Setup Using the PIN Code
First, follow the procedure described on page 12, "Connecting the Machine via Network".
About the WPS button and connection using a PIN code
Depending on the access point (router) used, setup may be possible using either the WPS button, a PIN code, or both meth-
ods.
To establish a connection using a PIN code, the configuration screen of the access point (router) must be displayed on the
computer.
Check that the wireless LAN router and the access point are working correctly.
Open the PIN code configuration screen for the wireless LAN access point (router) on your computer.
Press the [ ] key.
cvw104
Press the [ ] or [ ] key to select [Network Settings], and then press the [OK] key.
Press the [ ] or [ ] key to select [Wi-Fi], and then press the [OK] key.
Press the [ ] or [ ] key to select [WPS], and then press the [OK] key.
Press the [ ] or [ ] key to select [PIN], and then press the [OK] key.
•
•
•

18
Check the PIN code.
PIN
PIN Code:
XXXXXXXX
A b o r tC o n n e c t
Enter the machine's PIN code (8 digits) on the access point's web page.
Execute WPS (PIN system) from the access point’s web page.
Press [Connect].
PIN
PIN Code:
XXXXXXXX
A b o r tC o n n e c t
Check the result.
Connection has succeeded:
Connection has failed:
If it is necessary to specify the subnet mask, gateway, DNS server, or proxy server, see page 31 "How to Specify the Subnet, Gate-
way, DNS Server, and Proxy Server".
•
Table of contents
Other Ricoh All In One Printer manuals

Ricoh
Ricoh P800 User manual

Ricoh
Ricoh Pro 8300S User manual

Ricoh
Ricoh Aficio SP 1100S User manual

Ricoh
Ricoh D096 User manual

Ricoh
Ricoh Aficio MP C2500 EFI User manual

Ricoh
Ricoh Aficio MP 2510 User manual

Ricoh
Ricoh SP C250SF Service manual

Ricoh
Ricoh Aficio MP C3500 User manual

Ricoh
Ricoh MP C3003 User manual

Ricoh
Ricoh D197 User manual

Ricoh
Ricoh Ri 100 Quick start guide

Ricoh
Ricoh MPC 2800 AT-C2 Quick start guide

Ricoh
Ricoh MP 2001 User manual

Ricoh
Ricoh MP 2590 Service manual

Ricoh
Ricoh Aficio MP C3500 User manual

Ricoh
Ricoh MP 2554SP Series User manual

Ricoh
Ricoh LD316D User manual

Ricoh
Ricoh LD316 User manual

Ricoh
Ricoh MP 6054 Series User manual

Ricoh
Ricoh DDP70E-92 User manual