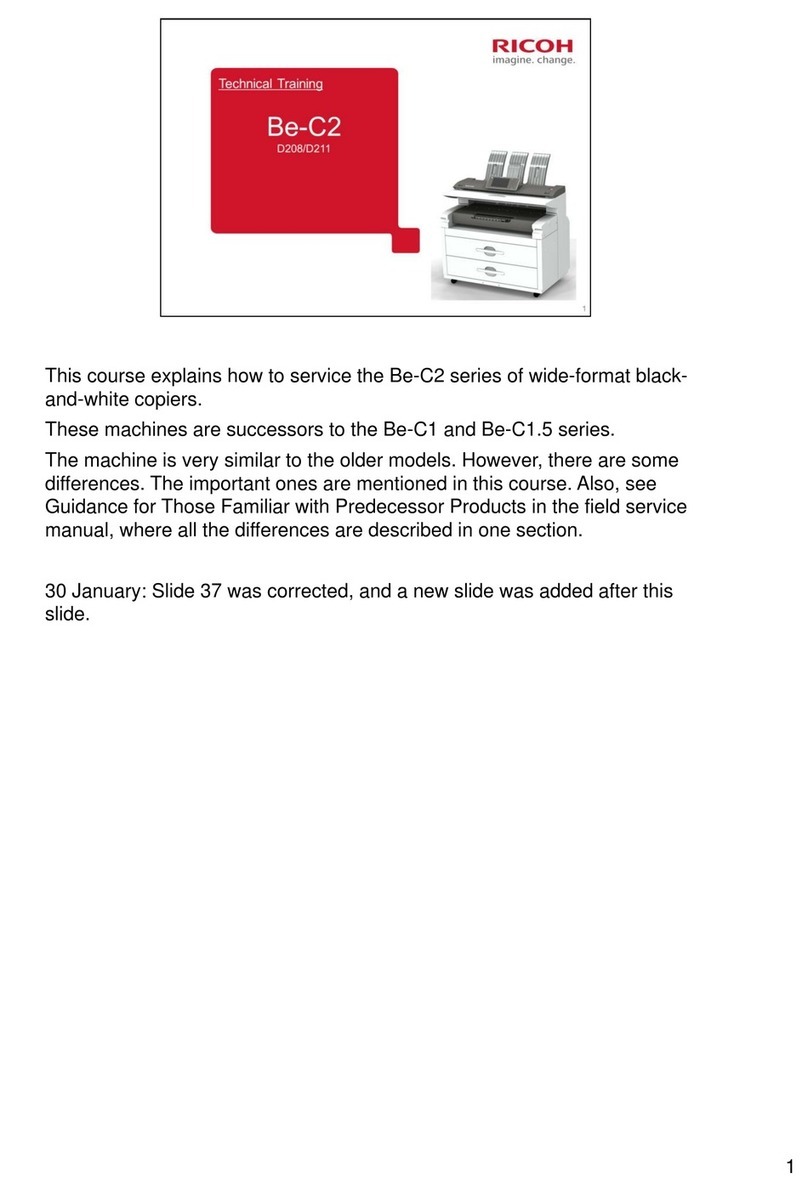
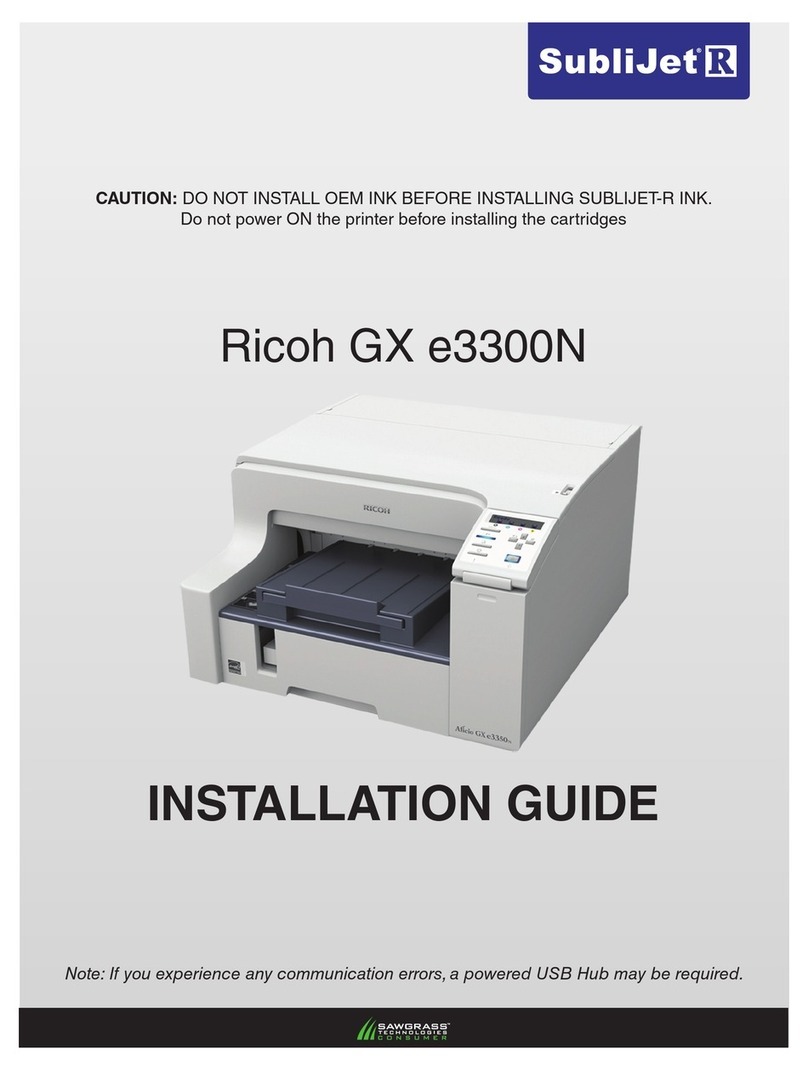
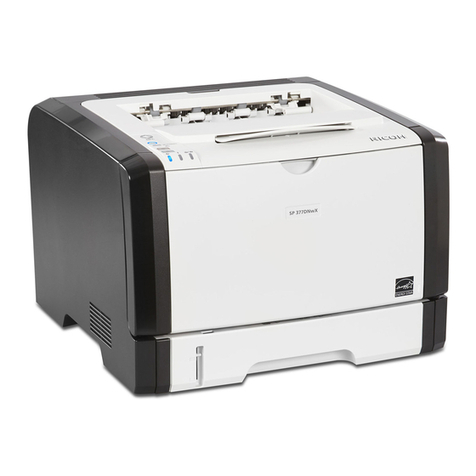
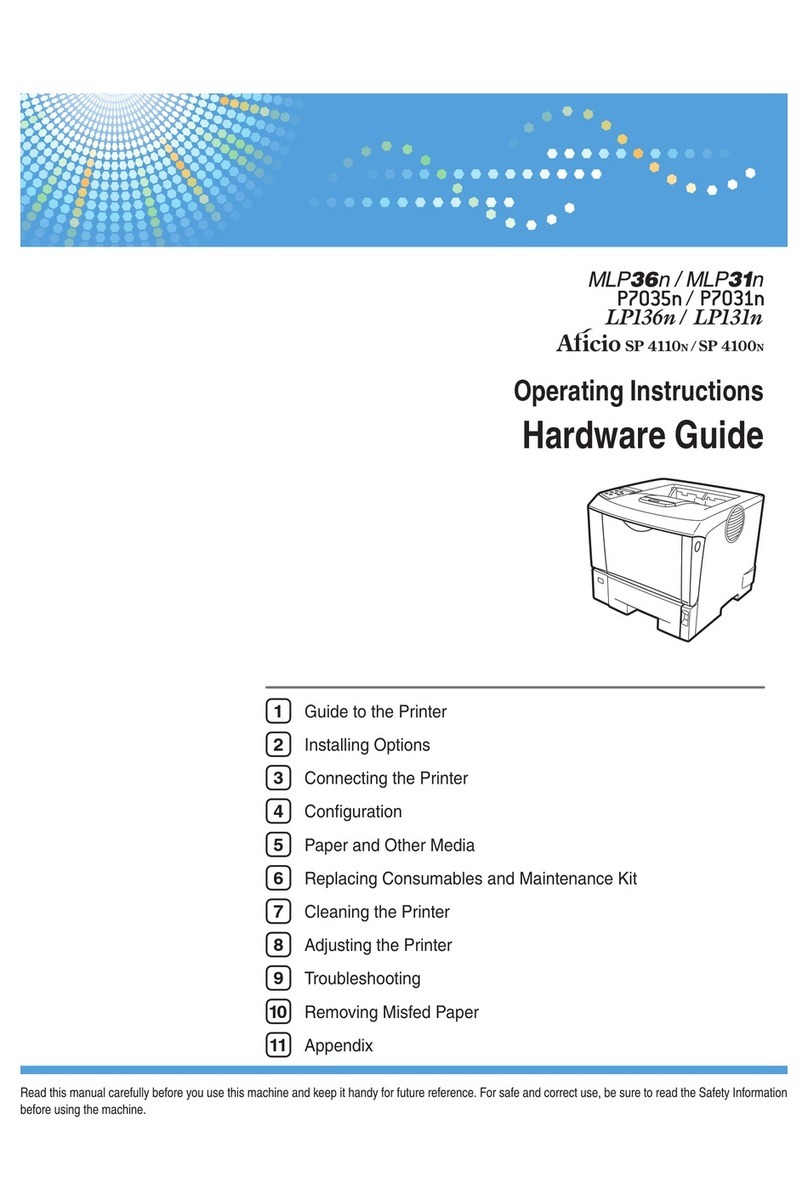
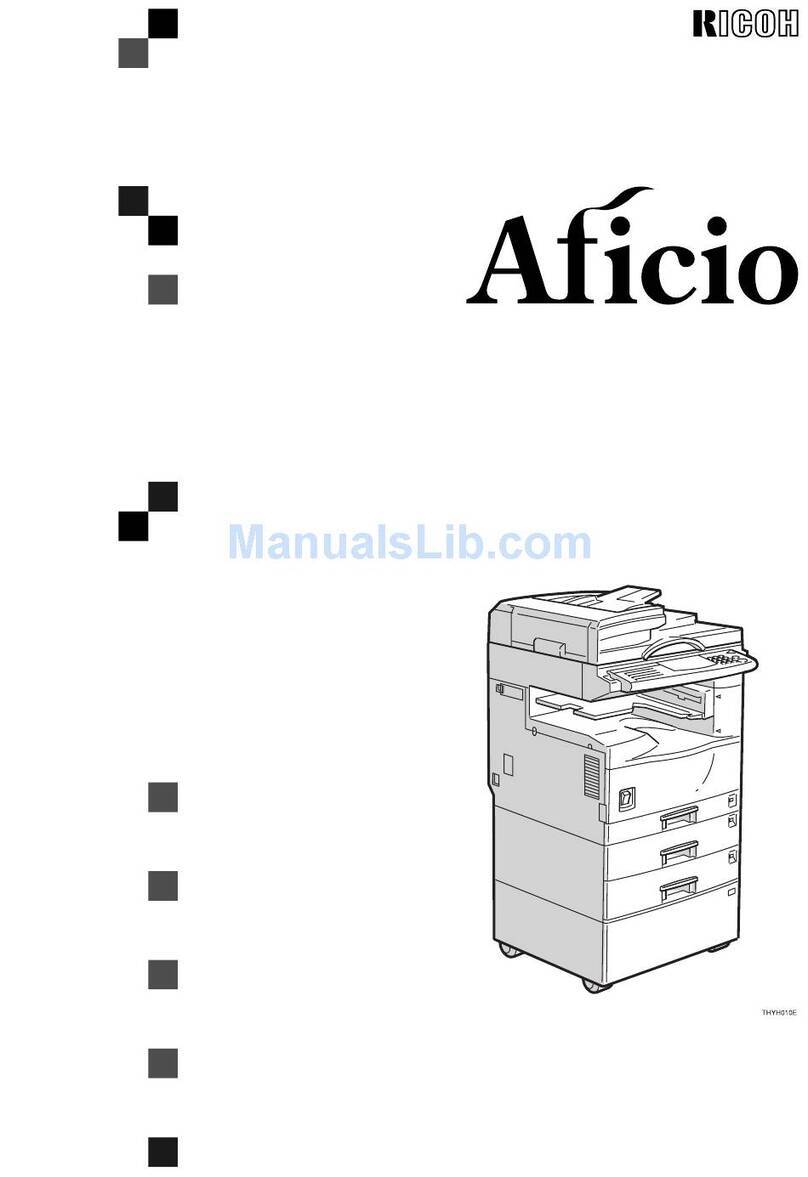
Ricoh 2238 User manual

Paper type: Wood Free 80g/m2, Paper Thickness=100 µm // Pages in book=48 // Print scale=81%
Gap (when printed at 81% scale) = Pages in book ×Paper thickness / 2 = 0 mm
Printer/Scanner Unit Type 2238 Operating Instructions Printer Reference 1
Printer/Scanner Unit
Type 2238
Operating Instructions
Printer Reference 1
For safe and correct use of this machine, please be sure to read the Safety Information in the
"General Settings Guide" before you use it.
Getting Started
Preparing to Print
1
2
Printed in The Netherlands
GB GB B149-7510

Paper type: Wood Free 80g/m2, Paper Thickness=100 µm // Pages in book=48 // Print scale=81%
Gap (when printed at 81% scale) = Pages in book ×Paper thickness / 2 = 0 mm
Declaration of Conformity
“The Product complies with the requirements of the EMC Directive 89/336/EEC and its amending di-
rectives and the Low Voltage Directive 73/23/EEC and its amending directives.”
Caution:
Network interface cables with ferrite core must be used for RF interference suppression.
Introduction
This manual describes detailed instructions on the operation and notes about the use of this machine.
To get maximum versatility from this machine all operators are requested to read this manual carefully
and follow the instructions. Please keep this manual in a handy place near the machine.
Important
Contents of this manual are subject to change without prior notice. In no event will the company be li-
able for direct, indirect, special, incidental, or consequential damages as a result of handling or oper-
ating the machine.
Warning
Use of controls or adjustment or performance of procedures other than those specified in this manual
might result in hazardous radiation exposure.
Two kinds of size notation are employed in this manual. With this machine refer to the metric version.
Trademarks
Microsoft®, Windows®and Windows NT®are registered trademarks of Microsoft Corporation in the
United States and/or other countries.
Adobe®, PostScript®, Acrobat®, PageMaker®and Adobe Type Manager are registered trademarks of
Adobe Systems Incorporated.
PCL®is a registered trademark of Hewlett-Packard Company.
AppleTalk, Apple, Macintosh and Mac are registered trademarks of Apple Computer, Incorporated.
IPS-PRINT™ Printer Language Emulation Copyright©2000, Oak Technology, Inc., All Rights Reserved.
UNIX is a registered trademark in the United States and other countries, licensed exclusively through
X/Open Company Limited.
Bluetooth is a Trademark of the Bluetooth SIG, Inc. (Special Interest Group) and licensed to RICOH
company limited.
Copyright © 2001 Bluetooth SIG, Inc.
The Bluetooth Trademarks are owned by Bluetooth SIG, Inc. USA
Other product names used herein are for identification purposes only and might be trademarks of their
respective companies. We disclaim any and all rights in those marks.
The proper names of the Windows operating systems are as follows:
• The product name of Windows®95 is Microsoft®Windows®95
• The product name of Windows®98 is Microsoft®Windows®98
• The product name of Windows®Me is Microsoft® Windows® Millennium Edition (Windows Me)
• The product name of Windows®2000 are as follows:
Microsoft®Windows®2000 Professional
Microsoft®Windows®2000 Server
Microsoft®Windows®2000 Advanced Server
• The product name of Windows®XP are as follows:
Microsoft®Windows®XP Home Edition
Microsoft®Windows®XP Professional
• The product names of Windows Server™ 2003 are as follows:
Microsoft®Windows Server™ 2003 Standard Edition
Microsoft®Windows Server™ 2003 Enterprise Edition
Microsoft®Windows Server™ 2003 Web Edition
• The product name of Windows NT®4.0 are as follows:
Microsoft®Windows NT®Workstation 4.0
Microsoft®Windows NT®Server 4.0
Notes
Some illustrations in this manual might be slightly different from the machine.
Certain options might not be available in some countries. For details, please contact your local dealer. Copyright © 2003

i
TABLE OF CONTENTS
Manuals for This Machine .....................................................................................1
How to Read This Manual .....................................................................................3
1. Getting Started
Control Panel..........................................................................................................5
Display Panel .............................................................................................................7
2. Preparing to Print
Preparing the Machine ........................................................................................10
Connecting the Machine ..........................................................................................10
Setting Paper on the Bypass Tray ...........................................................................12
Installing the Software.........................................................................................16
Auto Run ..................................................................................................................16
Quick Install..............................................................................................................17
Installing the PCL 5c and RPCS™ Printer Driver ....................................................19
Setting Up Options - PCL 5c and RPCS ..................................................................23
Installing the PostScript 3 Printer Driver ..................................................................24
Mac OS - Installing the PostScript 3 Printer Driver and Utilities...............................30
Mac OS X - Installing the PostScript 3 Printer Driver...............................................32
Installing the Printer Driver Using USB ....................................................................33
Installing the Printer Driver Using IEEE 1394 ..........................................................35
Installing SmartNetMonitor for Client/Admin ............................................................39
Installing Font Manager 2000...................................................................................39
Using Adobe PageMaker Version 6.0, 6.5, or 7.0....................................................40
Software and Utilities Included on the CD-ROM...............................................41
Printer Drivers ..........................................................................................................41
Software and Utilities ...............................................................................................42
INDEX......................................................................................................... 44
JupiterC1-GB-Pref1-11_FM.book Page i Thursday, September 4, 2003 2:02 PM

ii
JupiterC1-GB-Pref1-11_FM.book Page ii Thursday, September 4, 2003 2:02 PM

1
Manuals for This Machine
The following manuals describe the operational procedures of this machine. For
particular functions, see the relevant parts of the manual.
Note
❒Manuals provided are specific to machine type.
❒Adobe Acrobat Reader is necessary to view the manuals as a PDF file.
❒Two CD-ROMs are provided:
• CD-ROM 1“Operating Instructions for Printer/Scanner”
• CD-ROM 2“Scanner Driver & Document Management Utilities”
❖
❖❖
❖General Settings Guide
Provides an overview of the machine.
It also describes System Settings(such as paper trays and user codes settings),
Document Server functions, and troubleshooting.
❖
❖❖
❖Network Guide (PDF file - CD-ROM1)
Describes procedures for configuring the machine and computers in a net-
work environment.
❖
❖❖
❖Copy Reference
Describes operations, functions, and troubleshooting for the machine’s copier
function.
❖
❖❖
❖Facsimile Reference <Basic Features>
Describes operations, functions, and troubleshooting for the machine’s fac-
simile function.
❖
❖❖
❖Facsimile Reference<Advanced Features>
Describes advanced functions and settings for key operators.
❖
❖❖
❖Printer Reference 1 (this manual)
Describes system settings and operations for the machine’s printer function.
❖
❖❖
❖Printer Reference 2 (PDF file - CD-ROM1)
Describes operations, functions, and troubleshooting for the machine’s print-
er function.
❖
❖❖
❖Scanner Reference (PDF file - CD-ROM1)
Describes operations, functions, and troubleshooting for the machine’s scan-
ner function.
JupiterC1-GB-Pref1-11_FM.book Page 1 Thursday, September 4, 2003 2:02 PM

2
❖
❖❖
❖Manuals for DeskTopBinder V2 Lite
DeskTopBinder V2 Lite is a utility included on the CD-ROM labeled “Scanner
Driver & Document Management Utilities”.
•DeskTopBinder V2 Lite Setup Guide (PDF file - CD-ROM2)
Describes installation of, and the operating environment for DeskTop-
Binder V2 Lite in detail. This guide can be displayed from the [Setup]dia-
log box when DeskTopBinder V2 Lite is installed.
•DeskTopBinder V2 Lite Introduction Guide (PDF file - CD-ROM2)
Describes operations of DeskTopBinder V2 Lite and provides an overview
of its functions. This guide is added to the [Start]menu when DeskTop-
Binder V2 Lite is installed.
•Auto Document Link Guide (PDF file - CD-ROM2)
Describes operations and functions of Auto Document Link installed with
DeskTopBinder V2 Lite. This guide is added to the [Start]menu when
DeskTopBinder V2 Lite is installed.
❖
❖❖
❖Manuals for ScanRouter V2 Lite
ScanRouter V2 Lite is a utility included on the CD-ROM labeled “Scanner
Driver & Document Management Utilities”.
•ScanRouter V2 Lite Setup Guide (PDF file - CD-ROM2)
Describes installation of, settings, and the operating environment for Scan-
Router V2 Lite in detail. This guide can be displayed from the [Setup]dia-
log box when ScanRouter V2 Lite is installed.
•ScanRouter V2 Lite Management Guide (PDF file - CD-ROM2)
Describes delivery server management and operations, and provides an
overview of ScanRouter V2 Lite functions. This guide is added to the [Start]
menu when ScanRouter V2 Lite is installed.
❖
❖❖
❖Other manuals
•PS3 Supplement (PDF file - CD-ROM1)
•UNIX Supplement (available from an authorized dealer, or as a PDF file on
our Web site)
JupiterC1-GB-Pref1-11_FM.book Page 2 Thursday, September 4, 2003 2:02 PM

3
How to Read This Manual
Symbols
In this manual, the following symbols are used:
R
WARNING:
This symbol indicates a potentially hazardous situation which, if instructions
are not followed, could result in death or serious injury.
R
CAUTION:
This symbol indicates a potentially hazardous situation which, if instructions
are not followed, may result in minor or moderate injury, or damage to proper-
ty.
* The statements above are notes for your safety.
Important
If this instruction is not followed, paper might misfeed, originals might be dam-
aged, or data might be lost. Be sure to read this.
Preparation
This symbol indicates prior knowledge or preparation is required before opera-
tion.
Note
This symbol indicates precautions for operation, or actions to take after mal-op-
eration.
Limitation
This symbol indicates numerical limits, functions that cannot be used together,
or conditions in which a particular function cannot be used.
Reference
This symbol indicates a reference.
[]
Keys and buttons that appear on the computer's display.
Keys that appear on the machine's display panel.
{}
Keys built into the machine's control panel.
Keys on the computer's keyboard.
JupiterC1-GB-Pref1-11_FM.book Page 3 Thursday, September 4, 2003 2:02 PM

4
JupiterC1-GB-Pref1-11_FM.book Page 4 Thursday, September 4, 2003 2:02 PM

5
1. Getting Started
Control Panel
1. Indicators
Displays errors and machine status.
L: Service call indicator
x: Misfeed indicator
M: Open Cover indicator
d: Add Staple indicator
D: Add Toner indicator
B: Load Paper indicator
See "Control Panel", General Settings
Guide.
2. {
{{
{User Tools/Counter}
}}
}key
•User Tools
Press to change default settings and
conditions to your requirements.
•Counter
Press to display or print the total
number of copies made.
3. Display panel
Displays operation status, error messag-
es, and function menus. See p.7 “Display
Panel”.
4. {
{{
{Energy Saver}
}}
}key
Press to switch to and from Energy Saver
mode.
Note
❒This key is ineffective during System
Settings (User Tools) operations.
5. Main power indicator
This indicator lights when the main pow-
er switch is turned on.
Important
❒Do not turn off the main power
switch while the Power indicator is
lit or blinking. Doing so may dam-
age the hard disk.
6. Power indicator
This indicator lights when the operation
switch is turned on.
7. Operation switch
Press this switch to turn the power on
(the Power indicator goes on). To turn the
power off, press this switch again (the
Power indicator goes off).
AAG005S
JupiterC1-GB-Pref1-11_FM.book Page 5 Thursday, September 4, 2003 2:02 PM

Getting Started
6
1
8. {
{{
{Clear/Stop}
}}
}key
Press to cancel the entered data.
9. {
{{
{#}
}}
}key
Press after entering a value.
10. Number keys
Press to enter a value for various settings.
11. Function keys
Press to switch between the “Copy”,
“Document Server”, “Facsimile”, “Print-
er”, and “Scanner”screens.
The indicator for the selected function
lights.
12. Function status indicators
These show the status of the above func-
tions:
•Green: the function is active.
•Red: the function has been interrupt-
ed.
13. Data In indicator
The Data In indicator shows the status of
data reception from a computer.
•Blinks when data is being received.
•Lights when there is data remaining to
be printed.
JupiterC1-GB-Pref1-11_FM.book Page 6 Thursday, September 4, 2003 2:02 PM

Control Panel
7
1
Display Panel
This section describes configuration using the display panel when the printer
function is selected.
Important
❒The machine switches to offline when you make settings when the machine
is online. After you complete the setting, the machine switches to online au-
tomatically.
❒If you make a setting when the machine is offline, it will stay offline after-
ward.
❒The function items displayed serve as selector keys. You can select or specify
an item by pressing it lightly.
❒When you select or specify an item on the display panel, it becomes highlight-
ed.
❒Keys dimmed (for example, ) cannot be used.
1. Operational status or messages
Displays current machine status, such as
"Ready", "Offline", and "Printing". Infor-
mation about the print job (user ID and
document name) appears in this section.
2. [f
ff
fOnline]key/[Offline]key
When you press these keys, the machine
switches between online and offline.
When the machine is online, it can re-
ceive data from the computer.
When the machine is offline, it cannot re-
ceive data from the computer.
3. [Form Feed]key
Press to print all the data left in the ma-
chine's input buffer.
Note
❒When the machine is online, the status
appears dimly.
❒This function is not available with the
RPCSTM printer language.
4. [Job Reset]key
Press to cancel the current print job.
If you press it when the machine is offline
and Hex Dump is selected, Hex Dump is
canceled. See "Printer Features Parame-
ters", Printer Reference 2.
OK
ZGWH030E
1
2
3
4
67
8
5
JupiterC1-GB-Pref1-11_FM.book Page 7 Thursday, September 4, 2003 2:02 PM

Getting Started
8
1
5. [Locked & Sample Print Job List]
Press to display Locked/Sample Print
jobs sent from a computer.
6. [Error Log]
Press to display the error logs of
Locked/Sample Print jobs sent from a
computer.
7. [Spooling Job List]
Press to display spooled jobs.
8. [V
VV
VPaper Tray Status]key
The paper tray settings appear.
Note
❒When the power is turned on, the copier display is shown. This is a factory
default. This initial setting can be changed. See “User Tools (System Set-
tings)”, General Settings Guide.
❒If the machine cannot be switched offline, select [Printer]for [Print Priority]on
[General Features]in the System Settings. For details about the setting, see “Us-
er Tools (System Settings)”, General Settings Guide.
JupiterC1-GB-Pref1-11_FM.book Page 8 Thursday, September 4, 2003 2:02 PM

9
2. Preparing to Print
This section gives instructions for connecting the machine and computer, config-
uring the machine, and installing software.
❖
❖❖
❖When operating the machine with a parallel connection, USB connection, or IEEE
1394 (SCSI print) connection
•Connect the machine and computer using a parallel cable, a USB cable, or
an IEEE 1394 (SCSI print) cable.
Reference
For more information, see p.10 “Connecting the Machine”.
•Install a printer driver from the CD-ROM.
Reference
For more information, see p.16 “Installing the Software”.
Note
❒"Network environment" describes a situation where the machine is con-
nected to a computer via Ethernet, wireless LAN, or IEEE 1394 (IP over
1394).
❖
❖❖
❖When operating the machine under a network environment
•Configure the network using the machine's control panel.
Reference
For more information, see "Network Configuration", Network Guide.
•Install a printer driver and other utilities from the CD-ROM.
Reference
For more information, see p.16 “Installing the Software”.
Note
❒The optional IEEE 802.11b interface unit, IEEE 1394 interface board, the
USB 2.0 interface board, and the Bluetooth interface unit cannot be in-
stalled in the machine at the same time.
JupiterC1-GB-Pref1-11_FM.book Page 9 Thursday, September 4, 2003 2:02 PM

Preparing to Print
10
2
Preparing the Machine
Connecting the Machine
Reference
For information about connection
using Ethernet and wireless LAN,
see "Confirming the Connection",
Network Guide.
For information about connection
using BluetoothTM, see the manual
that comes with the optional Blue-
tooth interface unit.
Requirements
Before using this machine, make sure
all environmental and electrical re-
quirements are met. Connect the ma-
chine to the host computer using the
parallel port, network interface unit,
or both.
Make sure all cables, connectors, and
electrical outlets necessary to attach
the machine to the host computer or
network are at hand.
Connecting the Machine to the host
using the parallel cable/IEEE 1394 (SCSI
print) cable
Connect the machine to the host com-
puter using the parallel port or op-
tional IEEE 1394 interface board. This
machine does not come with a paral-
lel cable to connect the machine to the
host computer.
The machine's parallel interface is a
standard bidirectional interface. It re-
quires a standard IEEE 1284 compli-
ant 36-pin parallel cable and a parallel
port on the host computer. Make sure
you purchase the appropriate cable
for the machine and your computer.
Note
❒Do not use a parallel cable that is
longer than 3 meters (10 feet).
❒Rating voltage of the interface con-
nector: Max. DC 5V
Follow the procedure below to con-
nect the machine to the host computer
using a parallel cable or IEEE 1394 in-
terface cable.
Important
❒Before connecting the machine and
a computer using an interface ca-
ble, make sure the machine is not
operating, and then turn off the
main power switches of the ma-
chine and computer.
❒Be sure to use a specified interface
cable. Other cables may cause ra-
dio interference.
A
AA
ATurn off the main power switches
of the machine and computer.
Important
❒Before turning off the main
power switch, see “Turning Off
the Power”, General Settings
Guide.
B
BB
BPlug the cable into the connector
on the machine’s interface.
❖
❖❖
❖Parallel Connection
ZKRP31J
JupiterC1-GB-Pref1-11_FM.book Page 10 Thursday, September 4, 2003 2:02 PM

Preparing the Machine
11
2
❖
❖❖
❖IEEE 1394 (SCSI print) Connection
C
CC
CPlug the other end of the cable
into the connector on the compu-
ter’s interface.
D
DD
DTurn on the machine's main pow-
er switch.
E
EE
ETurn on the computer.
Note
❒
When using Windows 95/98/Me/
2000/XP and Windows Server
2003, a printer driver installa-
tion screen might appear when
the computer is turned on. If
this happens, click [Cancel]on
the screen. For more informa-
tion, see p.16 “Auto Run”.
The machine and computer are
now connected. The printer driver
must be installed next. For infor-
mation about how to install the
printer driver, see p.16 “Installing
the Software”.
Connecting the machine to the host
using a USB cable
You can connect the machine to the
host computer using a USB interface
cable when the optional USB 2.0 inter-
face board is installed in the machine.
This machine does not come with a
USB interface cable. Make sure you
purchase the appropriate cable for the
machine and your computer.
Follow the procedure below to con-
nect the machine to the host computer
using a USB interface cable.
A
AA
AConnect the USB 2.0 interface ca-
ble to the USB port on the right
side of the machine's back cover.
B
BB
BConnect the other end to the USB
port on the host computer.
Note
❒The optional USB 2.0 interface
board is supported by Windows
98 SE/Me/2000/XP, Windows
Server 2003, Mac OS 9.x, and
Mac OS X Classic mode.
•For Windows 98 SE/Me:
Make sure to install “USB
Printing Support”. If USB 2.0
is used with Windows 98
SE/Me, only a speed equal to
that of USB 1.1 is possible.
•For Mac OS:
Mac OS supports only the
standard USB port. If USB 2.0
is used with a Mac OS, only a
speed equal to that of USB 1.1
is possible.
ZKRP10J
ZKRP20J
JupiterC1-GB-Pref1-11_FM.book Page 11 Thursday, September 4, 2003 2:02 PM

Preparing to Print
12
2
Setting Paper on the Bypass
Tray
This section gives instructions for set-
ting paper on the bypass tray. Use the
bypass tray to print onto OHP trans-
parencies, labels, thick paper, and en-
velopes that cannot be loaded in the
paper tray.
Reference
For details about setting paper in
the regular paper tray, see General
Settings Guide.
Note
❒When loading letterhead paper,
pay attention to its orientation. See
“Orientation-Fixed Paper or Two-
Sided Paper”, General Settings
Guide.
❒Paper within the following dimen-
sions can be set in the bypass tray:
•Vertical: 90.0-305.0 mm (3.54 in-
12.01 in.)
•Horizontal: 148.0-600.0 mm
(5.83 in.-23.62 in.)
❒Be sure to set the paper with the
side you want to print facing down
in the bypass tray.
❒When loading OHP transparencies
or thick paper in the bypass tray,
make the paper setting using the
control panel or printer driver.
❒The number of sheets that can be
loaded in the bypass tray depends
on the paper type.
Limitation
❒The following functions are disa-
bled when printing from the by-
pass tray:
•Duplex printing
•Auto Tray Select
•Auto Tray Switching
•Rotating Collate
•Staple (when the optional unit is
installed)
•Punch (when the optional unit
is installed)
Important
❒When printing using the printer
function, original images are al-
ways rotated by 180 degrees (the
orientation of images to be printed
is opposite to that of the copier
function). When printing onto pa-
per with specific orientation re-
quirements, such as envelopes and
letterheads, make sure to rotate the
paper feed orientation to 180 de-
grees.
❒Be sure to set the paper size using
the printer driver when printing
data from the computer. The paper
size set using the printer driver has
priority over the one set using the
display panel.
A
AA
AOpen the bypass tray.
ZEFH050J
JupiterC1-GB-Pref1-11_FM.book Page 12 Thursday, September 4, 2003 2:02 PM

Preparing the Machine
13
2
B
BB
BAdjust the paper guides to the pa-
per size.
Important
❒If the paper guides are not flush
against the paper, skewed im-
ages or paper misfeeds might
occur.
C
CC
CGently insert paper face up into
the bypass tray until the beeper
sounds.
1. Extender
2. Paper guides
Note
❒The beeper will not sound if it is
turned off. Gently insert paper
until it stops.
❒Do not stack paper over the lim-
it mark, otherwise a skewed im-
age or misfeeds might occur.
❒Open out the extender to sup-
port paper sizes larger than A4
L, 81/2"×11" L.
❒Fan the paper to get air between
the sheets to avoid a multi-sheet
feed.
❒When setting an OHP transpar-
ency, make sure that its front
and back sides are properly po-
sitioned.
❒Select paper type when printing
onto OHP transparencies or
thick paper (over 105g/m2). For
details, see p.15 “Setting thick
paper or OHP transparencies”.
D
DD
DSelect the paper size.
Note
❒You can set paper size using the
printer driver. The following
procedures are not necessary
when setting paper size using
the printer driver.
❒The paper size set using the
printer driver has priority over
that set using the display panel.
❒When the printer driver is not
used, make settings using the
display panel.
❒Thick paper and OHP transpar-
encies are delivered to the exter-
nal tray.
❒Thick paper and OHP transpar-
encies are delivered face up on
the top of the preceding page;
therefore, the prints need to be
rearranged into the correct or-
der. To avoid this, select [Re-
verse order print]in the RPCS
printer driver settings to deliver
the prints in the correct page or-
der.
Reference
For printer driver settings, see
the printer driver Help.
For details about setting custom
sizes, see p.14 “Setting custom
size paper”.
ZKRH010J
JupiterC1-GB-Pref1-11_FM.book Page 13 Thursday, September 4, 2003 2:02 PM

Preparing to Print
14
2
APress the {
{{
{User Tools/Counter}
}}
}
key on the control panel.
BPress [Printer Features].
CPress the [Paper Input]tab.
DPress [Bypass Paper Size].
ESelect the paper size.
Note
❒Press [U
UU
UPrev.]or [T
TT
TNext.]to
scroll through the list.
❒When printing onto thick pa-
per or OHP transparencies,
select paper type. For details,
see p.15 “Setting thick paper
or OHP transparencies”.
FPress [OK].
GPress the {
{{
{User Tools/Counter}
}}
}
key.
Setting custom size paper
Note
❒Custom sizes can also be set using
the printer driver. The following
procedures are not necessary
when setting custom sizes using
the printer driver.
❒Custom size settings set using the
printer driver have priority over
those set using the machine's dis-
play panel.
❒
When the printer driver is not used,
make settings using the display panel.
Reference
For printer driver settings, see the
printer driver Help.
A
AA
APress the {
{{
{User Tools/Counter}
}}
}key
on the control panel.
B
BB
BPress [Printer Features].
C
CC
CPress the [Paper Input]tab.
D
DD
DPress [Bypass Paper Size].
E
EE
EPress [Custom Size].
F
FF
FEnter the vertical size of the paper
using the number keys, and then
press [#].
G
GG
GEnter the horizontal size of the
paper using the number keys, and
then press [#].
H
HH
HPress [OK].
The paper sizes entered are dis-
played.
I
II
IPress the {
{{
{User Tools/Counter}
}}
}key.
ZKVS030
E
JupiterC1-GB-Pref1-11_FM.book Page 14 Thursday, September 4, 2003 2:02 PM

Preparing the Machine
15
2
Setting thick paper or OHP transparencies
Note
❒Paper settings can also be set using
the printer driver. The following
procedures are not necessary
when setting paper sizes using the
printer driver.
❒Paper size settings set using the
printer driver have priority over
those set using the machine's dis-
play panel.
❒When the printer driver is not
used, make settings using the dis-
play panel.
Reference
For printer driver settings, see the
printer driver Help.
A
AA
APress the {
{{
{User Tools/Counter}
}}
}key
on the control panel.
B
BB
BPress [System Settings].
C
CC
CPress the [Tray Paper Settings]tab.
D
DD
DPress [T
TT
TNext.]to scroll through the
list.
E
EE
EPress [Paper Type: Bypass tray].
F
FF
FSelect [OHP]or [Thick Paper]
G
GG
GPress [OK].
The paper type selected is dis-
played.
H
HH
HPress the {
{{
{User Tools/Counter}
}}
}key.
Note
❒The settings made will remain
valid until they are reset again.
After printing on OHP trans-
parencies or thick paper, make
sure to clear settings for the next
user.
JupiterC1-GB-Pref1-11_FM.book Page 15 Thursday, September 4, 2003 2:02 PM

Preparing to Print
16
2
Installing the Software
This manual assumes you are familiar
with general Windows procedures
and practices. If you are not, see the
operating instructions that come with
Windows for details.
The procedure for installing the print-
er driver depends on the connection
with the computer. With a parallel or
Ethernet connection, Quick Install is
also available. With a wireless LAN
connection, check the machine and
computer are communicating proper-
ly and then install the printer driver
by following the procedure used for
an Ethernet connection.
•For details about the parallel/Eth-
ernet connection, see p.17 “Quick
Install”or p.19 “Installing the PCL
5c and RPCS™Printer Driver”.
•For details about the USB connec-
tion, see p.33 “Installing the Print-
er Driver Using USB”.
•For details about the IEEE 1394
connection, see p.35 “Installing the
Printer Driver Using IEEE 1394”.
Auto Run
Inserting the CD-ROM into the CD-
ROM drive starts the installer auto-
matically. The installer helps you in-
stall the following printer drivers and
software easily.
Note
❒If “plug and play”starts, click
[Cancel]in [New Hardware Found],
[Device Driver Wizard]or [Found New
Hardware Wizard]dialog box, and
then insert the CD-ROM. The [New
Hardware Found], [Device Driver Wiz-
ard]or [Found New Hardware Wizard]
dialog box appears depending on
the system version of the Windows
95/98/Me/2000/XP, Windows
Server 2003, or Windows NT 4.0.
❒Auto Run might not work auto-
matically with certain operating
system settings. If this happens,
launch "Setup.exe", located on the
CD-ROM root directory.
❒If you want to cancel Auto Run,
hold down the {
{{
{SHIFT}
}}
}key (if your
operating system is Windows
2000/XP and Windows Server
2003, hold down the left {
{{
{SHIFT}
}}
}
key) while inserting the CD-ROM.
Keep the {
{{
{SHIFT}
}}
}key held down
until the computer has finished ac-
cessing the CD-ROM.
Limitation
❒
If your operating system is Win-
dows 2000/XP, Windows Server
2003, or Windows NT 4.0, installing
software using Auto Run requires
Administrator permission. When
you install software using Auto
Run, log on using an account that
has Administrators permission.
JupiterC1-GB-Pref1-11_FM.book Page 16 Thursday, September 4, 2003 2:02 PM
Table of contents
Other Ricoh Printer manuals

Ricoh
Ricoh MP C306 series User manual

Ricoh
Ricoh Aficio SP C210 User manual

Ricoh
Ricoh Pro 8100S User manual

Ricoh
Ricoh SP221s User manual

Ricoh
Ricoh L5160 Installation guide

Ricoh
Ricoh PRO C9100 User manual

Ricoh
Ricoh Aficio 2232C User manual

Ricoh
Ricoh M001 User manual

Ricoh
Ricoh T500 User manual

Ricoh
Ricoh Aficio 2105 User manual

Ricoh
Ricoh CL7200 - Aficio D Color Laser Printer User manual

Ricoh
Ricoh pro c901 User manual

Ricoh
Ricoh PRO C7200S Operating instructions

Ricoh
Ricoh MFSP213SFNW1 User manual

Ricoh
Ricoh SP 210 User manual

Ricoh
Ricoh SAVIN D0AP User manual

Ricoh
Ricoh 402434 User manual

Ricoh
Ricoh Pro C9200 Manual

Ricoh
Ricoh SP204SF User manual

Ricoh
Ricoh Pro 8300 Series Installation guide