manuals.online logo
Brands
  1. Home
  2. •
  3. Brands
  4. •
  5. Rightest
  6. •
  7. Blood Glucose Meter
  8. •
  9. Rightest BIONIME GM300 User manual

Rightest BIONIME GM300 User manual

USER’S MANUAL
BIONIME CORPORATION
No. 100, Sec. 2, Daqing St., South Dist.,
Taichung City 40242, Taiwan
Tel: +886 4 23692388
Fax: +886 4 22617586
http: //www.bionime.com
E-mail: [email protected]om
101-3GM300-0S1
EN
BIONIME GmbH
Tramstrasse 16, 9442 Berneck
Switzerland
E-mail: [email protected]
GM300
Blood Glucose Monitoring System
0197
Rev. Date: 2017-01
Thank you for selecting the Blood Glucose Monitoring System GM300. Please read this
manual thoroughly before you start testing. It provides all the information you need to use the
product. You will get a correct test result by the following instruction of this manual.
It is quite important for you to monitor blood glucose regularly. A derived complication can thus be
effectively reduced. Through the assistance of Blood Glucose Monitoring System GM300,
which provides considerate design and accurate results, your diabetes management can become
more reliable and ease-to-use.
The Blood Glucose Monitoring System GM300 is intended for in vitro diagnostic use ( For
self-testing & professional use ) only ( outside the body ). The testing result is calibrated to plasma
equivalent with whole blood from capillary. Capillary whole blood can sample from the fingertip, palm
or forearm. You may consult your healthcare professional for instructions on how to use the system
correctly. Our Customer Support staff is available to assist you as well.
The Blood Glucose Monitoring System was manufactured and supported by Bionime
Corporation and its authorized representative. If you have any questions or concerns, please contact
your Bionime authorized representative or email to [email protected]. We will make every effort
to provide assistance and solutions for you.
Please forward your warranty card to Bionime authorized representative to activate your warranty
coverage.
Preface
32
Preface
- Before using the GM300 to test your blood glucose, please read all the instructions and
practice the tests including quality control test. ( Refer to page 46.)
- Please do the quality control test regularly to make sure the test results are accurate .
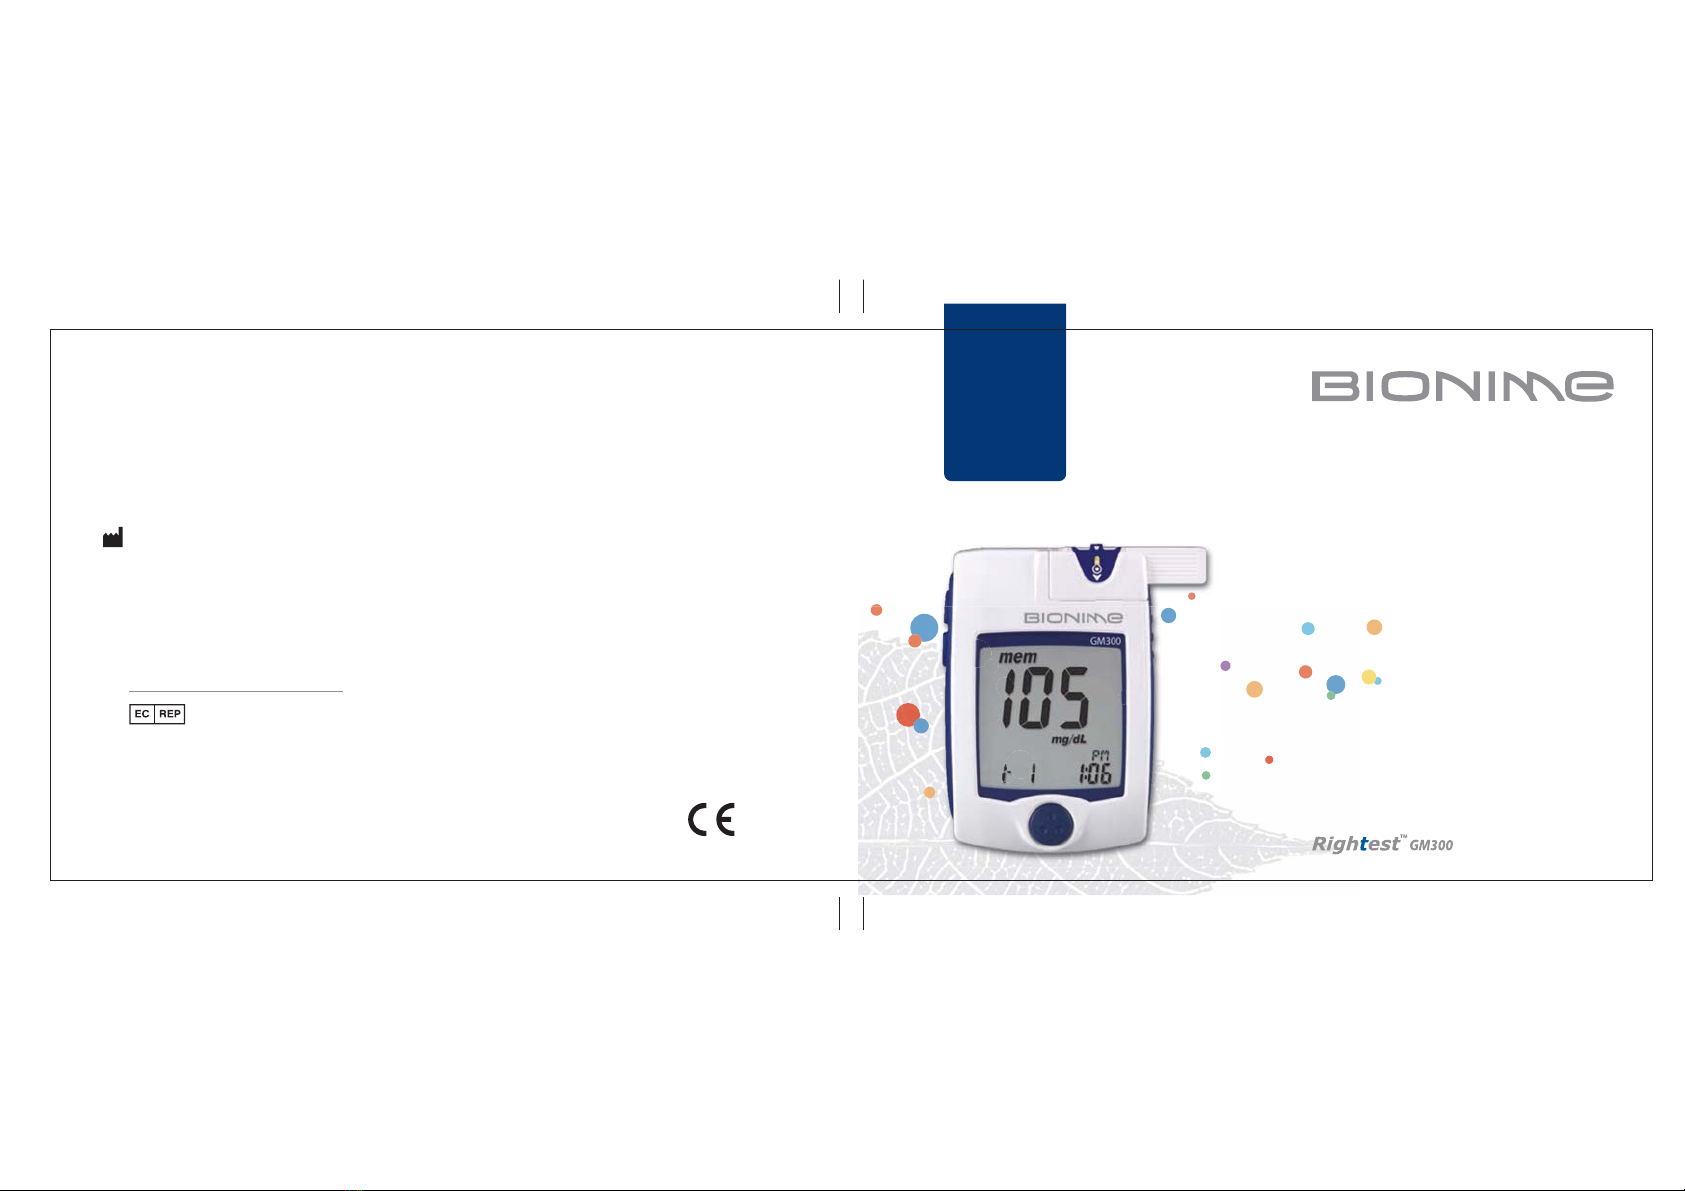
- The Blood Glucose Meter GM300 can only be used with the Blood Glucose
Test Strips GS300. The use of any other brand Strips should not be used under any circumstances.
The use of other brands of strips may give inaccurate results.
- The Blood Glucose Monitoring System GM300 is intended for in vitro diagnostic use only.
The testing result is calibrated to be plasma equivalent for test with fresh capillary whole blood
samples by finger stick.
- The Blood Glucose Monitoring System GM300 is intended for self-testing. It should not
be used to diagnose diabetes mellitus.
- The Blood Glucose Monitoring System GM300 has not been validated for use on
neonates. Therefore, it's not intended for use of neonates.
Precaution
54
Precaution
- The Blood Glucose Meter GM300 hasn't been used for arterial blood testing yet, so it is
still not suitable to be used for arterial blood testing so far.
- Do the test at least 30 minutes after while entering another site with different ambient temperature.
- Pay attention to the environment protection when disposal of batteries.
- Perform blood glucose testing between 10 ~ 40 ℃ ( 50 ~ 104 ℉).
- Keep your meter and test strip free of dust, water or any other liquid.
- The minimum blood sample size of Glucose Monitoring System GM300 is 1.4 µL :( )
1.0 1.4 2.0 3.0 µL µL µL µL 4.0 µL
We suggest you to take 1.4~2.5 µL to do the test on glucose monitoring system. Blood sample size
above 4.0 µL might contaminate the Smart Code Key.
Blood sample size below 1.4 µL might cause inaccurate test result or might not start on meter
measurement. In this case, repeat the test with a new test strip.
Sample Size Example
About System
The Blood Glucose Monitoring System
The Meter
The Test Strip
Dummy Code Key
The Smart Code Key
Table of Contents
76
Table of Contents
Testing Procedure
Getting Ready for Testing
Performing a Test in Order
Comprehending Test Results and Messages
Review Your Test Memory
Recalling Your Test Result
Recalling Your Average Test Result
Quality Control
About Quality Control Test
Performing a Quality Control Test
Understanding Control Test Results
Caring for Your Meter
Error Messages and Trouble Shooting
Limitations
Specification
Warranty
55
56
59
60
62
63
64
65
76
79
46
49
54
43
45
32
33
41
20
22
24
28
29
30
8
10
16
18
19
Customer Service
Parts of Critical Component
Log Book
Warranty Card
Emergency Card
Being Ready for Test
Smart Code Key Installation
Batteries Installation
Setting Up Your Meter
Turning On/Off the Meter
Function Screens and Button Operations
Easily Handling the Test Strip
About System GM300
The Blood Glucose Monitoring System GM300
The Meter GM300
The Test Strip GS300
Dummy Code Key
The Smart Code Key
9
Test Str ip s
11*
532
7 *
16
8 *
9
The Blood Glucose Monitoring System GM300
8
Package of Meter Kit
Your Blood Glucose Monitoring System GM300 consists of several items. Please identify
each item of your system and learn what they're called and how they're used.
These items are included in your Blood Glucose Monitoring System :
1. Getting Started Guide
2. GM300 User's Manual ( includes Log Book, Warranty Card, Emergency Card )
3. Blood Glucose Test Strip GS300 Package Insert
4. Control Solution Package Insert *
5. Meter GM300
6. Dummy Code Key ( for the package without strip ) or Smart Code Key pre-installed
( for the package with strip )
7. GS300 Test strips ( 0/10/25 pcs )*
8. Control Solution *
9. Check Key
10. Lancing Device *
11. Disposable Sterile Lancets ( 10 pcs ) *
12. Carrying Case ( not shown )*
13. Two AAA Batteries ( not shown )*
14. Instruction for the lancing device ( not shown )*
(* Different packages have different bundled items. Some of packages might not include * items.)
The Blood Glucose Monitoring System GM300
4 *
10 *
2017-12
Main Button ( )
Press to turn on/off meter.
Switch different function screen.
Press and hold down until enter to the setting mode.
( There will be a power-off period during this process.)
The Meter GM300
1110
The Meter GM300
Test Strip Port
Insert test strip here until you hear a click.
Smart Code Key
For calibrating your meter. New one comes with every box
of test strips. ( Refer to page )
Contain the test strip port for inserting strip.
Assemble Smart Code Key into code key base.
19
Display Window
Show your test result, messages and relative information.
Up Button ( )
Down Button ( )
Press to review stored test value in memory and average.
Select the function mode.
1312
Please follow the step ① and step ②.
CODE: 063
Model Number
Smart Code Key Base
Assemble Smart Code Key here Battery Cover
Slide cover to change batteries.
Smart Code Key Release Button
Press down to release and switch the
Smart Code Key.
Meter Serial Number
The Meter GM300 The Meter GM300
15
14
Indicates a test result stored in memory
Indicates the average result
Unit of test result
Test result
Indicates when to apply the blood sample
Indicates a strip is inserted
Appears when an error occurs
Warns when the operational temperature limit is
exceeded during testing
Indicates the time in 12H format
Manufacturing use only
Indicates in the control solution mode
Warns when the batteries are low or must be
replaced
Indicate the code of Smart Code Key
Indicates a check key is inserted
Displays current date / time under time mode or
testing date / time under memory mode
The Meter GM300 The Meter GM300
The Test Strip GS300
1716
The Test Strip GS300
PRECAUTION
- Re-cap the vial cap immediately and close tightly after taking test strip out from the vial.
- Do not reuse test strips.
- Do not use expired test strips.
- Check the discard date you wrote on the vial label every time you use the strip.
- Store the test strip in a cool, dry place and avoid the exposure of direct sunlight and heat.
- For detailed information, please refer to the Test Strip Package Insert.
View Window
This window is originally yellow
before applying blood sample.
It will gradually become red
after filled with blood drop.
Hand Bar
Where you can easily
hand the strip to do
the test.
Sample Entry
µL
Apply a drop of blood or control solution here.
The test request is only 1.4 of blood.
Electrode Contacts
Sensing signal output terminals.
Noble Metal Electrodes
Electrochemical sensor
Indication Symbol
Insert strip with indication symbol
up and toward meter.
The blood sample will be drawn into
sample entry by capillarity automatically.
For package without test strip, not for package with test
strip
A Dummy Code Key will be installed on the new meter in the
package without test strip. This Dummy Code Key is not intended to be used
for testing.
When you open a new box of test strips, you have to replace the Dummy
Code Key by new Smart Code Key in the box.
Do not throw away this Dummy Code Key. It can be used to keep the Smart
Code Key Base clean while the Smart Code Key is not installed.
Dummy Code Key
1918
The Smart Code Key
What is Smart Code Key ?
Smart Code Key is designed to calibrate your meter to make each lot of
strips have the same performance. Each new box of strips contains its new
Smart Code Key. The Smart Code Key stores calibrated information that your
meter needs to give you accurate blood glucose results. You must change
your Smart Code Key with each new box of GS300 Test Strips.
Smart Code Key also contains the test strip port. Although you can still review
the memory and other settings, it's necessary to assemble the Smart Code
Key into meter before actually starting your test. This procedure makes sure
you do calibrate the meter and assures you of getting accurate test results.
How to switch Smart Code Key ?
Every new box of test strips should come with a Smart Code Key inside. Before
you install the Smart Code Key, please check that the code number on the strip
vial and the code number on the bottom of Smart Code Key should be the
same.
If you find they are not the same, please return them to the store where you
bought from.
1. Turn the meter over. Remove old Smart Code Key by pressing down Smart
Code Key release button if one is installed.
2. With the Meter off, follow and direction to put the new Smart Code Key
into the track on code key base.
① ②
Smart Code Key Installation
2120
Smart Code Key Installation
3. Push down the Smart Code Key until it snaps into the Smart Code Key base.
PRECAUTION
- Assemble the Smart Code Key into your meter is necessary before starting your test.
- Be sure to change the Smart Code Key with each new box of
- Use only the Smart Code Key that is packaged with the box of strips you are using.
- Please don't remove this Smart Code Key before you run out of these new strips.
GS300 Test Strips.
0537
Your meter kit comes with two AAA, 1.5 volt, batteries uninstalled. New set of batteries will provide
power to perform about 1,000 tests under normal use. The low battery symbol " " will keep
appearing on your display if your batteries run low. Please keep spares on hand and replace the
batteries soon when a battery symbol appears.
The meter will automatically turn off after 3 minutes of non-use to save battery power. Your test
memories are still saved.
Batteries Installation
2322
Batteries Installation
4. Meter will do the self test and the whole screen will keep
blinking as soon as the batteries are installed.
5. Press any button to close the running-test of the meter, and
enter setting mode.
6. Please set time and date when the batteries are replaced.
See Setting the Time, Date and Unit on page .24
PRECAUTION
- Danger of explosion might happen if battery is incorrectly replaced; replace only with the
same or equivalent type.
- Please follow the local regulation and discard used battery properly.
1. Turn the meter over.
Press and push battery
cover to open.
2. Install both batteries at once.
Be sure to put battery in
correct direction.
3. Slide the battery cover back
until it snaps into place.
Battery
+
-
Battery
+
-
Battery
+
-
Battery
+
-
0537
PRECAUTION
When you keep pressing " " button for 2 seconds, the display on screen will turn off.
Please don't care it. Keep pressing the " " button till entering Setting Mode.
Entering Setting Mode
You can enter Setting Mode by below two ways.
1. Reload batteries: After removing the battery, please press " " button for several times until no
signal on screen, then follow the steps of page 22~23 to load batteries.
2. With batteries: Press " " button for 5 seconds till hearing a sound of " beep ". The display screen
will show setting data.
Setting Up Your Meter
2524
Setting Up Your Meter
Setting the Time, Date and Unit
1. Year setting
With the year format blinking, press the " " or " " button on the side to
adjust it. Then press the " " button to confirm the year adjustment and
move to month setting.
2. Month setting
With the month blinking, press the " " or " " button until the current month
appears. Then press the " " button to confirm it and move to day setting.
3. Day setting
With the day blinking, press the " " or " " button until the current day
appears. Then press the " " button to confirm it and move to time format
setting.
6. Minute setting
With the minute blinking, press the " " or " " button until the current
minute appears.
Then press the " " button to confirm it and move to the setting mode of
measurement unit.
Setting Up Your Meter
27
26
5. Hour Setting
With the hour blinking, press the " " or " " button until the current hour
appears. Then press the " " button to confirm it and move to minute setting.
8. Ending Setting
Then press the " " button to complete the setting and go back to time
screen. The settings you have entered are saved.
9. When you do not do any settings of meter for over 3 minutes, the meter will
leave setting mode and power down automatically.
4. Time Format 12H/24H Selection
With the time format blinking, press the " " or " "
button on the side to adjust it. Then press the " " button
to confirm it and move to hour setting.
NOTE
Fast Settings :
When you do the settings, you can press the " " or " " buttons and hold them for two
seconds to select or adjust faster.
Setting Up Your Meter
7. Setting the Unit of Measurement
With milligrams per deciliter ( mg/dL ) or millimol per liter
( mmol/L ) blinking, press the " " or " " button on the
side to switch.
1. Auto Power Off
The Meter will power off automatically if you don't operate it for over 3 minutes.
2. Manual Power Off
If you want to turn off the Glucose Meter, please keep pressing the " " button for 2 seconds.
3. How to turn on the Power
1) Press the " " button.
2) Insert one piece of strip.
4. When the display on meter screen shows time, memory or average, keep pressing " " button for
5 seconds to enter setting mode.
Turning On/Off the Meter
29
28
Function Screens and Button Operations
Switching the Function Screens
1. Press the " " button to switch function screens including Memory, Average and Time in
sequence.
2. Under Memory function, press the " " or " " button to search your memorized testing data.
3. Under Average function, press the " " or " " button to search your average data of 1 day,
7 days, 14 days or 30 days in sequence.
Memory Average Time
Easily Handling the Test Strip
31
30
How to easily handle the test strip ?
Inserting the test strip:
1. Hold the test strip between thumb and middle finger with indication symbol
" " facing up.
2. Put on the side of strip as shown. forefinger
NOTE
This is the easiest way to insert the strip.
3. Insert the test strip into test strip port until it snaps and firmly stops.
Removing the test strip:
1. Hold the test strip same as insert it.
2. Rotate the test strip counterclockwise and pull up at the same time.
NOTE
Pull the strip in counterclockwise direction will be easier to remove it from
the meter.
Easily Handling the Test Strip
3. Take the test strip out of test strip port totally.
Please follow the local regulation and discard used strip properly.
NOTE
Code key will not be contaminated by blood, if you follow the step correctly.
Getting Ready for Testing
33
32
Before performing a blood glucose test,
you have to prepare the items below :
PRECAUTION
- Assembling the Smart Code Key into your meter is necessary before starting your test.
Each time of using a new box of test strip, you have to assemble the Smart Code
Key from the new strip package.
Cleaning your hands
Before starting your test, use warm soapy water to wash your hands and dry
thoroughly. Warm water helps to increase the blood flow to your fingertips. You can
also use alcohol swab to clean your finger to get accurate measurement.
Performing a Test in Order
- Meter GM300 ( with Smart
Code Key installed )
- Blood Glucose Test Strips GS300
( Please check the expired date on the vial. Don’t
use the expired test strip )
- Lancing device
- Sterile lancet
- Alcohol swab ( optional )
1
3
1) Hold the adjustable cap in one hand and hold the hub in the other
hand. Bend the cap towards the down side. When a gap appears
between the cap and hub, pull them off in opposite directions.
2) Pull off the depth adjustable cap.
3) Insert a new disposable lancet firmly into lancet carrier.
2
Test Strips
PlungerHubLancet carrier
Release button
Safe switch
Depth adjustable cap
Performing a Test in Order
35
34
PRECAUTION
- Load the lancing device ( Refer to Instruction manual of the lancing device )
- Be careful to load the lancing device to avoid being pierced by the needle.
Preparing your meter and strip
1. Remove new test strip from vial and re-cap the vial cap immediately.
2. Insert the test strip with indication symbol, facing up, into test strip
port.
3. Push the test strip in until it snaps and stops. The meter turns on
automatically. When you put the strip into the strip port, you will hear
a sound of " beep ".
4. Check that the code number blinking on your meter matches the
code highlighted on the vial of test strips currently in use.
Performing a Test in Order
4 5
6
7
4) Twist off and set aside the protective cover of the disposable lancet.
5) Replace the depth adjustable cap.
6) Choose a depth of penetration by rotating the top portion of the depth adjustable
cap until the setting depth matches the window. Settings are based on skin type
" " for soft or thin skin; " " for average skin; " " for thick or
calloused skin.
7) Hold the hub in one hand and pull on the plunger in the other hand. The device will
be cocked. Release the plunger, it will automatically move back to its original
position near the hub.
5. While the " " symbol flashing, you are ready to apply the blood
sample. The code number will appear on the right down corner of the
screen.
PRECAUTION
- Before " " appearing, please don't touch your blood drop to the sample
entry on strip because meter is doing a internal test. If you do so, the
meter will show " " and " " and you will waste a strip.
37
36
- To ensure accurate test results, make sure the code number on your meter matches the
code highlighted on the vial of test strips you are using.
- If the code number does not match, change the Smart Code Key to the right one and redo
a test.
- If the meter turns off before you apply the blood sample, take out the unused test strip and
reinsert it. You have three minutes to apply the blood sample before the meter turns off
automatically.
- Please follow the local regulation and discard the used strips properly.
- Before taking the blood sample, make sure of the sampling part is dry thoroughly. Water or
alcohol might affect the accuracy of testing.
Obtaining blood sample
1. Hold the lancing device to the soft side of your fingertip and press the
release button to get a tiny blood sample.
2. Obtain a small blood drop on your finger
In order to get a more accurate measurement, suggest to discard the
first drop of blood.
3. You can start measurement by the second drop of blood.
Performing a Test in Order Performing a Test in Order
Applying blood sample to test strip
1. Touch the blood drop to the sample entry of the strip. The blood will
be drawn into the strip automatically.
2. Hold your finger on the sample entry until you hear a " beep " and the
view window is totally filled with blood. If the view window is not totally
filled with blood and/or the test does not start, discard the test strip
and repeat the test with a new test strip. When you repeat the test,
you may want to obtain the blood sample from a different finger if the
first attempt did not produce enough blood sample.
4. The minimum blood sample size of Glucose Monitoring System GM300 is 1.4 µL :( )
38 39
Performing a Test in Order Performing a Test in Order
Appearance of result
1. When blood is applied to the strip, you see the countdown mode
appearing on your screen. This means the meter is measuring
your glucose value.
2. Your blood glucose result appears after the measurement is
completed. The result is displayed in mg/dL or mmol/L. At the
same time, the result will be memorized with time and date.
3. The testing result with time and date is automatically stored in
your meter's memory.
4. Rotate to remove the test strip. Please follow the local regulation
and discard the used strip properly.
5. Pull off the depth adjustable cap. Without touching the used
disposable lancet, stick the lancet tip into the protective cover.
6. Hold the release button in one hand and pull on the plunger in the
other hand will safely eject the used disposable lancet.
7. Discard the used disposable lancet into an appropriate puncture-
proof or biohazard container.
8. Replace the depth adjustable cap after finishing the test.
12
6
8
7
5
View Window Appearance
Make sure your blood sample covers the
whole area of the View Window to get an
accurate test result. Insufficient blood
sample might cause inaccurate test result.
Repeat the test with a new test strip.
PRECAUTION
- Check the expiration date printed on the package every time you use the strip. Do not use
expired test strips.
- Be sure to change the Smart Code Key with each new box of Test Strips.
- Do the test at least 30 minutes after entering another site with different ambient temperature.
- Use each test strip immediately after taking it out from the vial.
- Do not reuse test strips.
- Please don't drip or inject the blood sample directly by syringe to the sample
entry of test strip. Doing this might contaminate the meter or cause damages
and is not recommended.
Insufficient blood sample Enough blood sample

Other Rightest Blood Glucose Meter manuals

Rightest GS100 User manual

Rightest

Rightest GS100 User manual

Rightest GT200 User manual

Rightest

Rightest GT200 User manual

Rightest Max User manual

Rightest

Rightest Max User manual

Rightest GM700 Pro 2 User manual

Rightest

Rightest GM700 Pro 2 User manual

Rightest GM700S User manual

Rightest

Rightest GM700S User manual

Rightest GM700SB User manual

Rightest

Rightest GM700SB User manual

Rightest GS100 User manual

Rightest

Rightest GS100 User manual

Rightest GM250S User manual

Rightest

Rightest GM250S User manual

Rightest GT100 User manual

Rightest

Rightest GT100 User manual

Rightest Wiz User manual

Rightest

Rightest Wiz User manual

Rightest GS280 User manual

Rightest

Rightest GS280 User manual

Rightest GT333 User manual

Rightest

Rightest GT333 User manual

Rightest HM312 User manual

Rightest

Rightest HM312 User manual

Rightest GT333 User manual

Rightest

Rightest GT333 User manual

Rightest Max Tel User manual

Rightest

Rightest Max Tel User manual

Popular Blood Glucose Meter manuals by other brands

Prodigy VOICE owner's manual

Prodigy

Prodigy VOICE owner's manual

Accu-Chek Inform II Quick reference guide

Accu-Chek

Accu-Chek Inform II Quick reference guide

Acon ON-CALL PRO user manual

Acon

Acon ON-CALL PRO user manual

in4 care GlucoAlpha Enchance user guide

in4 care

in4 care GlucoAlpha Enchance user guide

Ascensia Diabetes Care Contour Plus user guide

Ascensia Diabetes Care

Ascensia Diabetes Care Contour Plus user guide

BIONIME GM550 user manual

BIONIME

BIONIME GM550 user manual

VPD 2 in 1 Smart user guide

VPD

VPD 2 in 1 Smart user guide

Solus V2 user guide

Solus

Solus V2 user guide

Glucofast DUO owner's manual

Glucofast

Glucofast DUO owner's manual

Sejoy BG-707 owner's booklet

Sejoy

Sejoy BG-707 owner's booklet

Contour NEXT EZ user guide

Contour

Contour NEXT EZ user guide

Lifescan OneTouch Select Plus Simple owner's guide

Lifescan

Lifescan OneTouch Select Plus Simple owner's guide

IBP TD 3213 instruction manual

IBP

IBP TD 3213 instruction manual

ForaCare Pet Gluc owner's manual

ForaCare

ForaCare Pet Gluc owner's manual

Homemed glucoChek ConneKT instructions

Homemed

Homemed glucoChek ConneKT instructions

Bayer HealthCare Ascensia Elite XL user guide

Bayer HealthCare

Bayer HealthCare Ascensia Elite XL user guide

NIPRO Diagnostics True balance owner's booklet

NIPRO Diagnostics

NIPRO Diagnostics True balance owner's booklet

MediSense Optium Xceed Quick reference guide

MediSense

MediSense Optium Xceed Quick reference guide

manuals.online logo
manuals.online logoBrands
  • About & Mission
  • Contact us
  • Privacy Policy
  • Terms and Conditions

Copyright 2025 Manuals.Online. All Rights Reserved.