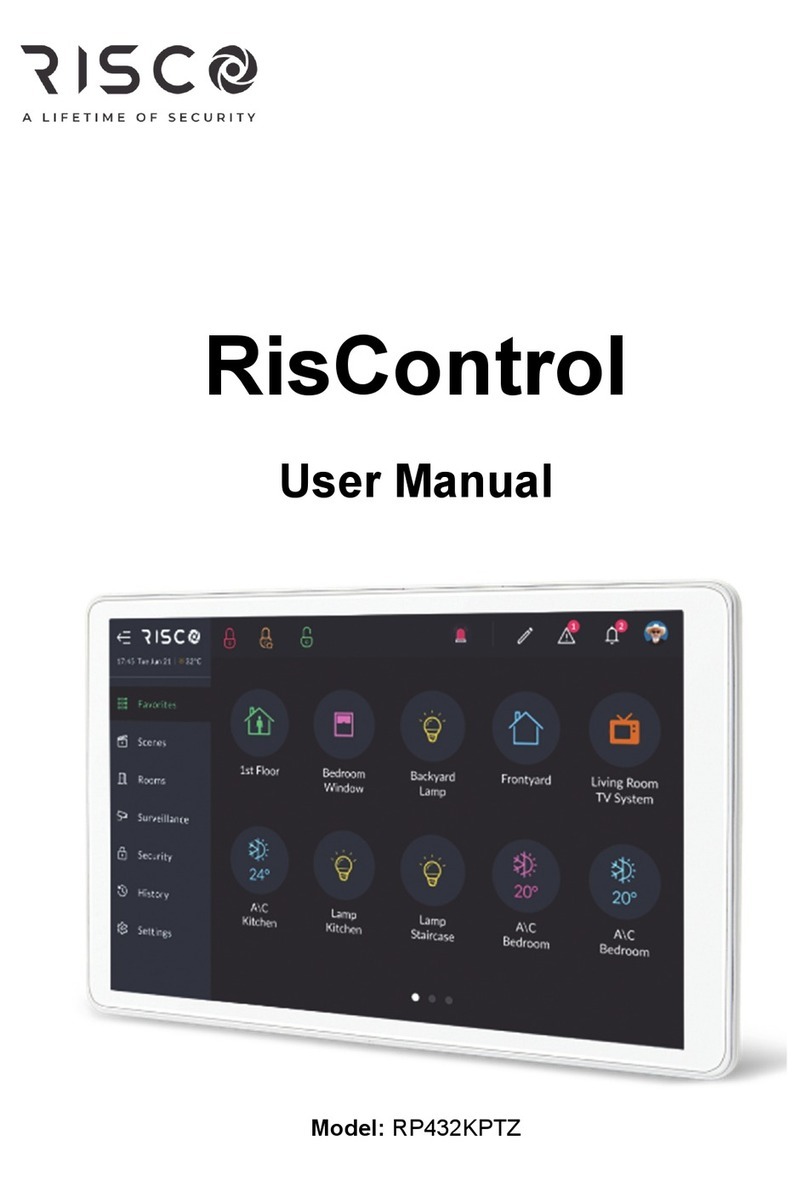
Risco RisControl User manual

RisControl
User Manual
Model: RP432KPTZ

2
Contents
INTRODUCTION...........................................................................................................6
INSTALLING THE RISCONTROL .....................................................................................7
Mounting the RisControl..............................................................................................7
RisControl Setup ........................................................................................................12
Step 1: Selecting the language for the RisControl.................................................12
Step 2: Setting the Bus Address (Virtual DIP Switch) ............................................12
Step 3: Setting the Wi-Fi Connection (optional) ...................................................13
Step 4a: Setup Slave/Master Smart Home Gateway.............................................15
Step 4b: Installer Login to RISCO Cloud.................................................................15
Step 5: Assigning a Site .........................................................................................16
Step 5a: Create a New Site....................................................................................17
Step 5b: Enter Owner Details................................................................................18
Step 5c: Select Existing Site...................................................................................19
Step 6: Site Details ................................................................................................20
Step 7 –Entering Panel’s Password ......................................................................21
Step 8a –Master Smart Home Gateway Installer Setup.......................................22
Step 8b –Adding Slaves to the Master Smart Home Gateway .............................23
Step 8c –Slave Smart Home Gateway Installer Setup ..........................................24
Step 9: Synchronizing the RisControl with the Security Setup..............................25
OPERATING THE RISCONTROL ...................................................................................26
Entering RisControl ....................................................................................................26
RisControl Session......................................................................................................26
RisControl Main Menu...............................................................................................26
RisControl Top Bar .....................................................................................................28
Troubles Management...............................................................................................29
Communication troubles ...........................................................................................29
Confirm Troubles .......................................................................................................31
Notifications Management ........................................................................................31
Software Update Notification ....................................................................................32
Confirm Alarms ..........................................................................................................32
SCREEN SAVER ..........................................................................................................34
Exit/Entry Screen Saver Mode ...................................................................................34
Screen Saver During Alarm ........................................................................................34
LOCK SCREEN ............................................................................................................35

3
About the Lock Screen............................................................................................... 35
Lock Screen with Quick Arm and/or Quick Stay ........................................................ 36
Lock Screen with Undefined Quick Buttons .............................................................. 37
The Lock Screen during Incoming Alarm ................................................................... 38
Blank Display Mode................................................................................................... 39
OVERVIEW SCREEN....................................................................................................40
Using the Overview Screen ....................................................................................... 40
Empty Overview Screen ............................................................................................ 41
Editing the Overview Screen ..................................................................................... 41
Adding Shortcut Buttons to the Overview Screen................................................ 42
Removing Shortcut Buttons from the Overview Screen ...................................... 45
Using the Shortcut Buttons from the Overview Screen ............................................ 45
Incoming Alarm on the Overview Screen.................................................................. 46
SECURITY...................................................................................................................47
Partitions ................................................................................................................... 47
Arming and Disarming .......................................................................................... 48
Exit/Entry Delay.................................................................................................... 49
Final Exit Zone ...................................................................................................... 49
One Click Activation of all Partitions .................................................................... 50
Arming/Disarming Selected or All Partitions........................................................ 51
Groups....................................................................................................................... 51
Detectors................................................................................................................... 53
Utility Outputs........................................................................................................... 54
CAMERAS ..................................................................................................................55
Cameras Screen......................................................................................................... 55
PIR CAM..................................................................................................................... 56
Video Cameras .......................................................................................................... 57
The Cameras Screen ............................................................................................. 58
Quick Buttons............................................................................................................ 59
Using Quick Buttons ............................................................................................. 59
Quick Buttons Tray ............................................................................................... 59
Editing the Quick Buttons Tray............................................................................. 59
Adding/Removing Quick Buttons from the Tray .................................................. 60
Adding/Removing Multiple Quick Buttons to/from the Quick Buttons Tray ....... 60
VIDEO RECORDER......................................................................................................62
Video Recorder Live Gallery ...................................................................................... 62

4
Camera Video Playback..............................................................................................64
Time Slider .................................................................................................................64
Playback Controls.......................................................................................................65
Date Selection............................................................................................................65
Switch back to Live.....................................................................................................66
SMART HOME ...........................................................................................................67
Using a Smart Home Device.......................................................................................67
Device Buttons Operations ...................................................................................68
HISTORY....................................................................................................................70
Searching Events ........................................................................................................70
Media Events .............................................................................................................71
SETTINGS...................................................................................................................72
General.......................................................................................................................73
Wi-Fi Connection........................................................................................................73
Screen Brightness.......................................................................................................73
Session Timeout.........................................................................................................74
Screen Saver...............................................................................................................74
Language....................................................................................................................75
System Information ...................................................................................................75
Manual (Software) Update ...................................................................................75
RisControl Software Version .................................................................................77
RisControl IP Address & MAC................................................................................77
Security System SW Version..................................................................................77
Security System IP Address ...................................................................................77
RisControl Bus ID...................................................................................................77
Users and Permission Settings...................................................................................77
Add a User.............................................................................................................78
Edit or Delete a User .............................................................................................79
Edit a User’s Own Details ......................................................................................79
Login to the RISCO Cloud ......................................................................................80
Date & Time ...............................................................................................................81
Date & Time Settings.............................................................................................82
Maintenance..............................................................................................................82
The Maintenance Menu........................................................................................82
Walk Test...............................................................................................................83
Siren Test...............................................................................................................84
Service Mode ........................................................................................................84

5
Restart Keypad ..................................................................................................... 84
Upload Logs File.................................................................................................... 84
Anti-Code.............................................................................................................. 85
Monitoring Station ............................................................................................... 86
Sounds....................................................................................................................... 86
Follow Me.................................................................................................................. 87
Adding a Follow Me Recipient.............................................................................. 87
Test or Edit a Follow Me....................................................................................... 88
Service Info................................................................................................................ 88
RULES ........................................................................................................................89
Adding a New Rule .................................................................................................... 89
Manual Rule.......................................................................................................... 90
Schedule Rule ....................................................................................................... 91
Event Rule............................................................................................................. 97
Performing Actions............................................................................................. 100
View Rules Summary .......................................................................................... 103
Set Night Mode................................................................................................... 105
Set Vacation........................................................................................................ 108
EMERGENCY............................................................................................................110
Emergency Button Position in Lock Screen/Main Menu......................................... 110
Emergency Type Selection ...................................................................................... 110
SPECIFICATIONS ......................................................................................................111
RED Compliance Statement: ................................................................................... 112
FCC ID:JE4RP432KPTZ.............................................................................................. 112
FCC Note.................................................................................................................. 112

6
INTRODUCTION
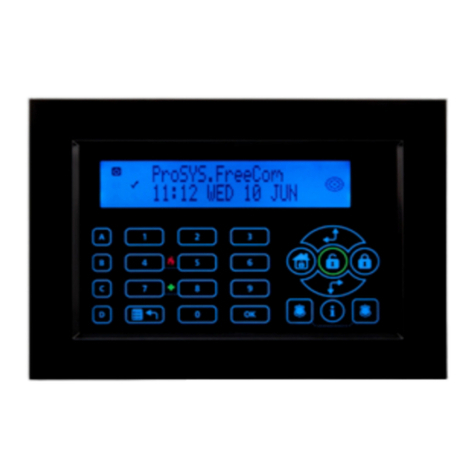
RisControl is a high-resolution Smart Touchscreen Keypad with an intuitive,
easy to navigate user interface. RisControl combines standard keypad functionality
with the ability to operate RISCO’s cloud-based solutions and products, such as
alarm, video and Smart Home devices, from one customizable screen.
Figure 1: RisControl

7
INSTALLING THE RISCONTROL
Note: This chapter is intended for the installer.
Mounting the RisControl
1. Remove the RS 485 connector.
2. Insert the wires into the RS
485 connector and secure
with screws.
Wall Installation

8
3 Gang Flush Mounting Box Installation
3. Remove screw to separate
the bracket from the
RisControl.

9
4. Push down and then
outward to remove the
bracket.
5. Position the bracket on the
wall / Flush Mounting Box
and secure with 5 screws
including tamper (Wall
installation) / 3 screws
including tamper
(Flush Mounting Box
installation).
Wall Installation

10
3 Gang Flush Mounting Box Installation
6. Insert the RS 485 connector
into its location in the rear
side of the RisControl.
7. Position the 4 grooves of the
RisControl over the bracket’s
4 pins and slide downward to
secure.

11

12
RisControl Setup
After wiring the RS-485 bus of the Security System successfully, the powerup
procedure will begin automatically and shortly after the installer will be able to
perform the RisControl setup.
The following workflow illustrates the recommended method for setting up the
RisControl.
•Step 1: Selecting the language for the RisControl
•Step 2: Setting the Bus Address (Virtual DIP Switch)
•Step 3: Setting the Wi-Fi connection –for connecting the RisControl to the RISCO
Cloud (optional)
•Step 4: Synchronizing the RisControl with the Security Setup
Step 1: Selecting the language for the RisControl
When the "Welcome" screen is displayed, select the preferred language that will be
used in the RisControl screens.
Figure 2: Welcome Screen
Step 2: Setting the Bus Address (Virtual DIP Switch)
1. Set the virtual toggle switches on the screen below to indicate the BUS address
of the RisControl. For detailed instructions, refer to your receiver’s installation
manual, Setting BUS Accessories ID Numbers section.

13
Note: The RisControl will not communicate by BUS until prompted by the
panel following the "Scan for devices" procedure that the installer initiates
from the panel.
2. Following address setup of the RisControl, click “NEXT”.
Note: The setup procedure will continue in parallel with the time it takes for
the RisControl to be added to the Security System (that has not yet
“discovered”the other RisControl on the bus).
Figure 3: Bus Address Setting
Step 3: Setting the Wi-Fi Connection (optional)
The RisControl can be connected to the RISCO Cloud via Wi-Fi.
Note: The connection to the Wi-Fi can also be performed by the end-user at a later
time.
1. From the screen that appears, select a Wi-Fi network from the list.
Note: If RISCO Cloud connection is not required, click the "Skip" button.

14
Figure 4: Selecting a Wi-Fi Network
2. Enter a password, to ensure Wi-Fi security
Figure 5: Enter Password
Note: If the unit is intended for Master Smart Home Gateway, it is required to
connect to the Wi-Fi network. If not, this step is optional since the unit will operate
as Slave Smart Home Gateway

15
Step 4a: Setup Slave/Master Smart Home Gateway
This screen is displayed only if a Master Smart Home Gateway was not discovered
in the local area network.
Figure 6: Setting Slave/Master Smart Home Gateway Screen
Note: For Slave Smart Home Gateway, after pressing “NEXT” the setup procedure
will end and the remainder of the setup procedure is relevant to the Master Smart
Home Gateway only.
Step 4b: Installer Login to RISCO Cloud
Enter your RISCO Cloud Username and Password.
Figure 7: Installer Login to RISCO Cloud Screen

16
Step 5: Assigning a Site
The Master Smart Home Gateway must be assigned to a RISCO Cloud Site. Create
a new site for the Master Smart Home Gateway or select an existing site.
Figure 8: Assigning a Site to the Master Smart Home Gateway Screen
Note: If the panel is already in an existing site, you will be directed automatically
to Step 6.

17
IMPORTANT!
The following screen is displayed when the installer cannot use the control panel
for the reasons mentioned on the screen.
Click the “BACK” button and correct as required or click the “END” button to
terminate the setup procedure.
Figure 9: Important Security Panel Screen
Step 5a: Create a New Site
Enter the site details and then click the “NEXT” button:
Field
Description
Site Name
Enter a suitable name for your Site
Location
Select your country
State/Province
Select your state or province, if applicable
City, Address,
Site Phone
Enter these details
Time Zone
Select your location time zone

18
Step 5b: Enter Owner Details
Enter the owner’s email, name and phone number, and then click the “NEXT”
button:
Note: The owner is the Grand Master of the site
Figure 10: Entering Owner Details Screen

19
Step 5c: Select Existing Site
Search for an existing site by the Site’s Name.
Note: Relevant only for sites that are in your Company and for which you have
permission to view.
Figure 11: Selecting Existing Site Screen
If there is more than one existing site, select an existing site from the displayed list.
Figure 12: Selecting Existing Site from List Screen

20
Step 6: Site Details
Check the displayed site details and then click “NEXT” to confirm.
Figure 13: Confirming Site Details Screen
Other manuals for RisControl
3
Table of contents
Other Risco Control Panel manuals

Risco
Risco LightSYS Instruction manual

Risco
Risco GT 601 Instruction manual

Risco
Risco ProSYS 128 User manual

Risco
Risco GT 600 Programming manual

Risco
Risco RisControl User manual

Risco
Risco Gardtec GT480 User manual

Risco
Risco RisControl User manual

Risco
Risco gt490x User manual

Risco
Risco GT Plus Instruction manual

Risco
Risco GardTec 350+ User manual