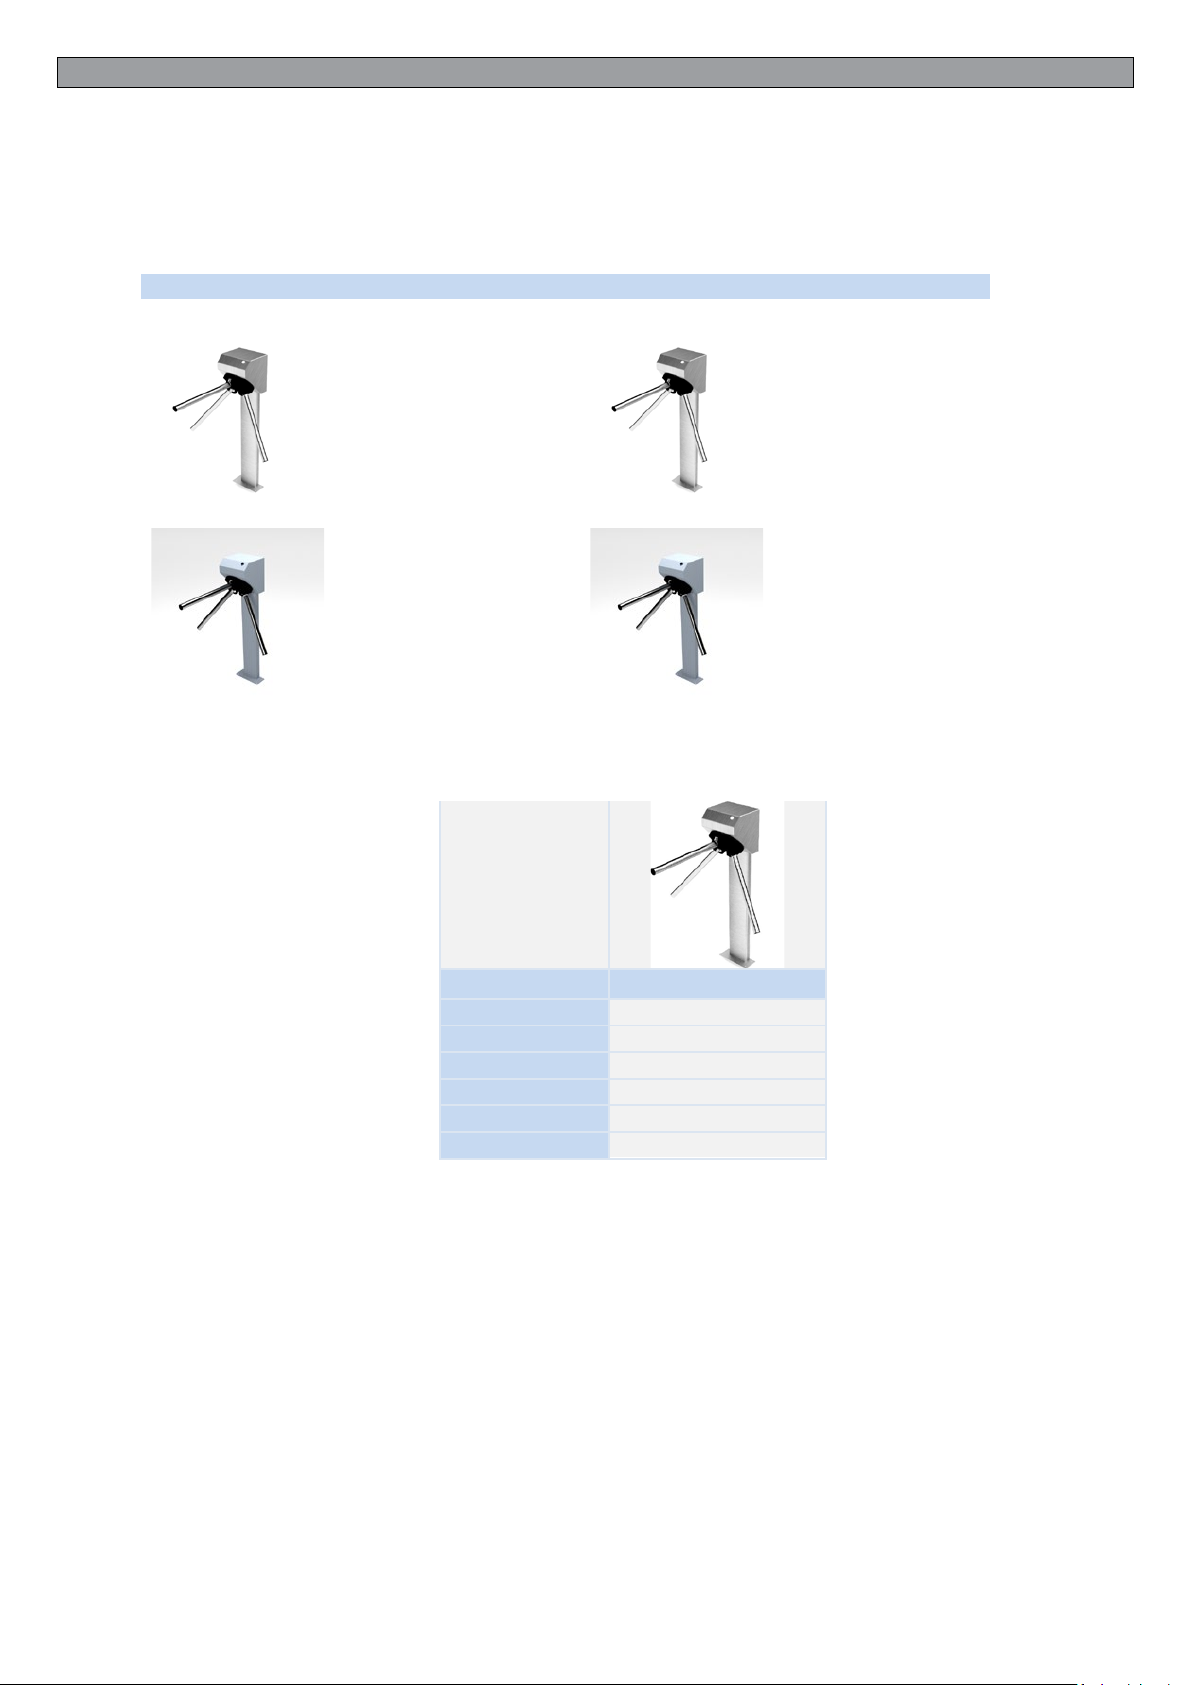
10 - GR1-TM
GR1-TMEnglish
8
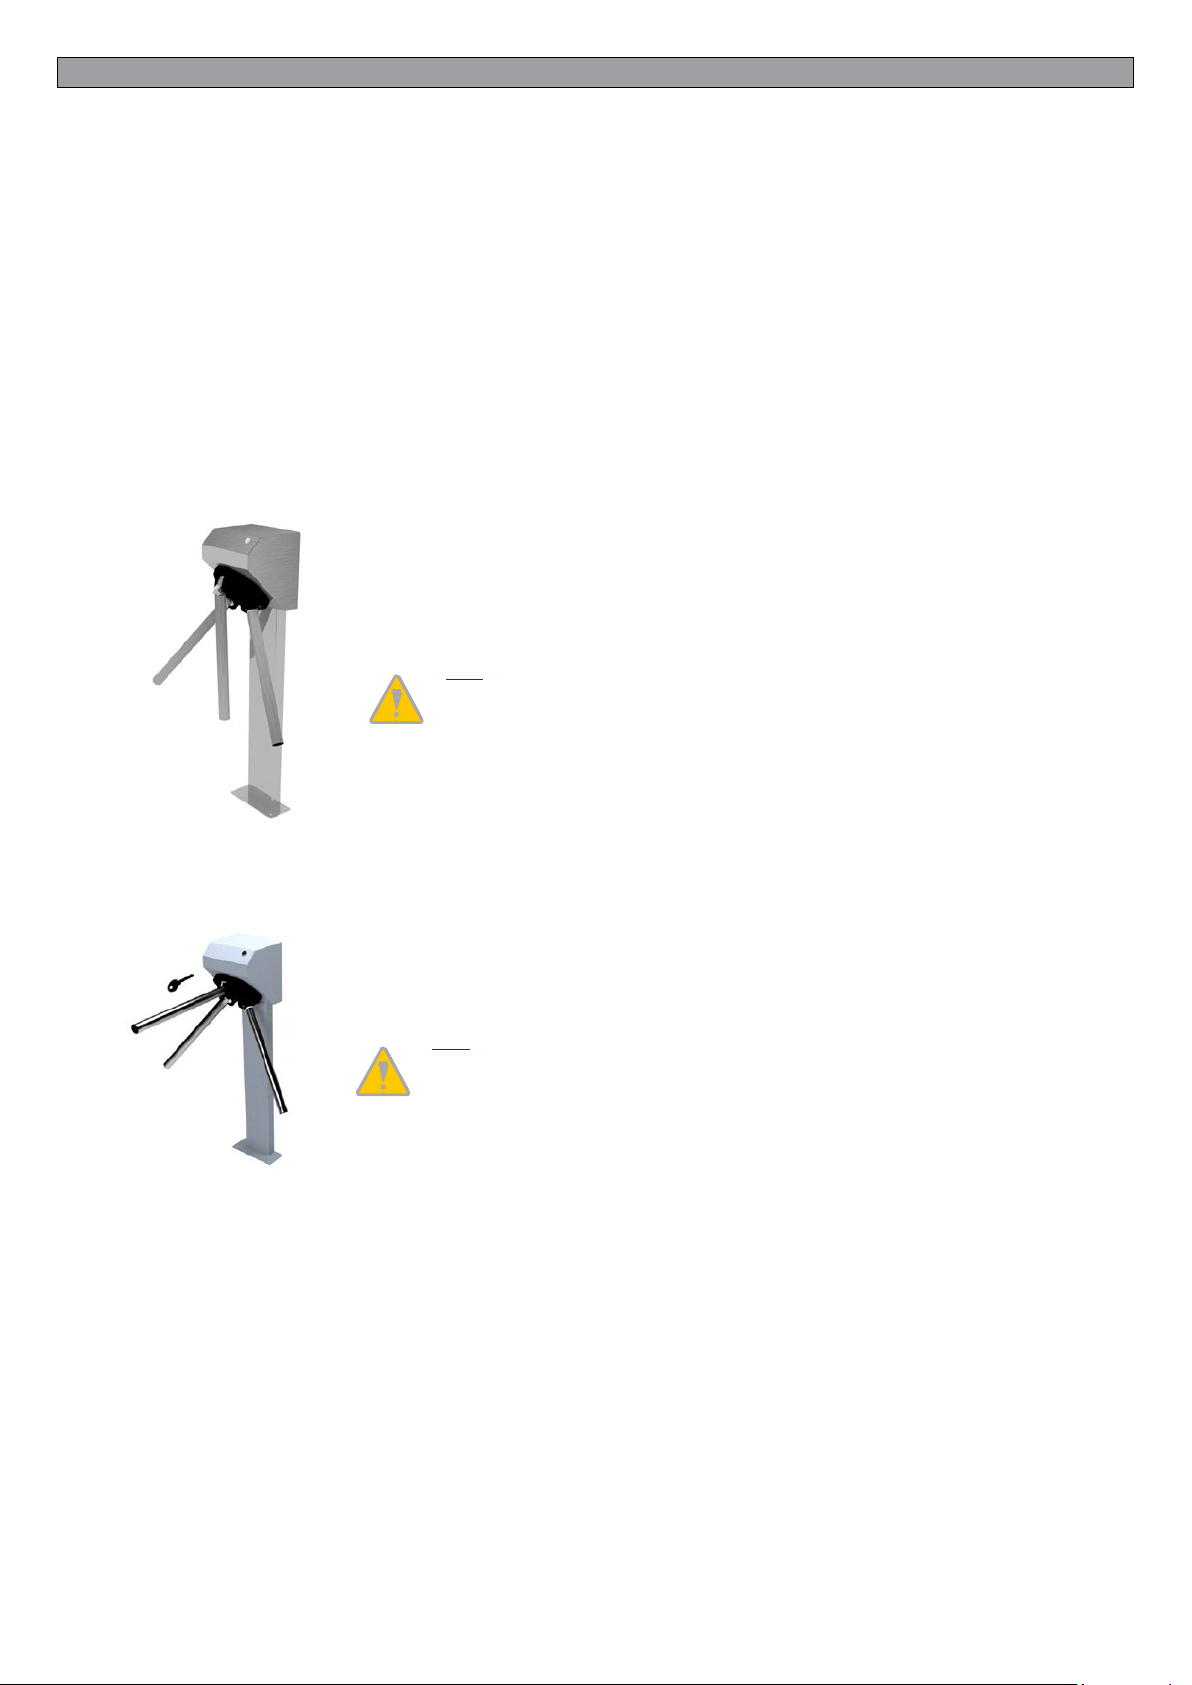
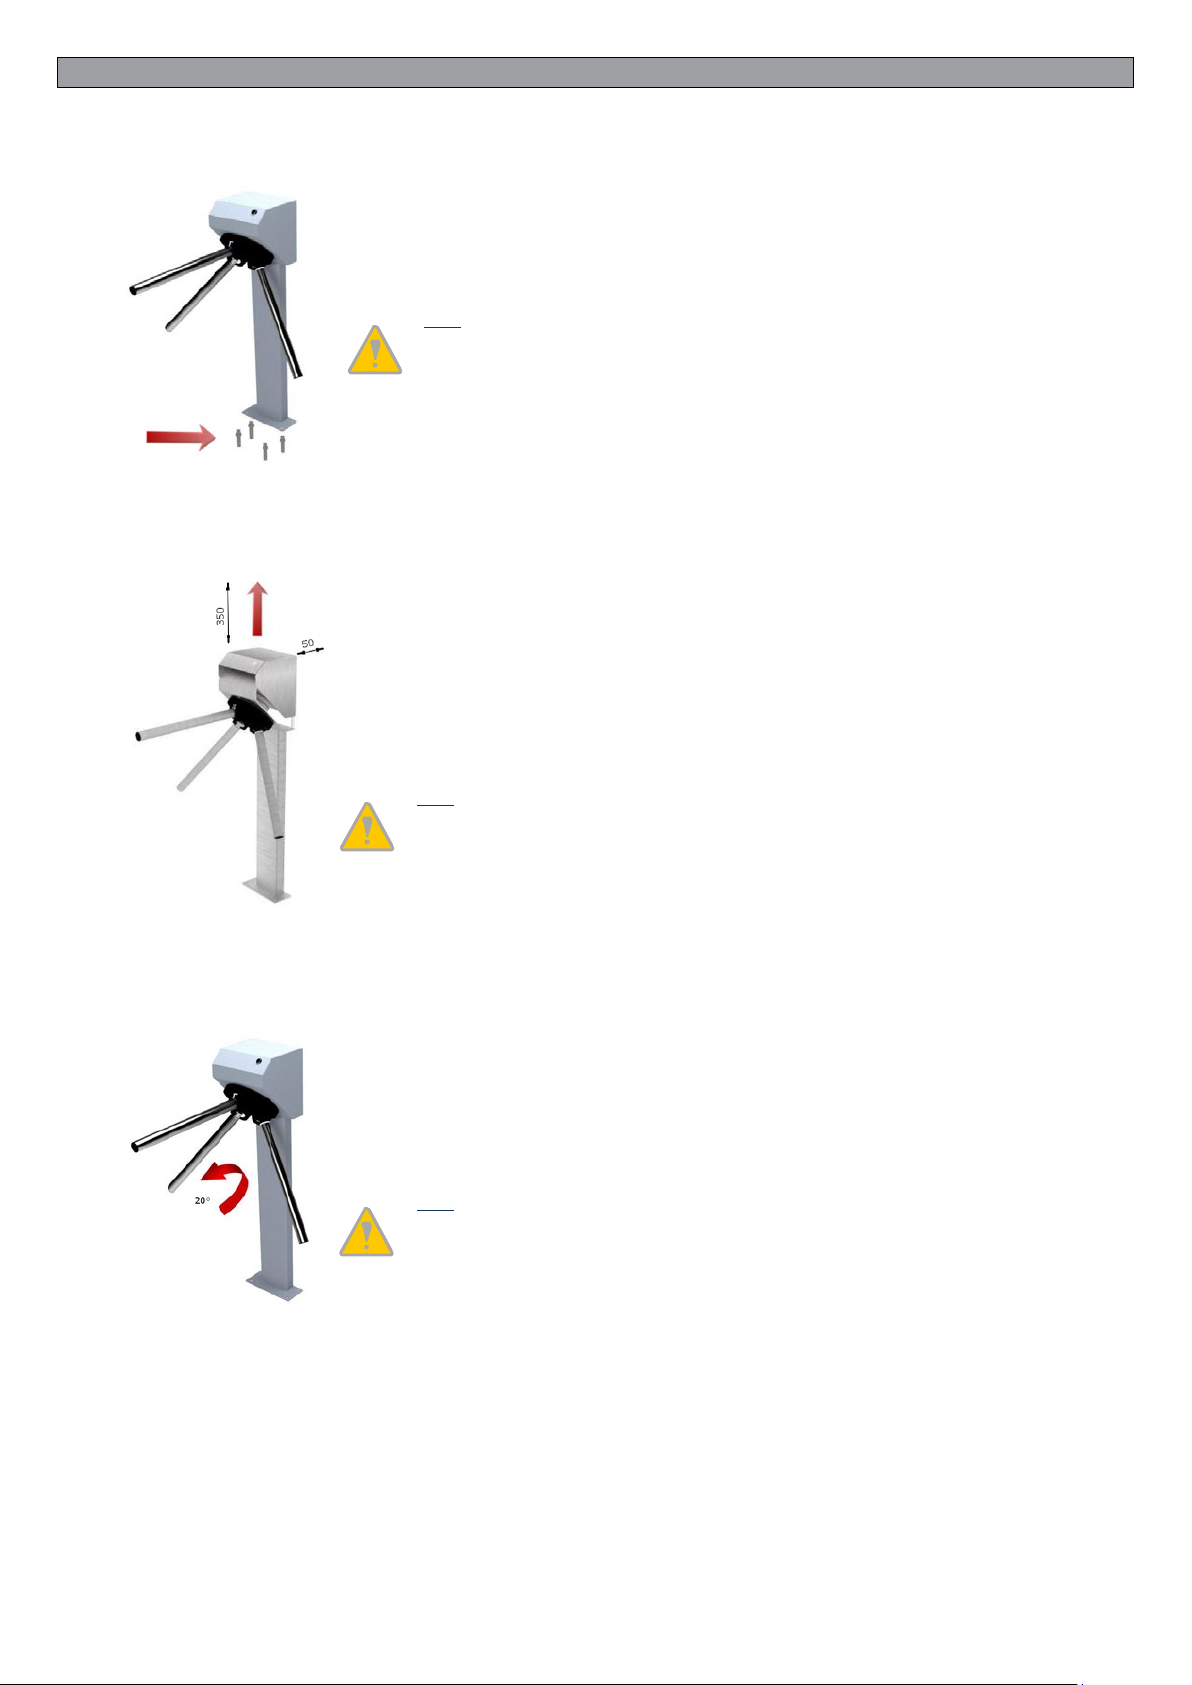
MAINTENANCE AND OPERATION MANUAL FOR GR1 GATE
FEEDBACK SIGNALS INFORMING ABOUT ROTOR’S MOVEMENT (PERSONAL PASSAGE)
Feedback signals inputs of NC type (Normal closed)
Feedback signals inputs of No type (Normal opened)
Feedback signals description in a graph
form
Feedback signal informs about making a rotation by the
rotor, that confirms correct personal passing through the
passage section. Feedback signal shall be used in systems,
where efficient and accurate pedestrian traffic control is
important.
Correct application of the signal
to release from external devices
(e.g. reader /control logic) is
possible only after obtaining a
feedback signal informing about
the rotation cycle completion
(personal passage).
Table below provides descriptions of feedback signals
outputs informing about rotor’s movement.
Table below provides a description of an output signals
graph, so called feedback:
OUT 1
PIN 11 - Feedback OUT1 (NO contact, I max = 0.5A
PIN 12 – Feedback OUT1 (COM contact, I max = 0.5A)
PIN 13 – Feedback OUT1 (NC contact, I max = 0.5A)
OUT 2
PIN 14 - Feedback OUT2 (NO contact, I max = 0.5A)
PIN 15 – Feedback OUT2 (COM contact, I max = 0.5A)
PIN 16 – Feedback OUT2 (NC contact, I max = 0.5A)
T1 Time between completion of the passage
cycle and application of the next pulse
T2,T4 A release signal S_11 or S_12 detecting time
T3 A release signal maintaining time (NOTE :
0,01 s ≤ T2+T3+T4 ≤ 1s)
T5 Pushing one of the rotor’s arms (sphere)
awaiting time (max 15s)
T6 Passage time (max. 15 s)
T7,T9 Time of switching one of transmitters at
outputs OUT1, OUT2 (min. 100 ms)
T8 The feedback signal lasting time (0.8 s)