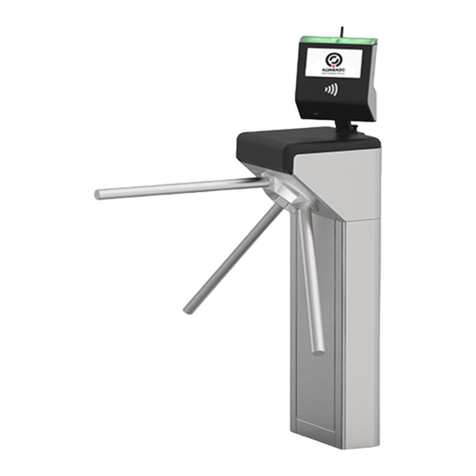
Alvarado – SLT / SLTX Turnstile
15
MAINTENANCE
Inspect the installed turnstiles approximately 30 days after the initial installation. Thereafter, the
frequency of maintenance will depend on usage and the environment. We suggest inspecting
and lubricating the turnstile interior twice a year. Interior maintenance should be performed
more frequently in high use applications and/or in dusty or humid environments. Periodically
check the anchor bolts for tightness. Exterior cleaning should be performed as necessary.
INTERIOR CARE:
1. General – Check the tension of the three anchors. Tighten to approximately 20 ft-lbs. Check
tension of all nuts, bolts and screws. Clean away accumulated dust and dirt.
2. Microswitches – (Counting or SLTX units only) Manually rotate the turnstile and inspect the
microswitch contact(s). Switch activation should occur without any distortion or bending of the
switch arm. Necessary adjustments can be made by repositioning the adjustable micro plate (#87
on exploded drawing-page 24).
3. Wiring – Inspect all wires and contacts for exposure to any metal parts that may lead to a short
(SLTX units only).
4. Movement – Verify that the compression arm and shoe (#81 and #82 on exploded drawing) move
freely. If the movement is not smooth, remove both parts and apply 3-in-1 oil. Replace parts and
check movement.
5. Hydraulic Cylinder – Verify that the hydraulic cylinder is properly adjusted by observing the
rotation of the turnstile arms. Use the override key to disengage the lockarms and unlock the
turnstile arm.
Spin the arm once rapidly in the testing direction. The turnstile arm should rotate once and stop in
the standard position. If the turnstile over rotates, increase the hydraulic tension. Do this by
removing the cotter type pin at the top of the hydraulic closure (#62 on the exploded drawing).
Tighten the adjusting screw (clock-wise) with a slotted screwdriver. Put the pin back in and retest.
Test in increments of 1/8 of a turn.
If the turnstile under-rotates (returns to standard position very slowly), decrease the hydraulic
tension. Follow directions as above, but loosen the adjusting screw (turn the adjustment screw
counter-clockwise). Replace the pin and retest.
The hydraulic cylinder is adjusted at the factory to a level suitable for most standard applications;
however, the viscosity of the hydraulic fluid is affected by extreme variations in temperature.
Adjustments may be necessary depending on the application or environmental factors. When
making adjustments, ensure that the hydraulic is not adjusted so loosely that the turnstile arm hits
the user in the back/rear as they pass through the turnstile.
6. Lubrication – Apply a light grade lubricant (i.e. Tri-Flow or 3-in-1 oil with a tube extension
applicator) to all contact points. Contact points include spring and micro-switch (if applicable)
contact points. Review the photo on page 26 for identification of lubrication areas.