manuals.online logo
Brands
  1. Home
  2. •
  3. Brands
  4. •
  5. Roadmaster
  6. •
  7. Automobile Accessories
  8. •
  9. Roadmaster 1109-174 User manual

Roadmaster 1109-174 User manual

85-4607 rev. 00 11-10
ROADMASTER, Inc. • 6110 NE 127th Ave. • Vancouver, WA 98682 • 800-669-9690 • www.roadmasterinc.com
part #1109-174 1-5/8” diameter
Auxiliary Rear Anti-Sway
Bar Kit for Kodiak
4500-5500
INTRODUCTION
Thank you for purchasing this anti-sway bar kit. This kit is designed to improve the handling characteristics of your Kodiak
4500/5500 by reducing the body roll and balancing the weight transfer during cornering. The anti-sway bar kit is engineered
for long life and trouble-free performance. For maximum suspension control, use this kit along with our front anti-sway bar kit.
All the hardware needed for installation is included in this kit. Refer to the PARTS LIST in these instructions to identify the parts.
SUGGESTED TOOLS
The following tools are suggested to complete the installation procedures:
• Standard socket and wrenches
Installation Instructions
Thank you for purchasing anti-sway
bar kit. Please read through these
instructions before installation.
Note: do not remove the factory anti-sway bar. This kit is designed to
support the factory anti-sway bar — not replace it.
•If raising the vehicle to install the anti-sway bar, always support
the vehicle with jack stands at both frame rails or at the rear axle
before working underneath. Ensure that the jack stands are securely
positioned, and are rated at or above the weight of the vehicle.
•The installer must read the instructions and use all bolts and parts
supplied. Use only the parts supplied by ROADMASTER to install
this kit.
•Minor modifications are sometimes necessary due to slight vehicle
variations, even for the same year, make and model.
•Regardless of year, make and model, a wide range of options for
specific applications may or may not interfere with the installation.
It is the installer’s responsibility to make certain that equipment is
not damaged once the suspension solution travels through the full
range of motion. Failure to ensure adequate clearance could result
in non-warranty property damage, personal injury or even death.
Failure to follow these instructions
can result in property damage, per-
sonal injury or even death.
WARNING
•If running changes were made by the manufacturer after this kit
was designed, there may be weldments, braces, gussets, or other
structural items which interfere with the installation. It is the in-
staller’s responsibility to allow for these running changes without
sacrificing the structural integrity of the anti-sway bar. Failure to
securely fasten the anti-sway bar could result in property damage,
personal injury or even death.
•ROADMASTER will not be responsible for any damage or injury
resulting from any modification or alteration.
•Check ALL the fasteners for tightness before and after road testing
the vehicle.
•Do not use this document for custom fabrication, as it may not
show all parts or structural components.
•Do not use an air impact wrench when re-installing bolts, as stripped
threads may result.
•This anti-sway bar is only warranteed for the original installation.
Installing a used anti-sway bar on another vehicle is not recom-
mended and will void the warranty.
Note: for use with vehicles equipped with
Granning Air Ride systems only
PARTS LIST
2 • Kodiak 4500/5500 Rear Anti-Sway Bar Kit 800-669-9690
5
5
13
3
4
12
6
16
13
Part #1109-174
Part # Description Qty
1 B141 Bracket 2
2 B629 Front bracket left 1
3 B630 Front bracket right 1
4 B451 End link 2
5 B606 Bracket 1
6 205222-10 Bushing 2
7 205223-50 Bushing 8
8 205522-00 Sleeve 4
10 350101-80 ½’ x 3” NC bolt 2
11 580272-00 Anti-sway bar 1
9 350099-80 Bolt 2
12 350096-80 ½” x 1¾” NC bolt 4
13 350308-00 Cut washer 2
14 350347-00 9/16” cut washer 4
15 350259-00 ½” NC nylon nut 12
16 400011-30 Aqualube grease 1
17 B700 ¾” Wrench 1
18 *350308-40 ½” Cut washer 4
19 *B619 Bracket 1
20 *350097-00 1/2” x 2” NC GRD5 4
21 *350099-80 1/2” x 2-1/2” NC GRD8 2
8
15
10
1
7
9
14
11
* Not shown
The following instructions must be followed in the order listed to ensure a proper installation
and to preserve the ROADMASTER warranty.
INSTALLATION
800-669-9690 Kodiak 4500/5500 Rear Anti-Sway Bar Kit • 3
1. Install the Frame Brackets
Note: do not remove the factory anti-sway bar. This kit is designed
to support the factory anti-sway bar — not replace it. Start by
removing the two mounting bolts on the rear leaf spring hanger
bracket. There are three bolts on each side of the leaf spring
hanger, and we are using the upper and the lower bolts (middle bolt
is not used) on the forward side of the hanger. Attach the bracket so
that the larger hole is on the axle side. A ¾” wrench is included in
the kit for this job (Figure 1, 2, 3, 4, 5).
2. Install the Axle Brackets
Loosen all four of the u-bolt nuts on each side. Remove the rear
u-bolt nuts and install the bracket. Re-tighten all ubolt nuts in an X
pattern. Be sure the lower axle plate is seated flush and torque to
the manufacturer’s specifications (Figure 7, 8).
Figure 1
Figure 2
Figure 3
Figure 4
Figure 5
Figure 6
Front of vehicle Front of vehicle

Front of vehicle


Front of vehicle

INSTALLATION
3. Install the Anti-Sway bar.
Start by bolting the B632 bolt to the endlink and frame bracket
using the ½ x 2.5” bolt, with the bolt head facing towards the
outside. Use the supplied 9/16” cut washer on the inside. Grease
the bushings with the supplied lube and install on the anti-sway bar.
Place B141 bushing clamps over bushings (Figure 8, 10).
Next, bolt the anti-sway bar to the end links. The bolt head should
be to the inside (Figure 9).
Now, rotate the anti-sway bar into position on the axle plates and
secure loosely with the ½” x 1¾” bolts.
Once everything is in place, tighten all hardware.
4. Test drive.
Test drive and listen for any unusual noise, re-check all fasteners.
Figure 8
Figure 9
Figure 10
Do not tow or hoist the vehicle using the anti-sway bar or its
mounting brackets as attachment points. The anti-sway bar is not
designed to carry the weight of the vehicle and may collapse, which
will damage the anti-sway bar components, the suspension, or other
components. The vehicle will detach or fall, which may cause severe
personal injury.
Failure to follow these instructions may result in property damage,
personal injury or even death.
The anti-sway bar is not a load-bearing component
WARNING
4 • Kodiak 4500/5500 Rear Anti-Sway Bar Kit 800-669-9690
Figure 7

Other Roadmaster Automobile Accessories manuals
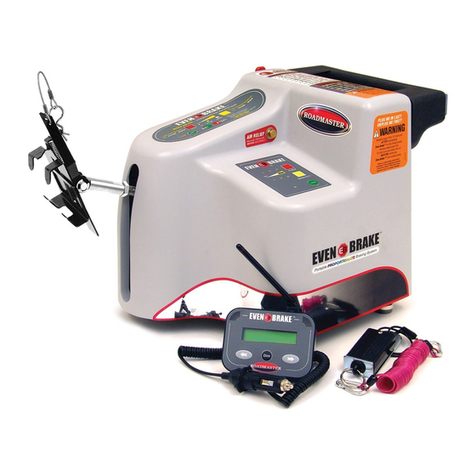
Roadmaster Even Brake 9400 User manual
Roadmaster

Roadmaster Even Brake 9400 User manual

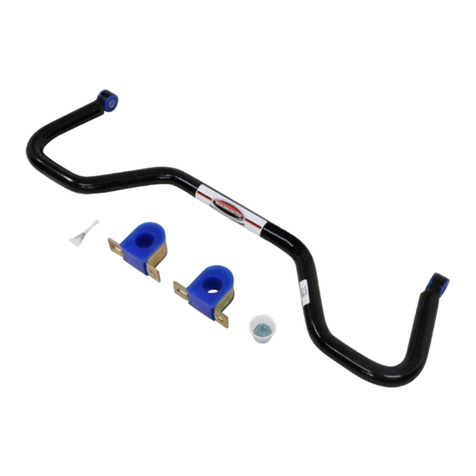
Roadmaster 156-75 User manual

Roadmaster

Roadmaster 156-75 User manual
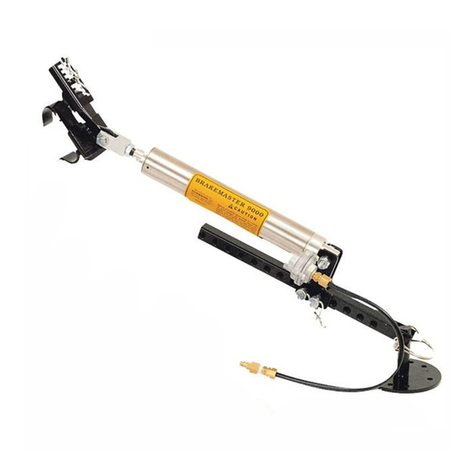
Roadmaster BrakeMaster 9100 User manual
Roadmaster

Roadmaster BrakeMaster 9100 User manual

Roadmaster 031-5 User manual

Roadmaster

Roadmaster 031-5 User manual
Roadmaster 9300 Operating instructions
Roadmaster

Roadmaster 9300 Operating instructions

Roadmaster Sterling ALL-TERRAIN 576 Original instructions
Roadmaster

Roadmaster Sterling ALL-TERRAIN 576 Original instructions

Roadmaster Sterling All Terrain User manual
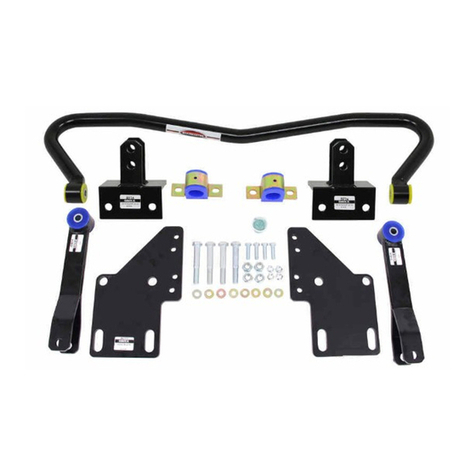
Roadmaster

Roadmaster Sterling All Terrain User manual

Roadmaster 1139-143 User manual

Roadmaster

Roadmaster 1139-143 User manual
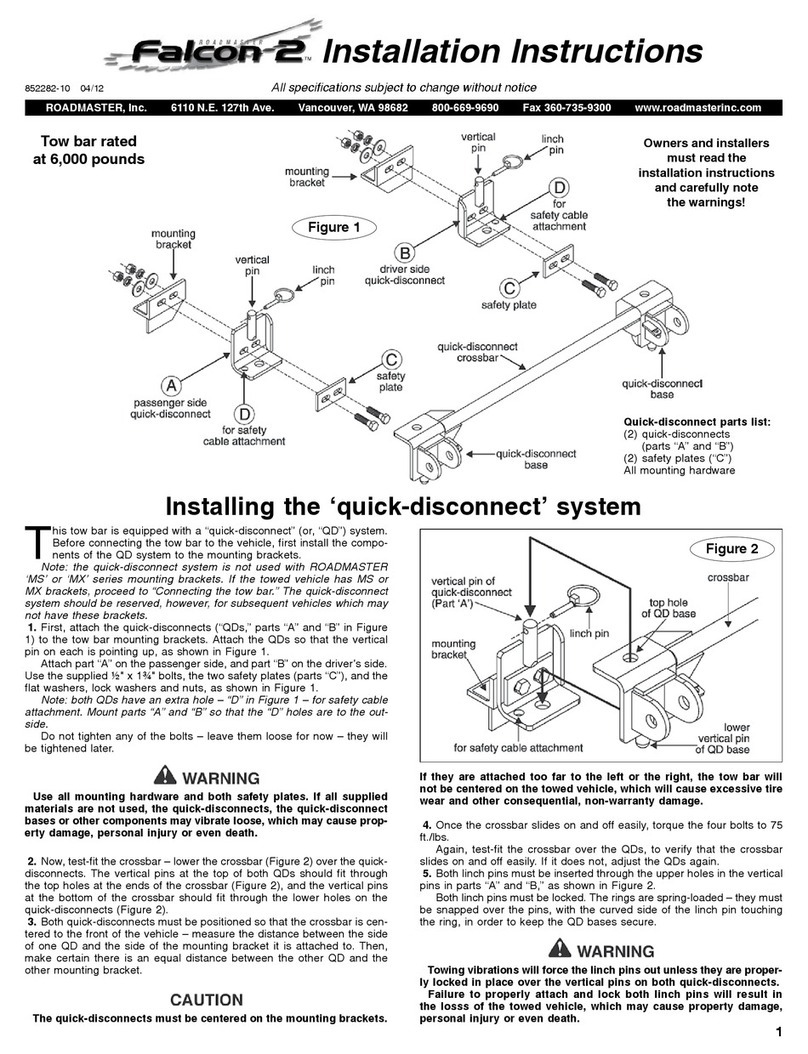
Roadmaster Falcon 2 User manual

Roadmaster

Roadmaster Falcon 2 User manual
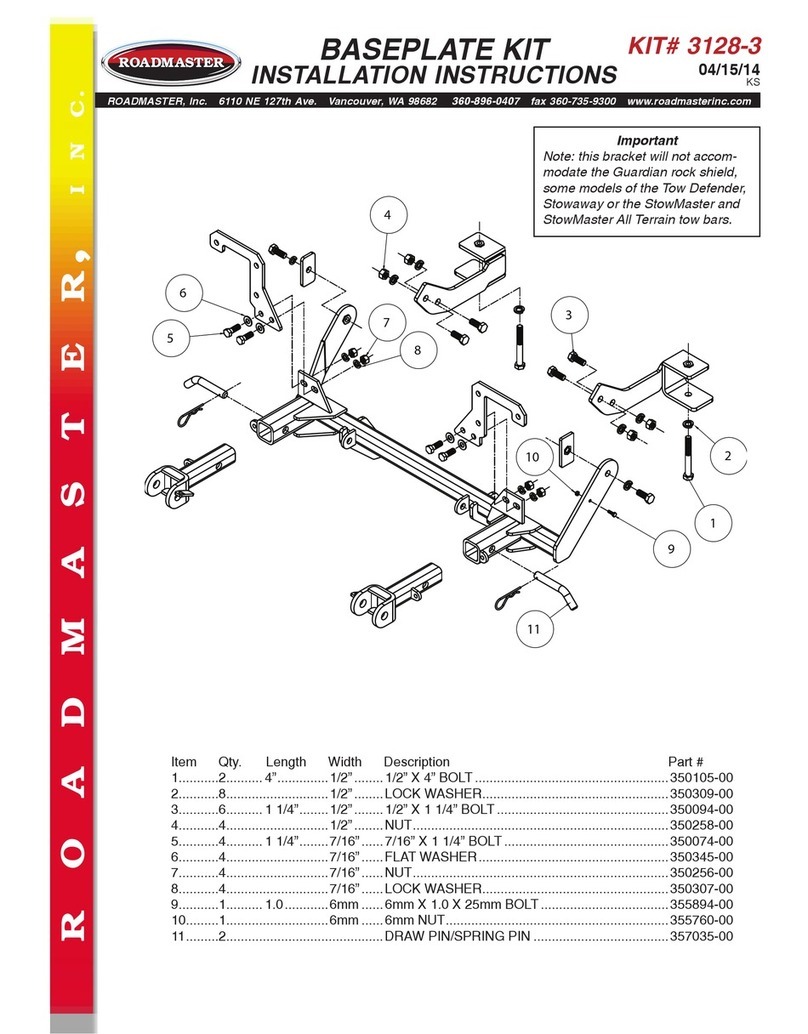
Roadmaster 3128-3 User manual

Roadmaster

Roadmaster 3128-3 User manual
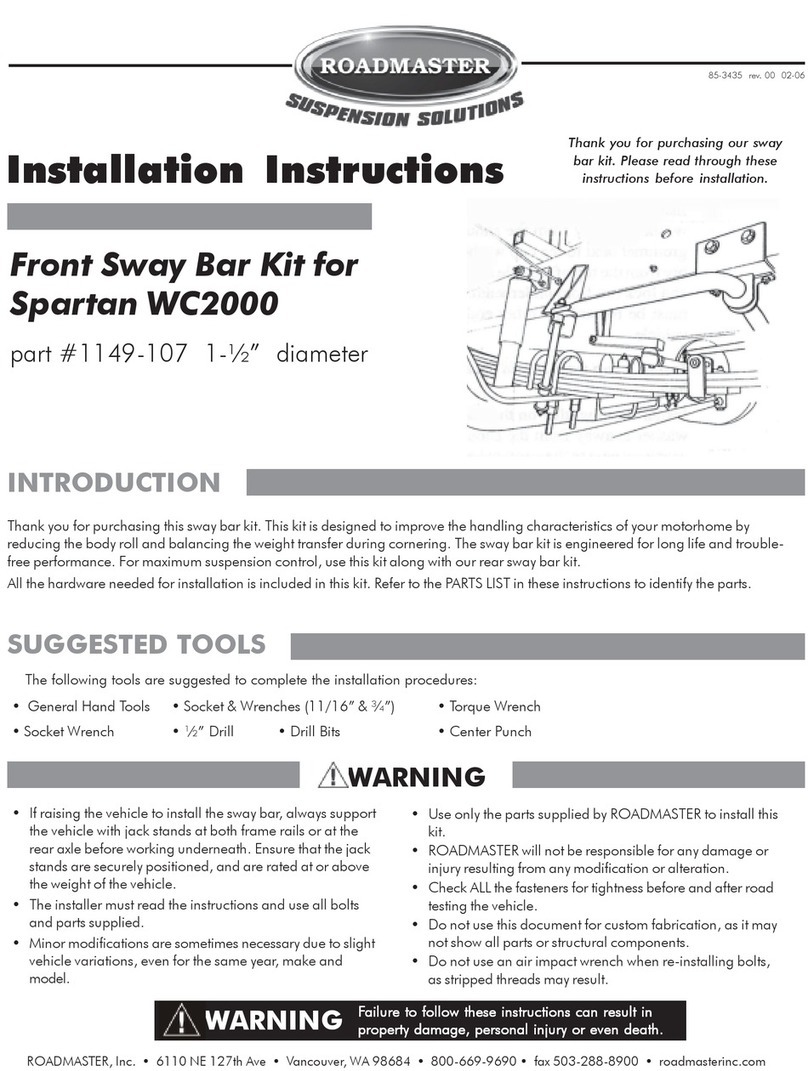
Roadmaster 1149-107 User manual

Roadmaster

Roadmaster 1149-107 User manual
Roadmaster 52285-1 User manual

Roadmaster

Roadmaster 52285-1 User manual
Roadmaster 2000-1 User manual

Roadmaster

Roadmaster 2000-1 User manual
Roadmaster StowMaster 910003-10 Guide

Roadmaster

Roadmaster StowMaster 910003-10 Guide
Roadmaster 751428 User manual

Roadmaster

Roadmaster 751428 User manual
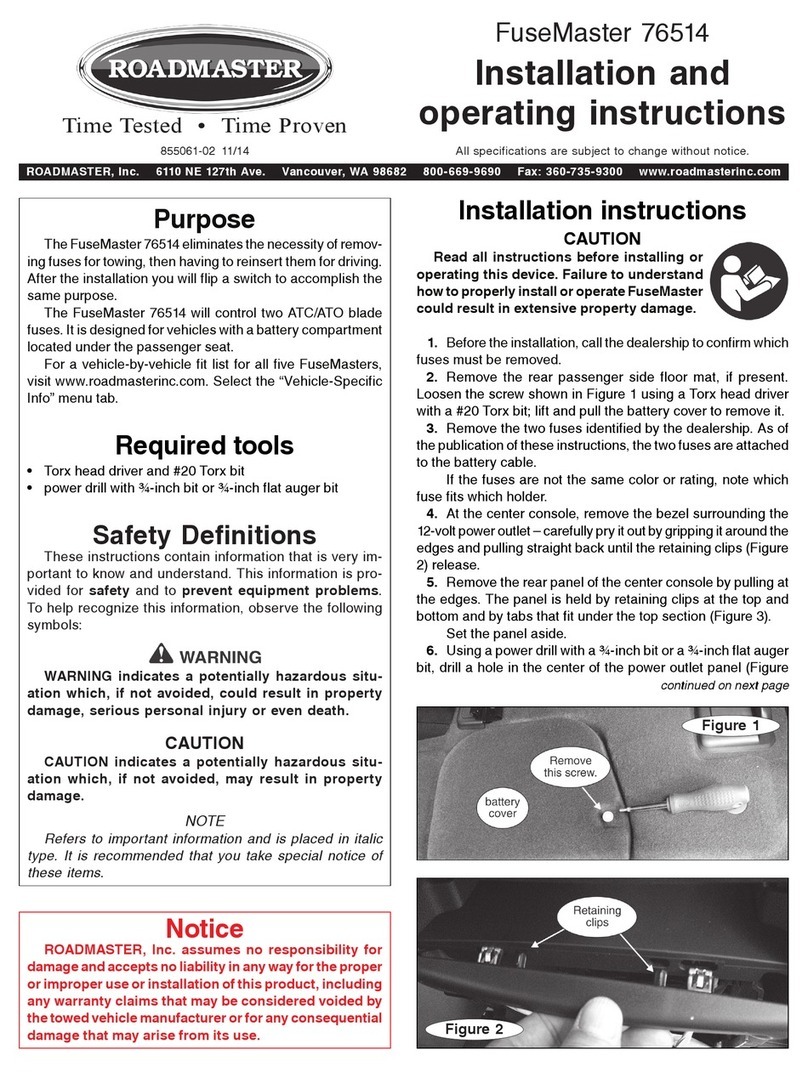
Roadmaster FuseMaster 76514 User manual
Roadmaster

Roadmaster FuseMaster 76514 User manual

Roadmaster Hands-Free Car Kit VRBT400 User manual
Roadmaster

Roadmaster Hands-Free Car Kit VRBT400 User manual

Roadmaster 1209-118 User manual

Roadmaster

Roadmaster 1209-118 User manual
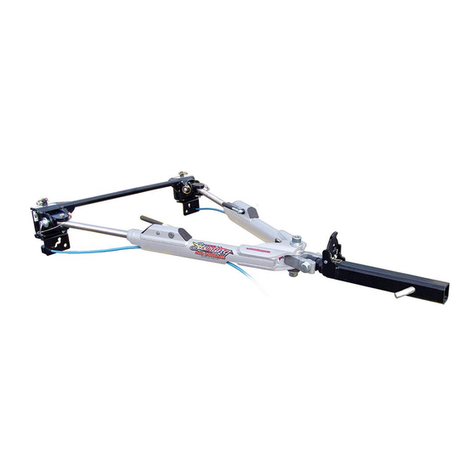
Roadmaster Sterling Operating instructions
Roadmaster

Roadmaster Sterling Operating instructions

Roadmaster REJ2000 User manual

Roadmaster

Roadmaster REJ2000 User manual

Roadmaster Falcon 2 Original instructions

Roadmaster

Roadmaster Falcon 2 Original instructions

Roadmaster Sterling User manual

Roadmaster

Roadmaster Sterling User manual

Roadmaster 195125 User manual

Roadmaster

Roadmaster 195125 User manual

Roadmaster TOW DEFENDER 4800 User manual

Roadmaster

Roadmaster TOW DEFENDER 4800 User manual

Popular Automobile Accessories manuals by other brands

Magneti Marelli AC161 Installation instruction

Magneti Marelli

Magneti Marelli AC161 Installation instruction

FDI uEZ GUI Start here

FDI

FDI uEZ GUI Start here

JCROffroad JT Install instructions

JCROffroad

JCROffroad JT Install instructions

Rostra VOXXElectronics 250-1930 owner's guide

Rostra

Rostra VOXXElectronics 250-1930 owner's guide

TOP VEHICLE TECH GR3FORD5 installation manual

TOP VEHICLE TECH

TOP VEHICLE TECH GR3FORD5 installation manual

Safe Fleet PRIME DESIGN AR-2000-BLK manual

Safe Fleet

Safe Fleet PRIME DESIGN AR-2000-BLK manual

Skoda Fabia Combi 5J Fitting instructions

Skoda

Skoda Fabia Combi 5J Fitting instructions

Camcar 40077 Al Mounting instructions

Camcar

Camcar 40077 Al Mounting instructions

Camcar 40089 AL Mounting instructions

Camcar

Camcar 40089 AL Mounting instructions

Impac Tradesman 2000 installation manual

Impac

Impac Tradesman 2000 installation manual

DVB OFFROAD BRSB-01 installation manual

DVB

DVB OFFROAD BRSB-01 installation manual

Safari Snorkel SS385HF installation guide

Safari Snorkel

Safari Snorkel SS385HF installation guide

ULTIMATE SPEED 279746 Assembly and Safety Advice

ULTIMATE SPEED

ULTIMATE SPEED 279746 Assembly and Safety Advice

SSV Works DF-F65 manual

SSV Works

SSV Works DF-F65 manual

ULTIMATE SPEED CARBON Assembly and Safety Advice

ULTIMATE SPEED

ULTIMATE SPEED CARBON Assembly and Safety Advice

Witter F174 Fitting instructions

Witter

Witter F174 Fitting instructions

WeatherTech No-Drill installation instructions

WeatherTech

WeatherTech No-Drill installation instructions

TAUBENREUTHER 1-336050 Installation instruction

TAUBENREUTHER

TAUBENREUTHER 1-336050 Installation instruction

manuals.online logo
manuals.online logoBrands
  • About & Mission
  • Contact us
  • Privacy Policy
  • Terms and Conditions

Copyright 2025 Manuals.Online. All Rights Reserved.