manuals.online logo
Brands
  1. Home
  2. •
  3. Brands
  4. •
  5. Roadmaster
  6. •
  7. Automobile Accessories
  8. •
  9. Roadmaster 2100 Quick start guide

Roadmaster 2100 Quick start guide

ROADMASTER, Inc. 6110 N.E. 127th Ave. Vancouver, WA 98682 800-669-9690 Fax 360-375-9300 www.roadmasterinc.com
wiring — back of plug
Figure 3
for an area at the back of the towing vehicle, which you
can easily reach and with a surface of sufficient strength
to hold the socket firmly in place. The mounting point must
be close to the center.
CAUTION
The socket must be attached at the rear of the tow-
ing vehicle, close to the center. Attaching the socket
toward either side of the towing vehicle may cause the
wiring to be pulled from the socket, or to drag on the
ground, when the towing vehicle turns.
2. With a Phillips screwdriver, remove the set screw
(Figure 2) from the back of the socket. Then remove the
plug from the socket housing.
3. Use a test light to identify the towing vehicle’s left and
right turn signal, ground and taillight wires on the electrical
harness. Push those four wires through the back of the
socket housing.
4. Attach the wires to the back of the plug (Figure 3 shows
the attachment point for each wire; use the notch at the top
of the plug as a reference.)…
First, strip a small amount of insulation from the end
of each wire. Then unthread each connector screw on the
back of the plug, and insert the ends of the wires into the
appropriate wire cups. Tighten the connector screws to
secure the wires in place.
WARNING
Unless each wire is attached to the correct wire cup,
as shown in Figure 3, the magnetic lights on the towed
vehicle will not illuminate in tandem with the towing
vehicle’s lights. Drivers behind the towed vehicle will
not be alerted when the towing vehicle stops or turns,
which may cause an accident.
Failure to follow these instructions may cause prop-
erty damage, personal injury or even death.
continued on next page
Figure 2
Figure 1
Installation and Use
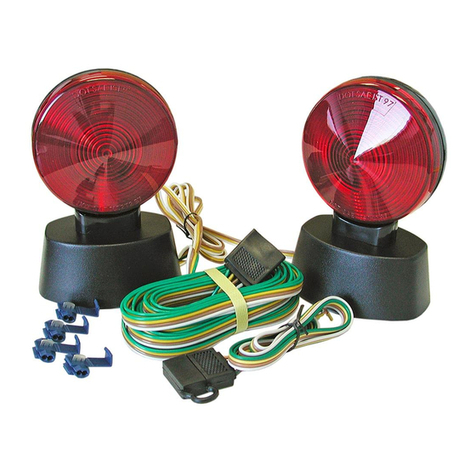
Magnetic Tow Lights
part number 2100
All specifications are subject to change without notice.
Time Tested • Time Proven
851738-02 12.17
Before you begin the installation…
If the motorhome (or towing vehicle) has a separate
lighting system, a 3-to-2 converter must be installed in
order to use this kit. A 3-to-2 converter converts a separate
system to a combined system.
Many late-model motorhomes come with converters
already installed — test for this before installation: if
the motorhome’s trailer plug energizes the same pins
for both brake lights and turn signals, then a 3-to-2
converter is already installed and the motorhome (or
towing vehicle) should be treated as combined.
If a converter is needed, install ROADMASTER’s
Brite-Lite™, part number 732.
Installing the lights…
If the towing vehicle is not equipped with a four-wire
electrical socket, first wire the included socket by following
steps 1 through 5 below. (If the towing vehicle already has
an electrical socket with a six- or seven-wire plug, it may be
more convenient to replace the existing six- or seven-wire
plug with the included four-wire plug.)
1. Choose a mounting point for the electrical socket — look
4) over the points you have chosen to mount the lights.
CAUTION
Failure to use the protective shields will cause the
magnets to scratch the towed vehicle’s finish. Scratch-
es, paint chips and other damage to the vehicle’s finish
caused by improper use of the magnetic tow lights is
not covered under warranty.
6. Position the two lights over the protective shields, as
shown in Figure 4. Note: the driver’s side light has two
electrical cords extending from the base; the passenger’s
side light has only one (Figure 4).
WARNING
Position the driver’s side and passenger’s side
lights as described above, and shown in Figure 4. If
the lights are reversed, the towed vehicle’s turn signals
will be reversed, which may cause an accident.
Failure to follow these instructions may cause prop-
erty damage, personal injury or even death.
Figure 4
continued from preceding page
5. Push the plug back into the socket housing, and re-
place the set screw.
6. Attach the socket at the point you chose in step 1 with
a bolt, nut and lock washer through both pre-drilled holes.
7. Test the system: follow the steps below to attach the
lights to the rear of the towed vehicle. With the towing
vehicle’s engine on (or the ignition key in the ‘on’ posi-
tion), turn on the headlights. Now, press and release the
brake pedal and activate the turn signals to verify that the
magnetic lights work in tandem with the towing vehicle’s
turn signals and brake lights.
Attaching the lights…
1. Plug the end of the 30-foot length of electrical cord into
the socket.
2. Route the electrical cord and the magnetic lights to the
back of the towed vehicle.
CAUTION
Position the electrical cord so that it will not rub
against the towed vehicle’s finish. The finish may be
damaged if the cord rubs against it during towing.
CAUTION
Keep the cord away from all moving parts. Severe
damage to both vehicles, as well as the components of
the towing system and the magnetic lights, can occur
if the cord becomes entangled in the wheels, the tow
bar or hitch, or any other moving component.
WARNING
The wiring can be damaged if the electrical cord is
pinched or crushed. If the wiring is damaged, the mag-
netic lights will not operate. Drivers behind the towed
vehicle will not be alerted when the towing vehicle
turns or brakes, which may cause an accident.
Damaged wiring may also cause a short circuit,
which can blow a fuse in the towing vehicle, as well
as cause other, consequential damage to the towing
vehicle’s electrical system or other components.
Failure to follow these instructions may cause prop-
erty damage, personal injury or even death.
3. Choose an area on the rear of the towed vehicle to
position the two magnetic lights, so that they will be clearly
visible to drivers behind the towed vehicle.
CAUTION
To reduce the likelihood of scratches or other dam-
age to the towed vehicle’s finish, make certain that
both the underside of the magnets and the surface
ofthe towed vehicle are clean.
Also, do not drag the magnets across the surface
of the towed vehicle.
Failure to follow these instructions will damage the
towed vehicle’s finish. Scratches, paint chips and other
damage to the vehicle’s finish caused by improper use
of the magnetic tow lights is not covered under war-
ranty.
4. If there is excess electrical cord, wrap the slack around
the driver’s side light, as shown in Figure 4.
5. Position both of the included protective shields (Figure
Other Roadmaster Automobile Accessories manuals

Roadmaster Sterling Operating instructions

Roadmaster

Roadmaster Sterling Operating instructions

Roadmaster Falcon 2 User manual

Roadmaster

Roadmaster Falcon 2 User manual

Roadmaster Sterling User manual

Roadmaster

Roadmaster Sterling User manual

Roadmaster Hands-Free Bluetooth Car Kit VRBT330W Owner's manual

Roadmaster

Roadmaster Hands-Free Bluetooth Car Kit VRBT330W Owner's manual

Roadmaster StowMaster ALL TERRAIN User manual

Roadmaster

Roadmaster StowMaster ALL TERRAIN User manual

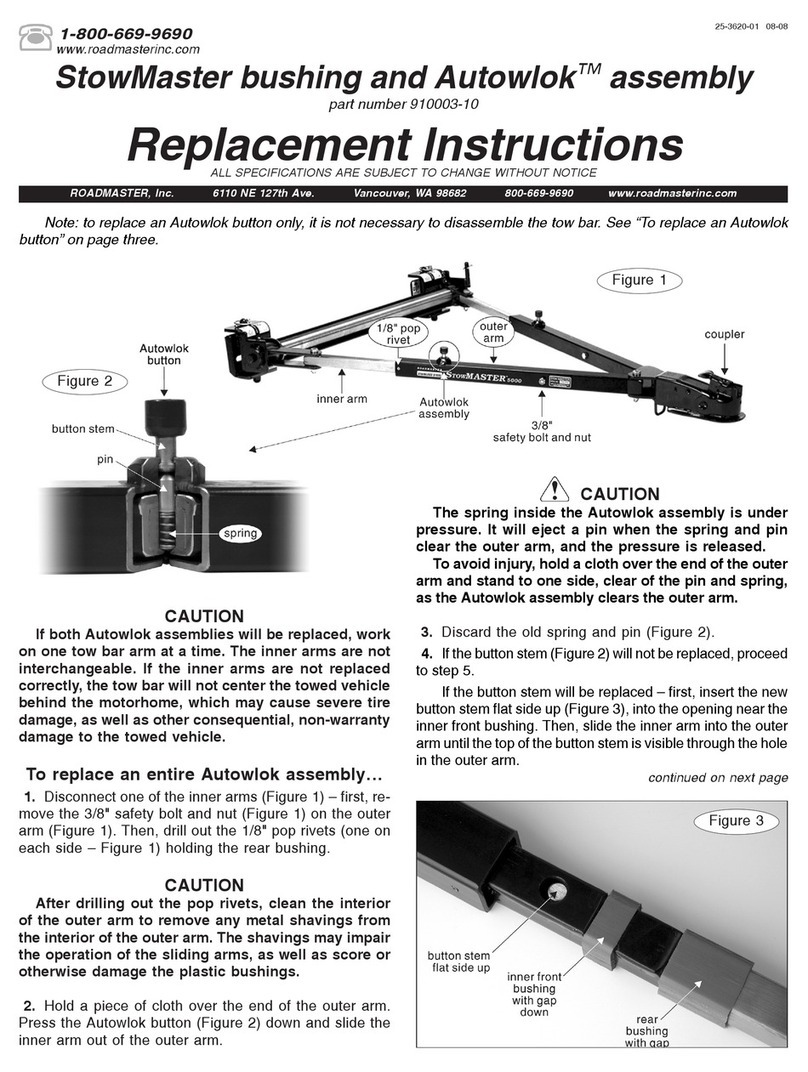
Roadmaster StowMaster 910003-10 Guide

Roadmaster

Roadmaster StowMaster 910003-10 Guide

Roadmaster 156-75 User manual

Roadmaster

Roadmaster 156-75 User manual

Roadmaster 9700 User manual

Roadmaster

Roadmaster 9700 User manual

Roadmaster Falcon 2 Original instructions

Roadmaster

Roadmaster Falcon 2 Original instructions

Roadmaster Sterling All Terrain User manual

Roadmaster

Roadmaster Sterling All Terrain User manual

Roadmaster 1209-118 User manual

Roadmaster

Roadmaster 1209-118 User manual

Roadmaster 1149-107 User manual

Roadmaster

Roadmaster 1149-107 User manual

Roadmaster FALCON 522 Original instructions

Roadmaster

Roadmaster FALCON 522 Original instructions

Roadmaster FuseMaster 76511 User manual

Roadmaster

Roadmaster FuseMaster 76511 User manual

Roadmaster 155 User manual

Roadmaster

Roadmaster 155 User manual

Roadmaster 2120 Quick start guide

Roadmaster

Roadmaster 2120 Quick start guide

Roadmaster 76515 User manual

Roadmaster

Roadmaster 76515 User manual

Roadmaster 195125 User manual

Roadmaster

Roadmaster 195125 User manual

Roadmaster REJ2000 User manual

Roadmaster

Roadmaster REJ2000 User manual

Roadmaster BrakeMaster 9000 User manual

Roadmaster

Roadmaster BrakeMaster 9000 User manual

Roadmaster Invisibrake 8700 User manual

Roadmaster

Roadmaster Invisibrake 8700 User manual

Roadmaster 9300 Operating instructions

Roadmaster

Roadmaster 9300 Operating instructions

Roadmaster 3128-3 User manual

Roadmaster

Roadmaster 3128-3 User manual

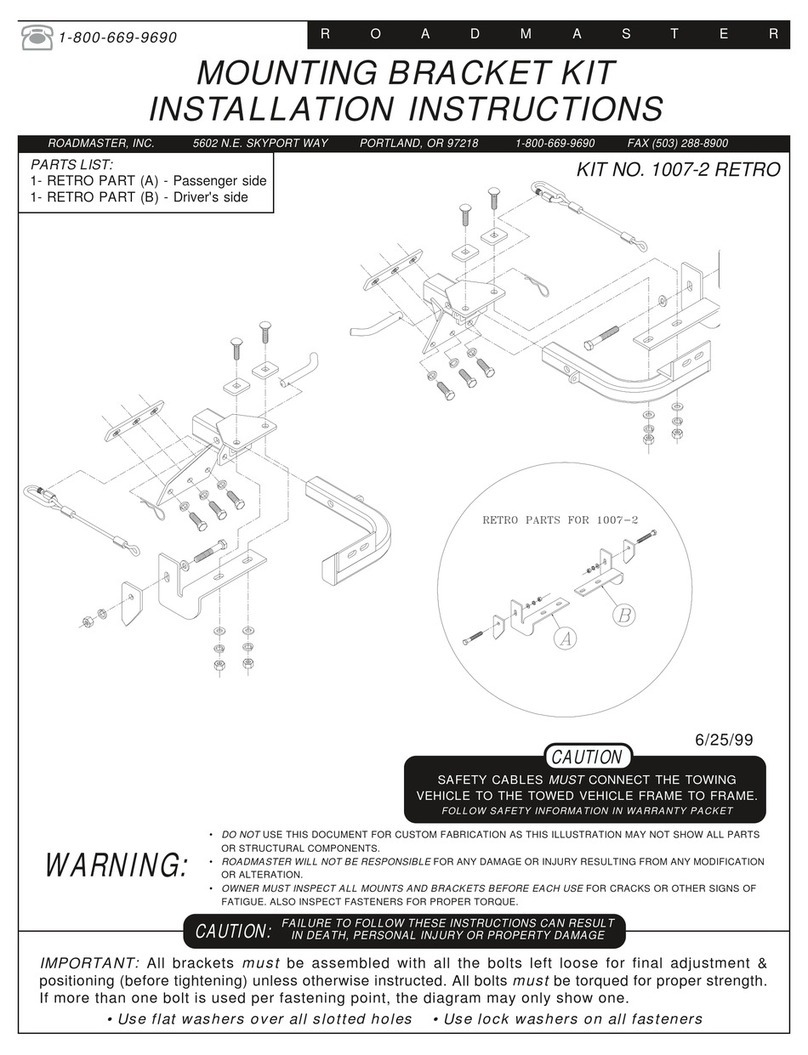
Roadmaster 1007-2 RETRO User manual

Roadmaster

Roadmaster 1007-2 RETRO User manual

Popular Automobile Accessories manuals by other brands

Road Shower 4 user manual

Road Shower

Road Shower 4 user manual

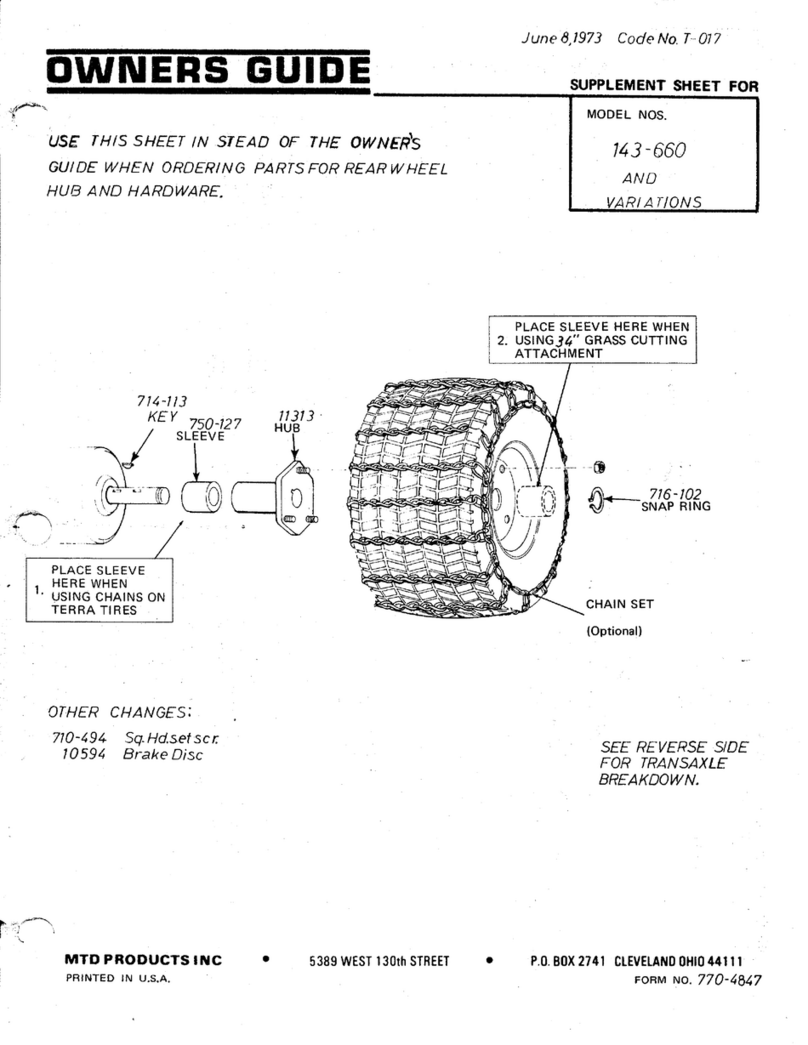
MTD 143-660 Supplement sheet

MTD

MTD 143-660 Supplement sheet

EGO TS installation instructions

EGO

EGO TS installation instructions

AKE ECC basic user manual

AKE

AKE ECC basic user manual

Parrot CK3100 LCD installation manual

Parrot

Parrot CK3100 LCD installation manual

Whelen Engineering Company Howler HWLRB32 installation guide

Whelen Engineering Company

Whelen Engineering Company Howler HWLRB32 installation guide

TaoTronics TT-BR03 user manual

TaoTronics

TaoTronics TT-BR03 user manual

DVB RRBR-03 installation manual

DVB

DVB RRBR-03 installation manual

ZENEC ZE-MRV70 operating instructions

ZENEC

ZENEC ZE-MRV70 operating instructions

Hook 321 100 manual

Hook

Hook 321 100 manual

Cruz Evo Rack E37-170 Assembly instructions

Cruz

Cruz Evo Rack E37-170 Assembly instructions

Westin 40-1245 installation instructions

Westin

Westin 40-1245 installation instructions

Rola PMX169 Fitting instructions

Rola

Rola PMX169 Fitting instructions

Toro 07161 installation instructions

Toro

Toro 07161 installation instructions

ClimAir Sonniboy installation instructions

ClimAir

ClimAir Sonniboy installation instructions

Techart 070.300.630.009 Assembly instructions

Techart

Techart 070.300.630.009 Assembly instructions

Whispbar K765 instructions

Whispbar

Whispbar K765 instructions

travall TDG 1694 FITTING INSTRUCTION

travall

travall TDG 1694 FITTING INSTRUCTION

manuals.online logo
manuals.online logoBrands
  • About & Mission
  • Contact us
  • Privacy Policy
  • Terms and Conditions

Copyright 2025 Manuals.Online. All Rights Reserved.