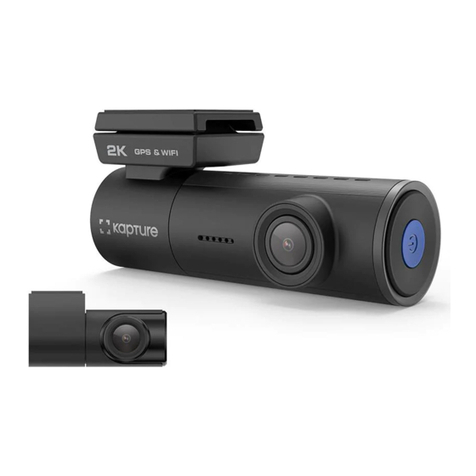
RoadScan Canada RS2000 Operator's manual

RoadScan Canada
RS2000
User Instruction Manual

CAMERA LAYOUT
1. Manual IR key
a. short Press: Night Vision
b. Manual long Press: White Light
2. Power: hold for 3 seconds to turn on/off or ‘back’ button
3. Mode Indication LED
a. Green=power on
b. Red=video on
c. Yellow=statement or audio only on
4. Charging mode indicator = blue
5. Charging base port
6. White LED
7. IR night vision LED
8. Laser Pointer
9. Lens
10. Light sensor (detects changes in light and auto turn on IR
for low light recording)
11. USB port
12. LCD screen
13. One key ‘play button’ and ‘scroll up browser key’
14. OK button (similar to ‘enter’)
a. short press=ok
b. long press=laser pointer
15. Menu access and ‘scroll down browser key’
16. Highlight file key
17. Audio key (tape recorder)
18. Photo key / SOS button
19. Video key
a. long press on = camera starts recording immediately without needing to use the power key
b. long press off = turning the camera off during video mode without the need to use the power
key
c. short press key = once the camera is powered on or in standby mode, this will start the
recording
Page 1

Power
Power On – Hold the power button on the bottom right for 3 seconds – a chime and a
WELCOME screen will temporarily be displayed. The view of the camera lens will be
displayed on the main LCD screen and LED at the top of the camera will be solid green.
Power Off – hold the power button for 3 seconds – A GOODBYE screen will temporarily
be displayed and then the camera will shut down. LED light will turn off (unless the
camera is plugged in).
Power On with Video Record – When the camera is powered off, hold the video
record button for 3 seconds and the camera will power on and begin recording and a
voice of ‘recording start’ will be heard. To stop recording, press the video record
button. To turn the camera off, use the power button. To
Power On with Audio Record – When the camera is powered off hold the audio button for
3 seconds and the camera will power on with 3 vibrations or buzzes and begin recording
audio. To stop the recording, press the audio button until the camera stops recording. To
turn the camera off, use the power button.
Video
To start a recording – while the camera is on and not recording, press the video record
button on the right side of the camera (from the screen). The device will vibrate, and a
voice will sound indicating that the recording has started. The LED light in the top right
corner of the rear screen will flash red.
To stop a recording – while the camera is recording press the video record button and
the camera will vibrate and stop recording.
To highlight a recording – while the camera is recording, press the red FN button on
the left side of the camera to highlight the recording segment. The highlighted segment
will end when the video segment ends (see Split Time in menu options) These video
recordings cannot be overwritten.
A gold star symbol inside a blue square will appear to the middle right of the screen
while the recording is being highlighted to indicate the highlighted video. A voice will
state ‘video mark’
Videos are in .MP4 format.

Page
2
Photographs
Press the photo button to take a photograph. Photographs can be taken during video
record mode. Photographs are in .JPEG format.
Statements & Audio Button
Record a statement – When the device is not recording – press the audio button to
record a statement. The LED will be flashing yellow. To stop an audio recording, simply
press the audio button again.
Highlight an audio recording – while the camera is recording, press the red FN button
on the left side of the camera to highlight the recording segment. The highlighted
segment will end when the video segment ends (see Split Time in menu options) These
video recordings cannot be overwritten.
A gold star symbol inside a blue square will appear to the middle right of the screen
while the recording is being highlighted to indicate the highlighted video. A voice will
state ‘video mark’
Statements are in .WAV format.
Backing out of Screens
Use the power button on the right side of the camera to back out of sub screens.
Setting the Password
The password can be changed In the menu option. PLEASE ENSURE YOU REMEMBER
YOUR NEW PASSWORD AS IT CANNOT BE RETRIEVED WITHOUT SENDING IT BACK TO
THE MANUFACTURER.
The new password will be required to view playback or via the
computer.
Note: the owner will be responsible for any charges incurred for the camera to be
returned to the manufacturer to be fixed.

Page
3
Playback
The playback screen can be viewed by pressing the OK button (located under the LCD
view screen) when the camera is in standby mode and on the main display screen. The
user will be prompted to enter a password. The default password is ‘0’ – 6 times, by
pressing the OK button 6 times. Use the Browse-up and Browse-down buttons to scroll
through other password entry options and press the OK button to select password
entries.
Figure 1
If a mistake is made when entering a password, hold the Browse-up button to move
back one entry and hold the Browse-down button to move forward one entry.
After the correct password has been entered, use the Browse-up button to tab left and
Browse-down button to tab right over either video, camera, or audio file tabs and
press the OK on the selected file tab to view the files.

Figure 2
Page
4
Playback
After selecting the form of data wished to be viewed, tab over to the file wished to be
viewed and press the OK button to select that file. Pressing the OK button on a video
or audio file will automatically start playing the file. – Use the OK button to pause and
play the file.
To toggle through videos, photos and audio statements, use the red FN button.
Use the Browse-down button to fast forward and use the Browse-up button to rewind
videos. Fast forward and rewind options can be sped up by tapping the browse
buttons more than once. Video mode has X2, X4, X8, X16, X32, X64 and X128 speed
(both forward and reverse).
Menu Access
To access the menu, press the Menu button or letter M, while on the main LCD view screen
while the camera is in standby mode, the user will be prompted to enter a password (see
Playback for password entry instructions).
After the correct password has been entered, the settings menu will be displayed.
The settings menu allows the user to change functions on the camera to meet the user’s
preferences. Camera and audio recordings cannot be used in menu mode.
Menu Access
Use the Browse-down button to scroll down and Browse-up button to scroll up through the
menu items and OK button to select a menu item and enter its sub menu. Finally, in the sub
menus, use the Browse-up button to scroll left, the Browse-down button to scroll right, and
the OK button to select option.

Press the Power button to back out of sub menus without making changes to the settings.
Note: While in the settings menu or sub menus, pressing the photo, video record, or audio
record button, will return you to the main LCD view screen.
Page 5
Menu Options
●The number of menu settings is located in the top right of the rear screen indicating a number out of 30
depicting which menu option you are on.
●1/30: Video resolution. Options are 2560x1440 30P, 2304x1296 30P, 1920x1080p 30p, 1440x1080p 30P, 1280x720 30P and 848x480
30P2/30:
●2/30: Coding Format - H.264 or H.265 (recommended and defaulted to this setting)
●3/30: Quality - Normal,Fine, Super Fine
●4/30: Pre-record - on/off - records 10 seconds prior to hitting video button
●5/30: Post-record - on/off - continues recording 10 seconds after video turned off
●6/30: Auto-record - on/off - once the camera is powered on it will automatically start recording.
●7/30: Loop Record -on/off - highly recommended to leave off or video might be overwritten thus losing the video photos.
●8/30: Split Time - Automatically splits video recordings into segments of set times to more easily manage recordings.
○ Each segment will be a separate media file. Options are off and 1, 3, 5, 10, 15, 30, and 45 minutes. 15 minutes is recommended.
●9/30: Photo Resolution: - This means setting the size of the photo or video. Options are 5M, 12M, 20M, 25M, 30M, and 40M
●10/30: Burst on/off : Options are 2, 3, 5, 7, 10, 15, and 20. (Burst on allows you to snap multiple photos at once upon pressing the photo
button).
●11/30: Self Timer allows for a timed delay before a photo is taken. Options are 5 and 10 seconds.
●12/30: Slide Show - When viewing a photo file in Playback mode in photo files tab, photos will automatically be scrolled through.
●13/30: Infrared - Manual or Automatic: While under dark circumstances, infrared LED will help record clear image or video in HD.
○Auto: In low light situations (3 Lux), 4 IR LED will be turned on automatically, camera switches to infrared filter lens, video image
turns black and white. When brightness increases again, the IR LED turns off, and image becomes colorful again.
○Manual: When night vision is needed, Press the Flashlight/Infrared button to switch to infrared mode, 4 IR LED will be turned on,
video image will turn black and white. When night vision is no longer needed press the IR button to switch out of night vision.
●14/30: Motion Detection - on/off - if this is in the on setting, once there is movement felt by the camera, it will automatically start recording.
●15/30: Record Warning - the voice/vibrating that advises the user that video recording has been activated. Options are On/Off.
●16/30: GPS - on/off - Having GPS on provides a connection to the GPS satellite as to view location of where the videos/photos and audio
recordings were taken, location, speed, direction of travel, time date stamp. Review can be done on a cell phone, tablet or computer.
Recommended to have it on (default is off).
○A grey satellite is located at the top/middle of the viewing screen indicating the gps is either off or not connected. A green satellite
image indicates that the gps is connected. To ensure a good connection, keep from being in areas that prevent satellite
connection.
○It may take up to 10 minutes to initiate the gps connection for the first time.
●17/30: Wifi - on/off. Allows connection between cell phone or tablet to provide the current external view of the camera. The range for the
Wifi is 3-4 metres. This is not remote viewing.
●18/30: TimeZone - This setting allows to change the time zone the camera is set for. Default is set for GMT (Greenwich Mean Time).ie; PST is
-7, EST is -4.
●19/30: Language - Allows the user to switch the language of the device.

●20/30: Screensaver - Allows the user to set the amount of time before the device’s screen saver is on. Options are off, 30 second and, 1, 3,
and 5 minutes.
●21/30: LCD Brightness - Allows the user to change the brightness of the device’s screen. Options are low, medium and high.
●22/30: LED Light - If on LED light will change colors depending on what the camera is doing (for example: recording). If off no LED indicators
will show.
●23/30: Key tone - When this is on user will here a key tone when pushing buttons on the device. Options are on and off.
●24/30: Volume - Altering this affects the device’s sound levels including key tone and video/audio playback files.
●25/30: Date-time stamp - Change the date and time of the device.
●26/30: ID Setting - Allows to designate the camera to a specific person by entering a unique user ID.
●27/30: Password - Having this setting on will cause the password requirement before entering menu and playback screens. Options are on/off
●28/30: Change Password - Allows the user to change password. User must enter old password and then the new password followed by
confirmation of new password using the Scroll and OK buttons. *Note: remember your new password as it is non-recoverable and will be
required to be sent back to manufacturer for resetting. This is a protection measure against unauthorized viewing of your data should the
camera be lost.
●29/30: Default Setting - Allows the user to reset the device to the default settings.
●30/30: HUS_v1.16_20190111 - version of the device.
Page 6
Special Features
Infrared: Press the InfraRed (IR) button to manually turn on the IR. If the camera is set to
‘automatic IR’ then there is no need to turn the IR on manually (when IR is on, two red lights
will appear on the front of the camera)
Flashlight (White LED): Hold the IR button for 2 seconds for the flashlight to turn on / hold
again for 2 seconds to turn off the flashlight.
Laser pointer: Hold the OK button for 2 seconds to activate the red auxiliary light located on
the front of the camera (red laser) – hold it again for 2 seconds to turn it off.
White Beacon: Hold the photo button for 2 seconds to turn on the flashing white beacon.
Hold again for 2 seconds to turn it off.
Charging
There are several ways to charge the camera which results in the blue light being illuminated.
If the blue light does not illuminate then the USB may not be seated properly. DO NOT FORCE
INTO THE BASE
. The camera may be on and in use or the camera may not be seated properly
in the charging base. Make sure to correctly place the camera into the charging base - the
front of the camera should be facing away from the USB port on the charging base. If the
blue light is not on, the camera is not charging. It takes approximately 4-6 hours for the
camera to fully charge.

NOTE: If the camera is on while charging and becomes unplugged from the power source (via
the docking station or USB port) the camera will power off.
Ways to charge
1. Use the outlet adaptor, USB cable and charging base to plug into an outlet
2. Use the outlet adaptor and USB cable only to plug into an outlet
3. Plug the USB cable directly into the computer
4. Use the charging base with the 12 volt adaptor while in the vehicle
IMPORTANT: if the camera is not used and charged on a consistent basis, the camera’s
battery will lose the ability to hold a charge. Batteries are not replaceable and not covered
under warranty. Please ensure to use and charge your camera often.
Figure 3
Page 7
Opening Files On the Computer
1. Plug the camera into the computer via the USB cable. DO NOT FORCE THE USB INTO
THE CAMERA - IT SHOULD FIT EASILY. Forcing the USB into the camera may cause
damage to the port. Damage caused in this manner will not be covered under
warranty.
2. Once connected to the computer, the user will be prompted to enter their password
(see Playback for instructions for password entry).

Figure 4
3. After the password has been successfully entered, the camera screen will display a usb
connecting message
4. The computer should then recognize the camera as a ‘D’, ‘E’, ‘F’, or ‘G’ drive.
IMPORTANT: depending on your company’s firewall system, the camera may not be allowed
access to your system thus preventing the viewing of data. Please contact your IT personnel
to assist with this measure.
5. Once located (see figure 6), open the corresponding Drive. If the computer does not
recognize the camera - unplug the USB cable and plug back in.
Page 8
Opening Files On the Computer

Figure 6
6. DCIM and GPSPlayer folders will be shown and one file, OPERATIONDIARY.txt. Once
the .txt file is opened (not compatible with MAC), there will be a log accounting for the
use and operation of the camera via time & date and the nature of use of the camera
(ie; video recording, photo capture, and power on/off). This is important as it will
demonstrate when the camera has been in operation. If data is missing this file can be
checked to ensure that the data files match the time and operation of use.
7. Open DCIM, then open 100MEDIA
Figure 7
Page 9

Opening Files On the Computer
8. Choose the file to view (MP4, JPEG, WAV)
Figure 8
Deleting Files
Ensure that all files are saved prior to deletion of files.
Once deleted the files cannot be retrieved.
When the user is sure of files to be deleted, select the file or files and press delete key,
multiple files can be deleted at the same time.
Files are required to be deleted in order to clear up space on the camera prior to its next use.
Failure to do so will result in no data being recorded.
A card full message will appear and an alarm will sound if there is no storage available on the
camera to record. This means that data needs to be deleted.
The amount of storage remaining is displayed in the bottom right corner of the rear display
screen showing 59.6G/59.6G. This shows how much storage is left compared to how much
storage is available.
Failure to delete files will result in the camera unable to record and important data may be
missed.
If you are using a MAC computer, files may show as deleted but not in fact deleted. Please
ensure that you use a PC to delete all files.
Failure to delete files which results in missed data being recorded will not be constituted as
a warranty issue or a failure of the product nor will RoadScan Canada Inc be held liable for
any data failed to be captured.
Page 10

GPS Files
● Due to website constraints, please contact Lee Hamilton at [email protected] to
obtain the .exe file for the gps player. However, any gps player will work with these
files.
● The GPS component will open and files should systematically show up with satellite
images beside each file. Files show up on the bottom right of the screen. If there is no
satellite image on the file it means that no GPS was captured.
Figure 9
●To view a file, highlight the file and hit the play button. Depending on the size of file
will determine the length of time taken to download the GPS data.
●To delete these files, go back to the folder of ‘D’,’E’, ‘F’ or ‘G’, highlight and delete
selected files
●To save files, highlight, copy/paste and store in a new folder
REMEMBER TO ‘EJECT’ THE BODY CAMERA PROPERLY FROM YOUR COMPUTER, FAILURE TO
DO SO COULD POTENTIALLY CORRUPT YOUR CAMERA AND OR COMPUTER. THIS FAILURE
WILL NOT CONSTITUTE A WARRANTY ISSUE.
Page 11

Camera Ports
The RS200 only features a USB port on the right side of the camera. Use this port to access
data on to the computer.
This camera comes equipped with 2 batteries. The port for the batteries is located below the
red FN button. Slide the lock located at the bottom of the port upwards and pull towards
you. There is a clear pull tab to assist in removing the battery. When inserting, ensure that
the battery is positioned the correct way.
Each battery should last approximately 8 hours depending on type of usage for the camera (if
used with IR for long periods of time, the battery life will be greatly diminished.
Figure 10
Reset
Should the unit freeze up (typically by pushing too many buttons at the same time - similar to
the ‘wheel of death’ on a computer), located in the usb port (refer to #8 on the camera layout
page), is a small reset button in the upper left corner. Use an object (a paper clip or similar) to
push this button. The camera will then be reset. No files are lost as files can only be deleted
off a computer. This should reset the camera.
DASH CAM
The RS2000 can be used as a dash cam in your vehicle making it the most versatile camera in
the industry .
To attach the RS2000 docking station to your vehicle, locate the best suitable spot on the
dashboard to allow for best viewing position, clean the area of the dashboard to ensure
proper adhesion. For best adhesion, utilize 3M Dual Lock (not supplied) as it will provide the
proper securement required to ensure that your video is stabilized (velcro will not work).
Suggested: place both pieces of Dual Lock on the bottom of the charging base, then place the
charging base onto the dashboard. This will ensure that both pieces of Dual Lock are aligned
properly. Ensure that the RS2000 is aligned properly prior to pressing the Dual Lock onto the
dashboard firmly (with the USB port facing rearward).
Figure 11
Page 12

DASH CAM
Use the 12 volt adaptor (supplied), plug the USB into the USB port (DO NOT FORCE INTO
PLACE). Damage caused in this manner will not be covered under warranty.
Run the 12 volt adaptor cord to the 12 volt port in the vehicle. 12 volt ports are located in
different locations in vehicles and location should be referred to in the owner’s manual for
each vehicle. The 12 volt adaptor does have a 10 foot cord to allow the cord to be run or
hidden to the vehicle’s respective port. Please check with your vehicles manual for reference
to this option. RoadScan Canada Inc accepts no liability for any damage caused to vehicles
during this process of ‘running’ or hiding the 12 volt adaptor cord.
DO NOT CUT THE 12 VOLT ADAPTOR OFF AND RUN POWER DIRECTLY TO YOUR VEHICLE,
THIS WILL DESTROY THE CAMERA. RoadScan Canada Inc will not assume any liability
whatsoever for this if damage is done to your vehicle. Warranty is void in this circumstance.
OPERATION OF DASH CAM
The RS2000 may be in the record mode prior to placing the camera into the dock or
alternatively, the record button may be pushed once the camera is in the docking station.
The video button is a little harder to reach in this situation. To stop recording, hit the video
button a second time.
AT NO TIME SHOULD YOU OPERATE THE RS2000 WHILE YOUR VEHICLE IS IN MOTION. ANY
DAMAGE/CRASH/LAWSUIT CAUSED DURING THIS OPERATION WILL NOT BE ASSUMED BY
RoadScan Canada Inc. Please refer to your Provincial or State laws.
When in video mode, the RS2000 will capture video, speed and GPS location with the use of
Google Maps .
1
Figure 12
Note: the camera is being charged while in the docking station.
Page 13
1 Map Data ©Google 2019

Accessing Wifi
Download ‘LinkinEyes’ A12 Lite from the App store.
Figure 13
Wifi App Settings
1. Ensure to turn ‘Wifi on’ in the settings menu.
2. A green Wifi indicator will be visible on the top of the rear screen.
Figure 14
3. Go to the Wifi Settings on the phone and locate H22_WIFI_AP.
Figure 15
Page 14

Wifi App Settings
4. Enter the initial password - 1234567890 (it may be 123456789 or 12345678). Try all
three passwords if one does not work.
5. After Wifi gets connected successfully, open the LinkinEyes App.
6. Live streaming (on the phone only, not remotely at a desk), view of your location via
gps, control of recording and photographs will be functional.
Figure 16
a. Video
b. Take a photo - upper left corner
c. Adjust brightness - upper left corner
d. Camera list (if multiple cameras have been used by your phone) -
upper right corner
e. File list - selected to view files that are located on the camera storage.
f.
g. Downloading the file is necessary to view from your phone or tablet.
Page 15

Wifi App Settings
Figure 17
h. Speedometer (for dash camera functionality)
i. Switch to hybrid GPS mode
i. Hybrid GPS view provides a video view, date, time, and google maps
location
Figure 18
Page 16

Wifi App Settings
8. Orientates Northern direction
9. Mode (video or photo) and Quick Settings (resolution and other settings)
10. Quick settings provides the ability to adjust resolution, sync your device, format
storage, reset camera settings and more.
Figure 19
11. Images and videos can be edited with annotations, change font colour, add images
and drawing capabilities, reducing video timethis allows the user to highlight files
instantly.
Figure 20 Page 17

Wifi App Settings
12. Files can be located in the file list for video and photos.
Figure 21 Figure 22
Page 18
Table of contents
Other RoadScan Canada Dashcam manuals
RoadScan Canada
RoadScan Canada PBC1 Operator's manual
RoadScan Canada
RoadScan Canada PBC10 Operator's manual
RoadScan Canada
RoadScan Canada DC3 Operator's manual
RoadScan Canada
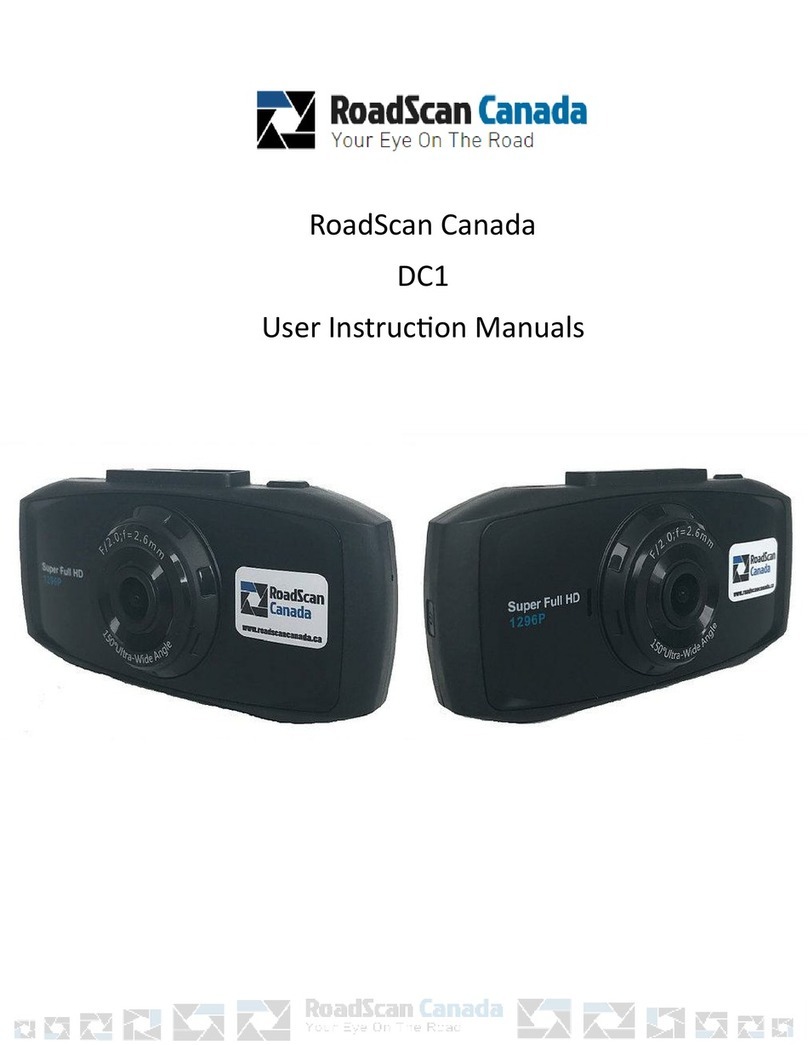
RoadScan Canada DC1 Operator's manual
RoadScan Canada
RoadScan Canada RSC DC3 Operator's manual

RoadScan Canada
RoadScan Canada DC3 Operator's manual

RoadScan Canada
RoadScan Canada PBC1 Operator's manual
RoadScan Canada
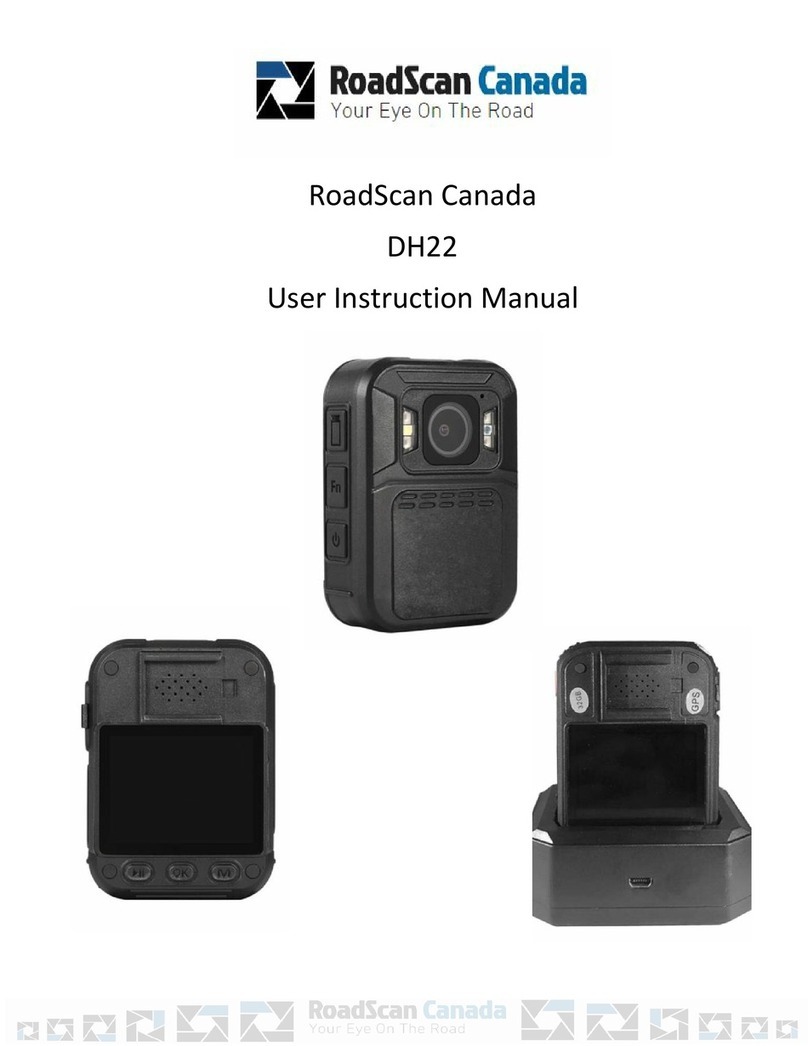
RoadScan Canada DH22 Operator's manual
