manuals.online logo
Brands
  1. Home
  2. •
  3. Brands
  4. •
  5. ROBOTIQ
  6. •
  7. Robotics
  8. •
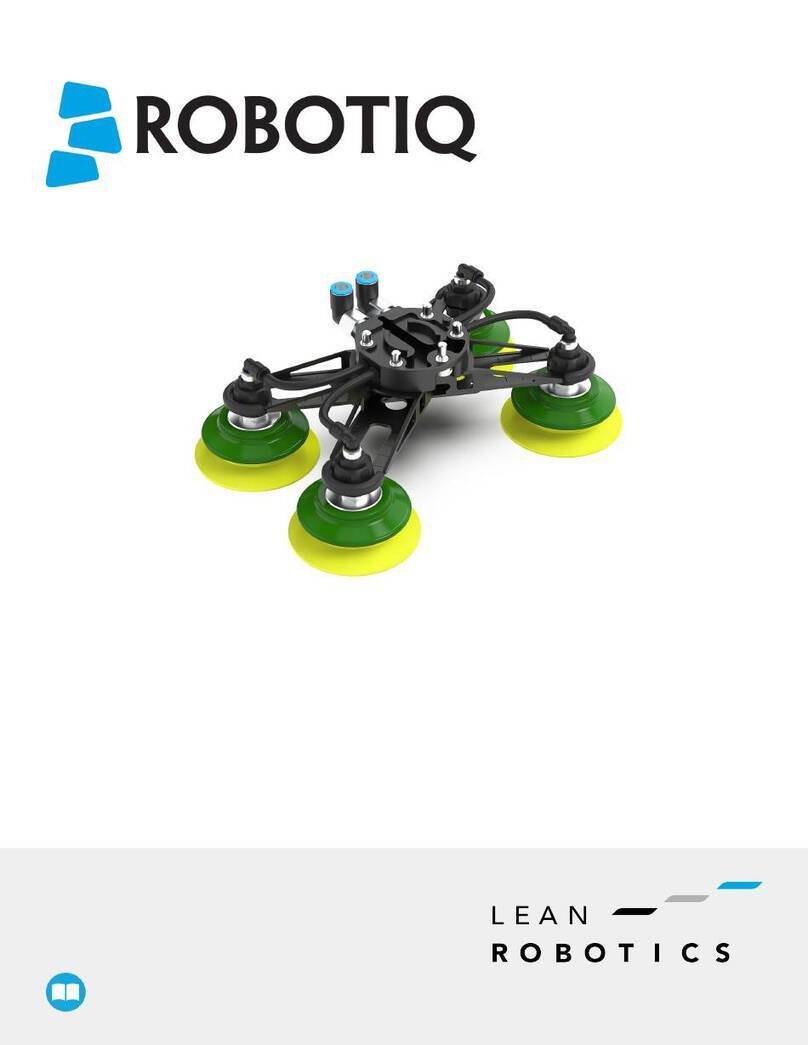
  9. ROBOTIQ PowerPick Vacuum Gripper User manual

ROBOTIQ PowerPick Vacuum Gripper User manual

QUICK START GUIDE
PowerPick Vacuum
Gripper
For installation on
Universal Robots
X-990120-A
1.WHAT IS SUPPLIED
Standard upon delivery of
VAC-POWERPICK-KIT
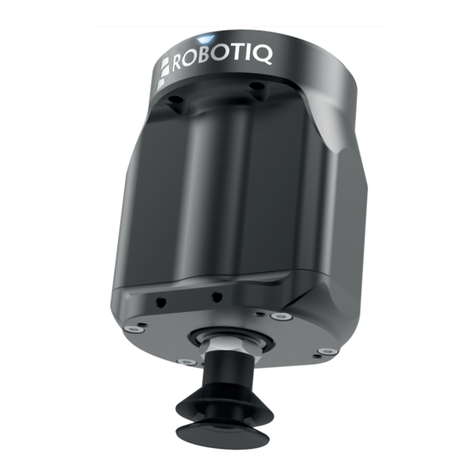
• PowerPick Vacuum Gripper Kit:
▪3 x offset componens
▪2 x kits of suction cup brackets (small and large)
▪1 x kit of 75 mm suction cups (PIAB)
▪1 x wrist extension
▪1 x manifold
▪Air tubes
• PowerPick Controller (vacuum generator)
▪I/O cable (M12, 8 pins)
• Tools and hardware
Optional components
:
• 1 x kit of 52 mm suction cups
▪# SKU: VAC-CUP-PIAB-52MM-KIT-4
• 1 x kit of 78 mm suction cups
▪# SKU: VAC-CUP-COVAL-78MM-KIT-4
2.TOOLS NEEDED
This step-by-step guide will allow you to install
and use your Robotiq PowerPick Vacuum Gripper
on Universal Robots (UR).
Refer to the product instruction manual and
eLearning course for advanced instructions.
THANK YOU FOR
CHOOSING ROBOTIQ
The operator(s) must have read and understood all of the
Safety section in the user manual (available at
support.robotiq.com) before operating the PowerPick
Vacuum Gripper.
Make sure the air tubes are secured and the area is clear
before using the PowerPick Vacuum Gripper. Failure to
properly secure and install the equipment can result in
material damage and bodily injury.
Make sure to follow all enforceable safety rules and
regulations while using the PowerPick Vacuum Gripper.
Always wear all required personal protective equipment
in accordance with the enforceable safety standards. With
an optimal pressure of 5.5 bar (80 psi), the noise level at
the workstation is 82 dBa. Hearing protections are
recommended.
3.SAFETY & WARNING
!
Included
:
• 2.5 mm hex key
• 5 mm hex key
• 6 mm hex key
• 8 mm wrench
• 5.5-17 mm double ended wrench
• 20-21 mm double ended wrench
Not included
:
• Isopropyl alcohol
• Phillips screwdriver
• Torque wrench
• Utility knife
1. Identify the location where the PowerPick
Controller will be installed.
2. There are two hardware options for the
installation:
a. With double face tape, already applied under
the controller (use
isopropyl alcohol to clean).
b. With screws and mounting brackets.
4.POWERPICK CONTROLLER
Fig 1: Mounting brackets on the PowerPick Controller
elearning.robotiq.com
8.GRIPPER TCP AND COG
1. Install the Gripper directly on the robot wrist (no
coupling required). Align the positioning plate or
wrist extension with the robot wrist. Screw the
Gripper with the provided 5 mm hex key, four (4)
M6 screws and four (4) M6 tooth lock washers.
Required torque is 9.5 Nm (7.0 lb ft).
5.INSTALLATION ON ROBOT
Here is detailed how to install the default
configuration on the robot. For any change to
the default configuration,
refer to the product
instruction manual.
!
Fig 2: Installation on the robot wrist (with wrist extension)
1. Connect one end of the provided 8 mm air tube to
your air filter or air supply.
2. Connect the other end of the 8 mm air tube to the
PowerPick Controller, where it is indicated
P+ G1/4 TUBING 8MM.
3. Connect one end of the provided 10 mm air tube
to the PowerPick Controller, where it is indicated
P- TUBING 10MM.
4. Connect the other end of the 10 mm air tube to
the PowerPick Gripper, in the manifold air inlet.
Make sure that the air tube is neither too tight nor
too loose so the robot can move freely without the
air tube getting stuck.
6.AIR TUBE ROUTING
1. Connect the M12 end of the I/O cable to the
PowerPick Controller, where it is indicated DEVICE
CONTROL.
2. Connect the eight (8) wires at the other end of the
cable in the robot controller, as described below
(see last page for image).
▪Blue wire in AG (Analog Ground)
▪Yellow wire in AI (Analog Input)
▪Gray wire in 0V (Digital Output)
▪Pink wire in DO (Digital Output)
▪White wire in 0V (Digital Output
▪Brown wire in DO (Digital Output)
▪Red wire in 24V (Digital Input)
▪Green wire in GND (Ground)
7.ELECTRICAL INSTALLATION
1. In the PolyScope interface, go to Installation ->
General -> TCP. Enter the following values:
▪(200, 0, 122) mm
2. In the PolyScope interface, go to Installation ->
General -> Payload. Enter the following values:
▪(151, 0, 57) mm
These values are only for the default
configuration. R
efer to the product instruction
manual if any change have been made to the
configuration.
!
Use dry and filtered air only. Follow the ISO
8573-1, class 7.4.4 standard.
!
Fig 3: PowerPick Controller connections

Other ROBOTIQ Robotics manuals

ROBOTIQ HAND-E User manual

ROBOTIQ

ROBOTIQ HAND-E User manual

ROBOTIQ 2F-85 User manual

ROBOTIQ

ROBOTIQ 2F-85 User manual

ROBOTIQ CNC Machine Tending Kit User manual

ROBOTIQ

ROBOTIQ CNC Machine Tending Kit User manual

ROBOTIQ HAND-E User manual

ROBOTIQ

ROBOTIQ HAND-E User manual

ROBOTIQ EPick User manual

ROBOTIQ

ROBOTIQ EPick User manual

ROBOTIQ HAND-E User manual

ROBOTIQ

ROBOTIQ HAND-E User manual

ROBOTIQ S Model User manual

ROBOTIQ

ROBOTIQ S Model User manual

ROBOTIQ PALLETIZING SOLUTION AX Series User manual

ROBOTIQ

ROBOTIQ PALLETIZING SOLUTION AX Series User manual

ROBOTIQ HAND-E User manual

ROBOTIQ

ROBOTIQ HAND-E User manual

ROBOTIQ AirPick User manual

ROBOTIQ

ROBOTIQ AirPick User manual

ROBOTIQ Sanding Kit User manual

ROBOTIQ

ROBOTIQ Sanding Kit User manual

ROBOTIQ PE Series User manual

ROBOTIQ

ROBOTIQ PE Series User manual

ROBOTIQ PALLETIZING SOLUTION Operation and maintenance manual

ROBOTIQ

ROBOTIQ PALLETIZING SOLUTION Operation and maintenance manual

ROBOTIQ AirPick User manual

ROBOTIQ

ROBOTIQ AirPick User manual

ROBOTIQ AirPick Vacuum Gripper User manual

ROBOTIQ

ROBOTIQ AirPick Vacuum Gripper User manual

ROBOTIQ HAND-E User manual

ROBOTIQ

ROBOTIQ HAND-E User manual

ROBOTIQ Wrist Camera User manual

ROBOTIQ

ROBOTIQ Wrist Camera User manual

ROBOTIQ AirPick Operation and maintenance manual

ROBOTIQ

ROBOTIQ AirPick Operation and maintenance manual

ROBOTIQ AirPick User manual

ROBOTIQ

ROBOTIQ AirPick User manual

ROBOTIQ PE Series Operation and maintenance manual

ROBOTIQ

ROBOTIQ PE Series Operation and maintenance manual

ROBOTIQ 2-Finger Adaptive Robot Gripper - 200 User manual

ROBOTIQ

ROBOTIQ 2-Finger Adaptive Robot Gripper - 200 User manual

ROBOTIQ 2F-85 User manual

ROBOTIQ

ROBOTIQ 2F-85 User manual

ROBOTIQ AX10 User manual

ROBOTIQ

ROBOTIQ AX10 User manual

ROBOTIQ PALLETIZING SOLUTION User manual

ROBOTIQ

ROBOTIQ PALLETIZING SOLUTION User manual

Popular Robotics manuals by other brands

BPG werks REV060413 Owner's/operator's manual

BPG werks

BPG werks REV060413 Owner's/operator's manual

Vex Robotics IQ Simple Clawbot Build instructions

Vex Robotics

Vex Robotics IQ Simple Clawbot Build instructions

Vex Robotics EDR Flip Build instructions

Vex Robotics

Vex Robotics EDR Flip Build instructions

EFORT ECR5 user manual

EFORT

EFORT ECR5 user manual

nicai systems NIBO burger Construction manual

nicai systems

nicai systems NIBO burger Construction manual

Elephant Robotics MarsCat Usage Instruction

Elephant Robotics

Elephant Robotics MarsCat Usage Instruction

Mitsubishi RV-2F Series instruction manual

Mitsubishi

Mitsubishi RV-2F Series instruction manual

ENGINO DISCOVERING STEM ROBOTICS PRO ERP 1.3 Instruction book

ENGINO

ENGINO DISCOVERING STEM ROBOTICS PRO ERP 1.3 Instruction book

YASKAWA MOTOMAN-VA1400 instructions

YASKAWA

YASKAWA MOTOMAN-VA1400 instructions

ABB IRB 6620 Product specification

ABB

ABB IRB 6620 Product specification

Xtrem Bots PATROL instruction manual

Xtrem Bots

Xtrem Bots PATROL instruction manual

Universal Robots e Series installation guide

Universal Robots

Universal Robots e Series installation guide

Aisoy Robotics Aisoy1 quick start guide

Aisoy Robotics

Aisoy Robotics Aisoy1 quick start guide

Microbric Spiderbot Assembly instructions

Microbric

Microbric Spiderbot Assembly instructions

Sony AIBO LIFE ERF-210AW01 user guide

Sony

Sony AIBO LIFE ERF-210AW01 user guide

AUBO AUBO-i10 user manual

AUBO

AUBO AUBO-i10 user manual

Staubli RobiFix-S35-MTB Assembly instructions

Staubli

Staubli RobiFix-S35-MTB Assembly instructions

YASKAWA Motoman DX200 instructions

YASKAWA

YASKAWA Motoman DX200 instructions

manuals.online logo
manuals.online logoBrands
  • About & Mission
  • Contact us
  • Privacy Policy
  • Terms and Conditions

Copyright 2025 Manuals.Online. All Rights Reserved.