manuals.online logo
Brands
  1. Home
  2. •
  3. Brands
  4. •
  5. ROBOTIQ
  6. •
  7. Robotics
  8. •
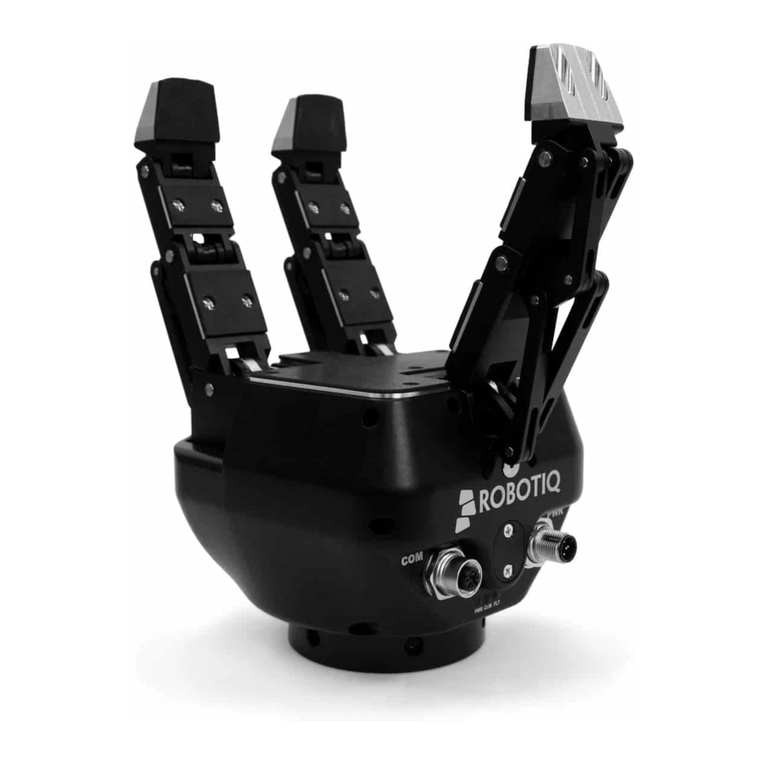
  9. ROBOTIQ HAND-E Series User manual

ROBOTIQ HAND-E Series User manual

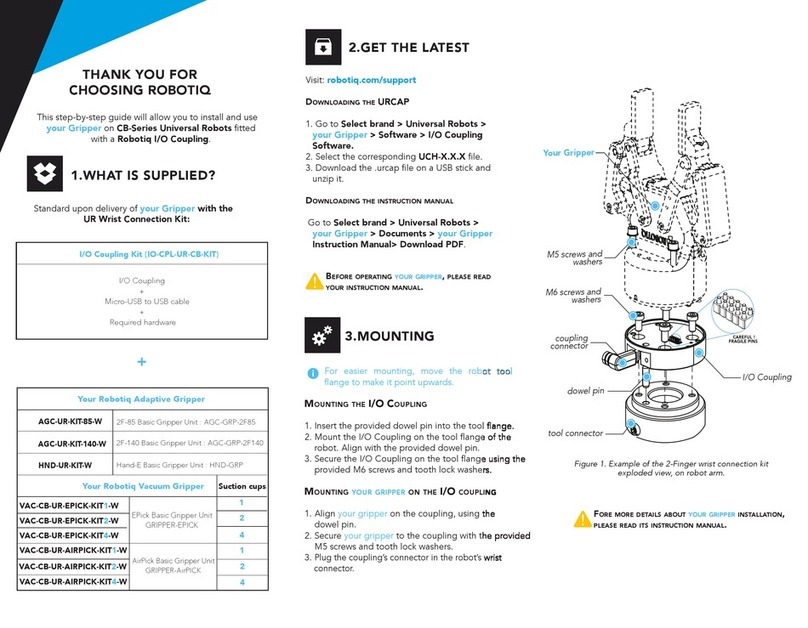
1.WHAT IS SUPPLIED?
Standard upon delivery of a Universal Robots kit:
(HND-GRP-001)
(GRP-ES-CPL-062)
(HND-TIP-START-KIT)
(GRP-ES-CPL-PRO)
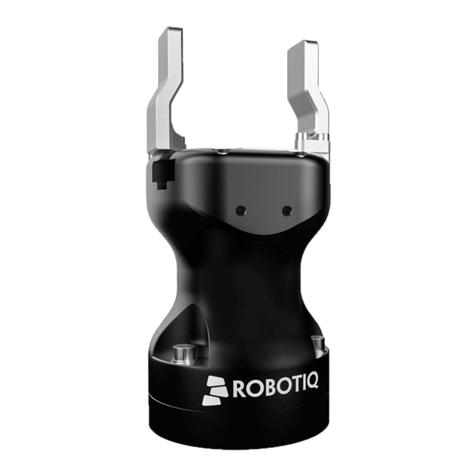
Hand-E
Gripper Coupling
Fingertip Starting Kit
Connection Protector Kit
USB Stick
Necessary Hardware
2.TOOLS YOU NEED
5.SOFTWARE INSTALLATION
4.MOUNTING
Visit: support.robotiq.com
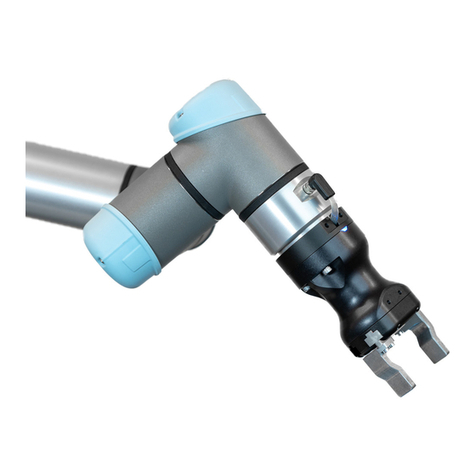
This step-by-step guide will allow you to install and use
your Hand-E Gripper on e-Series Universal Robots.
6. ACTIVATE
THE GRIPPER
3.GET THE LATEST
PLEASE READ THE INSTRUCTION MANUAL
BEFORE OPERATING THE GRIPPER.
• Get the up-to-date instruction manual (PDF or web browser).
• Get the corresponding Robotiq_Grippers-X.X.X.urcap.
• Download the .urcap file on a USB stick.
• Have a USB stick that contains the .urcap file (step 3).
• Insert the USB stick in the robot’s teach pendant.
• Tap the triple bar icon in the upper right corner and select
the System menu on the left.
• Tap the URCaps submenu and then tap the +sign at the
bottom of the screen.
• Open Robotiq_Grippers-X.X.X.urcap.
• Tap the Restart button to activate the URCap.
• Mount the coupling (GRP-ES-CPL-062) on your robot
arm. Align with the provided dowel pin*.
• Fix using the provided M6 screws (use of threadlocker
is recommended).
• Mount the Gripper (HND-GRP-001) on the coupling.
Align with the dowel pin*.
• Fix using the provided M5 screws.
• Plug the coupling’s cable in the robot’s wrist connector.
• Cover the connection using the protector and the
provided M4 screws.
THANK YOU FOR
CHOOSING ROBOTIQ
3 mm
Hex Key
4 mm
Hex Key
• Tap the UR+ button to expand the Gripper Toolbar.
!
• The Gripper toolbar allows you to jog and test the
Gripper. For more information, refer to the
instruction manual.
CAREFUL !
FRAGILE PINS
(Gripper)
(Gripper coupling)
(M5 screws)
(M6 screws)
(Dowel pin*)
(Coupling cable)
(M4 screws)
(Connection
protector**)
* The dowel pin is meant to have a tight t on the robot side and a
slip t on the eector side of the assembly.
** Select the connection protector corresponding to your robot
model in the GRP-ES-CPL-PRO kit.
Gripper Activate Node
• Tap the Installation button at the top of the screen.
• Tap the URCaps button in the navigation pane on the left.
• Select Gripper in the dropdown list.
• Go to the Dashboard tab.
• Check the Gripper is connected to the wrist checkbox.
• Tap the Scan button to locate any connected Gripper.
• Once the Gripper is located, tap the Activate button.
[email protected]
T: 1.418.380.2788 option 3
October 2018
V1.1
HAND-E
QUICK START GUIDE
support.robotiq.com
New product has a 1-year warranty from the above date.
Refer to your product instruction manual for details.
For installation on
e-Series
Universal Robots
• Depending on the PolyScope settings used, the
Gripper position measurements can either display in
metric or imperial units.
7. HOW TO CALIBRATE
THE GRIPPER
• Go to the Installation tab, tap the URCaps menu on the
left and select Gripper.
• Tap the Calibration tab.
• Tap the Calibrate button next to the Gripper icon to
start the Calibration wizard.
• The wizard prompts the user to fully close the Gripper,
regardless of the type of fingers/fingertips used.
• Measure the distance between the fingers/fingertips
and enter the measurement in the appropriate box.
• Tap the Continue button.
• The user is then asked to fully open the Gripper.
• Measure the distance between the
fingers/fingertips and enter the measurement in the
appropriate box.
• Tap the Continue button to complete the
Calibration wizard.
Lorem ipsum
• Tap the UR+ button to expand the Gripper Toolbar.
The Gripper position measurements can either display
in millimeters or inches, depending on the PolyScope
settings used.
8. USE NODES TO PROGRAM
WITH THE GRIPPER
Gripper Node
• Tap the Program button at the top of the screen.
• Tap the URCaps button in the navigation pane on the left.
• Select Gripper in the dropdown list.
• Go to the Command tab to edit your Gripper’s action.
Grip Check Node
• Tap the Program button at the top of the screen.
• Tap the URCaps button in the navigation pane on the left.
• Select Grip Check in the dropdown list.
• Go to the Command tab to edit the node.
• Select a condition (If object is detected vs. If object is not
detected).
• If applicable, enter the object dimension for validation.

Other ROBOTIQ Robotics manuals

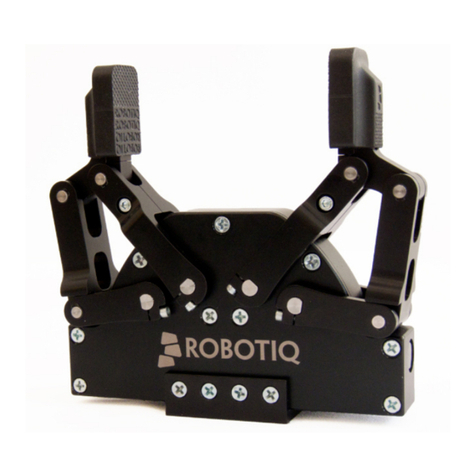
ROBOTIQ POWERPICK20 Operation and maintenance manual

ROBOTIQ

ROBOTIQ POWERPICK20 Operation and maintenance manual

ROBOTIQ AirPick User manual

ROBOTIQ

ROBOTIQ AirPick User manual

ROBOTIQ SD-100 User manual

ROBOTIQ

ROBOTIQ SD-100 User manual

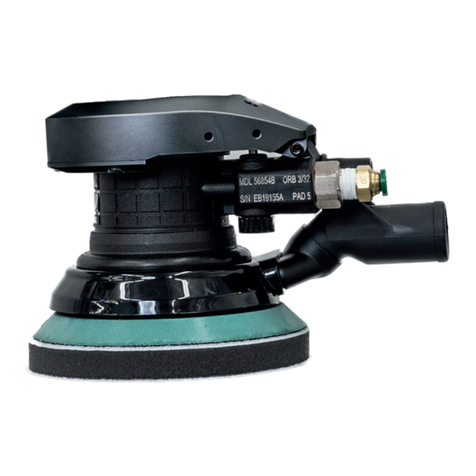
ROBOTIQ 56854B User manual

ROBOTIQ

ROBOTIQ 56854B User manual

ROBOTIQ HAND-E User manual

ROBOTIQ

ROBOTIQ HAND-E User manual

ROBOTIQ S Model User manual

ROBOTIQ

ROBOTIQ S Model User manual

ROBOTIQ AirPick Operation and maintenance manual

ROBOTIQ

ROBOTIQ AirPick Operation and maintenance manual

ROBOTIQ HAND-E User manual

ROBOTIQ

ROBOTIQ HAND-E User manual

ROBOTIQ UR3 User manual

ROBOTIQ

ROBOTIQ UR3 User manual

ROBOTIQ HAND-E User manual

ROBOTIQ

ROBOTIQ HAND-E User manual

ROBOTIQ Wrist Camera User manual

ROBOTIQ

ROBOTIQ Wrist Camera User manual

ROBOTIQ AIR PICK User manual

ROBOTIQ

ROBOTIQ AIR PICK User manual

ROBOTIQ CNC Machine Tending Kit User manual

ROBOTIQ

ROBOTIQ CNC Machine Tending Kit User manual

ROBOTIQ HAND-E User manual

ROBOTIQ

ROBOTIQ HAND-E User manual

ROBOTIQ HAND-E User manual

ROBOTIQ

ROBOTIQ HAND-E User manual

ROBOTIQ PE Series User manual

ROBOTIQ

ROBOTIQ PE Series User manual

ROBOTIQ Wrist Camera User manual

ROBOTIQ

ROBOTIQ Wrist Camera User manual

ROBOTIQ AX10 User manual

ROBOTIQ

ROBOTIQ AX10 User manual

ROBOTIQ 85 User manual

ROBOTIQ

ROBOTIQ 85 User manual

ROBOTIQ Sanding Kit User manual

ROBOTIQ

ROBOTIQ Sanding Kit User manual

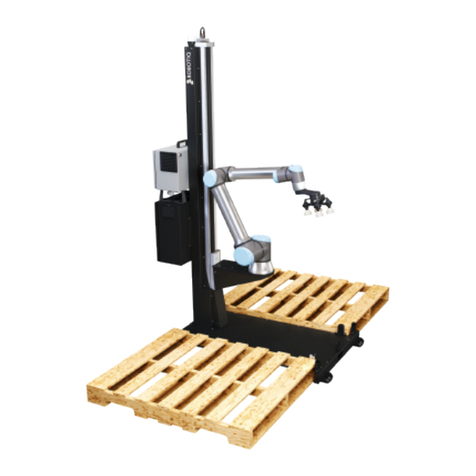
ROBOTIQ PALLETIZING SOLUTION Operation and maintenance manual

ROBOTIQ

ROBOTIQ PALLETIZING SOLUTION Operation and maintenance manual

ROBOTIQ 2F-85 User manual

ROBOTIQ

ROBOTIQ 2F-85 User manual

ROBOTIQ PE20 User manual

ROBOTIQ

ROBOTIQ PE20 User manual

ROBOTIQ PE Series Operation and maintenance manual

ROBOTIQ

ROBOTIQ PE Series Operation and maintenance manual

Popular Robotics manuals by other brands

Terasic A-Cute Car user manual

Terasic

Terasic A-Cute Car user manual

Toshiba TH180 instruction manual

Toshiba

Toshiba TH180 instruction manual

Joy-it Robot 02 manual

Joy-it

Joy-it Robot 02 manual

ActivMedia Robotics Pioneer 3 Operation manual

ActivMedia Robotics

ActivMedia Robotics Pioneer 3 Operation manual

HYRobotics NEXIA-SY Series user manual

HYRobotics

HYRobotics NEXIA-SY Series user manual

Toshiba THP550-IP instruction manual

Toshiba

Toshiba THP550-IP instruction manual

Meccano Meccanoid XL 2.0 Instruction

Meccano

Meccano Meccanoid XL 2.0 Instruction

Agilebot GBT-S6A Series product manual

Agilebot

Agilebot GBT-S6A Series product manual

SoftBank Whiz Operational manual

SoftBank

SoftBank Whiz Operational manual

Toshiba THP700-CBR instruction manual

Toshiba

Toshiba THP700-CBR instruction manual

Ewall QDS-15RO manual

Ewall

Ewall QDS-15RO manual

LAFVIN Obstacle Avoidance Smart Car Kit manual

LAFVIN

LAFVIN Obstacle Avoidance Smart Car Kit manual

flyingOSPREY SMART CURTAIN ROBOT user manual

flyingOSPREY

flyingOSPREY SMART CURTAIN ROBOT user manual

YASKAWA MOTOMAN-MH5S II Maintenance manual

YASKAWA

YASKAWA MOTOMAN-MH5S II Maintenance manual

ABB IRB 460 operating manual

ABB

ABB IRB 460 operating manual

Tiger Electronics WonderBorg instruction manual

Tiger Electronics

Tiger Electronics WonderBorg instruction manual

WEEEMAKE Home Inventor Kit user manual

WEEEMAKE

WEEEMAKE Home Inventor Kit user manual

AC Air Technology T1X3 instruction manual

AC Air Technology

AC Air Technology T1X3 instruction manual

manuals.online logo
manuals.online logoBrands
  • About & Mission
  • Contact us
  • Privacy Policy
  • Terms and Conditions

Copyright 2025 Manuals.Online. All Rights Reserved.