manuals.online logo
Brands
  1. Home
  2. •
  3. Brands
  4. •
  5. ROBOTIQ
  6. •
  7. Robotics
  8. •
  9. ROBOTIQ AIR PICK User manual

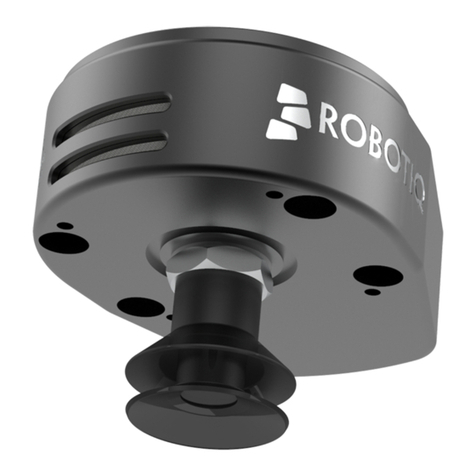
ROBOTIQ AIR PICK User manual

1.WHAT IS SUPPLIED?
Standard upon delivery of
VAC-CB-UR-AIRPICK-KITX
2.TOOLS YOU NEED
4.MOUNTING
3.GET THE LATEST
THANK YOU FOR
CHOOSING ROBOTIQ
4 mm
Hex Key
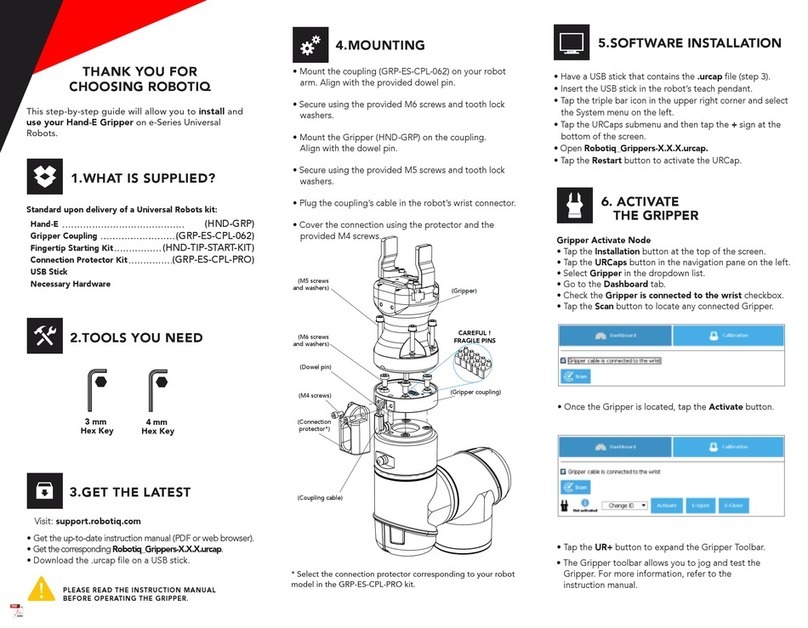
1. Mount the coupling on your robot arm. Align with the
provided dowel pin.
2. Secure by inserting the M6 screws and tooth lock washers.
3. Mount the Vacuum Gripper on the coupling.
Align with the dowel pin.
4. Secure by inserting the M5 screws and tooth lock washers.
5. Plug the device cable into the coupling pigtail and attach
the cable along the robot arm using a cable routing system.
6. To install the 2 or 4 suction cups kits for gripper, please
refer to the Connector Assembly Guide. You can find in
this guide details on assembling the Suction Cup System.
BEFORE OPERATING THE GRIPPER, PLEASE
READ THE INSTRUCTION MANUAL.
This step-by-step guide will allow you to install and
use your AIRPick Vacuum Gripper on CB Series
Universal Robots.
• Vacuum generator.......................(
VAC-GRP-AIRPICK
)
• Gripper coupling...............................(GRP-CPL-062)
• USB to RS485 Adapter..........(ACC-ADT-USB-RS485)
• High-flex device cable.........(CBL-COM-2065-10-HF)
• Suction Cup Option
KIT1
...................................................(1
SUCTION CUP
)
KIT2
.................................................(
2 SUCTION CUPS
)
KIT4
.................................................(
4 SUCTION CUPS
)
•
Required hardware
Visit
:
support.robotiq.com
DOWNLOADING THE URCAP
1. Select brand > Universal Robots > Vacuum Grippers
> Software > Gripper Software.
2. Select DOWNLOAD ZIP.
3. Save the ZIP file UCG-X.X.X to a USB stick.
5.WIRING
1. Connect the red wire to a 24V pin.
2. Connect the black wire to a 0V pin.
3. Connect the communication wires in the USB converter
(ACC-ADT-USB-RS485) as shown.
4. Connect the USB converter to the UR controller.
485+
485-
485 GND
(1)
(2)
(3)
1
2
3
4
5
WHITE
Pin Signal Name
1
2
485 + (A)
SHIELD
CBL-COM-2065-10-HF
High-Flex Device Cable
GREEN
3
485 GND
485 - (B)
Power
PWR
GND
24V
0V
24V
CI0
24V
CI1
CI3
24V
CI2
24V
CI
24V
CI4
24V
CI5
CI7
24V
CI6
24V
CI
0V
CO0
0V
CO1
CO3
0V
CO2
0V
CO
0V
CO4
0V
CO5
CO7
0V
CO6
0V
CO
The red (24V) and black (0V) wires of the device cable
(CBL-COM-2065-10-HF) provide power to the Gripper.
CONNECTING THE AIR SUPPLY
1. Insert the 8 mm flexible tube in the air supply port.
2. Once the tube inserted, make sure the safety clip is
present to secure the tube.
3.
Route the air tube along the robot arm using a cable
routing system.
• Recommended air pressure = 7 bar [101.5 psi]
Maximum = 7 bar [101.5 psi]
• Dry and filtered air only;
Follow ISO 8573-1, class 3.4.3 Standard.
• Use of a local pressure regulator with a filter
and air dryer is recommended.
LEAVE ENOUGH EXCESS CABLE TO ALLOW
FULL ROBOT MOVEMENT.
(M5 screws and
washers)
(M6 screws and
washers)
(vacuum generator)
(gripper coupling)
(coupling pigtail)
(dowel pin)
(suction cup)
(hand tightened)
2mm
slotted screwdriver
(not included)
CAREFUL !
FRAGILE PINS
(device cable)
Vacuum Gripper
QUICK START GUIDE
[email protected]
T: 1.418.380.2788 ext. 3
July 2021
X-990076-B
support.robotiq.com
For installation on
CB Series
Universal Robots
6.SOFTWARE INSTALLATION 8. PROGRAMMING
THE GRIPPER
1. Have a USB stick that contains the .urcap file (
STEP 3
).
2. Insert the USB stick in the robot teach pendant.
3. Tap Setup Robot and then URCaps.
4. Tap the sign.
5. Open UCG-X.X.X.urcap.
6. Tap the Restart button to activate the URCap.
7. The Vacuum toolbar button will display a short time after
the installation of the software is completed.
5. Tap the Vacuum tab on the top of the screen to expand the
Vacuum Toolbar. (Show Vacuum Toolbar must be selected).
6. The Vacuum Toolbar allows you to test the vacuum
gripper.
Vacuum Gripper Toolbar
7. DETECTING THE GRIPPER
X-990076-B
AIR PICK
Vacuum command
V
ACUUM NODE
1. Tap the Program tab at the top of the screen.
2. Tap the Structure tab.
3. Tap the URCaps tab and select Vacuum.
4. Tap the Command tab to edit the action of your gripper.
TORELEASE APART
1. In the Command tab, select the Release tab.
2. If the Advanced settings box is checked, enter a Shut off
distance (cm).
3. To establish nominal values for your application, tap the
Test Release button.
TOGRIP APART
1. In the Command tab, select the Grip tab.
2. You can specify a range for the maximum and minimum
vacuum levels (%), and specify a timeout (ms) by checking
the Advanced settings box.
3. To establish nominal values for your application, tap the
Test Grip button.
1. Initialize the robot.
2. Tap the Installation tab in the header.
3. Select Vacuum in the left navigation pane.
4. Tap the Scan button to locate any connected gripper.
elearning.robotiq.com

This manual suits for next models

1

Other ROBOTIQ Robotics manuals

ROBOTIQ EPick User manual

ROBOTIQ

ROBOTIQ EPick User manual

ROBOTIQ UR3 User manual

ROBOTIQ

ROBOTIQ UR3 User manual

ROBOTIQ HAND-E User manual

ROBOTIQ

ROBOTIQ HAND-E User manual

ROBOTIQ CB Series User manual

ROBOTIQ

ROBOTIQ CB Series User manual

ROBOTIQ AX Series User manual

ROBOTIQ

ROBOTIQ AX Series User manual

ROBOTIQ FT 300-S User manual

ROBOTIQ

ROBOTIQ FT 300-S User manual

ROBOTIQ AirPick Vacuum Gripper User manual

ROBOTIQ

ROBOTIQ AirPick Vacuum Gripper User manual

ROBOTIQ PE20 User manual

ROBOTIQ

ROBOTIQ PE20 User manual

ROBOTIQ AIR PICK User manual

ROBOTIQ

ROBOTIQ AIR PICK User manual

ROBOTIQ EPick Operation and maintenance manual

ROBOTIQ

ROBOTIQ EPick Operation and maintenance manual

ROBOTIQ PE Series User manual

ROBOTIQ

ROBOTIQ PE Series User manual

ROBOTIQ Wrist Camera User manual

ROBOTIQ

ROBOTIQ Wrist Camera User manual

ROBOTIQ 2F-85 User manual

ROBOTIQ

ROBOTIQ 2F-85 User manual

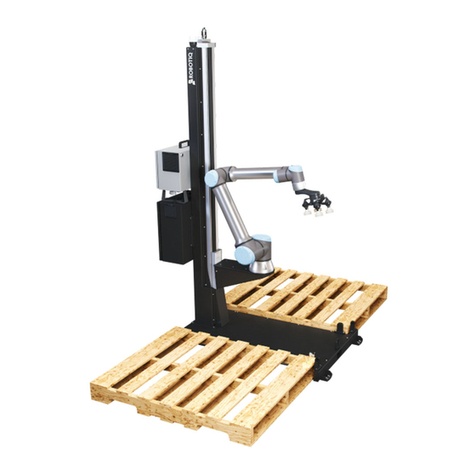
ROBOTIQ PALLETIZING SOLUTION User manual

ROBOTIQ

ROBOTIQ PALLETIZING SOLUTION User manual

ROBOTIQ HAND-E User manual

ROBOTIQ

ROBOTIQ HAND-E User manual

ROBOTIQ HAND-E User manual

ROBOTIQ

ROBOTIQ HAND-E User manual

ROBOTIQ HAND-E User manual

ROBOTIQ

ROBOTIQ HAND-E User manual

ROBOTIQ AirPick Vacuum Gripper User manual

ROBOTIQ

ROBOTIQ AirPick Vacuum Gripper User manual

ROBOTIQ S Model User manual

ROBOTIQ

ROBOTIQ S Model User manual

ROBOTIQ PALLETIZING SOLUTION AX Series User manual

ROBOTIQ

ROBOTIQ PALLETIZING SOLUTION AX Series User manual

ROBOTIQ PE Series User manual

ROBOTIQ

ROBOTIQ PE Series User manual

ROBOTIQ HAND-E User manual

ROBOTIQ

ROBOTIQ HAND-E User manual

ROBOTIQ PowerPick Vacuum Gripper User manual

ROBOTIQ

ROBOTIQ PowerPick Vacuum Gripper User manual

ROBOTIQ HAND-E User manual

ROBOTIQ

ROBOTIQ HAND-E User manual

Popular Robotics manuals by other brands

Terasic A-Cute Car user manual

Terasic

Terasic A-Cute Car user manual

Toshiba TH180 instruction manual

Toshiba

Toshiba TH180 instruction manual

Joy-it Robot 02 manual

Joy-it

Joy-it Robot 02 manual

ActivMedia Robotics Pioneer 3 Operation manual

ActivMedia Robotics

ActivMedia Robotics Pioneer 3 Operation manual

HYRobotics NEXIA-SY Series user manual

HYRobotics

HYRobotics NEXIA-SY Series user manual

Toshiba THP550-IP instruction manual

Toshiba

Toshiba THP550-IP instruction manual

Meccano Meccanoid XL 2.0 Instruction

Meccano

Meccano Meccanoid XL 2.0 Instruction

Agilebot GBT-S6A Series product manual

Agilebot

Agilebot GBT-S6A Series product manual

SoftBank Whiz Operational manual

SoftBank

SoftBank Whiz Operational manual

Toshiba THP700-CBR instruction manual

Toshiba

Toshiba THP700-CBR instruction manual

Ewall QDS-15RO manual

Ewall

Ewall QDS-15RO manual

LAFVIN Obstacle Avoidance Smart Car Kit manual

LAFVIN

LAFVIN Obstacle Avoidance Smart Car Kit manual

flyingOSPREY SMART CURTAIN ROBOT user manual

flyingOSPREY

flyingOSPREY SMART CURTAIN ROBOT user manual

YASKAWA MOTOMAN-MH5S II Maintenance manual

YASKAWA

YASKAWA MOTOMAN-MH5S II Maintenance manual

ABB IRB 460 operating manual

ABB

ABB IRB 460 operating manual

Tiger Electronics WonderBorg instruction manual

Tiger Electronics

Tiger Electronics WonderBorg instruction manual

WEEEMAKE Home Inventor Kit user manual

WEEEMAKE

WEEEMAKE Home Inventor Kit user manual

AC Air Technology T1X3 instruction manual

AC Air Technology

AC Air Technology T1X3 instruction manual

manuals.online logo
manuals.online logoBrands
  • About & Mission
  • Contact us
  • Privacy Policy
  • Terms and Conditions

Copyright 2025 Manuals.Online. All Rights Reserved.