manuals.online logo
Brands
  1. Home
  2. •
  3. Brands
  4. •
  5. rockymounts
  6. •
  7. Automobile Accessories
  8. •
  9. rockymounts HighNoon FC Add-On User manual

rockymounts HighNoon FC Add-On User manual

HighNoon FC Add-On
Read all warnings on last page before use.
51336_REV_B
Guidelines
Parts Included
• Using the HighNoon Add-On reduces the max weight per bike to 45lbs (20kg) each
• Tire width 19mm road bike tires - 5.0” mountain bike tires
• Wheel Diameter: 20” - 29”
• Wheelbase: 33” - 52” (690mm - 1300mm)
• Remove Baby Seats, Panniers, U-Locks, or items that could detach from the bicycle before use
• No kick bikes, recumbents, mopeds, scooters, pennyfarthings, or tandems
• Only compatible with HighNoon 2” & HighNoon SOLO
• NOT COMPATIBLE WITH HIGHNOON 1.25” OR BOOTLEG
A: Wheel tray A
B: HighNoon Solo Spine
C: Back stop
D: Rear wheel cup
E: Front wheel cup
F: Wheel strap
G: Wheel strap extension
H: M8 x 90mm BHCS bolt
I: M8 x 85mm BHCS bolt
J: M8 x16mm BHCS bolt
K: M8 Flat washer
L: M8 Split washer
M: 5mm Allen wrench
N: M8 x 30mm flanged bolt
Read all warnings on last page before use.
A (1x)
C (1x) F (1x)
D (1x)
I (x1)
G (1x)
B (1x)
L (4x)
H (1x)
K (7x)
M (1x)
J (6x)
N (2x)
E (1x)
Read all warnings on last page before use.
51336_REV_B
12
4
3
Remove End Cap Install Add-On Spine
Depress tabs and pull end cap out of HighNoon
Spine
Insert add-on spine into main spine. Install two
M8x16 bolts with two flat washers. Reinstall
end cap into add-on spine
Assembly Instructions
Install Wheel Tray
Install Wheel Back Stop
Install the back stop with M8x85 BHCS bolt
Place wheel tray on the add-on spine with the
load arm facing away from vehicle. Install four
M8x16 bolts with M8 washers through slots
under add-on spine
5Install Rear Wheel Cup
Align holes on the wheel cup, tray, and wheel
strap. Make sure the buckle faces away from
vehicle. Install with M8x90 BHCS bolt and one
M8 flat washer
6
Install Front Wheel cup
Push the front wheel cup onto the tray and
screw in the two M8x30 flanged screws from
the underside of the tray
`
Read all warnings on last page before use.
51336_REV_B
1Shorten Strap
Measure and find desired strap length (X).
We suggest +2 additional loops from your
chosen length. Then carefully cut strap
between openings
Trimming Excess Strap
12
Loosen Bolts Adjust Trays
Trays can be adjusted side-to-side to avoid
handlebar interference. Remove bikes and
fold rack to stowed position. Loosen eight M8
bolts on bottom of spine
Slide trays as much as needed and re-tighten
all eight M8 bolts
Rack Adjustability
Read all warnings on this page before use.
51336_REV_B
Warnings
Limited Lifetime Warranty
Technical Support
•If a hitch extension is needed, only anti-wobble hitch extensions by RockyMounts should be used with
this product
•Remove Baby Seats, Panniers, U-Locks, or items that could detach from the bicycle
•Do not use bicycle covers, bicycle bras, or bicycles equipped with aero disc wheel(s)
•Not intended for off road use or with trailers, towed vehicles, 1 ton pickups, RV’s, or UHV/UTVs
•Bikes and rack can partially block license plate and/or taillights. Please check and adjust accordingly
•Check the car exhaust is not pointing at the rack, bike tires, or rims. Some vehicles may require
exhaust diversion to avoid damage
•Do not transport bikes with flat or leaking front tires. Front tire must be inflated for secure transport
•Hitch recievers require a minimum of Class II, III, IV rating and 1.5” (38mm) distance from hitch pin
hole to end of receiver
•Locks are only deterrents for theives, RockyMounts™ Inc. Cannot be held liable for stolen bicycles
•Check All Fasteners Before Each Use
•Remove Bikes and Rack Before Entering Car Wash, hand washing rack is OK
•Once a Year, Remove From Car to Clean and Inspect for Damage
•Wheel Straps are subjected to age, wear and deterioration - It is the responsibility of the Owner/
User to evaluate and replace straps when needed.
At RockyMounts we offer a Limited Lifetime Warranty for products purchased after January 1,
2014 to the original owner. For details of warranty, guidelines, and how to make a claim; please
see rockymounts.com/warranty
Please call us at 303-402-0190 or email ride@rockymounts.com for questions regarding
use, assembly, and support
Other rockymounts Automobile Accessories manuals

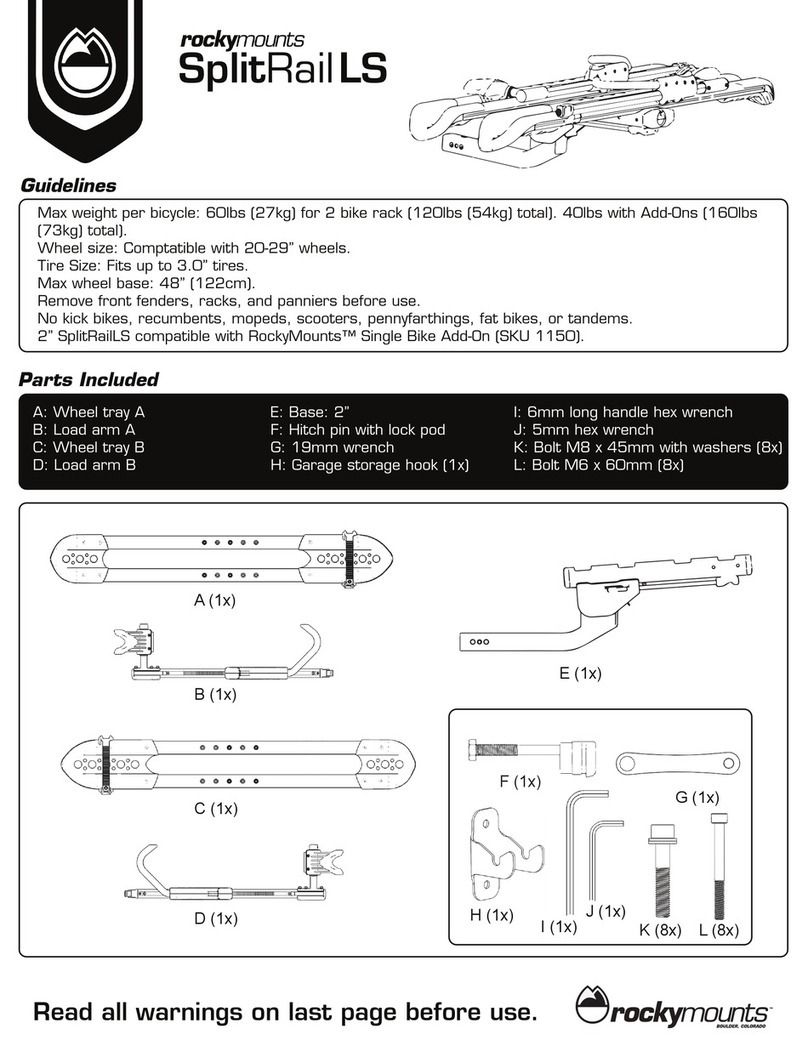
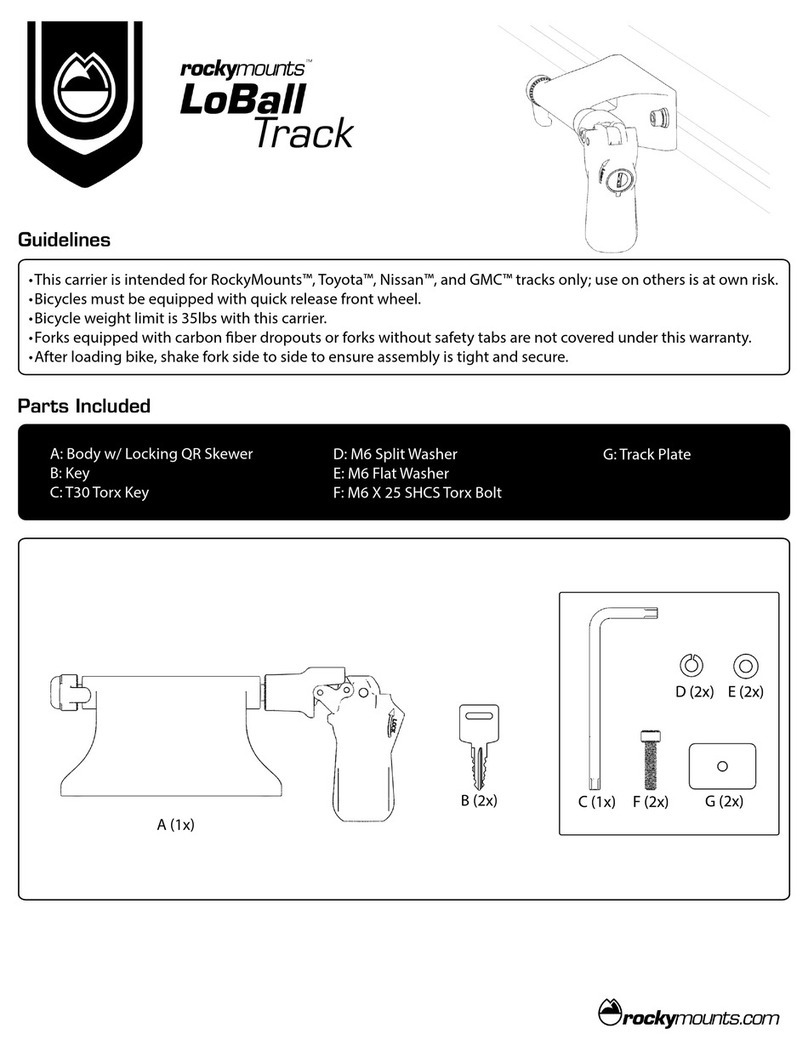
rockymounts LOBALL TRACK User manual

rockymounts

rockymounts LOBALL TRACK User manual

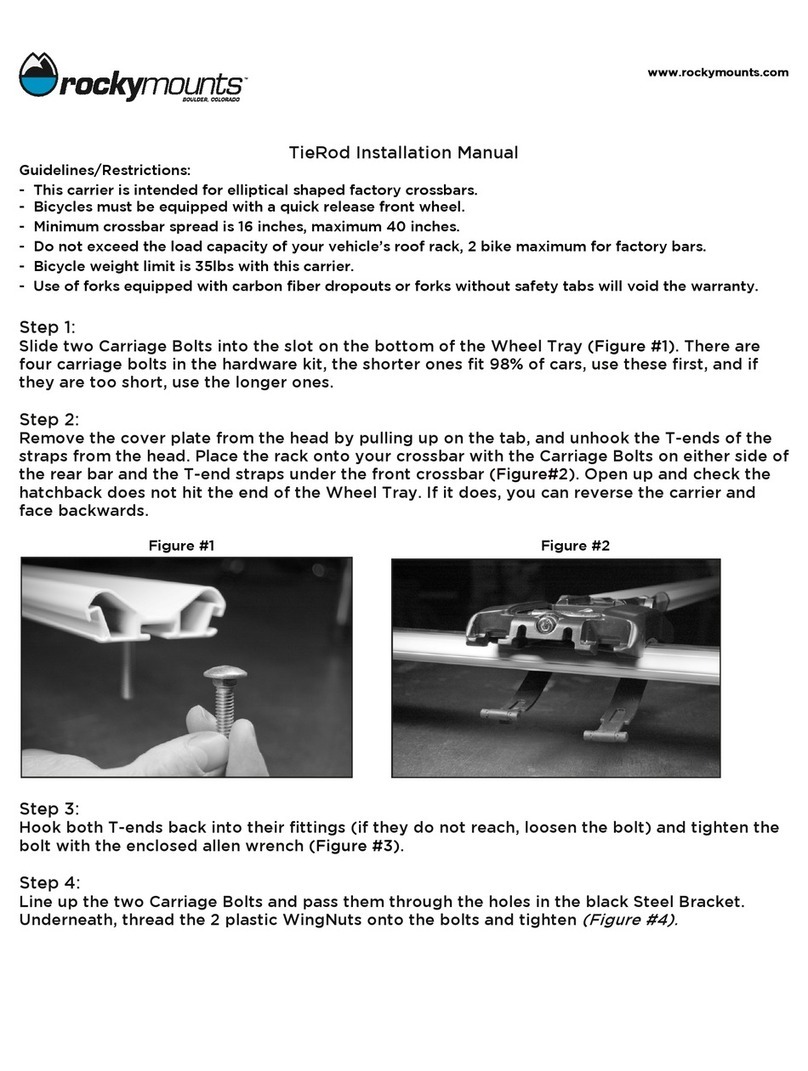
rockymounts TieRod 10120 User manual

rockymounts

rockymounts TieRod 10120 User manual

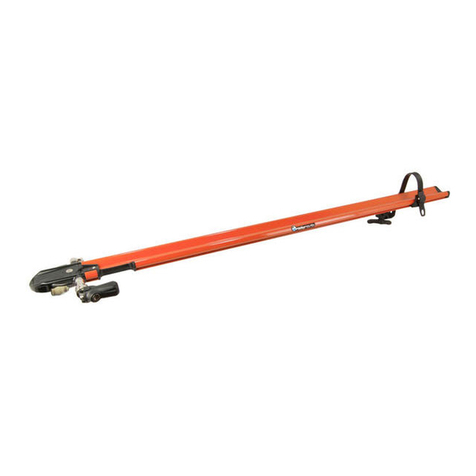
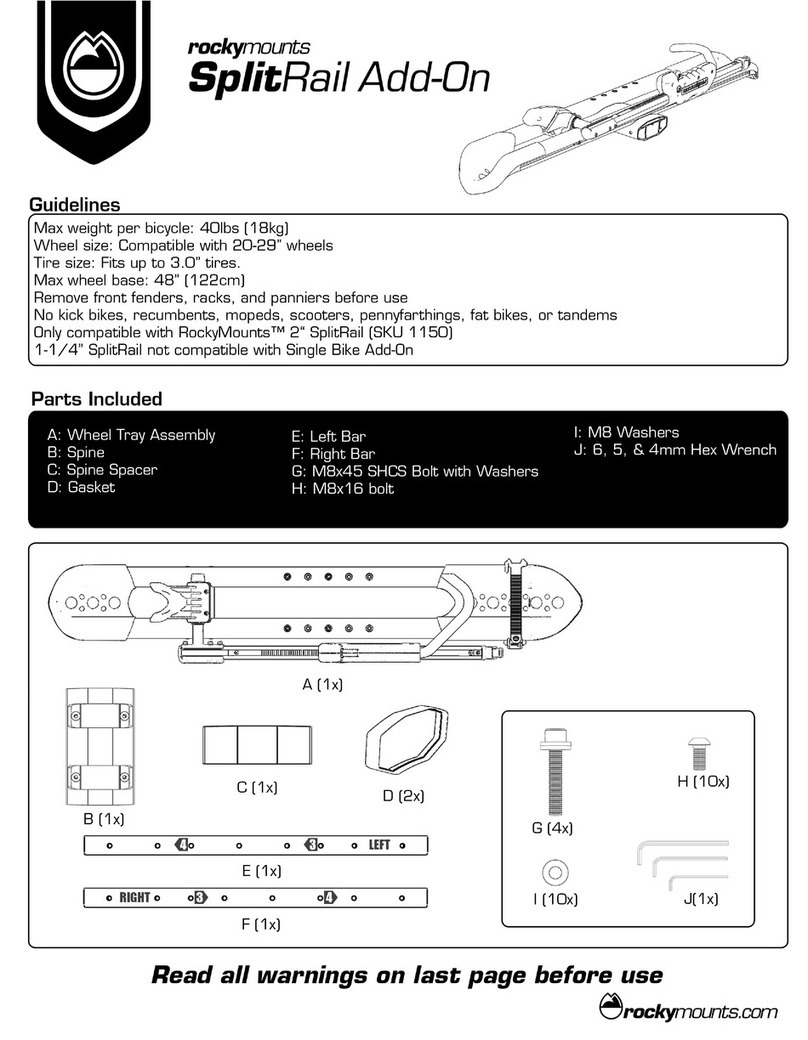
rockymounts SplitRailLS User manual

rockymounts

rockymounts SplitRailLS User manual

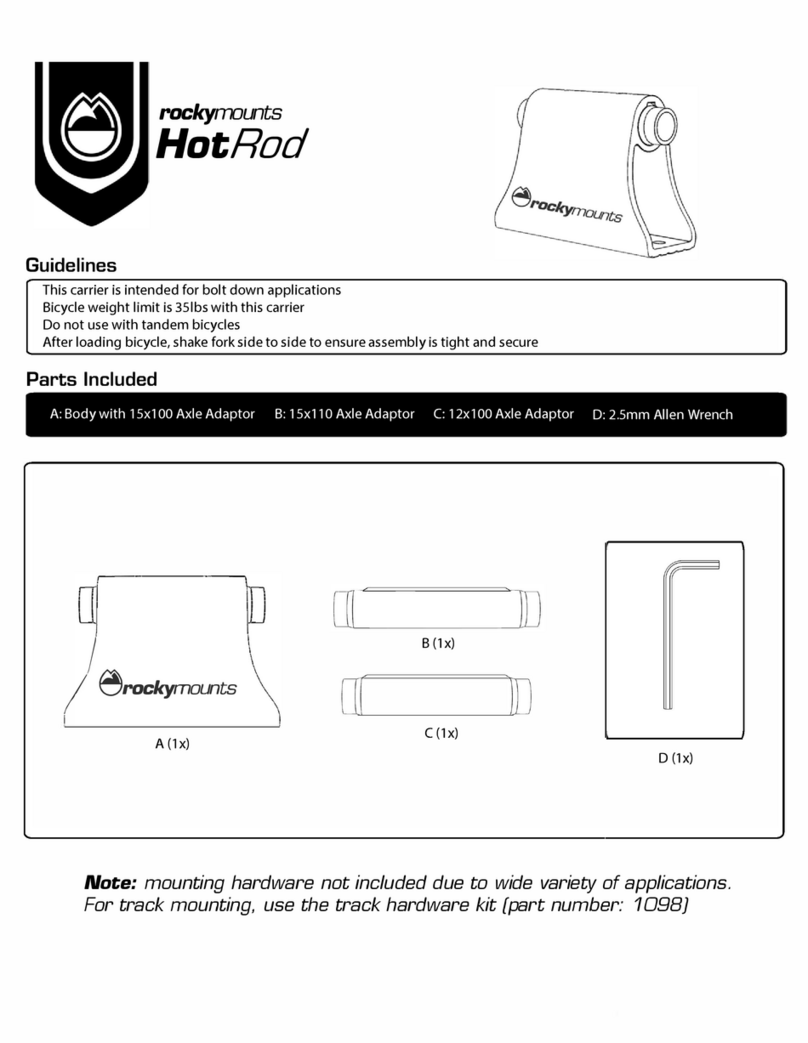
rockymounts HotRod User manual

rockymounts

rockymounts HotRod User manual

rockymounts SwitchHitter User manual

rockymounts

rockymounts SwitchHitter User manual

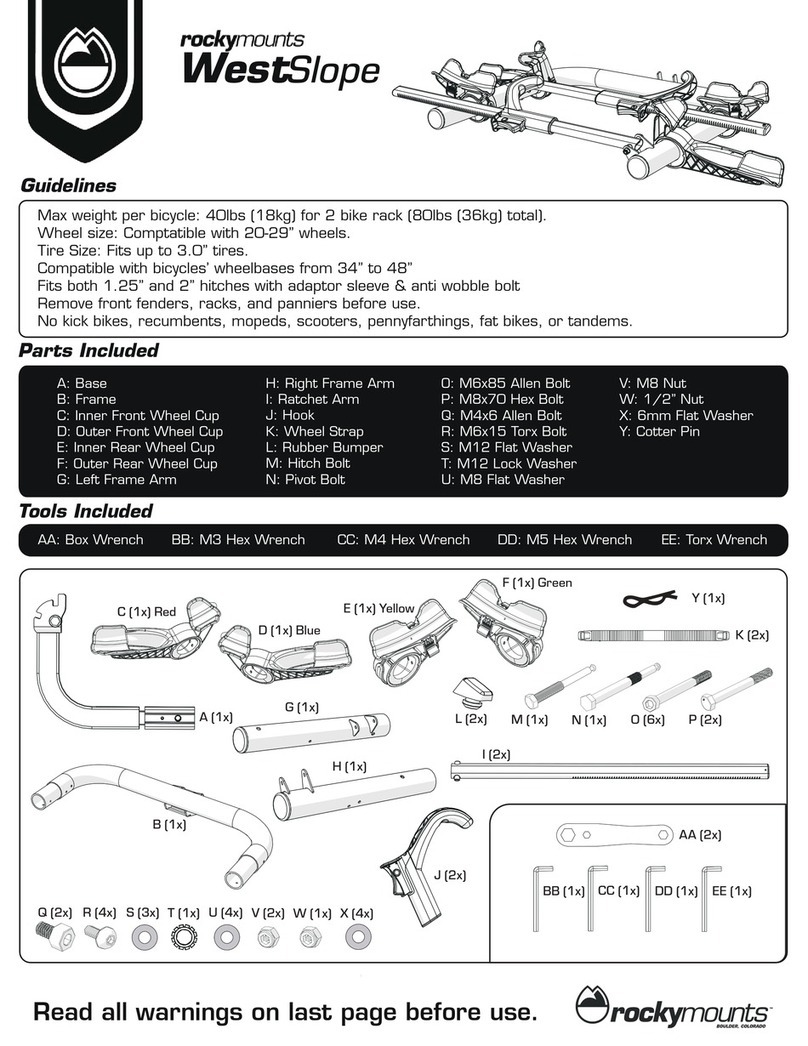
rockymounts WestSlope User manual

rockymounts

rockymounts WestSlope User manual

rockymounts SplitRail User manual

rockymounts

rockymounts SplitRail User manual

rockymounts Locking Clutch User manual

rockymounts

rockymounts Locking Clutch User manual

rockymounts RM031 Instruction Manual

rockymounts

rockymounts RM031 Instruction Manual

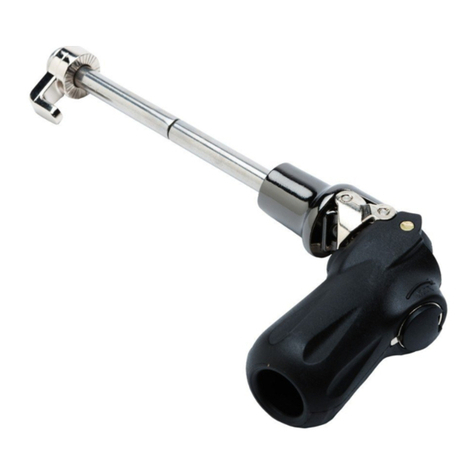
rockymounts Quick Release User manual

rockymounts

rockymounts Quick Release User manual

rockymounts PitchFork User manual

rockymounts

rockymounts PitchFork User manual

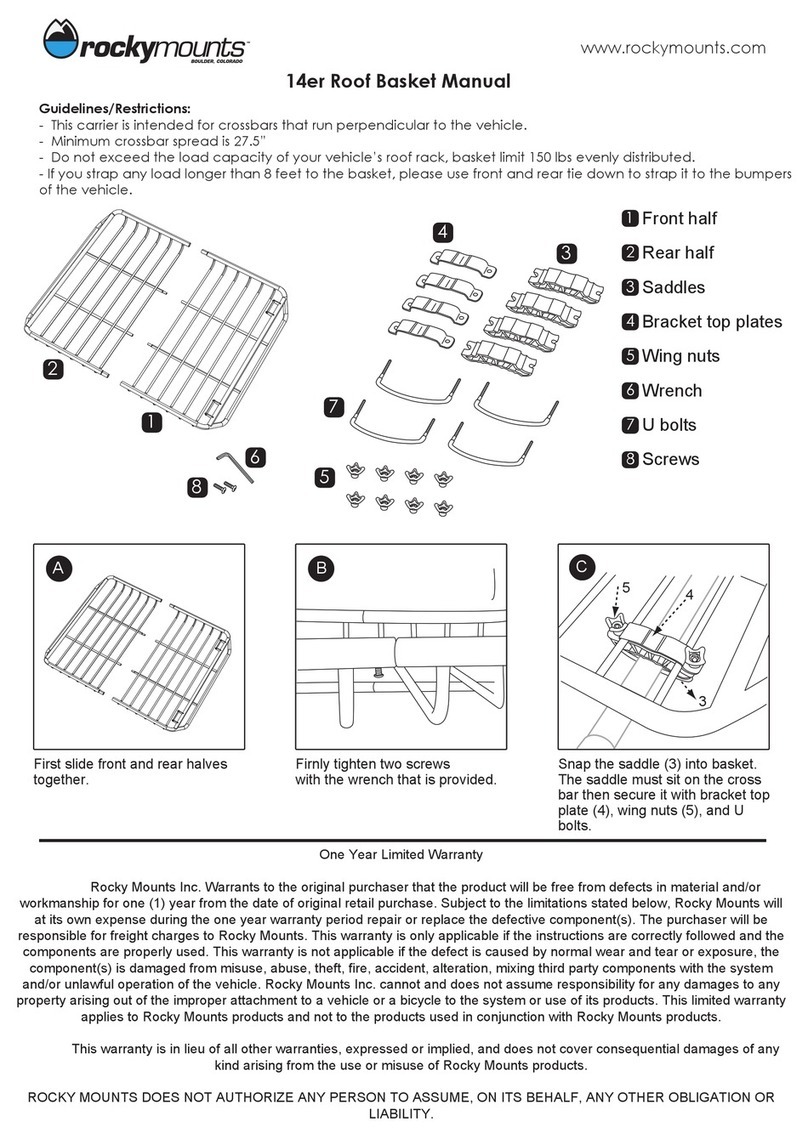
rockymounts 14er Roof Basket User manual

rockymounts

rockymounts 14er Roof Basket User manual

rockymounts TieRod User manual

rockymounts

rockymounts TieRod User manual

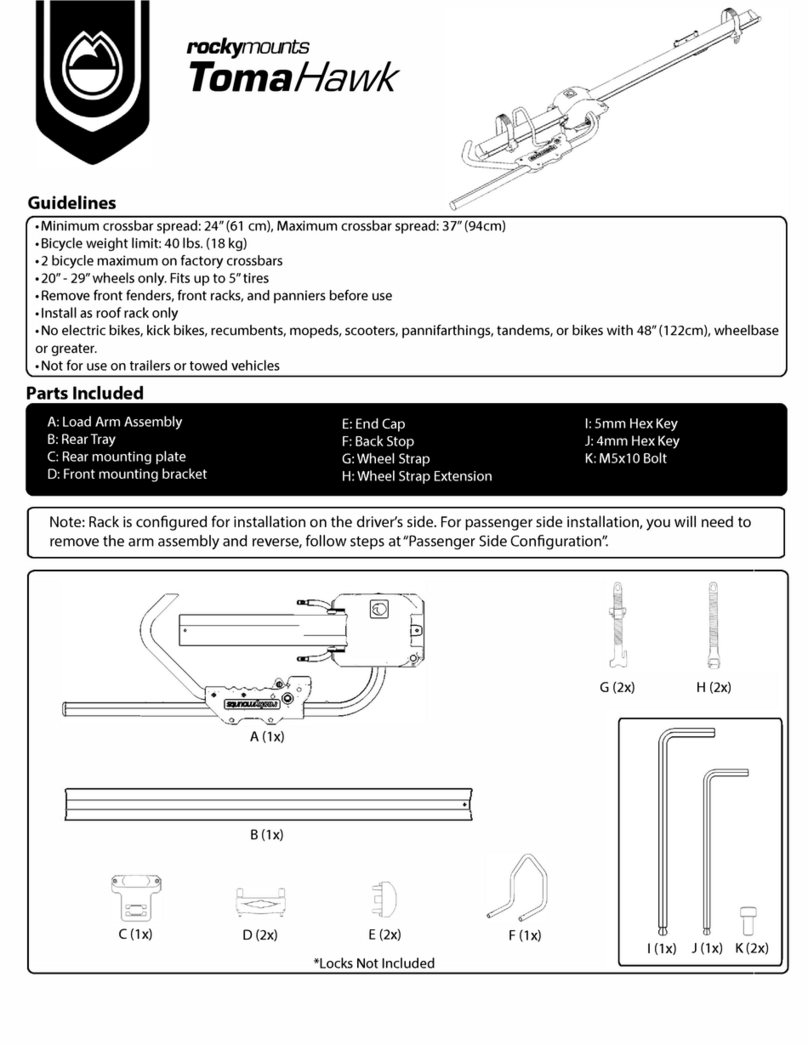
rockymounts TomaHawk User manual

rockymounts

rockymounts TomaHawk User manual

Popular Automobile Accessories manuals by other brands

Curt Group Liverne 401801 installation manual

Curt Group

Curt Group Liverne 401801 installation manual

SpeedTech Lights K-FORCE MICRO 14 LINEAR instruction manual

SpeedTech Lights

SpeedTech Lights K-FORCE MICRO 14 LINEAR instruction manual

A.T.U FS4226 Instructions for use

A.T.U

A.T.U FS4226 Instructions for use

DEFA 414899 Fitting instructions

DEFA

DEFA 414899 Fitting instructions

Hama Blue Mobile manual

Hama

Hama Blue Mobile manual

Kioti CK3510CH HU-EU installation instructions

Kioti

Kioti CK3510CH HU-EU installation instructions

Aussie Tonneaus ATR01159 FITTING INSTRUCTION

Aussie Tonneaus

Aussie Tonneaus ATR01159 FITTING INSTRUCTION

Fiamma CARAVAN XL A PRO 300 Installation and usage instructions

Fiamma

Fiamma CARAVAN XL A PRO 300 Installation and usage instructions

WeatherTech No-Drill MudFlap installation instructions

WeatherTech

WeatherTech No-Drill MudFlap installation instructions

Ultraflex PADDLE TRIM installation manual

Ultraflex

Ultraflex PADDLE TRIM installation manual

injen technology FM1573i instruction manual

injen technology

injen technology FM1573i instruction manual

Fiamma LICENCE PLATE CARRIER Installation and usage instructions

Fiamma

Fiamma LICENCE PLATE CARRIER Installation and usage instructions

CEMO 4052886280348 manual

CEMO

CEMO 4052886280348 manual

Uebler i21 S Mounting and operating instructions

Uebler

Uebler i21 S Mounting and operating instructions

TAUBENREUTHER 2086-03 manual

TAUBENREUTHER

TAUBENREUTHER 2086-03 manual

AMP Research Power Step 77137-01A installation guide

AMP Research

AMP Research Power Step 77137-01A installation guide

Thule 1196 instructions

Thule

Thule 1196 instructions

VBG Onspot Mounting instruction/Spare Parts List

VBG

VBG Onspot Mounting instruction/Spare Parts List

manuals.online logo
manuals.online logoBrands
  • About & Mission
  • Contact us
  • Privacy Policy
  • Terms and Conditions

Copyright 2025 Manuals.Online. All Rights Reserved.