manuals.online logo
Brands
  1. Home
  2. •
  3. Brands
  4. •
  5. rockymounts
  6. •
  7. Automobile Accessories
  8. •
  9. rockymounts SwitchHitter User manual

rockymounts SwitchHitter User manual

A: Head Assembly
B: Wheel Tray
C: Metal Plate
D: End Cap w/ Lock Cable
E: 5mm Hex Wrench
F: 4mm Hex Wrench
G: Torx T30 Wrench
H: M6x22 Bolt
I: M6x8 Torx Bolt
J: 15x110mm Axle
K: 12x100mm Axle
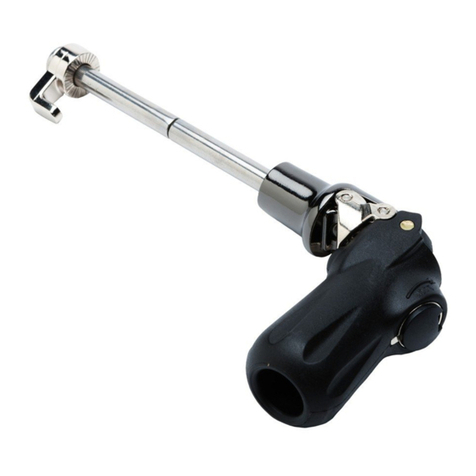
L: 9mm Quick Release w/ Sleeve
M: Wheel Strap Assembly
N: Nylon Spacer
O: M6x18 Bolt
P: M6x10 Bolt
Q: Flat Washer
R: T-Slot Plate
S: Rear Bracket Assembly
D (1x)
A (1x) B (1x)
C (1x)
J (1x)
K (1x)
L (1x) M (1x)
E (1x)
F (1x)
G (1x) H (2x) I (1x)
N (1x)
O (2x)
P (1x) Q (3x)
R (3x) S (1x)
Slide metal plate into slot at bottom of wheel tray.
Align holes on head and wheel tray, install two M6x22
bolts through plate with 5mm hex wrench
Remove M6 bolt by holding nut in place with at
head screwdriver and loosening M6 bolt with 5mm
hex wrench
Position Rack
FIRST: Reattach strap around front crossbar, centering
head over crossbar. NEXT: Pivot rear bracket to align
with loosened bolt and tighten two M6 bolts on
bracket with 5mm hex wrench. Tighten M6 bolt on
head
Place head onto front crossbar. Slide rear plate above
rear crossbar. Rack must be positioned between
towers
Loosen M6 bolt on head with 5mm hex wrench.
Unhook strap. Loosen one M6 bolt on rear bracket
and pivot bracket away
Remove top cap from head by lifting up nger tab.
Slide rear plate into T-slot at end of wheel tray
Remove steel rod from strap. Use pliers to atten
loops on strap and pull out from bottom of head.
Remove two M6x55 bolts and spacers using 5mm hex
wrench. Remove rear bracket from assembly
Loosely install two #3 plates through two holes on
head using two M6x18 bolts with washers. Use M6x10
bolt with washer to install remaining plate onto rear
plate
Slide wheel strap assembly onto sides of tray with
buckle facing out. Press in end cap at end of tray, install
M6x8 bolt with Torx wrench. Feed cable into tray and
press lock housing in place. Install top cap to head
Remove Baby Seats, Panniers, U-Locks, or items that could detach from the bicycle.
Do not use bicycle covers, bicycle bras, or bikes equipped with rear disc wheel.
Not intended for off road use. Not intended for use on trailers or towed vehicles.
Locks are only deterrents to thieves, RockyMounts, Inc. cannot be held liable for stolen bicycles.
Remove rack before entering a car wash.
Check all fastenings (nuts, bolts, straps, and skewer) before each use.
OnOnce a year, remove rack from car. Clean and inspect for damage.
Lubricate Quick Release every 1-2 months using chain lube or oil.
Dust and dirt can build up over time in Quick Release. If QR begins to stick, lubricate immediately.
Do not mount vertically.

Other rockymounts Automobile Accessories manuals
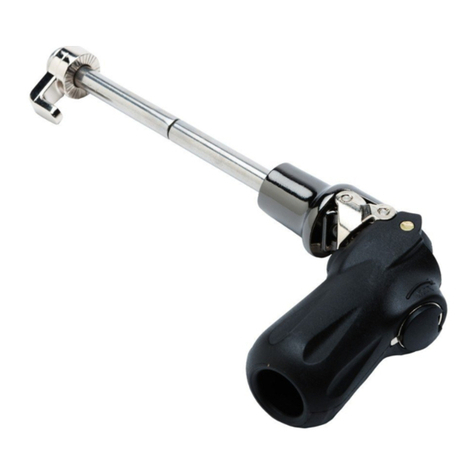
rockymounts HighNoon FC Add-On User manual

rockymounts

rockymounts HighNoon FC Add-On User manual

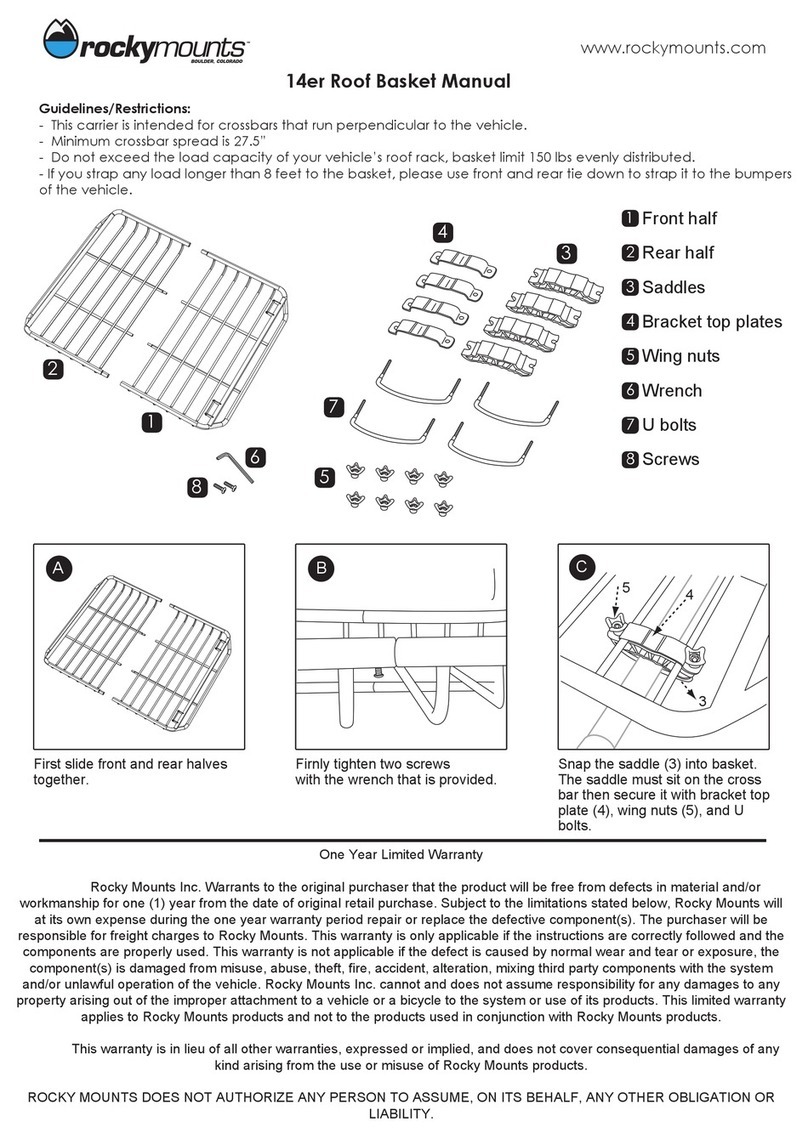
rockymounts 14er Roof Basket User manual

rockymounts

rockymounts 14er Roof Basket User manual

rockymounts Locking Clutch User manual

rockymounts

rockymounts Locking Clutch User manual

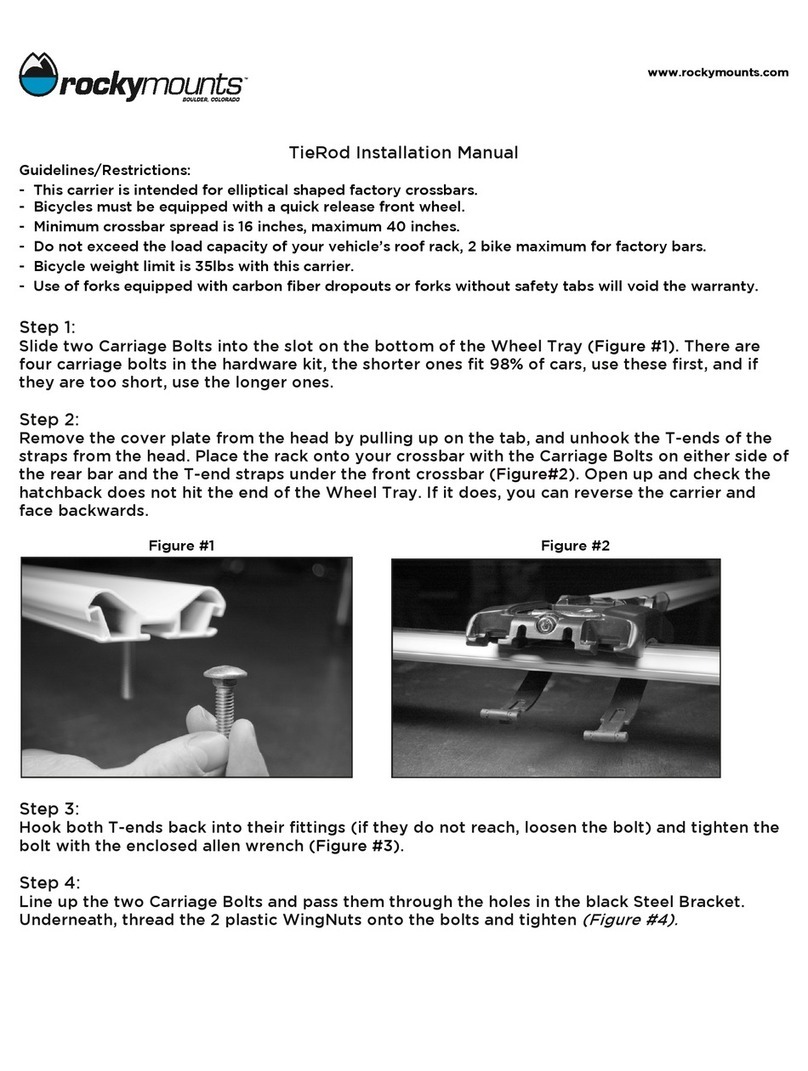
rockymounts TieRod 10120 User manual

rockymounts

rockymounts TieRod 10120 User manual

rockymounts TieRod User manual

rockymounts

rockymounts TieRod User manual

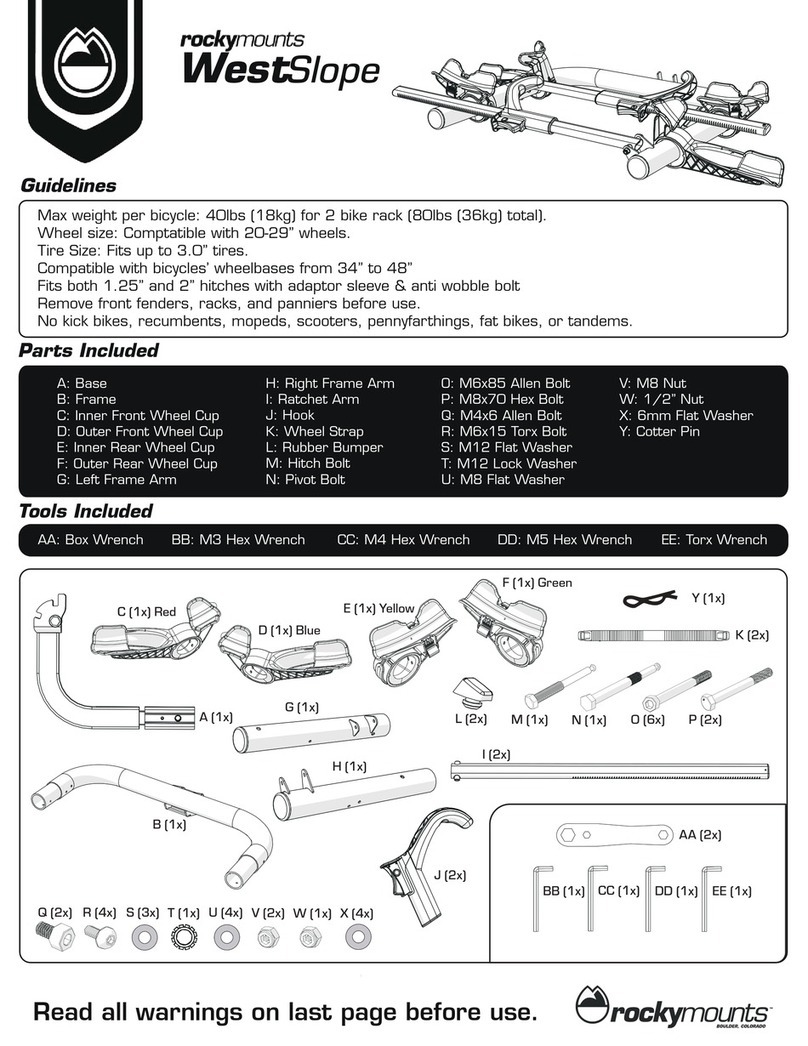
rockymounts WestSlope User manual

rockymounts

rockymounts WestSlope User manual

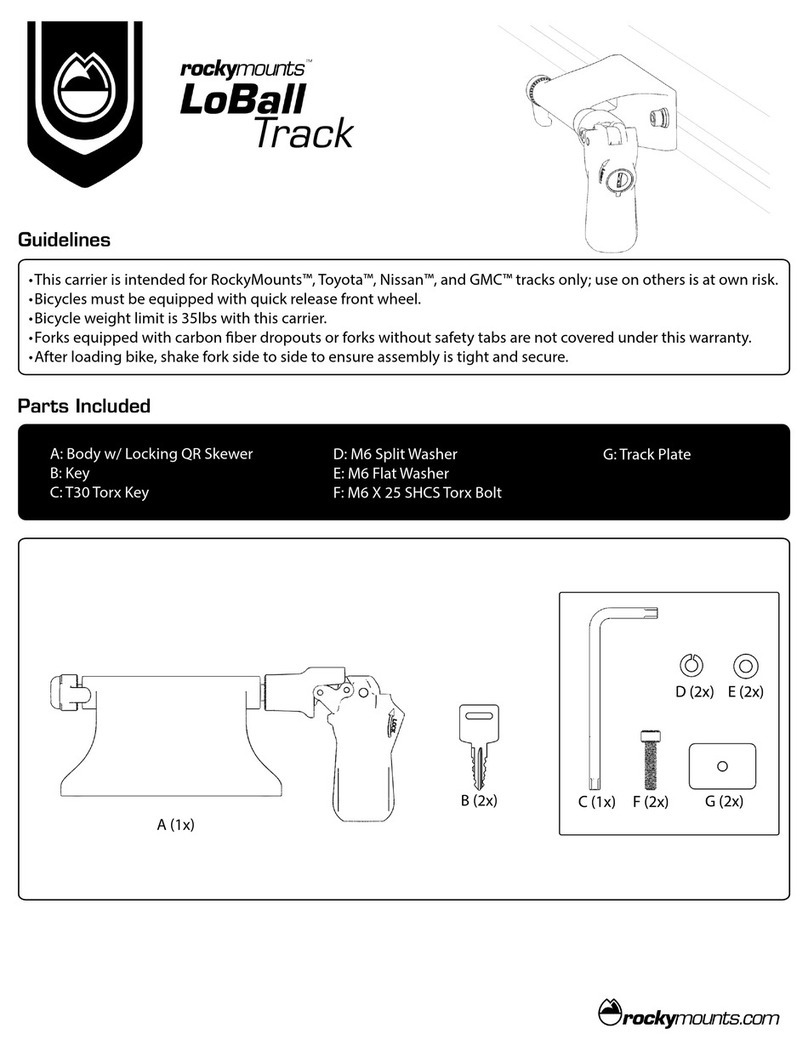
rockymounts LOBALL TRACK User manual

rockymounts

rockymounts LOBALL TRACK User manual

rockymounts SplitRailLS User manual

rockymounts

rockymounts SplitRailLS User manual

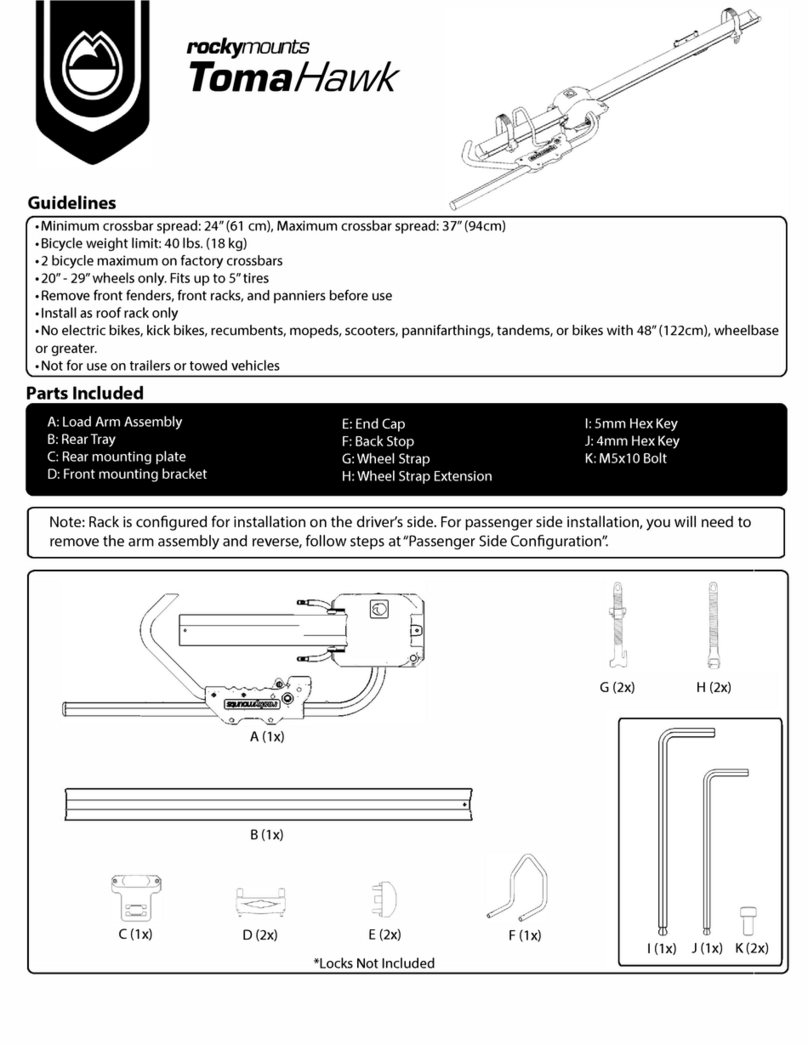
rockymounts TomaHawk User manual

rockymounts

rockymounts TomaHawk User manual

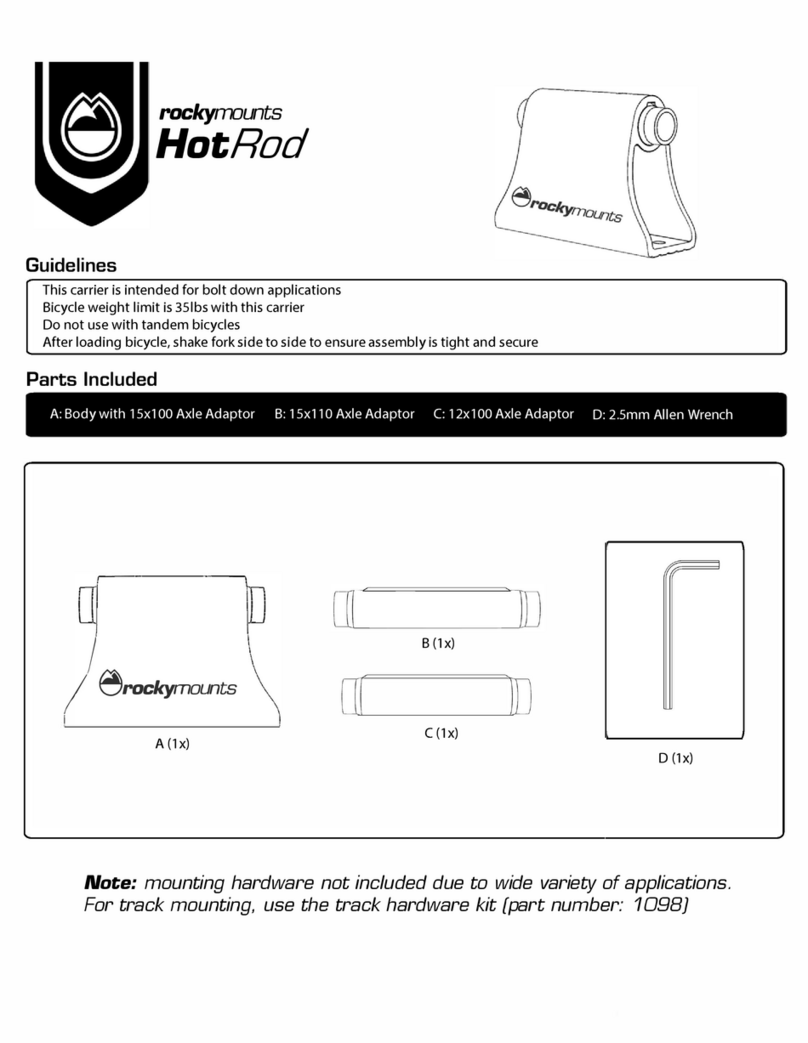
rockymounts HotRod User manual

rockymounts

rockymounts HotRod User manual

rockymounts SplitRail User manual

rockymounts

rockymounts SplitRail User manual

rockymounts PitchFork User manual

rockymounts

rockymounts PitchFork User manual

rockymounts RM031 Instruction Manual

rockymounts

rockymounts RM031 Instruction Manual

rockymounts Quick Release User manual

rockymounts

rockymounts Quick Release User manual
Popular Automobile Accessories manuals by other brands

Phonocell 6/821 Mounting instructions

Phonocell

Phonocell 6/821 Mounting instructions

Directed Directechs DB3 installation guide

Directed

Directed Directechs DB3 installation guide

Prorack K425 Fitting Instructions for Basic Carrier

Prorack

Prorack K425 Fitting Instructions for Basic Carrier

Bosch 0 275 007 025 owner's manual

Bosch

Bosch 0 275 007 025 owner's manual

Havis-Shields Half Size Trunk Tray 1995-2008 Ford Crown Victoria... Install instructions

Havis-Shields

Havis-Shields Half Size Trunk Tray 1995-2008 Ford Crown Victoria... Install instructions

Whispbar K539W Fitting instructions

Whispbar

Whispbar K539W Fitting instructions

Whispbar K501W Fitting instructions

Whispbar

Whispbar K501W Fitting instructions

Metra Electronics 95-5817 installation instructions

Metra Electronics

Metra Electronics 95-5817 installation instructions

BURY EasyTouch Quick user guide

BURY

BURY EasyTouch Quick user guide

Kuda 095990 Installation instruction

Kuda

Kuda 095990 Installation instruction

Road Ranger ET 400011 Installation instruction

Road Ranger

Road Ranger ET 400011 Installation instruction

Pelican XBDMT5-001B-BLK installation instructions

Pelican

Pelican XBDMT5-001B-BLK installation instructions

Thule 2078 parts list

Thule

Thule 2078 parts list

Cruz Cyclone 2 Assembly instructions User information

Cruz

Cruz Cyclone 2 Assembly instructions User information

Atera Signo User information

Atera

Atera Signo User information

Curt Group 18151 installation manual

Curt Group

Curt Group 18151 installation manual

Tessera4x4 SOT-ROLL Series Technical installation manual

Tessera4x4

Tessera4x4 SOT-ROLL Series Technical installation manual

curt 60607 instruction manual

curt

curt 60607 instruction manual

manuals.online logo
manuals.online logoBrands
  • About & Mission
  • Contact us
  • Privacy Policy
  • Terms and Conditions

Copyright 2025 Manuals.Online. All Rights Reserved.