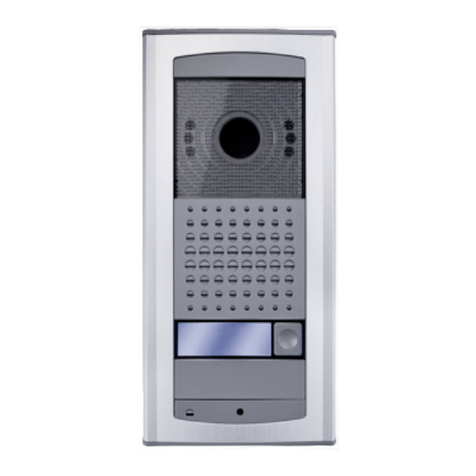
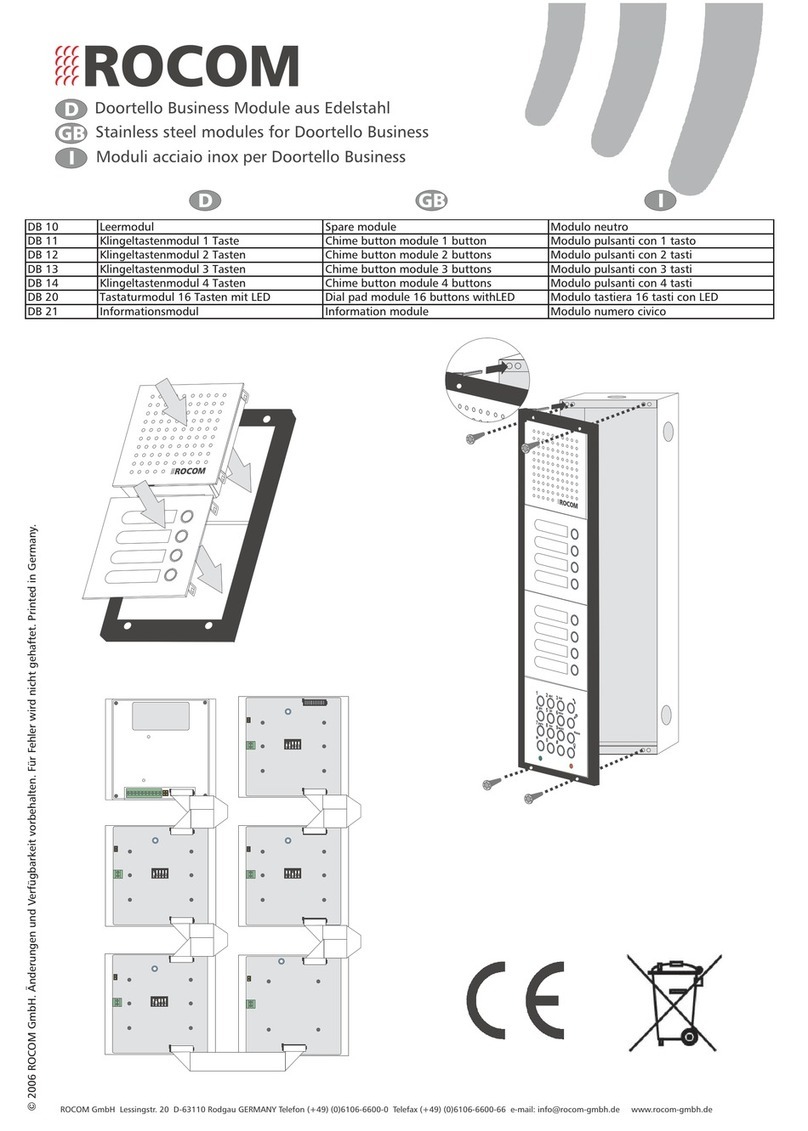
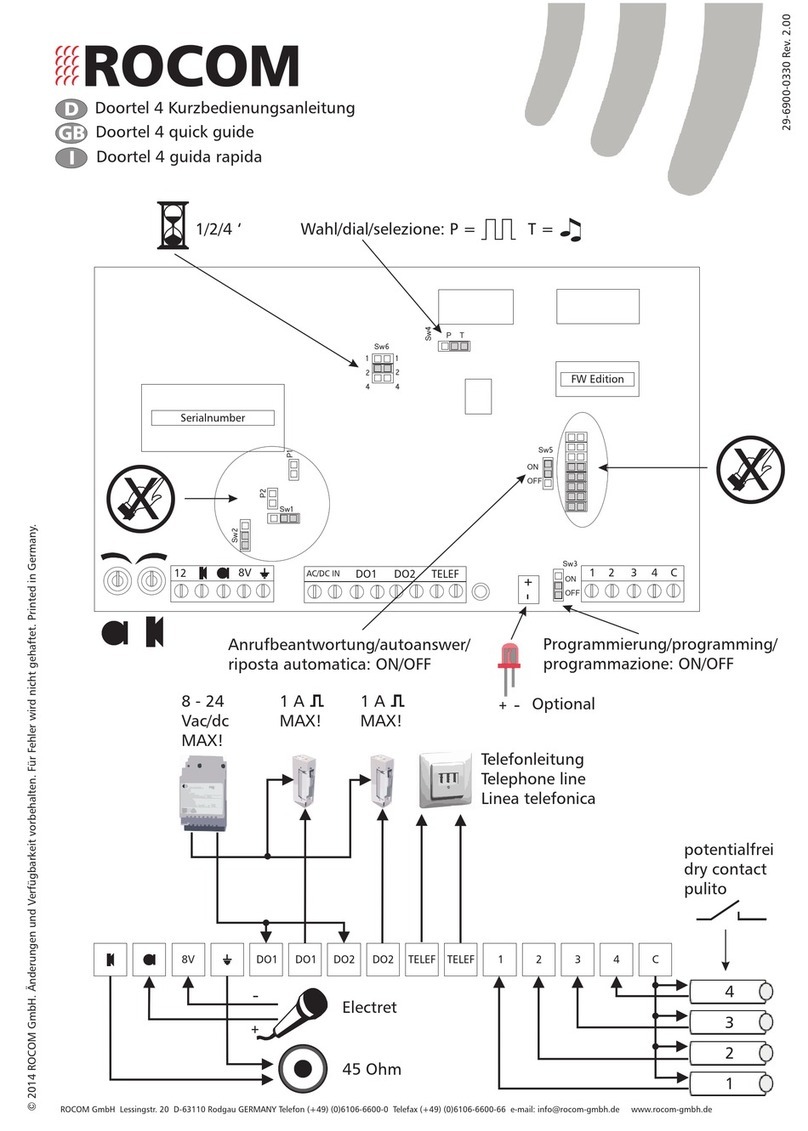
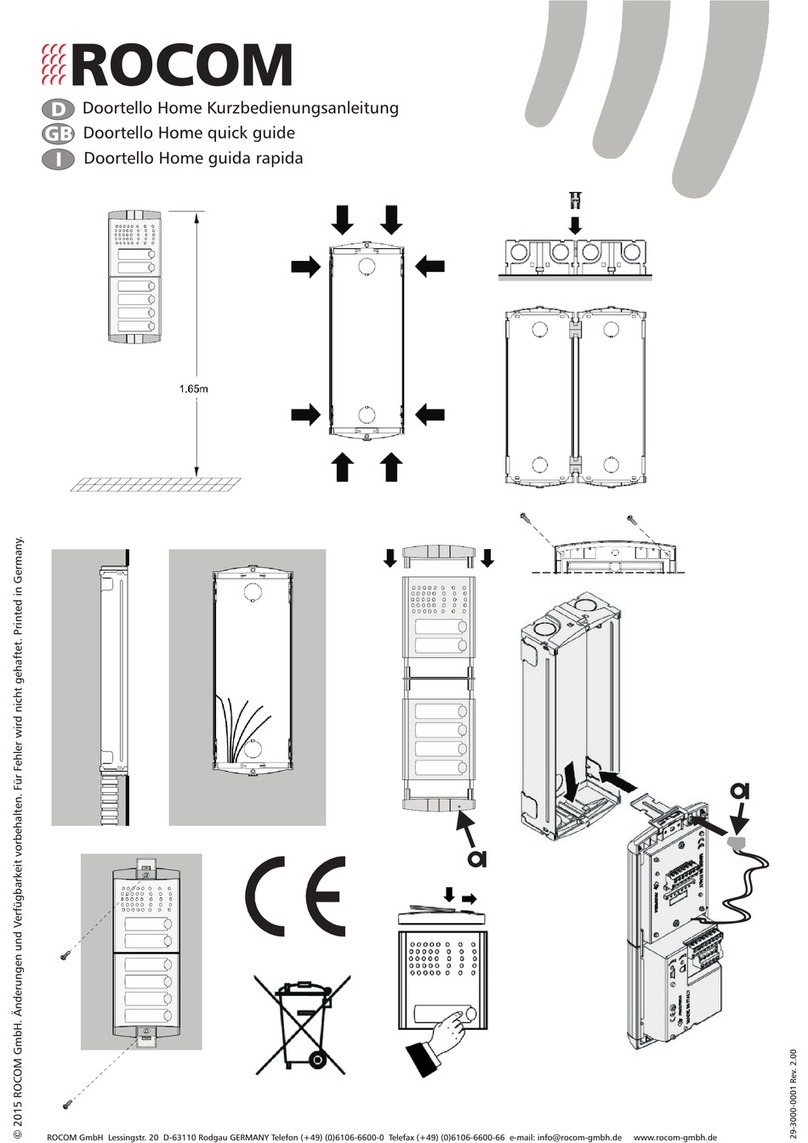
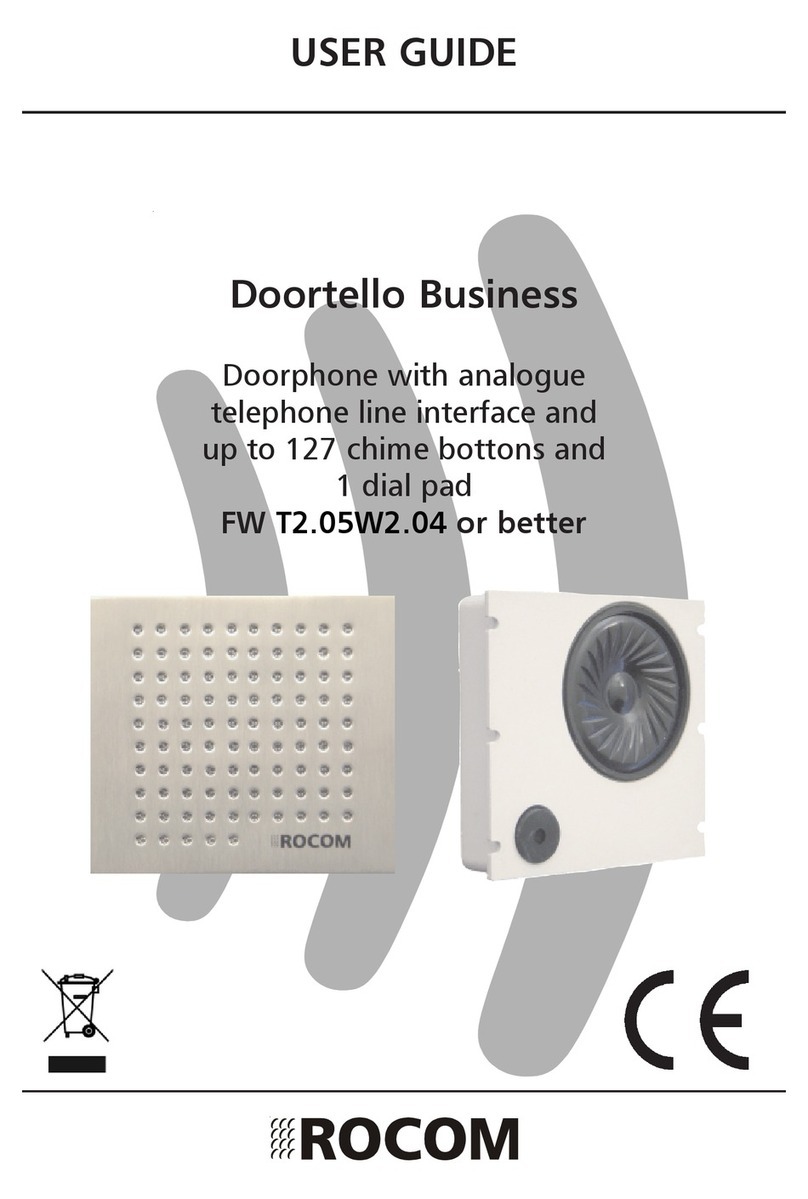
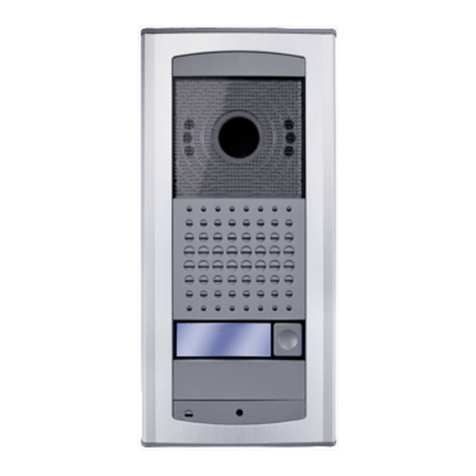
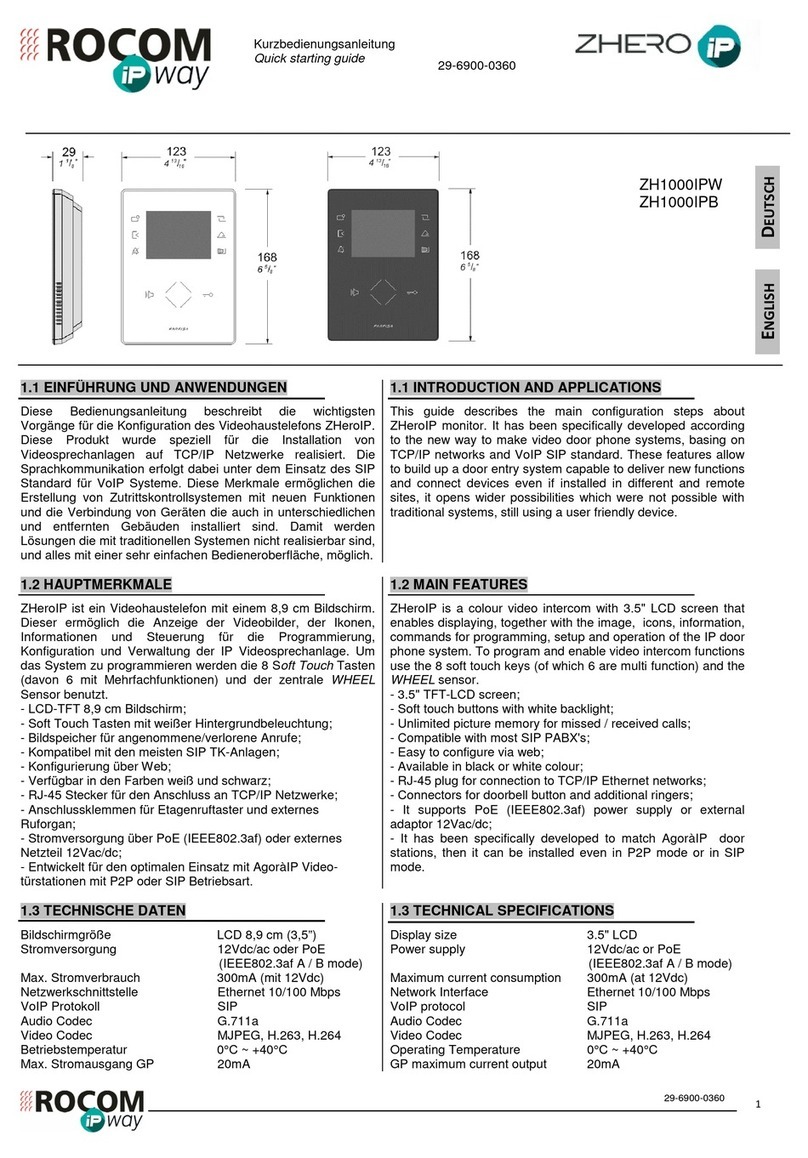
Rocom Doortello Home User manual

User guideDoortello HomeIssue 1.00
Page 1
Doortello Home
Door phone with analogue
telephone line interface and
up to 6 chime bottons
USER GUIDE

User guideDoortello HomeIssue 1.00
Page 2
Contents
Description ................................................................................................................................................... 3
Package content ........................................................................................................................................... 3
Introduction ................................................................................................................................................. 3
Features ........................................................................................................................................................ 4
Security advices ............................................................................................................................................ 5
Flush and wall mounted installation .......................................................................................................... 5
Cabling of the chime buttons ..................................................................................................................... 5
Installation ................................................................................................................................................... 5
Connections .................................................................................................................................................. 6
External power supply (A/-) ......................................................................................................................... 6
Driver contacts 1 and 2 (D1/D1'; D2/D2') ....................................................................................................... 7
Telephone line (T/T') .................................................................................................................................... 7
Line impedance ............................................................................................................................................ 7
Automatic heating element ......................................................................................................................... 8
First activation ............................................................................................................................................. 8
Activate the programming mode ................................................................................................................ 9
Programmation ............................................................................................................................................ 9
Tones during programmation ................................................................................................................... 10
Default data load ....................................................................................................................................... 10
Chime buttons ........................................................................................................................................... 11
Delete telephone number .......................................................................................................................... 12
Automatic call answer ................................................................................................................................ 12
Loudspeaker status after line seizure ....................................................................................................... 13
Microphone status after line seizure ........................................................................................................ 14
Automatic hang up after driver contact activation ................................................................................. 15
Password ..................................................................................................................................................... 15
Driver contacts activation codes ................................................................................................................ 15
Maximum line seizure time ........................................................................................................................ 16
Interdigit dial pause .................................................................................................................................. 17
Dial pause time ........................................................................................................................................... 17
Driver contacts activation time .................................................................................................................. 18
Flash time ................................................................................................................................................... 18
Busy tone detection ................................................................................................................................... 18
Ring back tone detection ........................................................................................................................... 19
Number of rings ......................................................................................................................................... 20
Tone tables ................................................................................................................................................. 20
Call termination ......................................................................................................................................... 23
How to use ................................................................................................................................................. 23
Incoming call to the door phone .............................................................................................................. 23
Calling a phone using a chime button ..................................................................................................... 23
Code digits for the phones ....................................................................................................................... 24
Optical indicators ....................................................................................................................................... 24
Trouble shooting ....................................................................................................................................... 25
Technical data ............................................................................................................................................. 26
Programming codes overview ................................................................................................................... 27
Overview of programmed values .............................................................................................................. 28
Options ....................................................................................................................................................... 28

User guideDoortello HomeIssue 1.00
Page 3
The door phone is available in three different version: the DH 00 without chime
buttons, the DH 01 with one chime button and the DH 02 with two chime
buttons. Together with the modules of door station program Profilo different
solution with up to 6 chime buttons and an access control device can be
realised. A selection of different frames with boxes for the surface od flush
installation are completing the product offer.
The door phone needs to be connected to a analogue telephone line using two
wires, further an external power supply must be used to power the device, the
illumination and the heating element.
The unit has also two integrated dry driver contacts to command door openers
or other applications, like video cameras.
The programming of the device is done using DTMF tones. A complete
description of the programming procedures can be find in the chapter
Programmation.
Description
Introduction
The Doortello Home is a door phone system for integration with new or existing
telephone systems. The door phone has a analogue telephone line interface and
can be connected to any type of transmission technology, as far as a specific
adapter is available, like ISDN, VoIP, GSM, DECT and similar systems. Pressing a
chime button a programmed telephone number is sent as DTMF tones to the
telephone line. Up to 6 chime buttons can be connected to the system. Each of
them can have a 16 digits long telephone number stored in the system. When
the dialled extension will answer the call a speech connection is established. A
smart tone detection program ensures that the connection is surely terminated
recognizing a busy tone, or in case of a missing answer after a specified
number of ring back tones.
The door phone is approved for the use within the european community as
defined by the 98/482/EU (TBR 21) on the analogue telephone network. This is
not a warranty that the device can work with all european telephone networks,
which might be slightly differ from the standard.
If you notice functional problems with your telephone line please get in contact
with your local dealer.
Package content
The content of the package for the DH 00/02 Doortello Home door phone
includes:
- Door phone with aluminum front plate without chime buttons (DH 00), with
one chime button (DH 01) or two chime buttons (DH 02)
- Multilanguage short user guide
- Return notice and error description

User guideDoortello HomeIssue 1.00
Page 4
Features
- Up to 6 chime buttons (dry contacts) can be connected. For each button a 1 to
16 digits long telephone number (1-0,*,#, flash, pause) can be stored.
- Programming using DTMF code with password function (remote
programming)
- Programmable driver contacts activation time (0 to 99 seconds)
- RISC processor controlled state-of-the-art speaker phone
- Speech detection
- Programmable ring back and busy tone detection
- Programmable automatic call answer
- Programmable ringing time from 1 to 99 calls
- Volume adjustment for microphone and loudspeaker
- 2 integrated driver contacts with DTMF dial activation (door opener function)
- Programmable automatic driver contact activation with button pressure
- Programmable door opening codes
- Integrated heater
- Manual disconnection with DTMF dial
- Programmable automatic disconnection after door opening
- Suppression of DTMF tone input from outside
- Connection to a standard analogue telephone line, two wires
- DTMF dial
- Programmable max. connection time fro 1 to 999 seconds
connections
LED
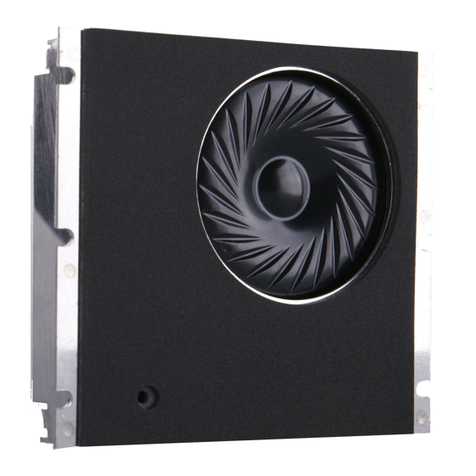
Door phone DH 02. Front and rear view.
volume control
loudspeaker
chime button 2 chime button 1
connector for expansion modules

User guideDoortello HomeIssue 1.00
Page 5
Installation
Before you start with the installation please read the following indications:
- The Doortello Home can, together with his modular door station program, has
a IP 32 protection degree and can be installed also outside.
- If you plan an installation in a rainy environment we suggest the use of a
weather shelter or a surface mounting box with weather shelter (IP 33).
- If a fluid gets inside the unit disconnect at once the telephone line and the
external power supply (if installed).
- The device can only be maintained by instructed specialized technicians.
- Static discharges may damage the device. Please ensure that you are
grounded before any activity with the unit.
Please read carefully this user guide before you install the unit. Take care about
the security advices. Diregarding the warnings may be against existing laws or
cause dangerous situations.
Please note!
Think any time during installation at your own safety! Be careful and
disconnect the 230 V power supply before connecting the external power
supply unit. Before you touch any cable ensure that no voltage is present on
the line. Please consider that it can be against safety rules to run low and
high power cables in the same duct. An installation of 230 V cable inside the
door station is forbidden by law. If you have to drive high power circuits
with the internal driver contact of the device you have to use external high
power relais (like the 1471, see also the chapter Options)
For the flush and wall mounted installation of the device the modular Profilo
door station program has to be used. This program offers you a wide range of
different flush and wall mounting cases. More details about the installation of
the Doortello Business modular door station can be found in the documentation
delivered with the cases and modules.
Cabling of the chime buttons
The two chime buttons in the units DH 02, and the one in th DH 01, are hardwired
and cann't be modified. The expansion button 3 to 6 are connected to the
connectors P1 to P4. Each chime button has an decimal address from 1 to 6. Those
addresses are hardwired with each button or connector. The chime button 1, the
first from the bottom of the door phone module, has the address 1, the button 2,
the second from below, has the address 2, the connector P1 the address 3 and so
on the the connector P$ which has the address 6.
If you have the door phone DH 00 with no chime buttons, and one button modul
PL 11 with one button, this button will have the address 3, as far as it will be
connected to the connector P1.
Security advices
Flush and wall mounted installation

User guideDoortello HomeIssue 1.00
Page 6
T
T'
A
-
C
P4
D2
D2'
D1'
D1
P3 P2 P1
External power supply (A/-)
The external power supply is used to power the door phone and other features.
The external AC/DC power supply should be within a range of voltages between
8 and max. 12 Vrms. We suggest the use of our PRS 210 trasformator.
The power supply is used also to power the illumination of the door phone and
the door opener.
Please note!
The voltage MUST NOT exceed 12 Vrms. Higher voltage will destroy the unit!
Please note!
If you are installing more door phone on the same site a separate power
supply unit has to be used for each door phone. Connecting more door
phone with the same power supply unit may damage the devices and will
short circuit the telephone lines!
Connections
Connections Doortello Home basic bunit
power supply (A/-)
driver contact 2 (D2/D2')
driver contact 1 (D1/D1')
telephone line (T/T')
chime button 3 (P1)
chime button 4 (P2)
chime button 5 (P3)
chime button 6 (P4)
common wire for chime buttons 3 to 6

User guideDoortello HomeIssue 1.00
Page 7
Driver contacts 1 and 2 (D1/D1'; D2/D2')
Telephone line (T/T')
The unit must be connected to an analogue telephone line to work. The telephone
line can be a public line, an extension line or the input of a specific FXS adapter
for special networks like GSM, DECT or VoIP. Please take care that the open line
voltage should not be below 20 Vdc and it should be able to delivery a minimum
of 18 mA during the seizure. For the best speaker phone functionality select also
the correct line impedance (read also the chapter Line impedance).
Please note!
The Doortello Home door phone has a „fine“ over voltage protection. This is
useful only if more over voltage protection circuits are installed. If the unit is
installed outside a building we suggest the installation of a over voltage
protector with ground connection on the specific telephone line.
The driver contacts can be used to open doors or other functions like the
activation of a video camera. As default the first driver contact is activated
pressing the DTMF digit „7“ during the conversation, and the second driver
contact with the digit „8“. Other ways to work are possible, like the automatic
activation with line seizure. Also the activation codes can be programmed, i.e.
to make the door opening dependent from the input of a code from the
telephone. Read also the chapter Programming for more information.
Please note!
The two driver contacts integrated in the Doortello Home door phone are
dry but not galvanic contacts as they are electronic circuits. That means that
driver voltage below 6 V may not work. In this case you need to use external
relays, like the universal relay 1471 (see also Options for more information).
Line impedance
For a better sound quality of the speaker phone you need a perfect line
impedance adaptation. The line impedance jumpers is therefore available to
select the impedance of the telephone line you are using. You can choice between
600 Ohm (default) and Zr line impedance. You can normally read which type of
line impedance you have in the technical documentation of the telephone switch
or adapter you are using. Normaly small switches and adapter have 600 Ohm,
larger switches and public telephone line (in Europe) have Zr. If you are not sure
which line impedance you have just use the selection which gives you the best
results.

User guideDoortello HomeIssue 1.00
Page 8
First activation
Install and configure the door station as you wish. Ensure that you follow the
instructions of the single modules for a correct installation. Connect the module
together following the provided cabling instructions. After this you can connect
the door phone with the telephone line and the external power supply.
- Connect FIRST the telephone line and then the external power supply.
Please note!
The external power supply voltage MUST NOT BE HIGHER THEN 12 Vrms!
Check the voltage using a voltmeter! A higher voltage may seriously damage
the device voiding you warranty! We suggest the use of our PRS 210
transformator.
Please note!
You need a separate power supply unit for each door phone you are going
to install!
- After you switch on the power supply the unit will follow an internal start up
procedure. This may take some seconds. Wait that the red LED goes off. After
this the device is ready to be used.
Automatic heating element
If the device has an automatic integrated heating element. This is used to ensure
a correct functionality with outside temperature down to - 20°C. The heating
element is activated automatically at +10°C and will be deactivated at +20°C.
Impedance 600 Ohm (default)
Impedance Zr
Jumpers for line impedance adaptation

User guideDoortello HomeIssue 1.00
Page 9
Programmation
The entire programmation, like storing the telephone numbers or the selection
of the different operating modalities, is done using a telephone with DTMF dial
capability.
Please note!
The device has two memories. A RAM and a flash memory. During the
programmation the unit will transfer all the data from the flash to RAM
memory. At the end of the programmation the data are transferred again
back to the flash. This will be done at one step when terminating the
programming mode using the digit 3. Pressing this digit you will get a
acknowledge tone, but the unit will disconnect the line and go back to
stand by only after some seconds. If during this time the line is interrupted
or the power will fail all the data programmed up this point will be lost. If
you are doing a larger programmation we suggest to make a data storage
from time to time.
Activate the programming mode
If you want to program the Doortello Home you have to first activate the
programming mode. Before you can program the device it has to be connected
to a telephone line and to a power supply.
After the first power on of the power supply the device will follow an
initialisation procedure. With this process the RAM memory is deleted and the
telephone line checked, read also the chapter First activation for more
information. During this time the device is not available. When the red LED will
go off the device is ready to be used.
Call now the unit using a phone with DTMF dial capability. The device will
answer the call and sent a short tone. The red LED will go on when the unit is
ready for speech.
Please note!
It may be that the automatic call answer feature has been deactivated on the
Doortello Home with a previous programmation.
In this case you will hear a ring back tone but the until will not answer the
call. To start the programming mode you have to press during the call one of
the chime or functional buttons at the door station. The device will now
answer the call and you can follow the programming procedure as
described.
The programming mode is activated with the following input:
*#0 Password (default 1234 ) OK tone
Now the programming mode is activated. The red LED is now flashing.

User guideDoortello HomeIssue 1.00
Page 10
To terminate the programming mode dial 3.
Please note!
If you terminate the call hanging up the handset without dialling the digit
3all the data inserted up to this time will be lost!
Please note!
It may be that the programming mode activation using a password has been
deactivated with a previous programmation. Is this case the programming
mode is activated just after the input of the *#0 digits.
Please note!
The password could has been changed. If you hear a NOOK tone you have a
wrong password.
Please note!
As soon as the device will answer the call a maximum connection timer will
start. This is set as default at a value of 60 seconds. At the end of this time
the unit will disconnect the line. All data inserted until this time will be lost.
We suggest you to change this time if you plan an extensive
programmation.
Please note!
When you terminate the programming mode with the digit 3all
programmed data will be transferred from the RAM to the flash memory.
This will take about 30 seconds. During this time the device is not available.
Tones during programmation
During programmation you will hear the following tones:
Answer tone:1 short tone. Is sent when the call is answered and the unit ready
to accept more commands.
OK tone:3 short tones. The data input or command is correct.
NOOK tone:6 short tones. The data input or command is not correct, last data
input is lost.
Error tone:9 short tones. There was an error on the device memory. Data could
not be stored and are lost.
Default data load
If you have to move the door phone, to change the complete programmation or
the unit was programmed wrong you can load the factory default data using
the following procedure:
*#9 OK tone #91234 OK tone

User guideDoortello HomeIssue 1.00
Page 11
Chime buttons
Each of the 6 chime buttons can be programmed to dial a telephone number
with up to 16 digits. Also special functions can be assigned to the buttons.
The single chime buttons have a decimal address from 1 to 6. As digits inside a
telephone number you can use all numbers from 1 to 0, as well the special
codes * , # and the functions „flash“ and pause.
From factory no numbers or functions are programmed for the buttons.
To program the chime buttons and functional keys follow this procedure:
*#1 OK tone {telephone number of function} ** {button address} OK
tone
As digit for the telephone number (max 16 digit for each telephone number)
the following values can be entered:
Digits: 1,2,3,4,5,6,7,8,9,0;
Special dial functions: ##1 , will dial the code # (is considered as 1
digit);
##2 , will dial the code *(is considered as 1
digit);
##3 , will make a dial pause of 2 seconds (default
value) duration (is considered as 1 digit);
##4 , will send a „Flash“ (short line interruption,
„Recall“ button) of 80 ms (default value)
Please take care that the default data load will delete all programmed
telephone numbers and values. If you want to delete or change just one
telephone number is the default data reload not very useful. Use instead the
procedure described in the chapter Delete telephone number.
Please note!
The above indicated procedure considers that the password has his standard
value 1234. If the password was changed you have to use the new
password instead of 1234.
Please note!
The default data are loaded only after the input of the digit 3to terminate
the programming mode.
Please note!
If the password has been lost it is possible the load the default data using a
master password. In this case the factory default data a reloaded as well the
standard password. Please contact your dealer for more details.

User guideDoortello HomeIssue 1.00
Page 12
Each chime button can be deleted one by one. To delete one button please
follow the procedure:
*#9
OK tone #1 {button address} OK tone
Example:
nYou want to delete the chime button 5. Input:
*#9 OK tone #15 OK tone
Please note!
If you want to reprogram a chime or functional button you DON'T have to
delete it first. The new programmation will overwrite the existing one.
Delete telephone number
duration (is considered as 1 digit);
Examples:
nThe chime button 1 must dial the number 13. As your PBX has an automatic
trunk selection feature activated you must dial a flash to switch from external to
internal dial. To ensure the correct dial after the flash a pause has to be
inserted. Programmation:
*#1
OK tone ##4##312**1 OK tone
This number will use 4 of the 16 available digits.
Automatic call answer
From factory the Doortello Home can answer the incoming calls automatically.
This feature can be deactivated if needed. To deactivate the automatic call
answer feature please follow this procedure:
*#3 OK tone #10 OK tone
De reactivate this feature:
*#3 OK tone #11 OK tone
Please note!
If the automatic call answer feature is deactivated no incoming call will be
answered. If you want to answer a call (i.e. if you want to program the device)
you have to press during the incoming call one of the chime buttons. A
complete deactivation is not possible as in this case the unit can be

User guideDoortello HomeIssue 1.00
Page 13
With the Doortello Home it is possible to define which status the loudspeaker
has to have after the line seizure. You can define if it has to be on or off. Form
factory the loudspeaker is always on, but you can modify this, i.e. if you don’t
want to hear the dial and call progress tones. You can select between 5 diffe-
rent operating methods:
Loudspeaker always on 1
The loudspeaker is on as soon you press a button. All dial and call progress tone
can be heard. The loudspeaker is switched by the speakerphone using the half-
or full duplex modality as programmed. (Default)
Loudspeaker always on with manual switch activated 2
The loudspeaker is on as soon you press a button. All dial and call progress tone
can be heard. The loudspeaker is switched by the speakerphone using the half-
or full duplex modality as programmed. Using the DTMF digit 4 the
loudspeaker can be manually activated (manual switched speakerphone). Using
the digit 6the speakerphone is switched back in the programmed automatic
modality.
Loudspeaker off until call answer 3
The loudspeaker is off after pressing a button. All dial and call progress tone
can not be hearted. As soon as the called party answers the call (speech
detection) the loudspeaker is switched on. Afterwards the loudspeaker is
switched by the speakerphone using the half- or full duplex modality as
programmed.
Loudspeaker off until manual activation 4
The loudspeaker is off after pressing a button. All dial and call progress tone
can not be hearted. Dialling the digit 6after call answer the loudspeaker is
manually activated. Afterward using the digit 4the speakerphone is switched
on manually, and with the digit 6the speakerphone is switched back in the
programmed automatic modality.
Loudspeaker always off 0
The loudspeaker is always off. This status is used for testing purposes only.
To change the operating method of the loudspeaker after line seizure please
follow this procedure:
*#3 OK tone #2 {loudspeaker operating mode} OK tone
Example:
nYou want that the loudspeaker is off after pressing a button and switched
reprogrammed only from factory.
Loudspeaker status after line seizure

User guideDoortello HomeIssue 1.00
Page 14
only after the called party answers the call. Input:
*#3 OK tone #23 OK tone
Microphone status after line seizure
With the Doortello Home it is possible to define which status the micorphone
has to have after the line seizure. You can define if it has to be on or off. Form
factory the microphone is always off, but can modify this. You can choices
between 5 different operating methods:
Microphone always on 1
The microphone is on as soon you press a button. The microphone is switched
by the speakerphone using the half- or full duplex modality as programmed.
Microphone always on with manual switch activated 2
The loudspeaker is on as soon you press a button. The microphon is switched by
the speakerphone using the half- or full duplex modality as programmed. Using
the DTMF digit 5the microphone can be manually activated (manual switched
speakerphone). Using the digit 6the speakerphone is switched back in the
programmed automatic modality.
Microphone off until call answer 3
The microphone is off after pressing a button. As soon as the called party
answers the call (speech detection) the microphone is switched on. Afterwards
the microphone is switched by the speakerphone using the half- or full duplex
modality as programmed. (Default)
Microphone off until manual activation 4
The microphone is off after pressing a button. Dialling the digit 6 after call
answer the microphone is manually activated. Afterward using the digit 5the
microphone is switched on manually, and with the digit 6the speakerphone is
switched back in the programmed automatic modality.
Microphone always off 0
The microphone is always off. This status is used for testing purposes only.
To change the operating method of the microphone after line seizure please
follow this procedure:
*#3 OK tone #3 {microphone operating mode} OK tone
Example:
nYou want that the microphon on as soon as a button is pressed. Input:
*#3 OK tone #31 OK tone
Please note!
If you switch on the microphone as soon as the line is seized the device may
have problems to detect the call progress tone correctly.

User guideDoortello HomeIssue 1.00
Page 15
Automatic hang up after driver contact activation
The Doortello Home will, from factory, hang up as soon as a driver contact is
activated. This function can be deactivated, i.e. if you want to activate more time
the driver contact during a conversation. To deactivate the automatic hang up
functionality please follow this procedure:
*#3 OK tone #50 OK tone
To switch this feature back on:
*#3 OK Ton #51 OK Ton
Please note!
This feature is applied to ALL driver contacts
Password
To activate the programming mode you have to enter a password. As default the
password is 1234. It is possible to change this value or to deactivate the
password input request. To modify the password please follow this procedure:
*#4 OK tone *1 {new password} ** {new password} OK tone
Values between 0000 and 9999 can be programmed.
To enter the programming mode without the need of a password please follow
this procedure:
*#4 OK tone #10000**0000 OK tone
Example:
nYou want to change the password to the value "5678" . Input:
*#4 OK tone #15678**5678 OK tone
Please note!
If you lose the password it is possible to upload the factory default data using
a master password. Please contact your dealer for more details about this
procedure.
Driver contacts activation codes
The two driver contact can be activated with the DTMF digits 7and 8during a
conversation. This two codes can be changed if needed. To change a driver
contact activation code follow this procedure:

User guideDoortello HomeIssue 1.00
Page 16
*#4 OK tone #3 {activation code} ** {driver contact no.} OK tone
As activation code the values from 7to 9999 can be programmed. If you
program the value 0the driver contact will be deactivated.
As driver contact no. the value 1(driver contact 1) and 2(driver contact 2) can
be used.
Example:
nYou want to program that the driver contact 2 should be activated using the
code "702". Input:
*#4 OK tone #3702**2 OK tone
Please note!
The device will verify if the code you are programming is not already used. If
you will get a NOOK tone after the new code input, this may be already used.
You have then to use another code. Only code starting with the digits 7, 8
and 9can be used. If you are using codes with only one digit no other code
with more digits can be programmed using the same starting digit (i.e. you
can use "71" and "72", but not "7" and "71"). If you want to program a new
code as described in the example you have then first to delete the existing
code "7" for the driver contact 1, or modify it to another value (i.e. "701").
Maximum line seizure time
The Doortello Home speakerphone has a timer to control the maximum line
seizure time. This timer is activated a soon as the line is seized and will terminate
the connection when the programmed time is counted down. As default this
timer is set to 60 s. This can be changed or deactivated. To modify the maximum
line seizure time please follow this procedure:
*#7 OK tone *1 {max. seizure time in s} OK tone
Value between 030 and 999 can be selected. With the value 000 the
timer is deactivated.
Example:
nYou want to enhance the max. seizure time to 2 minutes. Input:
*#7 OK tone *1120 OK tone
Please note!
This timer is a security feature. If the connection (i.e. using VoIP) doesn’t send
a busy tone after the called party hangs up the connection termination is

User guideDoortello HomeIssue 1.00
Page 17
ensured only by this timer. This security will be lost if you deactivate this
feature. If you have connection error it can happen that the device will be
blocked on the line. In this case you need to separate the telephone line and
the power supply to reset the device.
Please note!
Connection time below 30 seconds will not be accepted as then a
reprogramming of the device is no more possible.
Dial pause time
It is possible to program using the code ##3 a dial pause within the telephone
numbers programmed for the chime button and speed dial codes. This time as a
default value of 2 seconds, but can be changed using the following procedure:
*#7 OK tone #2 {dial pause time in s} OK tone
Values from 1to 9can be used. The input of the value 0will deactivate the
dial pause feature.
Example:
nYou want to change the dial pasue to 5 seconds. Input:
*#7 OK tone #25 OK tone
Interdigit dial pause
The Doortello Home will dial the programmed telephone numbers using an
interdigit dial pause. This has a value of 150 ms as default. It is possible to
change this value following this procedure:
*#7 OK tone #3 {interdigit pause time in ms} OK tone
You can use values between 100 and 999.
Example:
nYou want to change the interdigit dial pause to 300 ms. Input:
*#7 OK tone #3300 OK tone
Please note!
You need to change this value only if you are experiencing problems with the
dial, i.e. wrong dialling.

User guideDoortello HomeIssue 1.00
Page 18
Driver contacts activation time
The driver contacts can be activated for a programmed time. As default the
activation time for all contacts is set to 5 seconds. Also the contacts can be
programmed to be automatically activated for all the duration of the
conversation. To modify the activation time of the driver contact please follow this
procedure:
*#7 OK tone #4 {Activation time in s} ** {Driver contact no.} OK tone
Values from 01 to 98 can be programmed. The value 99 will enable the
automatic activation of the contact for all the line seizure duration.
As driver contact no. the values 1(contact 1) and 2(contact 2) can be used.
Example:
nYou want to program the contact 2 to be activated for all the line seizure
duration (i.e. to switch on a video camera). Input:
*#7 OK tone #499 OK tone **2
Flash time
You can insert a flash signal in the telephone number you store for the chime
buttons otr speed dial numbers. The flsh signal is set programming the code
##4 instead of a digit. As defaut the flash has a duration of 80 ms. If need you
can enhance or reduce this time using the following procedure:
*#7 OK tone #9 {flash time in ms} OK tone
You can use values from 001 to 100. The value 000 will deactivate the
flash function.
Example:
nYou want to enhance the flash time to 100 ms. Input:
*#7 OK tone #9100 OK tone
Busy tone detection
The Doortello Home door phone can detect a busy tine to terminate the call and
the end of a conversation. As default the device can detect three different busy
tones: standard CO busy tone 500/500, standard PBX busy tone 200/400 and

User guideDoortello HomeIssue 1.00
Page 19
special busy tone 220/220. If needed, you can reprogram the tones. To
reprogram a busy tone please follow this procedure:
*#8 OK tone #1 {make busy tone 1 in ms x 10} OK tone {break busy tone 1
in ms x 10} OK tone {No. of busy tone to be detected before hang up} OK tone
*#8 OK one #2 {make busy tone 2 in ms x 10} OK tone {break busy tone 2
in ms x 10} OK tone {No. of busy tone to be detected before hang up} OK tone
*#8 OK tone #3 {make busy tone 3 in ms x 10} OK tone {break busy tone 3
in ms x 10} OK tone {No. of busy tone to be detected before hang up} OK tone
For the make (tone duration) and the break (tone pause) values from 00 to
99 can be inserted. For the number of tone to detect before call termination
values from 1 to 9can be programmed.
Example:
nYou have to program te detection of a busy tone with a make of 200 ms (20 x
10) and a break of 200 ms, the call has to be terminated after the detection of
min. three tones. Input
*#8 OK tone #120 OK tone 20 OK tone 3OK tone
Please note!
The number of tone to be detected before terminating the call should not
have a too small value. If this is the case it might be that the device can
detect normal speech as a busy tone and truncate the call. We suggest to not
use values below 3.
Ring back tone detection
The Doortello Home can count the numbers of rings sent to the called party by
detecting the ring back tone. As default the ring back tone detected is the
standard 1000 make and 4000 break tone. If needed you can change this tone
following this procedure:
*#8OK tone #4 {make 1 in ms x 10} OK tone {break 1 in ms x 10} OK tone
{make 2 in ms x 10} OK tone {break 2 in ms x 10} OK tone
The make values 1 and 2 (duration of the tone) and the break value 1 (pause of
the tone) can be between 000 and 255, the break value 2 can be between
000 and 999.
Example:
nYou want to detect a double ring back tone with a make of 250 ms (25 x 10),
a break of 500 ms (50 x 10), a second make of 250 ms (20 x 10) and a second
break of 4000 ms (400 x 10) duration. Input:

User guideDoortello HomeIssue 1.00
Page 20
*#8 OK tone #4025 OK tone 050 OK tone 025 OK tone 400
OK tone
Please note!
If you want to program a ring back tone with a single make and break you
have to use only the values make 1 and break 2. The values break 1 and make
2 have to have in this case a value of 000.
Number of rings
If the unit calls a telephone which doesn’t answer within a programmed
number of calls the connection will be automatically disconnected. As default
the number of call before disconnection is 7. To change the number of calls
before disconnection, please follow this procedure:
*#8 OK tone #5 {number of calls} OK tone
You can use values from 02 to 99.
Example:
nYou want that a extension should be called for 18 times before the call is
automatically disconnected: Input:
*#8 OK tone #518 OK tone
Please note!
The device will detect the ring back tones and not the real rings to the
telephone. Some switches can send ring back tones which don’t correspond
exactly to the ring back tones sent.
Please note!
The number of call is also limited by the maximum connection time
programmed. If you want to increase the ring time (i.e. to use a call diversion
feature) you might also have to increase the maximum connection time
programmed.
Tone tables
To make the tone programming easier the system has 30 predefined tone table
which can beloaded on request. Loading the table all the specific busy and ring
back tone are setted at once. A single programmation of each tone is then no
more necessary. As default the table 01 is loaded. If you want to change the tone
table please follow this procedure:
*#8 OK tone #9 {table number} OK tone
Other manuals for Doortello Home
1
Table of contents
Other Rocom Intercom System manuals

Rocom
Rocom Doortello Business FW T2.05W2.04 User manual

Rocom
Rocom MD PBX KEY CW MD User manual

Rocom
Rocom Doortel 4 User manual

Rocom
Rocom Doortello Home User manual

Rocom
Rocom Agora IP User manual

Rocom
Rocom Helpyair KEY User manual

Rocom
Rocom Doortello Smart DB User manual

Rocom
Rocom Agora IP S User manual

Rocom
Rocom ECII User manual

Rocom
Rocom DOORTEL 4 MD User manual