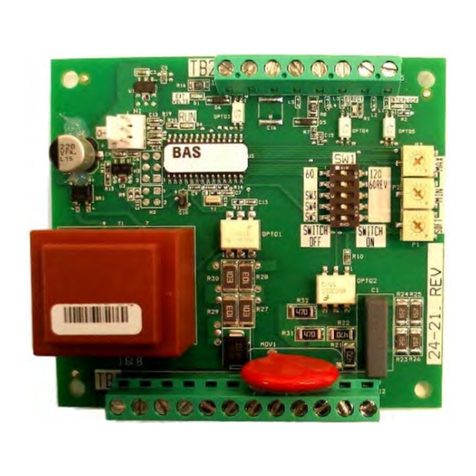
Rodix FEEDER CUBE FC-70 Series Setup guide

Model - FC-75
Plus
P/N 121-000-1110
Circuit Board P/N 24-214
Input: 120 VAC, 50/60 HZ.
(Operating range 100-130 VAC)
Single Unit Fuse Size: 5 AMPS
Output: 0-120 VAC
© 2015 RODIX INC.
Warning: To avoid shock, remove power
before making any changes to the circuit
board settings or connections. The
control is not isolated from the power
line.
1. SELECT THE PULSE SETTING
Match the control’s pulse mode tothefeeder’stuning:
A. For60 pulse output- Set DIPswitch (S1,position
1) to 60 on the circuit card.
B. For 120 pulse output - Set DIP switch (S1,
position 1) to 120 on the circuit card.
C. For 60 Reverse pulse setting see the “Feature
Programming Chart”. The “60 Pulse Reverse”
featureis usefulfor reducing mechanicalvibration
interaction between different feeder components
mounted on the same machine table. To
determine if there is a feeder interaction, remove
the power from one feeder. If a feeder interaction
exists, the feed rate on the otherfeeder willeither
speed up or slow down.
D. For 40 pulse output see the “Feature
Programming Chart”. The 40 Pulse rate can be
useful in a minority of applications for feeding
heavy parts. The power output is not as high as
60 pulse mode. A vibratory feeder that is
converted to a lower pulse mode will require
fewer springs.
2. AMPLITUDE POT
The output power is controlled by the AMPLITUDE
POT. It is a logarithmic-tapered power out curve
(non-linear)that spreadsthe power broadly acrossthe
AMPLITUDE POT.The logarithmictaper powercurve
helps to give maximum "Fine Control" over theoutput
speed of the vibratory feeder.
3. SETTING THE SOFT-START
The start-up rate of the control’s output can be set to
ramp up to the desired output level instead of starting
abruptly. The Soft-start keeps parts from falling off
the tooling, reduces spring shock, and hammering
when the control turns ON. Set position 2 of S1
DIP switch to the ON position to enable the two
second SOFT Start function. Set position 2 of S1
DIP switch to the OFF position to disable the
SOFT Start function.
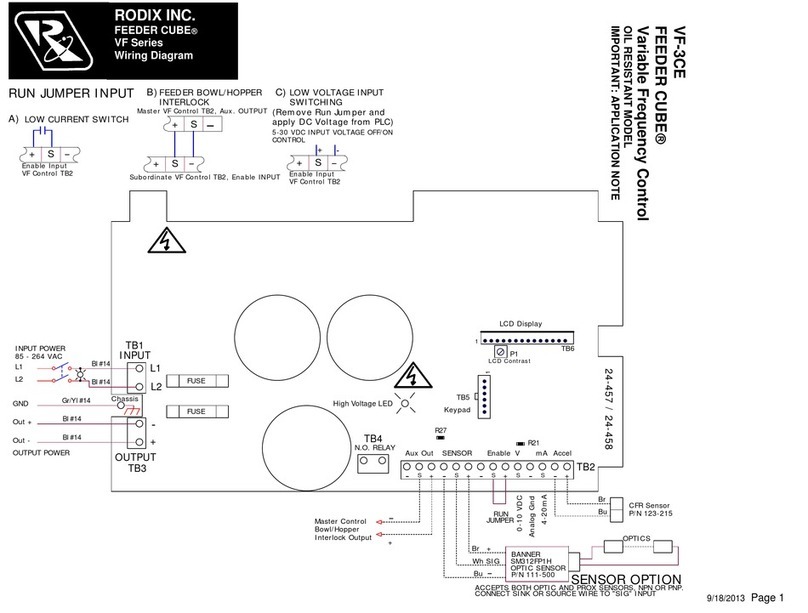
4. REMOTE OFF/ON CONTROL
A Run Jumper has been installed at the factory as
shown on the enclosed wiring diagram.
Remote OFF/ON operation of the FC-70 Series
FeederCube®control can be configured to operate
in one of the following ways.
A. Alow current switch such asa paddleswitch
can replace the factory-installed Run Jumper
"J1."The "Run Contact"connects toterminals
TB2-3 and 4. The contact must be isolated
and be able to switch 24VDC and 2mA. The
control will run when the contact is closed.
Refer to Section A of the OFF/ON CONTROL
GUIDE.
B. Low Voltage DC can be used to turn the
control ON and OFF. Remove jumper "J1"
fromTB2 terminals 3and 4. Then connectthe
positive signal (+12 to 24VDC @ 5mA) to TB2
terminal 2 and the negative to terminal 1 of
TB2. The control will now turn ON when the
DC signal is present at terminals 1 and 2 of
TB2. This input is optically isolated. Refer to
Section B of the OFF/ON CONTROL GUIDE.
There is a “RUN” status LED that lights up when
either the low current switch is closed or when an
external low voltage DC signal is applied. The
control’s output will be ON whenever the “RUN”
LED is lit and the AMPLITUDE POT is turned up.
5. LINE VOLTAGE COMPENSATION
Fluctuations in the line voltage can cause a feeder
bowl to vary its feed rate. The line voltage
compensation feature adjusts the control's output
to help compensate for fluctuations in the supply
voltage. If it becomes necessary to disable this
feature, remove resistor “R20” from the circuit
board. R20 is located near the Triac labeled Q1.
With the input power disconnected, a knife can be
used to cut down through “R20”.
FC-75 24-214.doc 12/23/2015 Page 1
ADJUSTMENTS
AND SET UP
RODIX INC.
FEEDER CUBE
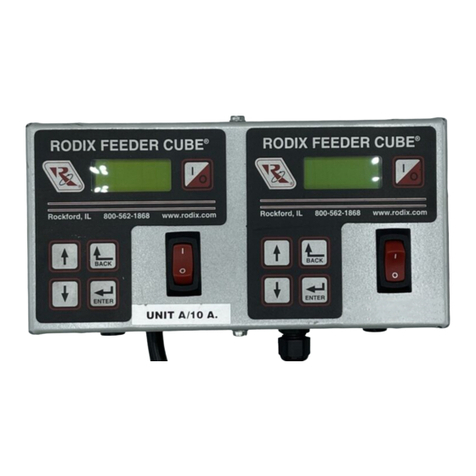
FC-90
Plus Series
GENERAL PURPOSE
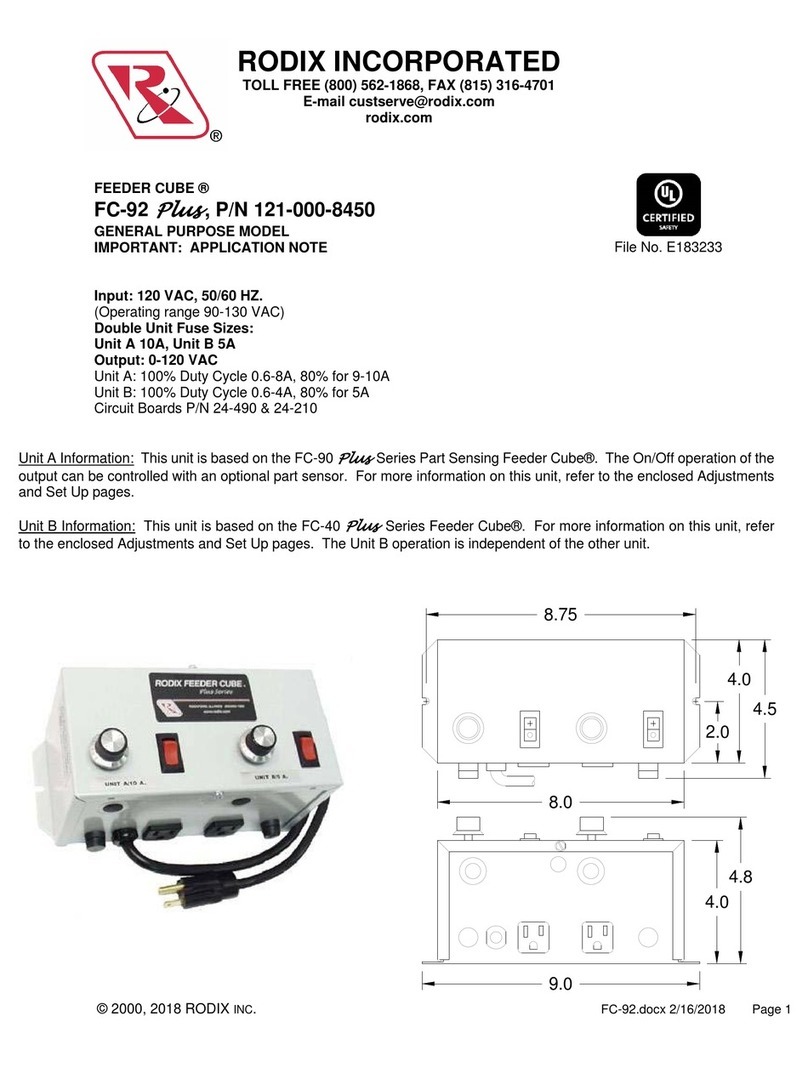
RODIX INC.
FEEDER CUBE
FC-70 SERIES
OPEN FRAME
6. FEATURE PROGRAMMING CHART
“X” means the setting could be in either position
because the position doesn’t matter.
“0” means the “resistor” jumper has been removed.
7. LOW VOLTAGE AT “1”
Somesmall feeders mayfeed faster thandesiredatlow
settings on the dial. The “Low Voltage at 1” program
allows the control’s output to operate at a much lower
minimum voltage than the standard minimum voltage.
Toenable this featurebreak through resistorR25witha
knife.
TROUBLESHOOTING
For the control to run: The AMPLITUDE POT must be
turned up and the RUN LED must be lit. To light the
RUN LED, connect a Run Jumper from TB2 terminal 3
to 4, or apply a 10-30 VDC signal at TB2 terminals 1 &
2. See the “FC-70 Troubleshooting Guide” for more
information. If the feeder only hums or barely moves
parts,toggle the 60/120dip switchto matchthe feeder’s
tuning.
WARNING:
Fuses should be replaced with a Bussman ABC or
Littelfuse 3AB "Fast Acting" type or equivalent of
manufacturer's original value.
Mounting this control on a vibrating surface will
void the warranty.
WARRANTY
Rodix Control Products are Warranted to be free from
defects in material and workmanship under normal use
for a period of two years from date of shipment. For the
full description of the warranty, terms, and software license,
please contact the factory.
For assistance installing or operating your Rodix Feeder
Cube® please call the factory or visit our web site. Technical
help is available to answer your questions and email any
needed information. To return a control for IN or OUT of
warranty service, please ship it prepaid to:
Rodix Inc., ATTN: Repair Department
If under warranty, Rodix will repair or replaceyour control at
no charge; If out of warranty, we will repair it and you will be
billed for the repair charges (Time and Material) plus the
return freight. Quotes for repairs are available upon
request. A brief note describing the symptoms helps our
technicians address the issue.
Feeder Cube® is a registered TM of Rodix Inc.
DIMENSIONS
RODIX, INC.
2316 23rd Ave., Rockford, IL 61104
Toll Free (800) 562-1868, FAX (815) 316-4701
www.rodix.com
FC-75 24-214.doc 10/28/2016 Page 2
Feature Programming Chart
Program Description SW1 R24 R25
Standard Program X 1 1
60 Pulse Reverse 60 0 X
40 Pulse Operation 120 0 X
Low Voltage at “1” X X 0

A)
1
FC-70 SERIES TERM STRIP TB-2
2
See section 4 of the Application Note for more
details on the REMOTE OFF/ON CONTROL guide.
3
LOW CURRENT SWITCH
4
OFF/ON CONTROL GUIDE
LOW VOLTAGE INPUT SWITCHING
(DC Voltage from PLC or FC-90 Plus)
B)
-
OFF/ON CONTROL
10-30 VDC INPUT VOLTAGE
+
213
FC-70 SERIES TERM STRIP TB-2
4
(Shown with customer supplied wiring, switch and fuse.)
Model FC-75
COM
HOT
GND
COM
HOT
JUMPER
RUN
GND
OUTPUT
GND
ON/OFF
60/120 PULSE
0-120 VAC
POT
P/N 24-214
5 AMP HOT
R20
COM
COM 2
1
TB1
4
3
TB2
J1
2
1
LOAD
4
3
Ext.
Volts
- Gnd
+12-24
Run
R24
R25
120Soft
AMP.
60
INPUT
50/60 Hz
120 VAC
RODIX INC.
FEEDER CUBE
FC-70 Series
WIRING DIAGRAM
MODEL INPUT VAC AMPS OUTPUT
FC-75 120 VAC 5 0-120
V
RODIX, INC.
2316 23rd Ave., Rockford, IL 61104
Toll Free (800) 562-1868, FAX (815) 316-4701
www.rodix.com
FC-75 24-214.doc 2/13/2015 Page 3

RODIX SOLUTION
Good wiring practices for
avoiding electrical noise
problems.
Rodixcontrolshavebeen designedwitha
high degree of immunity to electrical
noise;however,dependingon the control
installation, electrical noise can cause
problems. These problems occur in less
than 1% of theproduct installations. Most
electrical noise problems can be avoided
by following some simple guidelines.
Good wiring practices need to be used to
prevent electrical noise from interfering
with your control’s operation. Another
name for electrical noise is Electro-
Magnetic Interference (EMI).
Symptoms of Electrical Noise
The symptoms of electrical noise would
appear as follows: a brief pauseor a brief
“bump” in the vibratory feeder’s output
that the control automatically recovers
from. In rare cases the control will either
stop operating or run continuously at full
power in 120 pulse mode until the power
switch is slowly cycled OFF and ON.
Sources of Electrical Noise
Electrical noise is generated by devices
like relay coils, solenoid valves,
contactors, servo motors, and variable
frequency inverter drives. The electrical
noise is then transferred to another
device by one of three ways. The noise
could be conducted through the power
wires,orcapacitivelycoupledfromwireto
adjacent wire, or it is transmitted from the
wires of a nearby noise source.
Solutions for Electrical Noise
1. Use shielded wires for all I/O (Input /
Output) signals. The I/O signals may
include: 4-20mA input, Run input,Sensor
input, 0-5VDC input, Interlock input or
AUX output. The shield “drain” wire
should be tied to the chassis in the Rodix
control. The drain wire should be kept
shorter than 2”. Please see the enclosed
picture.
Example of a “drain” wire termination
2. Never run I/O signal wires in the same
conduit or raceway as AC power lines
such as wires to motors, solenoids,
heaters, welders and Rodix controls, etc.
3. I/O wires within an enclosure should
be routed as far away as possible from
relays, solenoids, transformers, power
wiring and other noisy equipment. Keep
the I/O signal wires separate from the
control’s input and output power wiring.
Secure the wires in place.
4. Whenever relays or solenoid valves
are used, install a Snubber on them to
reduce electrical noise. Use a diode ona
DC coil. Use a RC Snubber on an AC
coil.
5. In extremely high EMI environments,
Power Line Filters and ferrite beads can
be effective. Install ferrite beads on I/O
signal wires as close as possible to the
circuit board terminal strip. Loop the wire
through the bead several times or use
several beads on each wire for additional
protection.
RODIX, INC.
2316 23rd Avenue, Rockford, IL 61104
Toll Free (800) 562-1868, FAX (815) 316-4701
www.rodix.com
2000,2011 RODIX INC.Good Wiring10/25/2011
RODIX INC.
FEEDER CUBE
RODIX SOLUTION
.408
Drain
Wire
RELAY
COILSNUBBER
VAC
104M06QC47
QUENCH-ARC
RECTIFIER
DIODE RELAY
COIL
1N4006
VDC
+
-
This manual suits for next models
2
Other Rodix Control Unit manuals

Rodix
Rodix FEEDER CUBE FC-92 Plus User manual

Rodix
Rodix FEEDER CUBE FC-44 Plus Setup guide

Rodix
Rodix FEEDER CUBE FC-112 Plus User manual

Rodix
Rodix FC-40-240-DC Plus User manual

Rodix
Rodix FEEDER CUBE FC-200-2 User manual

Rodix
Rodix FEEDER CUBE FC-40 Plus Series Setup guide

Rodix
Rodix FEEDER CUBE VF-3CE Quick start guide