manuals.online logo
Brands
  1. Home
  2. •
  3. Brands
  4. •
  5. Roger Technology
  6. •
  7. Gate Opener
  8. •
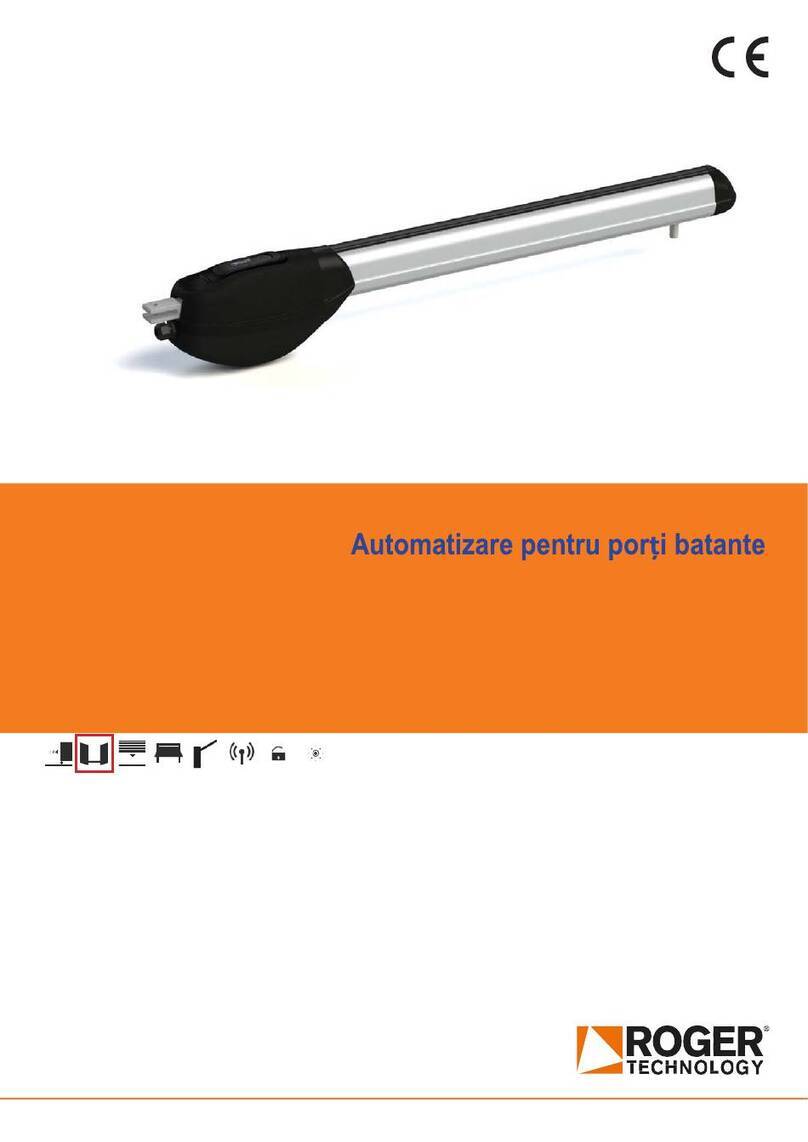
  9. Roger Technology R20 Series User manual

Roger Technology R20 Series User manual

MC770
Istruzioni finecorsa a microswitch in chiusura Serie R20 (OPZIONALE)
R20 series closing micro-switch end stop (OPTIONAL)
Anweisungen für Endschalter mit Mikroschalter am Verschluss Reihe R20 (OPTIONAL)
Instructions de fin de course à micro-interrupteur en fermeture Série R20 (OPTION)
Instrucciones del final de carrera de microswitch de cierre Serie R20 (OPCIONAL)
Instruções do fim de curso com microinterruptor em fechamento Série R20 (OPCIONAL)
IS34 Rev.03
01/02/2019
A
B
C
D
E
F
H
G
I
IT ISTRUZIONI DI MONTAGGIO
1. Effettuare l’installazione in assenza di alimentazione di rete.
2. Svitare la vite [A].
3. Togliere il tappo terminale [B] e sfilare il profilo copri micro [C].
4. Inserire l’elemento di fissaggio [D] all’interno del profilo del pistone e ruotarlo
di 90° [E].
5. Inserire il finecorsa a microswitch [F] sull’elemento di fissaggio [D] e posizio-
nare la vite autofilettante [G].
6. Sollevare lo sportellino del finecorsa di apertura [H].
7. Collegare il cavo del finecorsa di chiusura MC770 al cavo del finecorsa di
apertura [I].
8. Richiudere lo sportellino [H].
9. Regolare il finecorsa MC770 e fissarlo con la vite [G].
10.Reinserire il profilo [C] e il tappo terminale [B], fissandolo con la vite [A].
11.Effettuare i collegamenti elettrici, vedi pag. 3
12.Dare alimentazione di rete e verificare il corretto intervento dei finecorsa.
13.In caso di problemi, verificare la regolazione della posizione dei finecorsa.
EN MOUNTING INSTRUCTIONS
1. Perform the installation without mains power supply.
2. Unscrew the screw [A].
3. Remove the end cap [B] and take out the micro-switch cover profile [C].
4. Insert the fastener [D] in the piston’s profile and turn it by 90° [E].
5. Insert the micro-switch end stop [F] on the fastener [D] and fit the self-thre-
ading screw [G].
6. Lift the opening limit switch door [H].
7. Connect the MC770 closing limit switch cable to the cable of the opening limit
switch [I].
8. Close the door [H].
9. Adjust the MC770 limit switch and fasten it with the screw [G].
10.Re-insert the profile [C] and the end cap [B] and then fasten it with the screw
[A].
11.Carry out the electrical connections, see page 3
12.Switch on the mains power and check the correct intervention of the limit
switches.
13.In case of problems, check if the position of the limit switches is correctly set.
2
DE EINBAUANWEISUNGEN
1. Führen Sie die Installation ohne Netzspannung durch.
2. Die Schraube [A] abschrauben.
3. Die Endstückkappe [B] entfernen und das Mikroschalter-Abdeckungsprofil [C]
herausziehen.
4. Das Befestigungselement [D] in das Profil des Kolbens einsetzen und um 90°
drehen [E].
5. Den Endschalter mit Mikroschalter [F] am Befestigungselement [D] einsetzen
und die Blechschrauben [G] positionieren.
6. Die Klappe des Endschalters an der Öffnung [H] anheben.
7. Das Kabel des Endschalters am Verschluss MC770 mit dem Kabel des En-
dschalters an der Öffnung [I] verbinden.
8. Die Klappe [H] wieder schließen.
9. Den Endschalter MC770 einstellen und mit der Schraube [G] befestigen.
10.Das Profil [C] und die Endstückkappe [B] wieder einsetzen und mit der Schrau-
be [A] befestigen.
11.Die elektrischen Anschlüsse ausführen, siehe S. 3
12.Die Netzstromversorgung anschließen und das richtige Auslösen der En-
dschalter überprüfen.
13.Bei Problemen die Einstellung der Position der Endschalter überprüfen.
FR INSTRUCTIONS DE MONTAGE
1. Effectuer l’installation sans alimentation.
2. Dévisser la vis [A].
3. Enlever le bouchon d’extrémité [B] et désolidariser le profil couvre-micro [C].
4. Insérer l’élément de fixation [D] à l’intérieur du profil du piston et le tourner
de 90° [E].
5. Insérer le fin de course à micro-interrupteur [F] sur l’élément de fixation [D] et
positionner la vis auto-taraudeuse [G].
6. Soulever le volet du fin de course d’ouverture [H].
7. Brancher le câble du fin de course de fermeture MC770 au câble du fin de
course d’ouverture [I].
8. Refermer le volet [H].
9. Régler le fin de course MC770 et le fixer avec la vis [G].
10.Réinsérer le profil [C] et le bouchon d’extrémité [B], en le fixant avec la vis [A].
11.Effectuer les branchements électriques, voir page 3
12.Alimenter à l’aide du réseau et vérifier l’intervention correcte des fins de
course.
13.En cas de problèmes, vérifier le réglage de la position des fins de course.
ES INSTRUCCIONES DE MONTAJE
1. Realizar la instalación sin alimentación de red.
2. Desenroscar el tornillo [A].
3. Quitar la tapa terminal [B] y extraer el perfil que cubre el micro [C].
4. Colocar el elemento de fijación [D] dentro del perfil del pistón y girarlo 90° [E].
5. Colocar el final de carrera de microswitch [F] en el elemento de fijación [D] y
el tornillo autoperforante [G].
6. Levantar la tapa del final de carrera de apertura [H].
7. Conectar el cable del final de carrera de cierre MC770 con el cable del final
de carrera de apertura [I].
8. Cerrar la tapa [H].
9. Regular el final de carrera MC770 y fijarlo con el tornillo [G].
10.Volver a colocar el perfil [C] y la tapa terminal [B], fijando con el tornillo [A].
11.Realizar las conexiones eléctricas, consultar pág. 3
12.Dar alimentación eléctrica y comprobar si el final de carrera interviene cor-
rectamente.
13.En caso de problemas, controlar la regulación de la posición de los finales de
carrera.
PT INSTRUÇÕES DE MONTAGEM
1. Execute a instalação sem fonte de alimentação principal.
2. Afrouxe o parafuso [A].
3. Retire a tampa terminal [B] e remova o perfil da tampa micro [C].
4. Insira o elemento de fixação [D] no interior do perfil do pistão e gire-o 90° [E].
5. Insira o fim de curso com microinterruptor [F] no elemento de fixação [D] e
posicione o parafuso autorroscante [G].
6. Levante a portinhola do fim de curso de abertura [H].
7. Conecte o cabo do fim de curso de fechamento MC770 ao cabo do fim de
curso de abertura [I].
8. Feche a portinhola [H] novamente.
9. Regule o fim de curso MC770 e fixe-o com o parafuso [G].
10.Reinsira o perfil [C] e a tampa terminal [B], fixando-a com o parafuso [A].
11.Realize as ligações elétricas, consulte a pág. 3
12.Forneça a alimentação de rede e verifique o funcionamento correto dos fins
de curso.
13.No caso de problemas, verifique a regulação da posição dos fins de curso.
A
B
C
D
E
F
H
G
I
3
GREEN
OPEN
M
COM
CONDENSATORE
CAPACITOR
CLOSE
CHIUDE BIANCO
BLU
VERDE
GIALLO
MARRONE
(*)
(#)
APRE
LIMIT SWITCH 1
Finecorsa di apertura
Opening limit switch
LIMIT SWITCH 2
Finecorsa di chiusura
Closing limit switch
YELLOW
BROWN
WHITE
WHITE
BROWN
BLUE
YELLOW
MC770
OPZIONALE
OPTIONAL
LIMIT
SWITCH1
COM
GREEN
YELLOW
BROWN
WHITE
COM
FCC2
FCA2
FCC1
FCA1
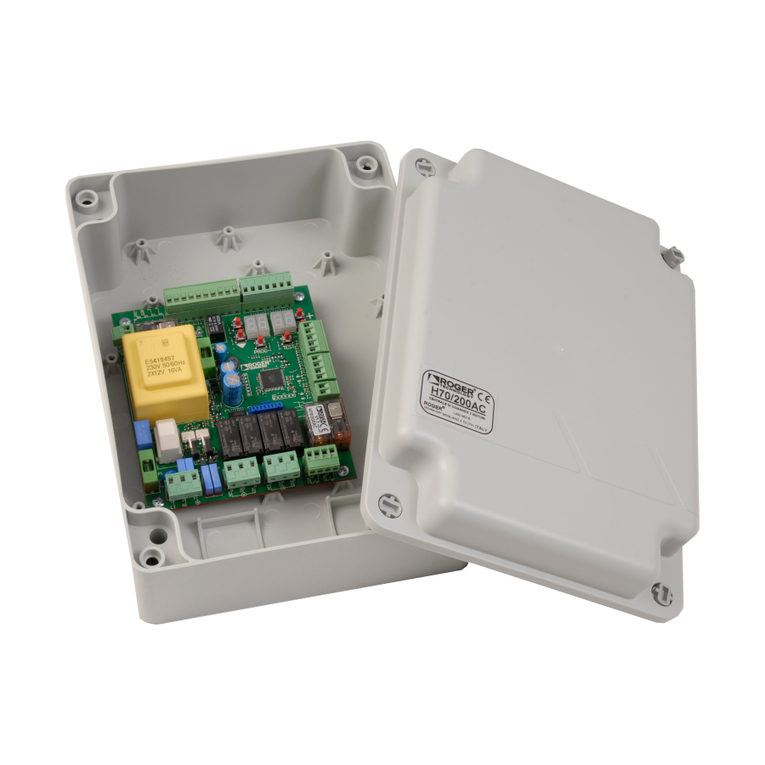
H70/200AC
GREEN
OPEN
M
CONDENSATORE
CAPACITOR
CLOSE
CHIUDE
CLOSE
CHIUDE
BIANCO
BLU
VERDE
GIALLO
MARRONE
APRE
OPEN
APRE
LIMIT SWITCH 1
Finecorsa di apertura
Opening limit switch
LIMIT SWITCH 2
Finecorsa di chiusura
Closing limit switch
WHITE
BROWN
BLUE
YELLOW
MC770
OPZIONALE
OPTIONAL
(*)
(#)
LIMIT SWITCH2
OPTIONAL
IT Collegamenti elettrici del finecorsa di apertura e del finecorsa di chiusu-
ra (OPZIONALE) alla centrale di comando.
R20/300-R20/500 (*) rosso (#) verde
R20/302-R20/502 (*) rosso (#) nero
R20/3115 (*) bianco (#) verde
IT Collegamenti elettrici del finecorsa di apertura e del finecorsa di chiusu-
ra (OPZIONALE) in serie alle fasi del motore.
R20/300-R20/500 (*) rosso (#) verde
R20/302-R20/502 (*) rosso (#) nero
R20/3115 (*) bianco (#) verde
FR Raccordements électriques de l’interrupteur de fin de course d’ouverture
et de l’interrupteur de fin de course de fermeture (EN OPTION) à l’unité
de commande
R20/300-R20/500 (*) rouge (#) vert
R20/302-R20/502 (*) rouge (#) noir
R20/3115 (*) blanc (#) vert
FR Raccordements électriques de l’interrupteur de fin de course d’ouverture
et de l’interrupteur de fin de course de fermeture (EN OPTION) branchés
en série aux phases moteur.
R20/300-R20/500 (*) rouge (#) vert
R20/302-R20/502 (*) rouge (#) noir
R20/3115 (*) blanc (#) vert
EN Electrical connections of the opening limit switch and the closing limit
switch (OPTIONAL) to the control unit.
R20/300-R20/500 (*) red (#) green
R20/302-R20/502 (*) red (#) black
R20/3115 (*) white (#) green
EN Electrical connections of the opening limit switch and the closing limit
switch (OPTIONAL) connected in series to the motor phases.
R20/300-R20/500 (*) red (#) green
R20/302-R20/502 (*) red (#) black
R20/3115 (*) white (#) green
ES
Conexiones eléctricas del interruptor de final de carrera de apertura y del
interruptor de final de carrera de cierre (OPCIONAL) a la unidad de control
R20/300-R20/500 (*) rojo (#) verde
R20/302-R20/502 (*) rojo (#) negro
R20/3115 (*) blanco (#) verde
ES
Conexiones eléctricas del interruptor de final de carrera de apertura y del
interruptor de final de carrera de cierre (OPCIONAL) en serie a las fases
del motor.
R20/300-R20/500 (*) rojo (#) verde
R20/302-R20/502 (*) rojo (#) negro
R20/3115 (*) blanco (#) verde
DE Elektrische Anschlüsse des Öffnungsendschalters und des Schließen-
dschalters (OPTIONAL) an die Steuerung.
R20/300-R20/500 (*) rot (#) grün
R20/302-R20/502 (*) rot (#) schwarz
R20/3115 (*) weiß (#) grün
DE Elektrische Anschlüsse des Öffnungsendschalters und des Schließen-
dschalters (OPTIONAL) serienmäßig an die Motorphasen angeschlossen.
R20/300-R20/500 (*) rot (#) grün
R20/302-R20/502 (*) rot (#) schwarz
R20/3115 (*) weiß (#) grün
PT Conexões elétricas da fim de curso de abertura e da fim de curso de
fechamento (OPCIONAL) para a unidade de controle
R20/300-R20/500 (*) vermehlo (#) verde
R20/302-R20/502 (*) vermehlo (#) preto
R20/3115 (*) branco (#) verde
PT Conexões elétricas da fim de curso de abertura e da fim de curso de
fechamento (OPCIONAL) em série às fases do motor.
R20/300-R20/500 (*) vermehlo (#) verde
R20/302-R20/502 (*) vermehlo (#) preto
R20/3115 (*) branco (#) verde
ROGER TECHNOLOGY
Via S. Botticelli 8 • 31021 Bonisiolo di Mogliano Veneto (TV) • ITALIA
P.IVA 01612340263 • Tel. +39 041.5937023 • Fax. +39 041.5937024
info@rogertechnology.com • www.rogertechnology.com

Other manuals for R20 Series

2

This manual suits for next models

1

Other Roger Technology Gate Opener manuals

Roger Technology R30/803 User guide

Roger Technology

Roger Technology R30/803 User guide

Roger Technology BH30 Series User manual

Roger Technology

Roger Technology BH30 Series User manual

Roger Technology B70/2ML User manual

Roger Technology

Roger Technology B70/2ML User manual

Roger Technology H21 Series Operating instructions

Roger Technology

Roger Technology H21 Series Operating instructions

Roger Technology BE20 Series Operating instructions

Roger Technology

Roger Technology BE20 Series Operating instructions

Roger Technology G30 Series Operating instructions

Roger Technology

Roger Technology G30 Series Operating instructions

Roger Technology CTRL User manual

Roger Technology

Roger Technology CTRL User manual

Roger Technology B70/1DC User manual

Roger Technology

Roger Technology B70/1DC User manual

Roger Technology B70/2ML User manual

Roger Technology

Roger Technology B70/2ML User manual

Roger Technology RL651 User manual

Roger Technology

Roger Technology RL651 User manual

Roger Technology M30 Series Operating instructions

Roger Technology

Roger Technology M30 Series Operating instructions

Roger Technology H70/200AC Product manual

Roger Technology

Roger Technology H70/200AC Product manual

Roger Technology AG-K/KB Product manual

Roger Technology

Roger Technology AG-K/KB Product manual

Roger Technology BH23 Series User manual

Roger Technology

Roger Technology BH23 Series User manual

Roger Technology BR21 Series Operating instructions

Roger Technology

Roger Technology BR21 Series Operating instructions

Roger Technology G30/1804 Operating instructions

Roger Technology

Roger Technology G30/1804 Operating instructions

Roger Technology R20 Series Operating instructions

Roger Technology

Roger Technology R20 Series Operating instructions

Roger Technology H70/104AC User manual

Roger Technology

Roger Technology H70/104AC User manual

Roger Technology BH23 Series Operating instructions

Roger Technology

Roger Technology BH23 Series Operating instructions

Roger Technology BG30 Series Operating instructions

Roger Technology

Roger Technology BG30 Series Operating instructions

Roger Technology AG/BAJ/02 Operating instructions

Roger Technology

Roger Technology AG/BAJ/02 Operating instructions

Roger Technology EDGE1 User manual

Roger Technology

Roger Technology EDGE1 User manual

Roger Technology SMARTY Series Operating instructions

Roger Technology

Roger Technology SMARTY Series Operating instructions

Roger Technology H21 Series User manual

Roger Technology

Roger Technology H21 Series User manual

Popular Gate Opener manuals by other brands

Calimet CM7-DCNB instruction manual

Calimet

Calimet CM7-DCNB instruction manual

Easysystems E8-400 installation guide

Easysystems

Easysystems E8-400 installation guide

tau MASTER Series Use and maintenance manual

tau

tau MASTER Series Use and maintenance manual

RIB BOSS 230V MASTER DX manual

RIB

RIB BOSS 230V MASTER DX manual

BFT Cell Box Switch Installation & user manual

BFT

BFT Cell Box Switch Installation & user manual

GiBiDi TOP EVO 291E/S Instructions for installation

GiBiDi

GiBiDi TOP EVO 291E/S Instructions for installation

Tecnoautomazione WALLY TLCWX5TN instructions

Tecnoautomazione

Tecnoautomazione WALLY TLCWX5TN instructions

HySecurity SlideSmart DC 15 Installation and maintenance manual

HySecurity

HySecurity SlideSmart DC 15 Installation and maintenance manual

Power Master CSWI Installation and owner's manual

Power Master

Power Master CSWI Installation and owner's manual

Entrematic Ditec PWR50H Technical manual

Entrematic

Entrematic Ditec PWR50H Technical manual

US Automatic PATRIOT I Installation and owner's manual

US Automatic

US Automatic PATRIOT I Installation and owner's manual
GiBiDi AGO 400 Instructions for installation

GiBiDi

GiBiDi AGO 400 Instructions for installation

RIB PRINCE 24V Operator's manual

RIB

RIB PRINCE 24V Operator's manual

Nice Wingo4024 Instructions and warnings for installation and use

Nice

Nice Wingo4024 Instructions and warnings for installation and use

RIB KING EVO manual

RIB

RIB KING EVO manual

DITEC Entrematic FACIL3H quick reference

DITEC

DITEC Entrematic FACIL3H quick reference

tau 700BRCDR manual

tau

tau 700BRCDR manual

Nice HySecurity SwingSmart DC Series Installation and programming manual

Nice HySecurity

Nice HySecurity SwingSmart DC Series Installation and programming manual

manuals.online logo
manuals.online logoBrands
  • About & Mission
  • Contact us
  • Privacy Policy
  • Terms and Conditions

Copyright 2025 Manuals.Online. All Rights Reserved.