manuals.online logo
Brands
  1. Home
  2. •
  3. Brands
  4. •
  5. Roland
  6. •
  7. Voice Recorder
  8. •
  9. Roland MSQ-1QO User manual

Roland MSQ-1QO User manual

Other Roland Voice Recorder manuals

Roland R-09 User manual

Roland

Roland R-09 User manual

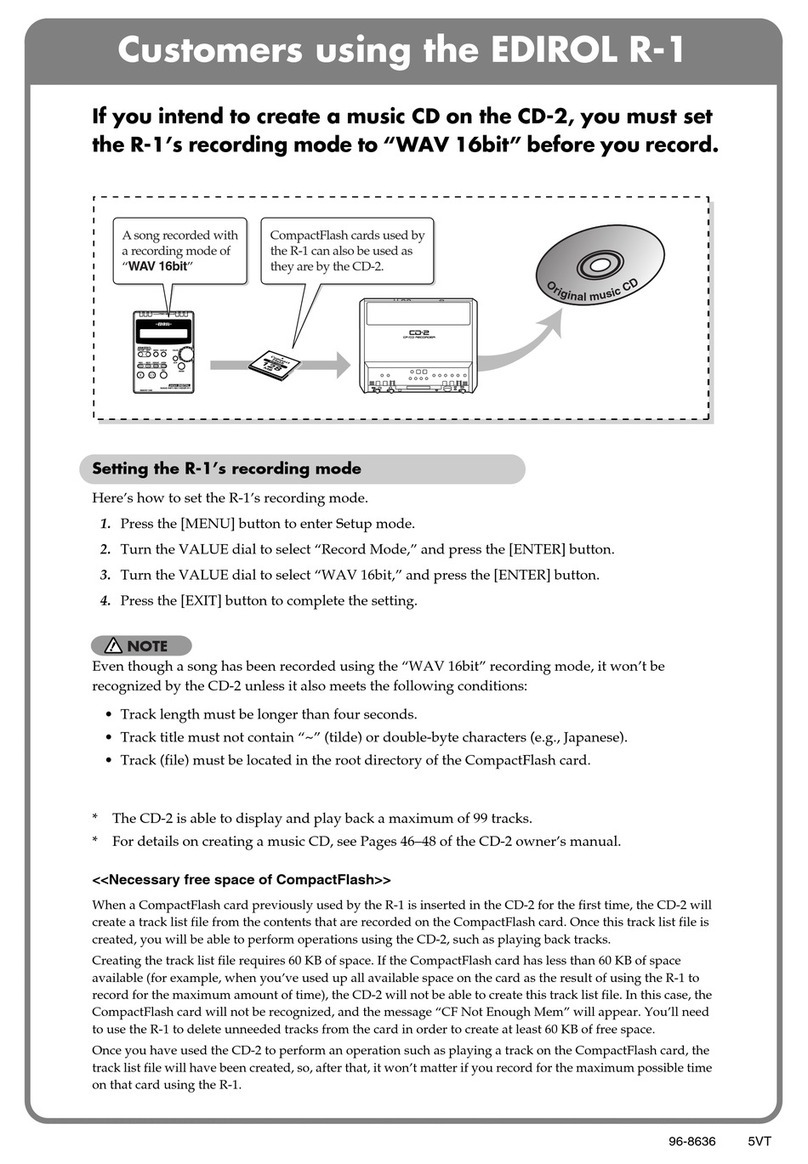
Roland Edirol R-1 Manual

Roland

Roland Edirol R-1 Manual

Roland Edirol R-1 Service manual

Roland

Roland Edirol R-1 Service manual

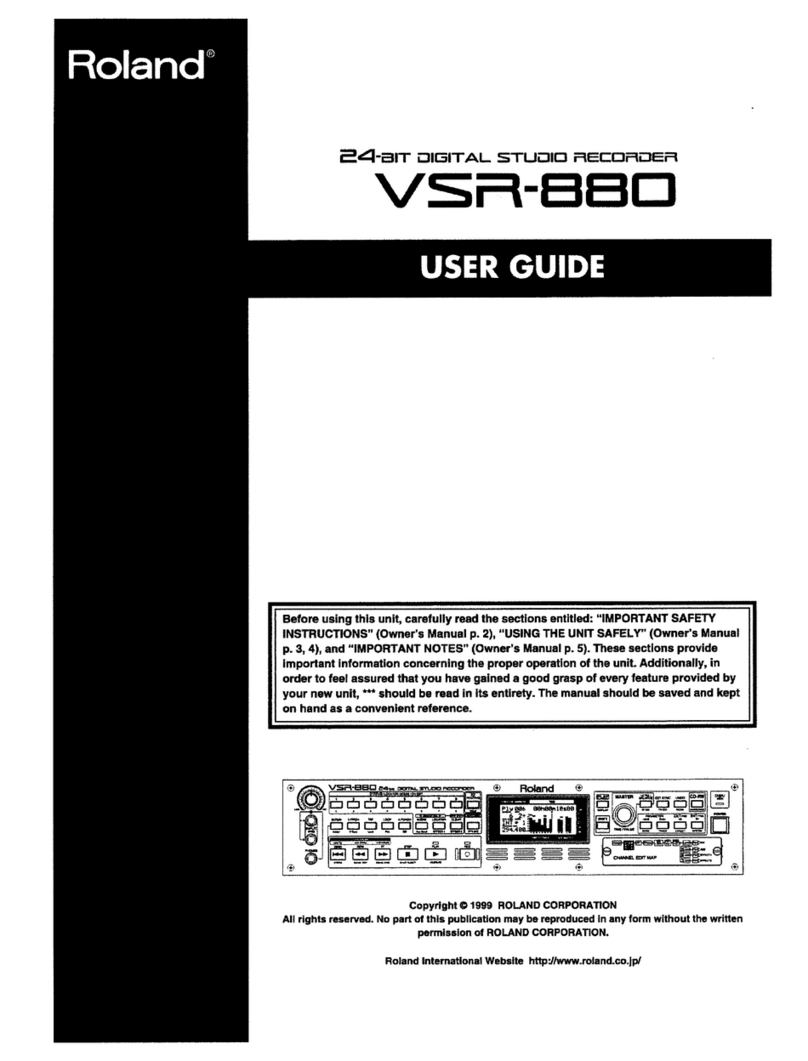
Roland VSR-880 User manual

Roland

Roland VSR-880 User manual

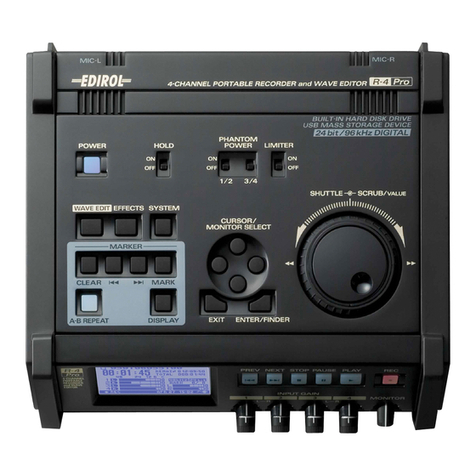
Roland R-4 PRO - ANNEXE 109 Technical manual

Roland

Roland R-4 PRO - ANNEXE 109 Technical manual

Roland R-09 Operating and maintenance manual

Roland

Roland R-09 Operating and maintenance manual

Roland BR-900CD User manual

Roland

Roland BR-900CD User manual

Roland BR-1200CD Operating and maintenance manual

Roland

Roland BR-1200CD Operating and maintenance manual

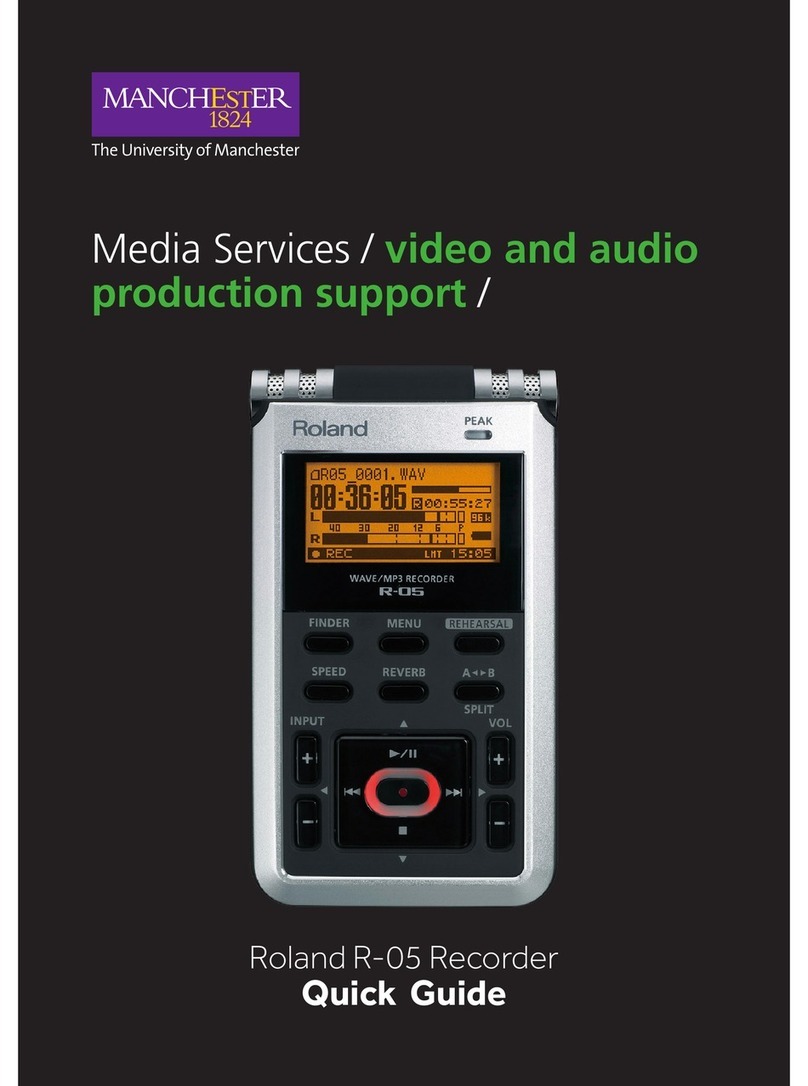
Roland Edirol R-05 User manual

Roland

Roland Edirol R-05 User manual

Roland BOSS BR-600 Manual

Roland

Roland BOSS BR-600 Manual

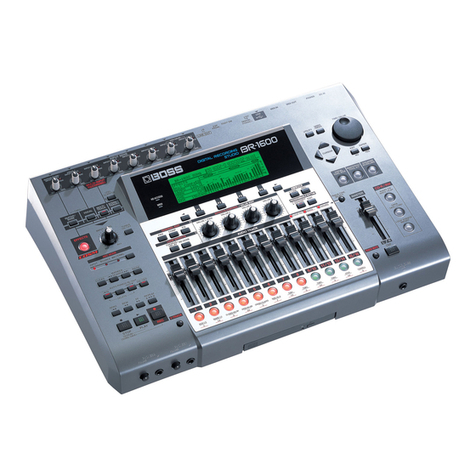
Roland BR-1600CD Operating and maintenance manual

Roland

Roland BR-1600CD Operating and maintenance manual

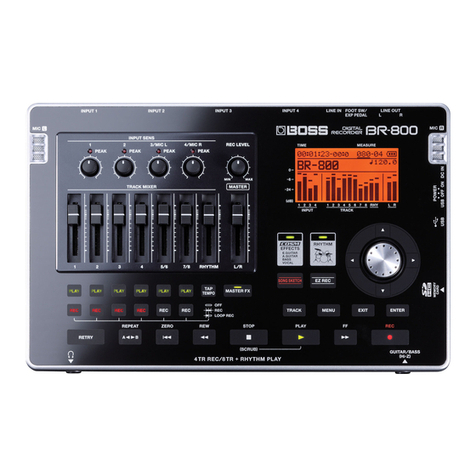
Roland BR-800 User manual

Roland

Roland BR-800 User manual

Roland BR-900CD Troubleshooting guide

Roland

Roland BR-900CD Troubleshooting guide

Popular Voice Recorder manuals by other brands

TS-market EDIC-mini Tiny16 B43 Short operating instructions

TS-market

TS-market EDIC-mini Tiny16 B43 Short operating instructions

Xtend Voice Logger Analog Line installation manual

Xtend

Xtend Voice Logger Analog Line installation manual

Aiwa IC-M120 operating instructions

Aiwa

Aiwa IC-M120 operating instructions

Olympus VN-7000PC instructions

Olympus

Olympus VN-7000PC instructions

Radio Shack Digital Recorder owner's manual

Radio Shack

Radio Shack Digital Recorder owner's manual

EDIC-mini Card Series Short Operating Instruction

EDIC-mini

EDIC-mini Card Series Short Operating Instruction

Sony ICD-UX533F quick start guide

Sony

Sony ICD-UX533F quick start guide

RCA VR5230 quick start guide

RCA

RCA VR5230 quick start guide

Ramsey Electronics BULLSHOOTER ENDLESS LOOP BS2C Assembly and instruction manual

Ramsey Electronics

Ramsey Electronics BULLSHOOTER ENDLESS LOOP BS2C Assembly and instruction manual

Sony TCM-400DV Specification sheet

Sony

Sony TCM-400DV Specification sheet

LogTag TREL30-16 user guide

LogTag

LogTag TREL30-16 user guide

SVAT CVP800 user manual

SVAT

SVAT CVP800 user manual

Marantz PMD620 Service manual

Marantz

Marantz PMD620 Service manual

JVC ProHD GY-HMZ1U Basic user's guide

JVC

JVC ProHD GY-HMZ1U Basic user's guide

Panasonic PQT8531-P operating instructions

Panasonic

Panasonic PQT8531-P operating instructions

Tascam DR-07 quick start guide

Tascam

Tascam DR-07 quick start guide

Olympus DW-90 instructions

Olympus

Olympus DW-90 instructions

Korg D4 owner's manual

Korg

Korg D4 owner's manual

manuals.online logo
manuals.online logoBrands
  • About & Mission
  • Contact us
  • Privacy Policy
  • Terms and Conditions

Copyright 2025 Manuals.Online. All Rights Reserved.

ISRoland
MIDI DIGITAL KEYBOARD RECORDER
MSQ-1QO
Owner's Manual
"Warning -This equipment has been verified to comply with the limits for aClass Bcomputing device, pursuant to
Subpart J, of Part 15, of FCC rules. Operation with non-certified or non-verified equipment is likely to result in
interference to radio and TV reception."
The equipment described in this manual generates and uses radio-frequency energy. If it is not installed and used
properly, that is, in strict accordance with our instructions, it may cause interference with radio and television recep-
tion.
This equipment has been tested and found to comply with the limits for aClass Bcomputing device in accordance
with the specifications in Subpart J, of Part 15, of FCC Rules. These rules are designed to provide reasonable protec-
tion against such ainterference in aresidential installation.
However, there is no guarantee that the interference will not occur in aparticular installation. If this equipment
does cause interference to radio or television reception, which can be determined by turning the equipment on and
off, the user is encouraged to try to correct the interference by the following measure:
•Disconnect other devices and their input/output cables one at atime. If the interference stops, it is caused by
either the other device or its I/O cable.
These devices usually require Roland designated shielded I/O cables. For Roland devices, you can obtain the proper
shielded cable from your dealer. For non Roland devices, contact the manufacturer or dealer for assistance.
If your equipment does cause interference to radio or television reception, you can try to correct the interference by
using one or more of the following measures:
•Turn the TV or radio antenna until the interference stops.
•Move the equipment to one side or the other of the TV or radio.
•Move the equipment farther away from the TV or radio.
•Plug the equipment into an outlet that is on adifferent circuit than the TV or radio. (That is, make certain the
equipment and the radio or television set are on circuits controlled by different circuit breakers or fuses.)
®Consider installing arooftop television antenna with coaxial cable lead-in between the antenna and TV.
If necessary, you should consult your dealer or an experienced radio/television technician for additional suggestions.
You may find helpful the following booklet prepared by the Federal Communications Commission:
"How to Identify and Resolve Radio—TV Interference Problems"
This booklet is available from the U.S. Government Printing Office, Washington, D.C., 20402, Stock No. 004-000-
00345-4.
QQ Panel Description
1. Front Panel
©Power Switch
©Power Indicator
©Mode Switch
©Metronome Level Switch ©Tempo Indicator
©Load Mode Indicator
©Display
Multi Operation Switches
(See Appendix)
©Repeat Play/(MIDI/Tape} Switch
©Repeat Play/ MIDI Indicator
©Play/Save Button
©Play Indicator
©Stop/Shift Button
©Load Button
©Load Indicator
©Reset/Verify Button
The Roland MSQ-100 Digital Keyboard Recorder
is specially designed for polyphonic keyboards
featuring MIDI.
Features
»Both Step Loading and Real Time Loading are
possible.
»An Overdubbing function behaves like aMix
Down on recording equipment.
•Various edit functions are provided, allowing
quick and easy data correction.
•The LCD is used for easy grasp of the current
condition of the MSQ-100.
•AMIDI Channel Shift function makes it possibe
to change the MIDI Channel of the MSQ-100
(transmitter).
The Start/Stop Jack offers aremote control
option, for the start/stop function.
Sync is possible by means of the DIN Sync or
MIDI Clock.
ATape Interface function is included for saving
the data in the MSQ-700's memory onto an
ordinary audio tape.
It is selectable whether or not to write Key
Velocity (Dynamics) into memory.
MSQ-100's memory capacity is 6100 single
notes without velocity and 4900 single notes
with velocity.
Contents
Features P4
Important ISIotes P5
QPanel Description P3
1Front Pane! P3
2Rear Panel
«Function Switches» P6
53 Connection P8
S3 Operation P9
1Load P9
a. Real Time Loading (1 )P9
«Metronome»
b. Step Loading P10
2Play (1) P14
«Tempo Check»
30verdub (1) P15
4Edit P16
a. Copy P16
b. Erase P17
c. Insert P18
d. Delete P18
«Display» P19
5Data Transfer P20
a. Saving data onto atape P20
b. Transferring data by means of MIDI. .P23
31 Applications P24
1DIN Sync P24
2Real Time Loading (2) P24
3Play (2) P25
4MIDI Channel Shift P25
50verdub (2) P26
a. Using one MSQ-100 and
Sound Modules P26
b. Using two MSQ-100's P27
6Channel Erase P28
7Sequencing aRhythm Machine
(with Dynamics) P28
\E\ Appendix P29
[6] Specifications P33
IMPORTANT NOTES
POWER SUPPLY
•The MSQ-100 uses an AC adaptor system. Be
sure to use the supplied AC Adaptor. Using any
other adaptor could cause malfunction or even
break down.
•Do not turn the MSQ-100 on before connecting
the AC Adaptor to it.
•This unit might not work properly if turned on
immediately after being turned off. If this hap-
pens, simply turn it off, and turn it on again a
few seconds later.
•Before setting up the MSQ-100 with an external
synthesizer, be sure to turn both of them off.
LOCATION
•Using the MSQ-100 near aneon or fluorescent
lamp may cause noise interference. If so,
change the angle or position of the MSQ-100.
Avoid using the MSQ-100 in extreme heat or
humidity or where it may be affected by dust.
CLEANING
•Use asoft cloth and clean only with amild de-
tergent.
•Do not use solvents such as paint thinner.
OTHERS
•If the AC Adaptor is connected, turning the
Power Switch off does not erase the data in
memory, but about aday after the AC Adaptor
is disconnected, its data will be completely
erased. So it may be agood idea to save all
data onto acassette tape.
•Do not touch the Mode Switch Qwhile the
MSQ-100 is running. If you press it while load-
ing, the data may be lost.
•To avoid accidental loss of the data, be sure to
set the Mode Switch Qto the Play Only (Pro-
tect) position when not loading, and while turn-
ing the unit on or off.
2. Rear Panel
Function Switches
©Tape Load Jack
©Tape Save Jack
FUNCTION SW
TAPE
LOAD SAVE
[iHlRoIand midi digital keyboard recorder MSQ-1GO
FUNCTION SW
METRONOME BEAT
KEY VELOCITY
BENDER CONTROL CHANGE
MIDI OUT THRU
TAPE SAVE LEVEL
TAPE LOAD MODE
Roland Corporation JAPAN
&MIDI IN Jack ©MIDI
OUT/THRU Jack
)MIDI OUT Jack
START/
STOP
DC IN
©
©AC Adapter Jack
Start/Stop Jack
(H) DIN Sync Out Jack
)DIN Sync In Jack
«Funct8on Switches»
1. Metronome Beat Switch
(Do not touch this switch while the MSQ-100 is
running.)
This selects the Metronome beat (J or P), for
loading or playing.
2. Key Velocity Switch
(Do not touch this switch while the MSQ-100 is
running.)
When this switch is set to ON, the Key Velocity
information sent through MIDI is written into
memory.
If you are using aKeyboard without the Key Ve-
locity function (e.g.Juno-106), or do not want Key
Velocity information to be written, turn this switch
off. Thus, more notes can be loaded into the
MSQ-100.
uuuuuuuu
12345 6 78
DYS-8
FUNCTION SW
3. Bender/Control Change Switch
(Do not touch this switch while the MSQ-100 is
running.)
With this switch on, Continuous Controller and/or
Pitch Bender information received via MIDI, can
be written into memory. Such information con-
sumes much of the memory, thereby reducing the
maximum number of notes to be loaded. So, do
not turn this switch on, unless Bender or Continu-
ous Controller information is needed to be written
into memory.
4. After Touch Switch
(Do not touch this switch while the MSQ-100 is
running.)
When this switch set to ON, After touch informa-
tion sent through MIDI can be written into
memory. This, however, considerably reduces the
memory capacity, so turn the switch off if you do
not need After Touch information to be written
into memory.
5. MIDI OUT Switch
(Do not touch this switch while the MSQ-100 is
running.)
This switch can select the type of information sent
from the MIDI OUT Jack of the MSQ-100.
When this switch is OFF (Internal), only the music
data of the MSQ-100 is output.
e.g.) In asimple set up of one synthesizer and
one MSQ-100, this switch is normally set to OFF.
JUNO-106
JX-3P
(MSQ-100) etc.
OUT
tIN
IN A
OUT
O"
MIDI OUT OFF
(INT)
MSQ-100
The HP-3Q0/400 is an exceptional
case. When controlling an external
sound source, this switch would
be on.
e.g.) When the MSQ-100 is set up between a
Keyboard and Sound Module, this switch is nor-
mally set to ON. Otherwise the data cannot be
sent from the keyboard to the Sound Module.
6. MIDI OUT/THRU Switch
(Do not touch this switch while the MSQ-100 is
turned off.)
When this switch is set to ON, the MIDI OUT/
THRU Jack serves as MIDI OUT. When OFF, it be-
comes aMIDI THRU (The signal fed into the MIDI
IN Jack is output from this jack without being pro-
cessed).
7. Tape Save Level Switch
(Do not touch this switch while the MSQ-100 is
running.)
With this switch set to ON, alow Level Tape Save
output is obtained.When it is set to OFF, ahigh
Level Tape Save output (Line Level) is obtained.
8. Tape Load Mode Switch
(Do not touch this switch while the MSQ-100 is
running.)
This switch selects the tone color in tape loading
mode. Set it to mode II if using anormal tape re-
corders, and to Iif adata recorder is used.
*To move the positions of these switches, use a
thin implement such as the head of aball-point
pen, and do the job gently.
Master Unit Sound Module
1
OUT
rIN
IN <
OUT
i
MIDI OUT ON
(MIX)
MSQ-100
21 Connection
LINE OUT
(PHONES/ MONITOR)
mmm
FUNCTION SW
TAPE
LOAD SAVE
LINE IN
(MIC IN)
Tape
Recorder
(Refer to Tape
Interface Function
on P. 20)
AC
BOSS
PSA
HHRoland midi digital keyboard recorder MSQ-K3Q
FUNCTION SW ON—OFF
1METRONOME BEAT PJ
2KEY VELOCITY ON OFF
3BENDER CONTROL CHANGE ON OFF
4AFTER TOUCH ON OFF
5MIDI OUT MIX INT
6MIDI OUT/THRU OUT THRU
7TAPE SAVE LEVEL LH
8TAPE LOAD MODE !II
MIDI
OUT OUT/THRU
Roland Corporation japan
SYNC
IN OUT
START/
STOP
(DF
DC IN
(USE boss!
PSAao.™
ONLY J
MIDI
OUT
MIDI
Device
MIDI
IN
MIDI
Device
MIDI
Device
JUNO-106
MIDI
IN SYNC
OUT
DIN SYNC
Device
SYNC
IN
Roland
DP-2
START/STOP
DIN SYNC
Device
Keyboard with
MIDI OUT Sound Source with
MIDI IN
Device with
SYNC IN
Device with
SYNC OUT
JUNO-106 JUNO-106 TR-606 TR-606
JX-3P JX-3P TR-808 TR-808
JP-6 JP-6 TR-909
HP-300/400* HP-300/400* CR-8000 CR-8000
MKB-1000* MKS-10* MC-4 MC-4
MKS-30 *MSQ-700 MSQ-700
TR-909* TB-303 JSQ-60
etc. etc. etc. etc.
The device with "*"
The device with "•" sends Key Velocity
receives Key Veloch
Dynamics) informat
y(Dynamics) inform
ion.
ation.
Device sending
Clock from
MIDI OUT
Device receiving
Clock from
MIDI IN
TR-909 TR-909
MSQ-700 MSQ-700
PR-800 PR-800
[3] Operation
MIDI IN
MIDI OUT
H-
MSQ-100
J-
To Amplifier OUTPUT
MIDI
OUT
MIDI
IN
JUNO-106
JX-3P
TR-909 etc.
1. Load
In this manual, writing music data into memory is
called "Loading". There are two methods of load-
ing, Real Time Loading and Step Loading.
aReal Time Loading (1)
In this mode, what you play will be loaded
exactly as it is played.
Normally, the performer plays to ametronome.
(T) Set the Mode Switch ©to Load/Play (Protect
off).
©While holding the Load Mode button ©,
press h—
I
®or |—
H
©, selecting 4/4 or 3/4.
While holding this {load mode]
switch down „!
<® ©
4/4 3/4
-L±3- -C±>
(3) By using the Reset Key©,Back Measure Button
®and Forward Measure Button ©, go to the
measure where you wish to start loading.
RESET -*- Set to the 1st measure
-*• Back-up one measure
-* Forward one measure
Set the Clock Source Switch to the Internal
position.
*For sync to an external device, see "SlApplica-
tions, 2. Real Time Loading".
(D Set the Metronome Level Switch Qto High or
Low.
If you do not need the metronome sound at all,
set it to off.
©Press the Load Button ©
The Load Indicator lights up and the Metro-
nome will sound.
Actual loading will start from the third mea-
sure. That is, what you have played before that
will not be loaded, the first two bars being a
tempo guide.
*When the Display is in the Measure Mode, it
will respond during the first 2measures as
shown below.
<Note>
*If the whole memory capacity is used up dur-
ing loading, the Display shows "FULL",
and loading automatically stops. If this hap-
pens, the data will not be properly played.
*If you press the Load Button with the Mode
Switch Qset to Protect, the Display Window
Shows "PIE C"(protect), and loading is not
possible.
Be sure to set the Mode Switch to Load/Play in
loading mode.
®Press the Stop Key ©when you have finished
playing. The MSQ-100 runs up to the end of
the measure then stops. The Load Indicator
goes out.
bStep Time Loading
In this mode, pitches and key velocity can be
loaded by playing the keyboard, and the timing
value is loaded, step by step, by selecting astep
time (>,7>, p).
e.g.)
#i4*Sf
(3) While pressing the Load Mode Button, press
the H—
I
Button ©or |—
H
Button ©to
set the Load Mode to the shortest timing
value.
In this example, select ^.
®Find out the shortest note in the phrase, then
represent the entire score using only multiples
of this shortest timing value.
#i*=s
ji
lr.Ln
111
[II
IIII
}}}} }}}}
While holding down |load mode]
i
AAA
(2) Set the Mode Switch Qto the Load/Play posi-
tion (= Protect Off).
10