9
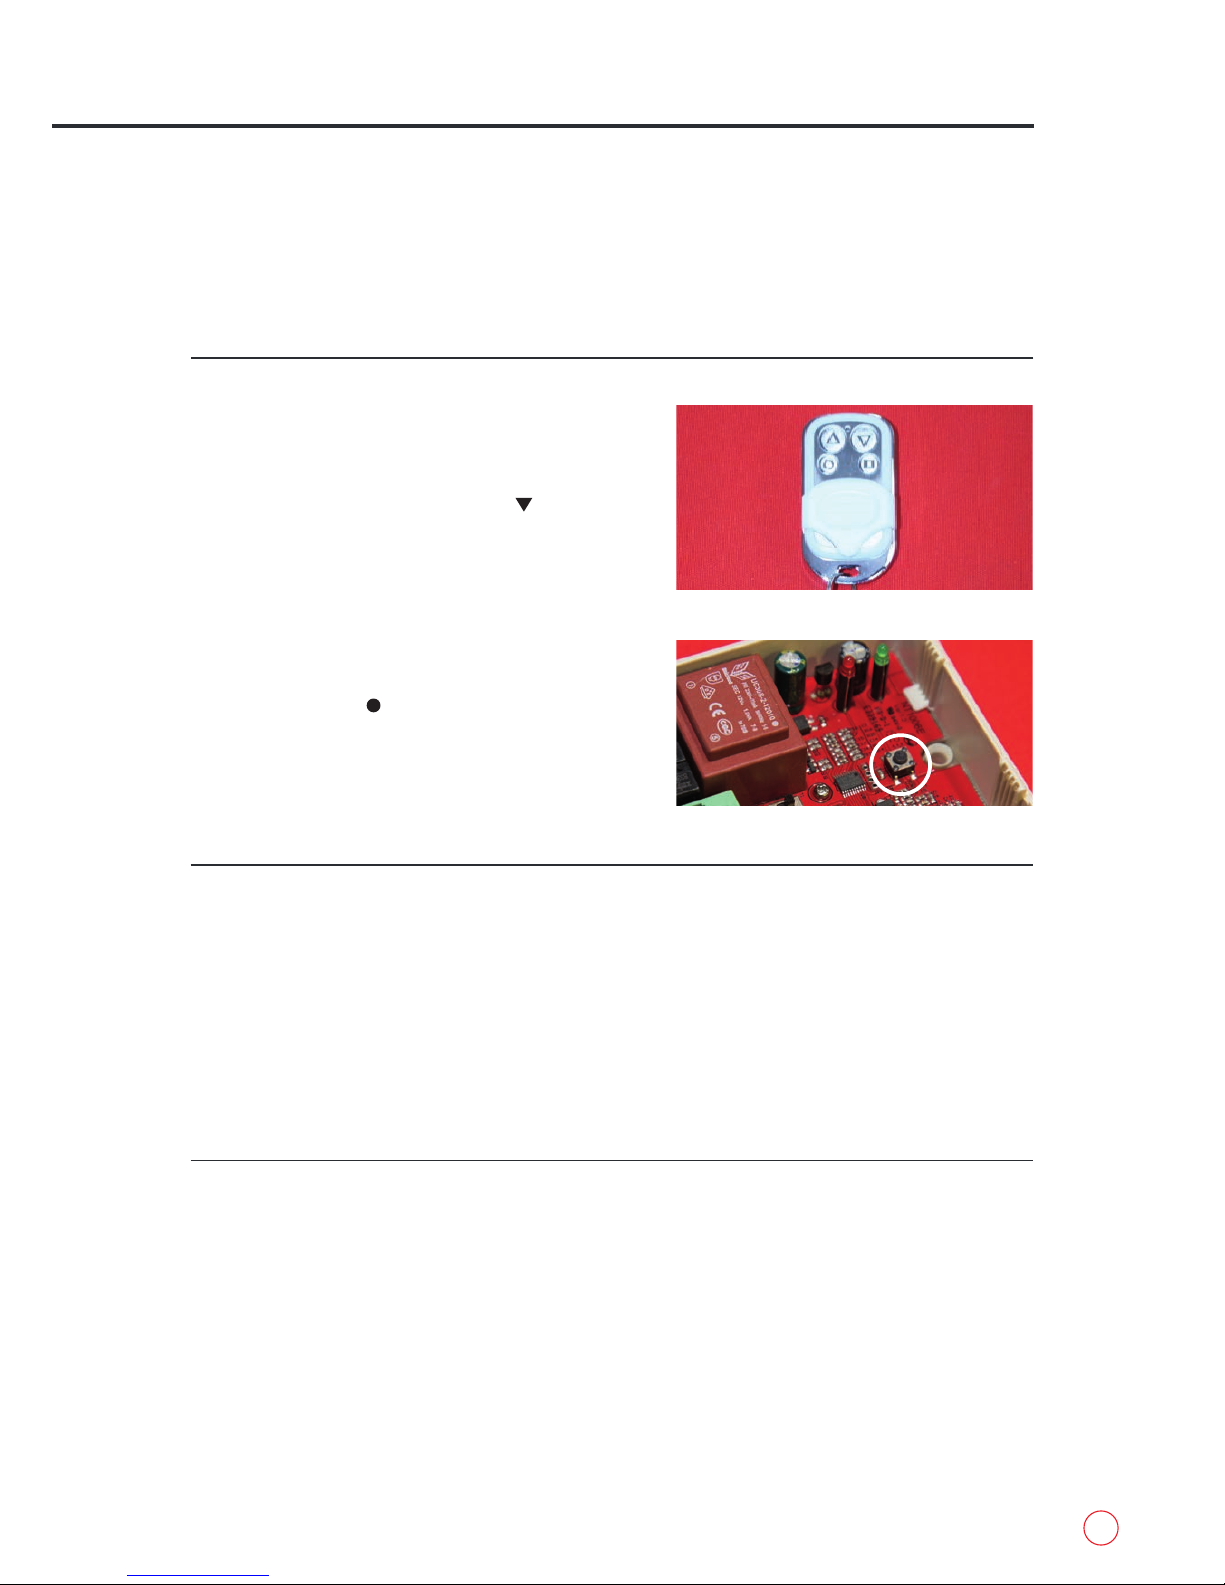
1 Press and hold the “RADIO PROG” button
(fig.7.1a). You will hear a beep and the red LED
alongside “C1” (fig.7.1b) will illuminate, then
release the “RADIO PROG” button.
2 Enter the access code and press OK (fig.7.1b).
The panel will beep to conrm it has accepted
the unit.
3 Leave for several seconds and the receiver box will
beep twice to conrm end of programming.
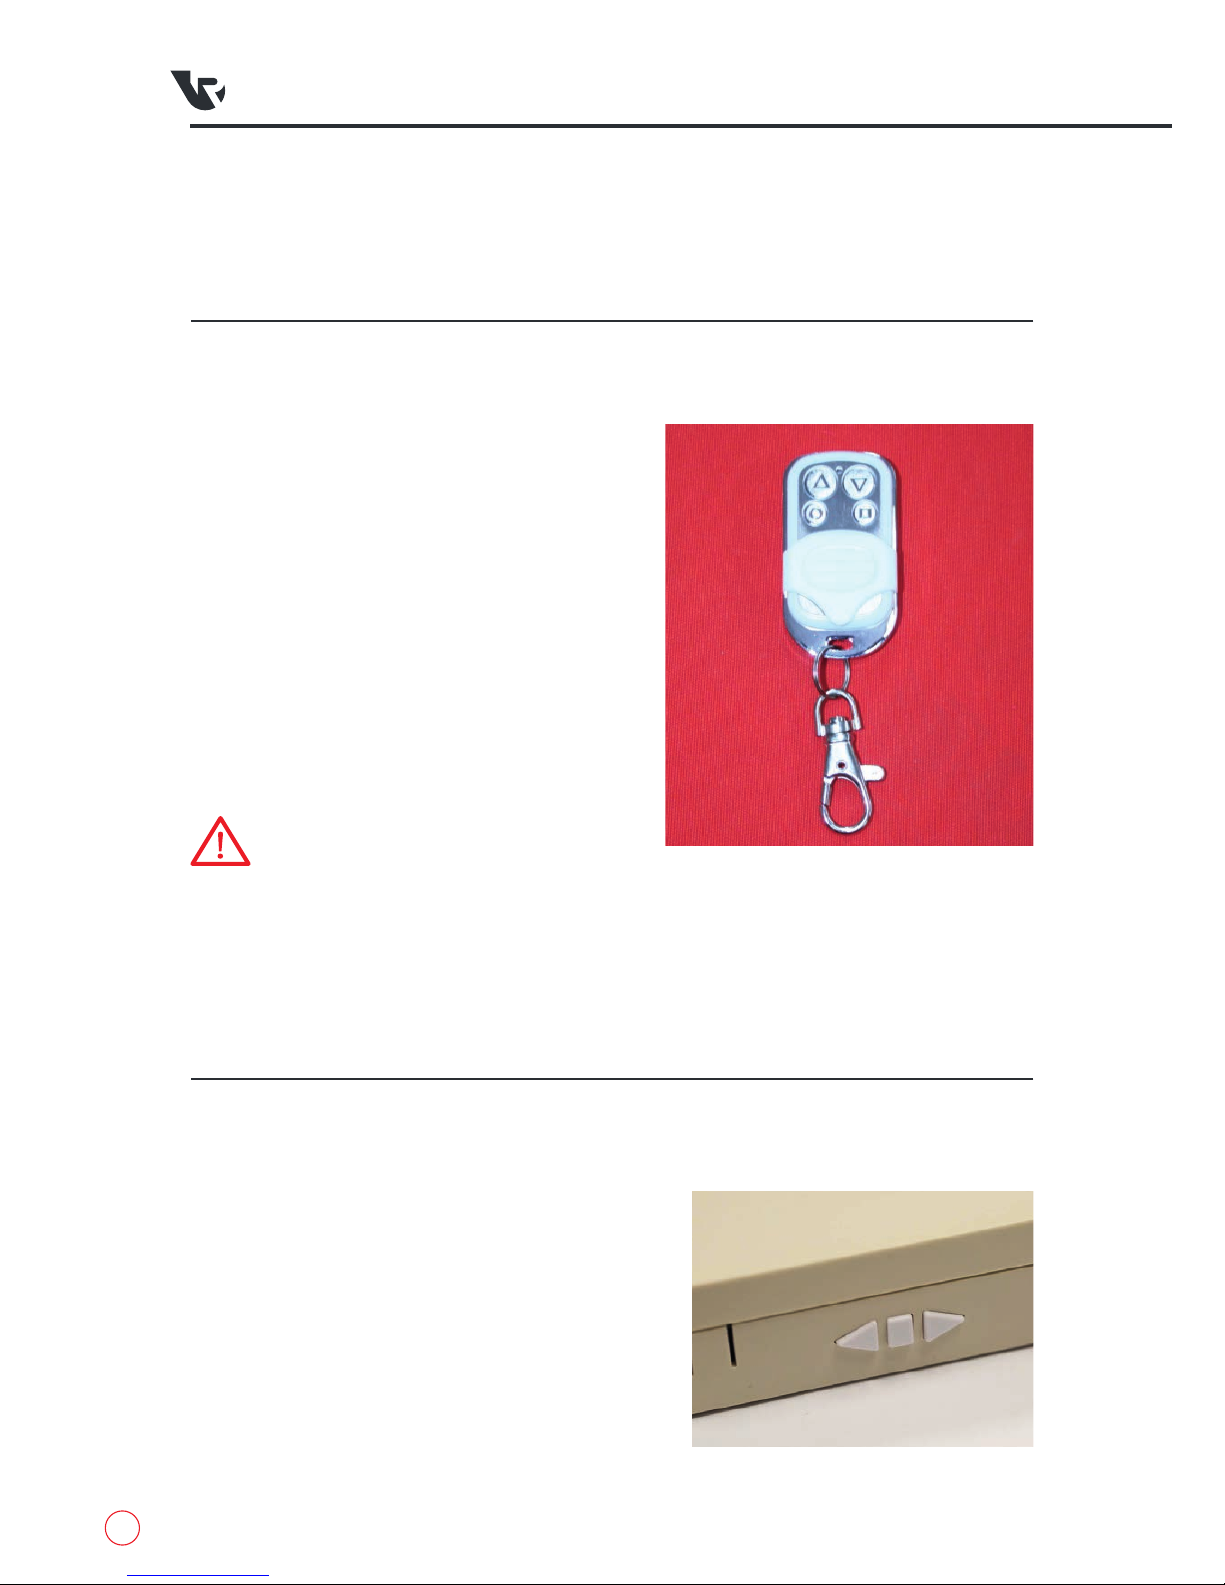
WIRELESS KEY PAD
(ONLY AVAILABLE WITH SAFETY EDGE SYSTEM)
INSTALLATION
Fit directly to the wall using the 2 fixings making sure it is level and square with the writing at the bottom.
PROGRAMMING CODES
Master Code:
PROGRAMMING TO RECEIVER BOX
1 Press and hold the * button (fig.7.1a). for 3
seconds until the LED issues a slow red
ashing light.
2 Enter the master code (factory issue 12345678)
and press OK (fig.7.1b). The red LED will
ash faster.
3 Press the * button (fig.7.1a) then enter the new
master code followed by the * button. The LED
will ash green.
4 Enter the new master code again followed by the
* button (fig.7.1a). The LED will have a
permanent green light for 2 seconds then go
out. This means it has been programmed. If the
second entry doesn’t match the rst, the LED
will ash red and it has not been programmed.
1 Press and hold the * button (fig.7.1a) for
3 seconds until the LED issues a slow red
ashing light.
2 Enter the master code and press OK
(fig.7.1b). The red LED will ash faster.
3 Enter your new access code (1 to 8 numbers
long) followed by the channel number from
1 to 4 (e.g. 5555 is the number and 1 for the
channel so 55551) and press OK (fig.7.1b).
4 The LED will have a permanent green light
for 2 seconds then go out. This means it has
been programmed. If you wish for more than
1 access code, then it must be programmed
to a separate channel otherwise it will just
replace the already stored code.
fig.7.1
Access Code
AB