User Manual
Compact Calibration Kit
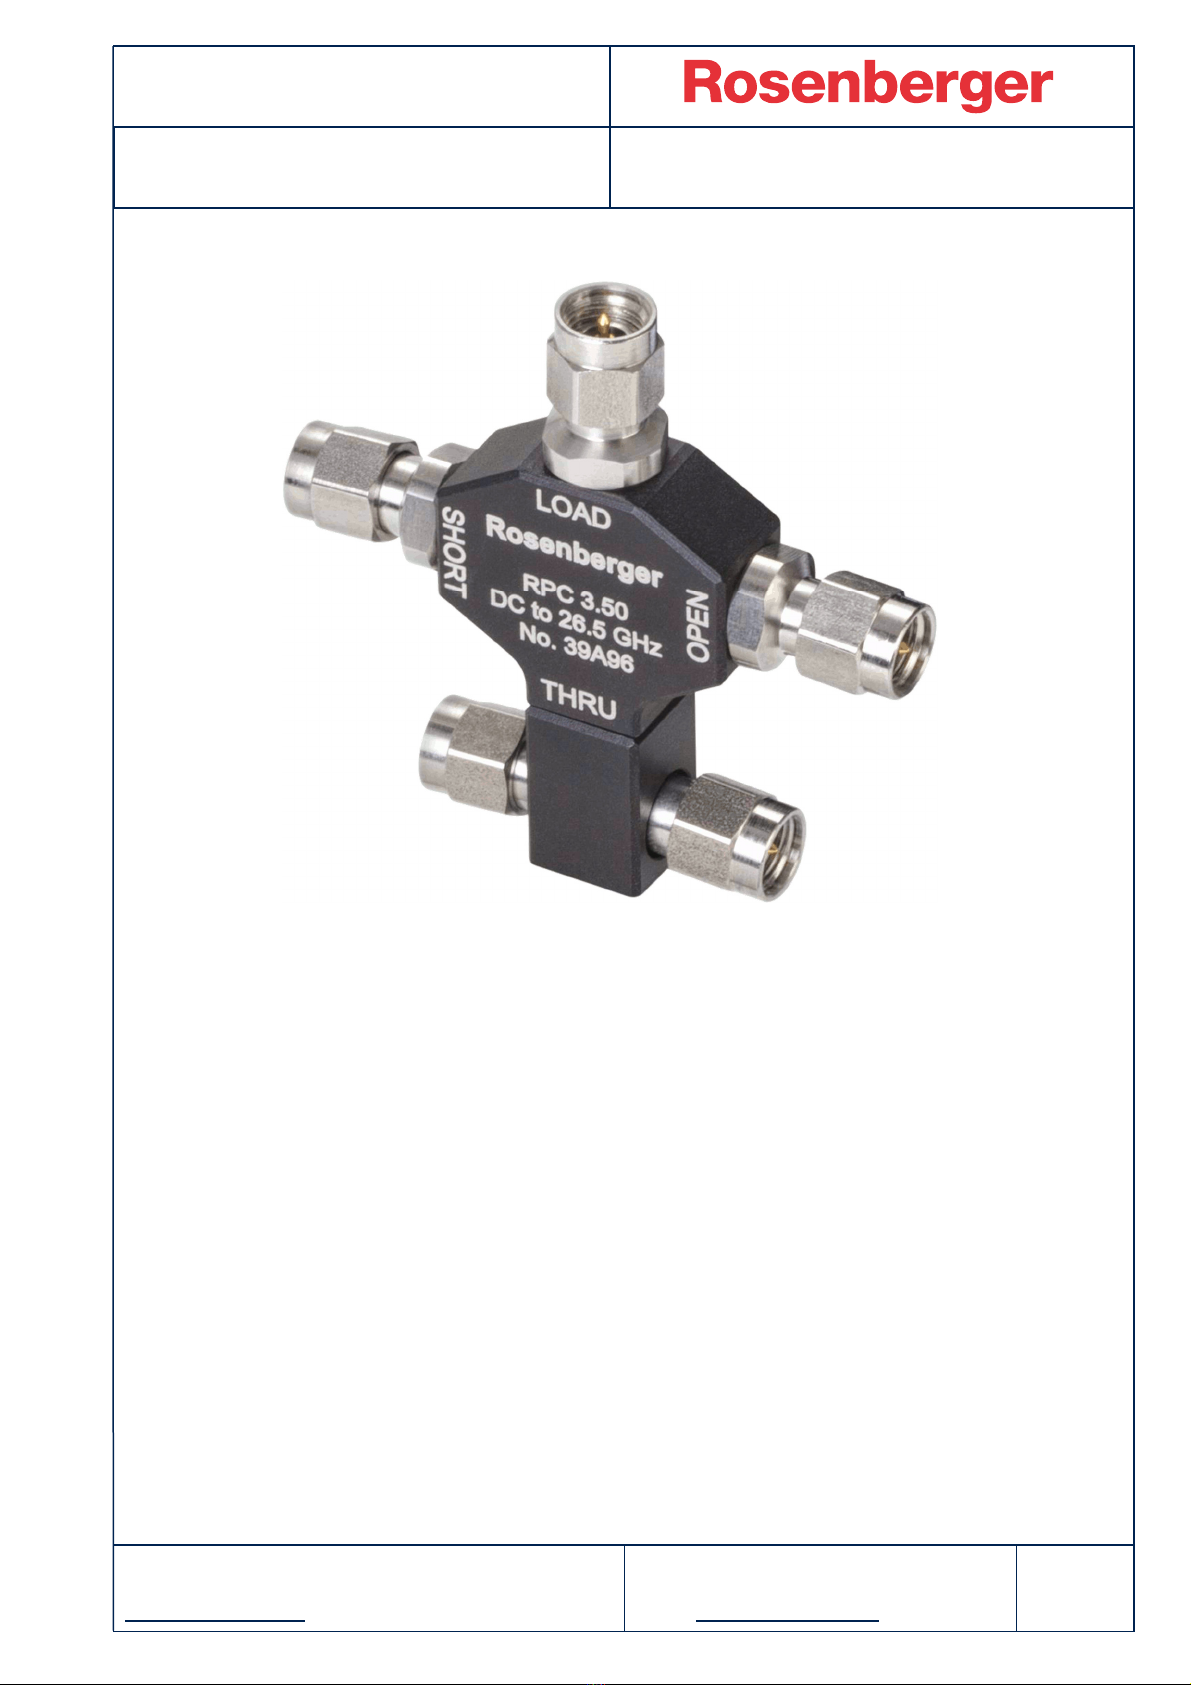
CK30R-MSO-T
Rosenberger Hochfrequenztechnik GmbH & Co. KG
P.O.Box 1260 D-84526 Tittmoning Germany
www.rosenberger.com
Tel. : +49 8684 18-0
Email : info@rosenberger.com
Page
10 / 17
Dieses Dokument ist urheberrechtlich geschützt
●This document is protected by copyright ●Rosenberger Hochfrequenztechnik GmbH & Co. KG
6. Use, Maintenance and Care
6.1 Connector Care
It is of particular importance to note that mechanical damage can be inflicted on a connector while
making a connection or a disconnection.
6.1.1 Connector Cleaning
To ensure a long and reliable connector life, careful and regular inspection of connectors is
necessary and cleaning of connectors is essential to maintain good performance.
Connectors should be inspected initially for dents, raised edges, and scratches on the mating
surfaces. Connectors that have dents on the mating surfaces will usually also have raised edges
around them and will make less than perfect contact; further to this, raised edges on mating
interfaces will make dents in other connectors to which they are mated. Connectors should be
replaced unless the damage is very slight.
Awareness of the advantage of ensuring good connector repeatability and its effect on the overall
uncertainty of a measurement procedure should encourage careful inspection, interface gauging
and handling of coaxial connectors.
Prior to use, a visual examination should be made of a connector or adaptor, particularly for
concentricity of the centre contacts and for dirt on the mating planes. It is essential that the axial
position of the centre contact of all items offered for calibration should be gauged because the
adjoining surfaces of mated centre contacts must not touch. If the centre contacts do touch, there
could be damage to the connector or possibly to other parts of the device to which the connector is
fitted.
Small particles, usually of metal, are often found on the inside connector mating planes and on the
threads. They should be removed to prevent damage to the connector surfaces. The items
required for cleaning connectors and the procedure to be followed is described below.
6.1.2 Cleaning procedure
Items required:
•Low pressure compressed air (solvent free).
•Cotton swabs.
•Lint free cleaning cloth.
•Isopropanol.
•Illuminated magnifier or microscope (factor 5 to 10)
NOTE: Isopropanol that contains additives should not be used for cleaning connectors as
it may cause damage to plastic dielectric support beads in coaxial and microwave
connectors. It is important to take all necessary safety precautions when using
chemicals or solvents.