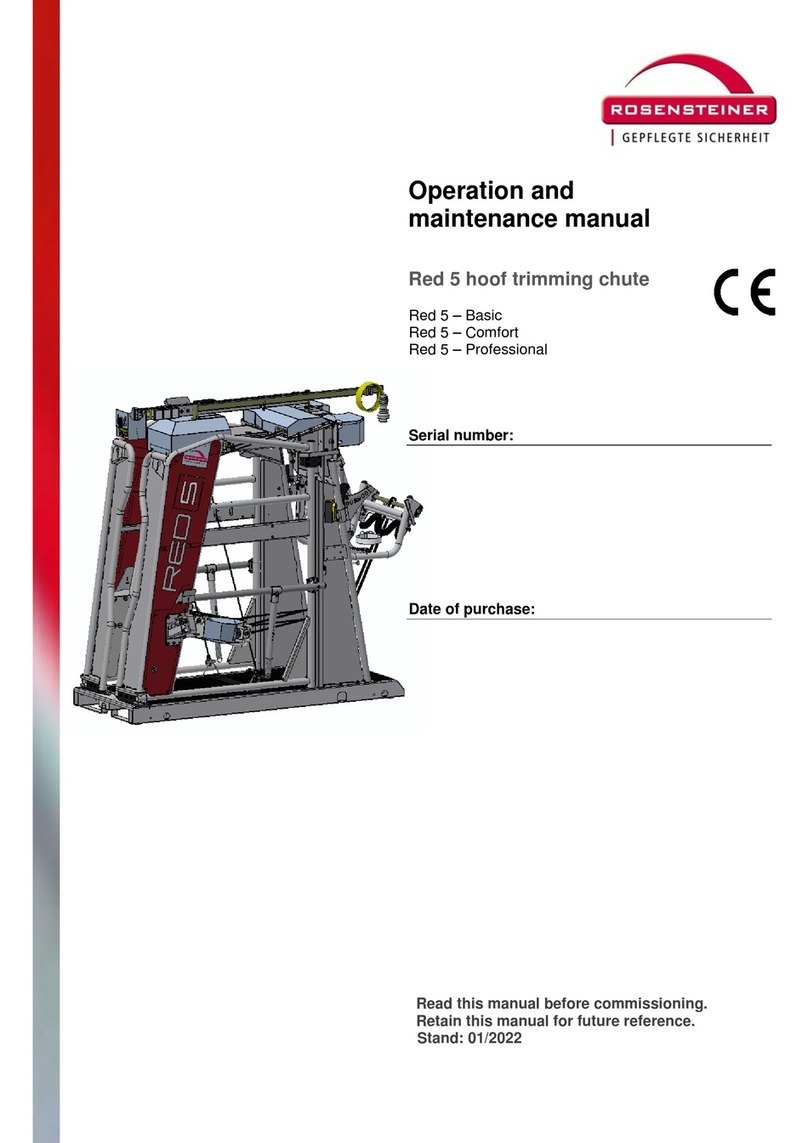
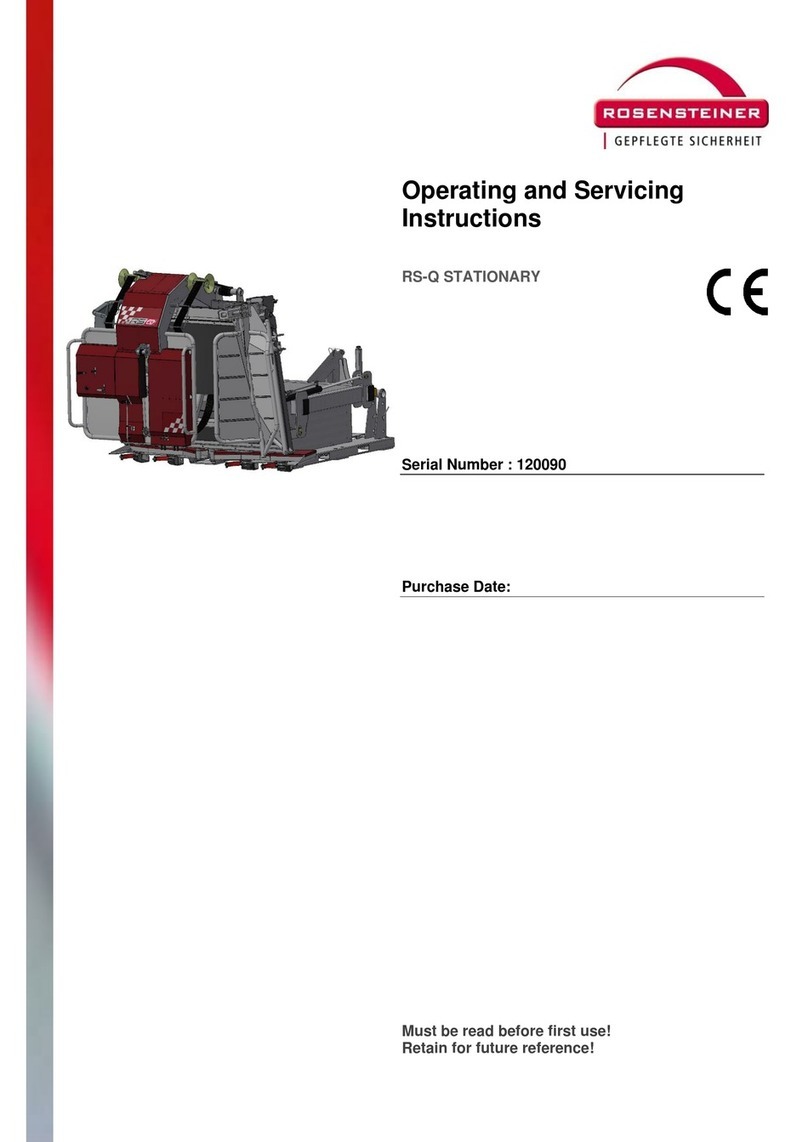
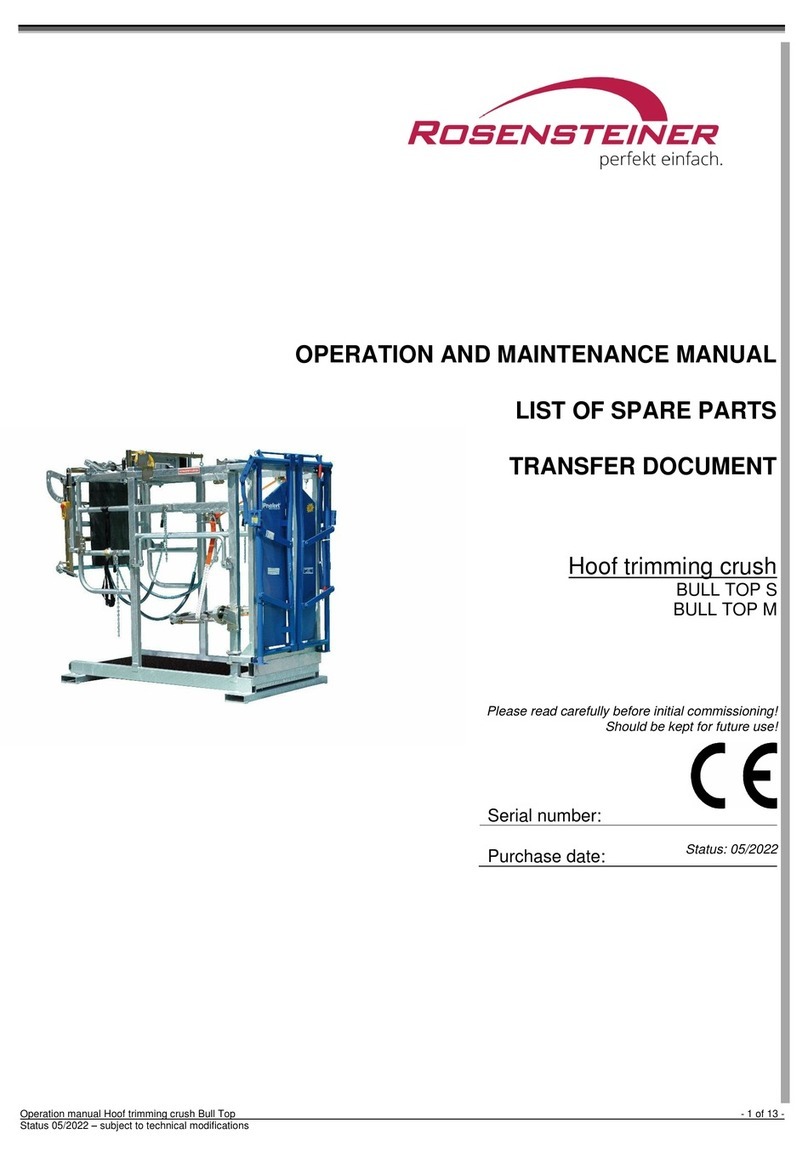
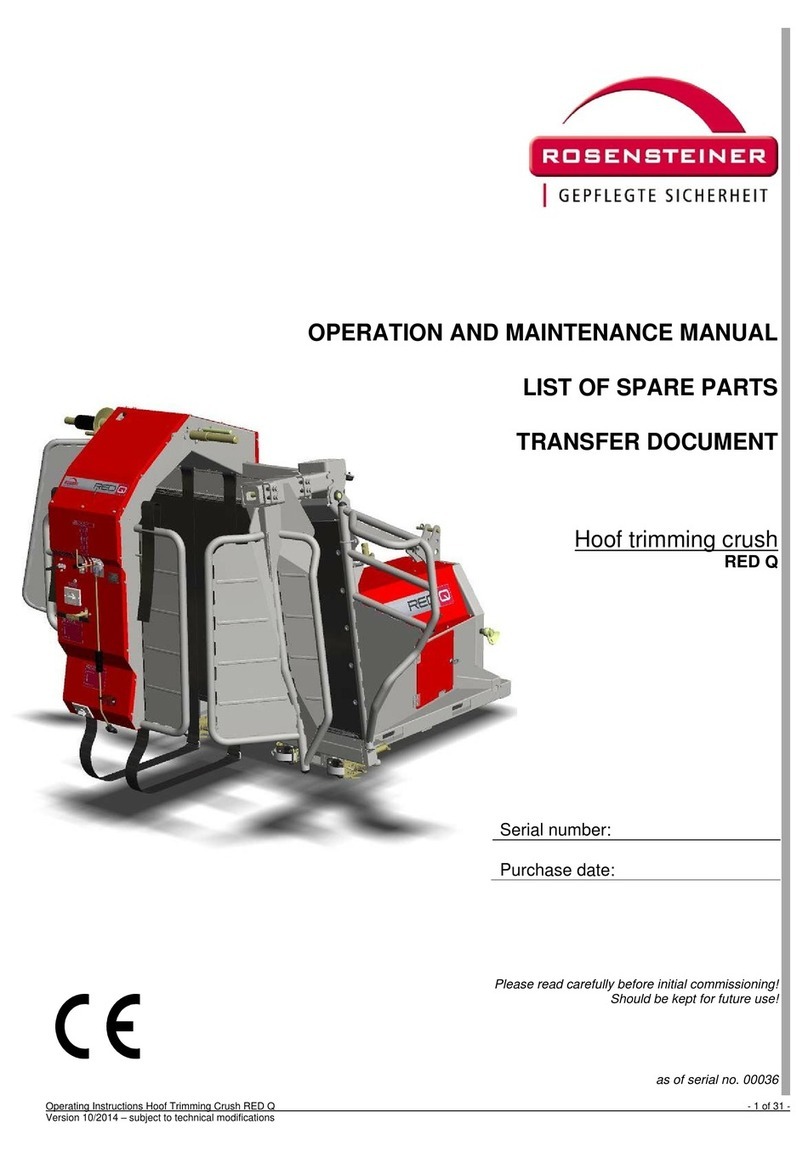
Rosensteiner Red 5 User manual

Operation and maintenance
manual
Red 5 hoof trimming chute
Serial number:
Equipment number:
Date of installation:
Date of purchase:
Read this manual before commissioning.
Retain this manual for future reference.
Rev. 06/2020

Operation and maintenance manual
Hoof trimming chute operating manual - 2 of 21 -
Rev. 06/2020 –We reserve the right to make technical modifications.
Contents
1INTRODUCTION.................................................................................................. 3
1.1 Product information .................................................................................................................. 3
1.2 Intended use............................................................................................................................... 4
1.3 Examples of improper use........................................................................................................ 4
1.4 EC Declaration of Conformity .................................................................................................. 5
1.5 Warranty Statement................................................................................................................... 5
1.6 Specifications ............................................................................................................................ 6
1.7 Type plate................................................................................................................................... 6
1.8 Operating manual structure and scope .................................................................................. 6
1.8.1 Document structure ................................................................................................................. 6
1.8.2 Target group............................................................................................................................ 6
1.8.3 Operating manual modifications.............................................................................................. 6
1.8.4 How to store this operating manual......................................................................................... 7
1.8.5 Space limitations...................................................................................................................... 7
1.8.6 Time limitations........................................................................................................................ 7
1.8.7 Information on the location of use ........................................................................................... 7
1.8.8 Informational and safety symbols............................................................................................ 8
1.8.9 Operating manual and machine safety symbols ..................................................................... 8
2TRANSPORT..................................................................................................... 10
2.1 Attaching the hoof trimming chute to a tractor.................................................................... 10
2.2 Transporting the hoof trimming chute using a tractor........................................................ 10
2.3 Disconnecting and parking the hoof trimming chute.......................................................... 11
3COMMISSIONING AND OPERATION .............................................................. 12
3.1 Component overview and main controls.............................................................................. 12
3.2 Safety precautions before commissioning........................................................................... 13
3.3 Commissioning the hoof trimming chute ............................................................................. 14
3.4 Transport.................................................................................................................................. 16
3.5 Allowing natural movements.................................................................................................. 17
4CLEANING THE PRODUCT ............................................................................. 18
5MAINTENANCE, SERVICING AND REPAIR.................................................... 19
5.1 Electrical hazards.................................................................................................................... 19
5.2 Maintenance and care............................................................................................................. 19
6SPARE PART INFORMATION.......................................................................... 20
7FREQUENT CHECKS....................................................................................... 21
8SCOPE OF DELIVERY AND AVAILABLE ACCESSORIES ............................ 21
Operation and maintenance manual
Hoof trimming chute operating manual - 3 of 21 -
Rev. 06/2020 –We reserve the right to make technical modifications.
1 Introduction
1.1 Product information
Your new Rosensteiner RED 5 hoof trimming chute is a quality product featuring innovative
technology for animal hoof care. This hoof trimming chute is intended to be used for periodic,
qualified, efficient hoof care while enabling the user to assume ergonomic, appropriate, non-
fatigue posture.
For the purpose of this manual, this hoof trimming chute will also be referred to as the ‘product.’
At the time of marketing, this product and its equipment represent state-of-the-art technology.
However, certain residual risks do remain. We have designed the product to minimise any
user-related health or safety risks which may be caused by such hazards.
This document contains important information on both the safe use of this product and all
required activities such as operation, maintenance or repair work. By following all relevant
instructions, you will help avoid any hazards and increase the service life of the product. You
are not permitted to modify the product in any way.
The documentation provided by our suppliers and, most importantly, the information and
instructions contained therein are fully applicable and should also be followed.
The manufacturer accepts no liability for damage caused by inappropriate action or by failure
to follow the information or instructions as mentioned in the manuals.
While we have taken utmost care to make sure the information within this manual is correct
and up to date, there may be minor discrepancies with regard to its contents. Please advise
us of any such errors.
CAUTION
The manufacturer accepts no liability for any unauthorised (constructional, functional or
process-related) modifications or any use of parts or attachments on the product.
WARNING
Any modifications or alterations made to the product described in this document require a new
hazard analysis and risk evaluation to be performed. The genuine parts and accessories we
offer have beenspecifically designedfor this product. Please note that any parts or accessories
not provided and/or specified by us have not been tested nor approved by us. Installing and/or
using such parts or accessories may negatively affect or restrict the functionalities this product
was originally designed for. The manufacturer accepts no liability for damage arising from the
use of any non-genuine parts or accessories.

Operation and maintenance manual
Hoof trimming chute operating manual - 4 of 21 -
Rev. 06/2020 –We reserve the right to make technical modifications.
1.2 Intended use
The RED 5 hoof trimming chute is solely intended for hoof care work performed on animal
hoofs.
This hoof trimming chute is suitable for cattle weight from 450 kg up to a maximum of 950 kg.
Any activities contrary to the product’s intended use are considered improper and, as such,
not permitted. This also applies to the product’s components.
1.3 Examples of improper use
Any operation or use contrary to or going beyond the product’s intended use.
Any use of the product contrary to the safety and hazard requirements or any other
instructions contained in the operating manual. This also applies to errors caused by
poorly executed, improper or unauthorised work performed on the product or while
using the product.
Any modification, by-passing or decommissioning of any product devices ensuring the
product’s correct operation or contributing to active or passive user safety.
Operating the product in a technically incorrect state.
Failure to amend faults affecting user safety before operating the product.
Use of non-permitted auxiliary equipment or tools.
The manufacturer accepts no liability for any damage caused by improper use of the
product.

Operation and maintenance manual
Hoof trimming chute operating manual - 5 of 21 -
Rev. 06/2020 –We reserve the right to make technical modifications.
1.4 EC Declaration of Conformity
Manufacturer and responsible for documentation:
ROSENSTEINER
Landmaschinenbau GmbH
Zehetner 26a
A-4596 Steinbach / Steyr
Austria
Phone +43 (0)7257/7071
declares that the following product:
Type: RED 5
Description: RED 5 hoof trimming chute
Make: Rosensteiner,
as described in the attached operating manual, complies with the provisions set forth in the
2006/42/EC Machinery Directive.
Steinbach, Austria, 01 February 2015
Andreas Rosensteiner, Owner
1.5 Warranty Statement
Rosensteiner Landmaschinenbau GesmbH grants the purchaser a product warranty in
accordance with the following provisions:
The warranty shall cover the product’s functionality and quality. No warranty is granted
for signs of wear.
The warranty period is 1 year, beginning at the date of delivery to the customer. The
manufacturer shall consider any warranty claims received by the dealership or by our
factory (Zehetner 26a, A-4596 Steinbach, Austria) within the warranty period.
If within the warranty period the product suffers any defects in material or workmanship,
the customer shall immediately assert the relevant warranty claims withtheir dealership
or manufacturer.
The customer shall present the defective device or part to the dealership. Any
subsequent repair or replacement work may not be performed without the approval
from Rosensteiner. The manufacturer will not incur any expenditure without their
express consent. Any defective parts shall be stored at the dealership or sent to
Rosensteiner as agreed: The customer’s transfer of the product to the dealership shall
be free of any transportation charges.
Warranty claims shall not be accepted if the device is damaged or destroyed by force
majeur. Caution: Please note that warranty claims shall not be accepted for damage
caused by improper use, overload, attaching the product to carrier vehicles of
disproportionate size, or failure to perform care and maintenance work on the product.
Warranty claims shall not be accepted unless the device is presented along with the
purchase contract, invoice or delivery note as well as the device serial number.
The warranty shall be performed in such a way that the device is repaired or replaced
by a functional equivalent.
Any further claims,particularly damage orloss, shallnot beaccepted whenever caused
by the regular use and/or operation of the devices.

Operation and maintenance manual
Hoof trimming chute operating manual - 6 of 21 -
Rev. 06/2020 –We reserve the right to make technical modifications.
Provided that we replace the device or product in question under this warranty, any
warranty claims against the selling dealership shall be excluded.
1.6 Specifications
Machine type RED 5 hoof trimming chute
Dimensions 2510/1220/2340 mm (L/W/H)
Recommended animal weight 450-950kg
Product weight 540kg
Attachment 3-point, pallet truck, forklift truck (front-end attachment)
Frame surface Galvanised, powder-coated
1.7 Type plate
The type plate is located at the rear left of the main frame.
1.8 Operating manual structure and scope
1.8.1 Document structure
This operating manual was created in accordance with the 2006/42/EC Directive and the
relevant MSV 2010 machine safety regulation applicable in Austria. This operating manual will
help you become familiar with the product’s technical details, enabling you to properly operate
and maintain the product in a safe way and make use of its intended applications.
1.8.2 Target group
This operating manual is directed at any person who is familiar with operating a tractor,
attaching implements to this tractor, transporting implements attached to this tractor, and both
commissioning and operating the implement-tractor combination; and any person who is
knowledgeable in performing the activities and functions within their scope of qualification (i. e.
any person who, due to their professional training, skills and experience, is able to assess the
work required and recognise any related hazards).
Any person associated with work performed on the machine (e. g. operation, servicing,
transport) should:
Read and understand this operating manual before performing any work on the
machine.
Follow all instructions and safety guidelines contained in the manual.
1.8.3 Operating manual modifications
This operating manual represents the design of the product at the time of creating this
operating manual.

Operation and maintenance manual
Hoof trimming chute operating manual - 7 of 21 -
Rev. 06/2020 –We reserve the right to make technical modifications.
1.8.4 How to store this operating manual
Always keep this operating manual in the same location where the product is operated. The
manual should be accessible any time for any person associated with the work performed
using the product. If this manual is lost, please contact your dealership for a replacement
manual. If you decide to re-sell your hoof trimming chute, please remember to pass this
operating manual on to its new owner. The manual is a legally required component of the
machine. This operating manual is ready for download at www.rosensteiner.at.
1.8.5 Space limitations
This product has been designed for portable use in varying locations.
1.8.6 Time limitations
Due to the mechanical strain acting on the product during use, periodically check the
components for reliability, susceptibility to failure and limits of use over the product’s service
life.
The following phases in service life are not covered in this operating manual:
Manufacture and transport (to the customer/user)
Service work on the product and its components as performed in workshops
Any work requiringthe qualification and skill levels of the personnel performing the work
(e. g. welding, electrical work).
1.8.7 Information on the location of use
Recommended space requirements for the Red 5 product:

Operation and maintenance manual
Hoof trimming chute operating manual - 8 of 21 -
Rev. 06/2020 –We reserve the right to make technical modifications.
1.8.8 Informational and safety symbols
Any additional information provided in this manual is identified by the above information
symbol.
SIGNAL WORD
Identifies the type and source of the hazard and any associated risks.
Potential consequence for people, machine parts, tools and work pieces (residual risk).
Action taken to avoid the danger to life and to reduce any residual risks.
SIGNAL WORD
Explanation
NOTE
Indication of a potentially harmful situation which may result in damage to the equipment or
nearby property.
CAUTION
Indication of a potentially dangerous situation which may result in minor injury or property
damage.
WARNING
Indication of a potentially dangerous situation which may result in major injury or death.
DANGER
Indication of an immediate danger which will result in major injury or death.
1.8.9 Operating manual and machine safety symbols
Never stand between the implement and the tractor.
Crushing hazard!
Read and follow the operating manual and all safety instructions before use.
Stop the engine and disconnect power before performing any repair, maintenance or
cleaning work.
Keep a safe distance to high-voltage power lines.

Operation and maintenance manual
Hoof trimming chute operating manual - 9 of 21 -
Rev. 06/2020 –We reserve the right to make technical modifications.
Before disconnecting or parking the machine use chocks to prevent it from rolling off.
Avoid bumpy terrain or slopes which may cause the device to slip, tip over or overturn.
Stop the engine and remove the key before performing any maintenance or repair work.
Caution: High-pressure fluids may escape. Refer to the information in the technical manual.

Operation and maintenance manual
Hoof trimming chute operating manual - 10 of 21 -
Rev. 06/2020 –We reserve the right to make technical modifications.
2 Transport
2.1 Attaching the hoof trimming chute to a tractor
WARNING
If a tractor is used to transport the hoof trimming chute, the chute will be attached to the tractor’s
lower links and, using the 3-point chain, to the top link. Reverse the tractor up to the machine,
ensuring that nobody is in the hazard area between the tractor and the hoof trimming chute.
Note when attaching the product:
Before attaching the hoof trimming chute make sure the front of the tractor is sufficiently
ballasted.
Never step between the tractor and the hoof trimming chute when attaching the product
- crushing hazard!
Use suitable locking pins to mount the hoof trimming chute to the lower links and top-
link chain. Check the hitch for proper tightness.
When operating the tractor’s hydraulic system (top and lower links), make sure the
tractor is stable. Keep a safe distance to any hazardous moving parts. Never step on
any parts of the tractor (lower links, ...) or on the hoof trimming chute.
Never step between the hoof trimming chute and the tractor while the tractor is running.
Check the transport position. The front leg supports should be pivoted inwards. All
safety ropes should be taut and attached to the rope clamps. Move the head catch into
the closed position.
Move the service arm and the wiring entry to transport position and use theelastic band
to secure them to their relevant stops.
2.2 Transporting the hoof trimming chute using a tractor
WARNING
Make sure to keep a safe distance to high-voltage power lines during transport.
When transporting the product on public roads, adhere to all national road laws and
attach the required lighting systems and/or warning panels to the product.
Never exceed the permitted maximum speed of 25kph when transporting the hoof
trimming chute.

Operation and maintenance manual
Hoof trimming chute operating manual - 11 of 21 -
Rev. 06/2020 –We reserve the right to make technical modifications.
During the day, two warning panels should be attached to the left and right rear of the
hoof trimming chute without obstructing the tractor’s rear lights. In the dark, a fully-
equipped light rail (LH and RH lights corresponding to the tractor lighting) should be
attached to the rear of the hoof trimming chute.
2.3 Disconnecting and parking the hoof trimming chute
Follow these steps to park the hoof trimming chute:
WARNING
Stop on an even surface.
Prevent the tractor from rolling off using the parking brake and a set of wheel chocks.
Lower the hoof trimming chute. Ensurethe hoof trimming chute cannot tip over or slide,
particularly if it is placed in an elevated position supported by pallets or similar devices.
Begin by releasing the top-link chain. Then release the product from lower links.

Operation and maintenance manual
Hoof trimming chute operating manual - 12 of 21 -
Rev. 06/2020 –We reserve the right to make technical modifications.
3 Commissioning and operation
3.1 Component overview and main controls
Ref. Description Ref. Description
01 Pressure roller safety crank 02 Hind leg retention bracket
03 Head catch control 04 Leg strap
05 Attachment tube 06 Hind leg lift winch
07 Ankle strap 08 Knee rope
09 Rope clamp 10 Leg strap sling
11 Front leg winch 12 Lower-link pin
13 Head catch 14 Belly strap
15 Rubber mat 16 Dolly wheel mounting hole
17 Hind leg support control 18 Electrical wiring entry
19 Service arm 20 Hind leg winch control
21 Release lever 22 Idler pulley

Operation and maintenance manual
Hoof trimming chute operating manual - 13 of 21 -
Rev. 06/2020 –We reserve the right to make technical modifications.
3.2 Safety precautions before commissioning
NOTE
When initially commissioning the product, ask for the assistance of a person
experienced in using the product and trimming hoofs.
Never trim hoofs immediately after feeding the cattle.
WARNING
Read and follow the instructions in this operating manual before commissioning and
operating the product.
The product should only be operated by personnel familiar with the intendedapplication
and the correct handling of cattle.
Before commencing operation, visually check the hoof trimming chute for any defects.
Ensure the hoof trimming chute is placed on an even surface.
Check the hoof trimming chute for loose bolt connections or parts.
Check the lines and hoses and all other parts of the hydraulic system for damage.
Check the leg and belly straps for wear.
Check the condition of all protective devices.
Check all nuts and bolt connections and re-tighten as needed.
The product should not be operated unless proper protection against excessive contact
voltage is provided (30mA residual-current circuit breaker).
Ensure the product’s power supply (wall socket and any intermediate wiring) has
an electric neutral conductor
Visually check the electrical equipment for damage.
Ensure the last electrical test was conducted less than a year ago. The product’s
electrical equipment requires an annual check to be performed by qualified personnel.
Check the work area and ensure no other unauthorised persons are present. This
particularly applies to children.
Use suitable personal protective equipment.

Operation and maintenance manual
Hoof trimming chute operating manual - 14 of 21 -
Rev. 06/2020 –We reserve the right to make technical modifications.
3.3 Commissioning the hoof trimming chute
Refer to the component overview for call-outs:
1. Place the hoof trimming chute on an even, non-slip surface located in an easily accessible
area. For livestock kept in free-stall barns we recommend using a cattle alley.
2. Move any parts protruding into the chute away from the inside area. Tightly hook up the side
front barrier to the head catch.
3. Release the E-stop button on the head catch control (3).
4. Check the correct rotational direction for the leg support (17). The arrows on the
button indicate the rotational direction. If it is not correct, set the rotational direction
using the phase inverter provided at the power connection.
5. Move the head catch into the closed position (head catch parallel to the floor) using the
Open and Close buttons on the head catch control (3).
6. Drive the animal into the hoof trimming chute, preferably through a cattle alley.
7. Close the head catch using the black Close button on the head catch control (3). The head
catch will not stop moving until it reaches a gap of 160 mm. For greater neck widths, ensure
to stop the head catch before the animal’s neck is crushed. The product is supplied with an
additional 210mm positioning aid. If necessary, have the aid installed by qualified personnel.
The animal’s shoulders should be as close as possible to the neck frame. Check that the
animal’s head is firmly held in place. Ensure not to crush the animal’s neck. If necessary,
slightly re-open the head catch.
8. Horizontally apply the knee rope (8) to the animal’s knee joint. Apply moderate tension and
attach the rope to the provided rope clamp (9).
9) To apply the limb attachments:
Put the belly strap (14) onto the idler pulley (22). Apply tension by manually pulling the
strap through the wrap pin. Tighten the strap by turning the crank by 1-2 clockwise
rotations.
Use the ankle strap (7) to attach the animal’s hind legs above the ankle joint. Attach
the hind legs to the release lever (21).
Stay to the side of the animal while performing work. Never stoop underneath the
animal’s body or step behind its legs.
10) To attach a hind leg:
Attach the electric winch’s (6) hook to the chain for the ankle strap (7). Open the release lever
lock (21). Raise the animal’s hind leg to working height (20). This enables you to trim the hoofs
using the Dutch method (free-hanging hind leg).
If using an angle grinder, use the lower-leg shaft to provide additional support for the hind leg.
To do this, move the lower-leg stop to the required working height, apply the leg strap sling
(10) and pull the lower leg until it tightly contacts the shaft.

Operation and maintenance manual
Hoof trimming chute operating manual - 15 of 21 -
Rev. 06/2020 –We reserve the right to make technical modifications.
Ensure the metal D-ring is in the proper position, enabling the strap to be run
smoothly. Otherwise the D-ring may become twisted.
11) To attach a front leg:
Caution: Never perform any work on the animal’s front leg unless the hind leg on the same
side is properly secured.
Apply the front leg strap (4) between the hoof and the dew claw. The small loop
should be right between the dew claws.
Move the front leg supports inwards until the animal’s leg is positioned between the
2 plastic sections. Hook up the strap attachment pin between the plastic rollers and
push the black button for the electric winch (17) to raise the leg. Do not overstretch
the animal’s leg or the animal may be hurt.
Move the front leg support outwards until the hoof is easily accessible from outside of
the main frame.
Trim the hoof.
Press the green button (17) to release and remove the leg strap (4). Move the leg
support all the way to the front.
12. Release all attachments after hoof care has been completed.
The head catch (13) should not be opened until all other attachments have been
released.
13. Open the head catch using the green button on the head catch control (3).
14. Only use an angle grinder if an appropriate protective device is provided.
15. Wait for the grinding disc to come to a standstill before attaching the angle grinder to its
support.
16. For periods when the hoof trimming chute is not operated, the red E-stop switch located
in the head catch control (13) must be pressed.

Operation and maintenance manual
Hoof trimming chute operating manual - 16 of 21 -
Rev. 06/2020 –We reserve the right to make technical modifications.
3.4 Transport
Transport using the dolly wheels
The dolly wheels should only be used to achieve the product’s final position before
commencing hoof care. They are not intended for general transport purposes.
1 set of dolly wheels comprises:
2 push-on wheels
1 lifting/steering rod
Begin by moving the head catch to the closed position and attaching the service arm
and the wiring entry.
Wait for the lifting rod ball to lock with the provided catch. Then raise the product.
Never put your hands or feet underneath the product - crushing hazard!
Attach the push-on wheels and twist the lock.
Lower the machine to the floor by pushing the lifting rod toward the machine.
Caution: Once the lifting rod is pushed across the centre point, the weight of the
machine will pull the rod toward the machine. Firmly hold on to the rod and seek
sufficient balance and support to avoid injuries.
Position the lifting rod on the opposite side of the machine. Raise and move the
machine.
Transport using a tractor 3-point hitch
General transport information:
Move the head catch to the closed position. Attach the service arm and the wiring
entry.
Attach the lower links and hook up the top-link chain. A minimum of 2 free chain links
should hang from the hook-up eyes on the inside.
Never exceed the maximum permitted transport speed of 25kph.

Operation and maintenance manual
Hoof trimming chute operating manual - 17 of 21 -
Rev. 06/2020 –We reserve the right to make technical modifications.
3.5 Allow natural movements
Make sure the animal does not suffer pain or injuries caused by unnatural movements,
particularly when raising and moving its legs.
To make this easier for you, this operating manual shows an overview of the animal’s skeletal
system. The image below shows the animal’s most important body parts.
The belly and ankle straps are used to secure the animal, preventing it from falling to the floor.
The animal must never be strapped for extended periods of time as irreversible paralysis may
occur. If the animal throws itself into the straps or fails to stand on its own legs, stop work
immediately and take appropriate action to put the animal back on its feet. If the animal fails to
respond to your attempts, release all leg attachments, lower the animal to the ground, and
open the head catch as needed.
Ellbogengelenk elbow joint
Vorderfußwurzelgelenk front tarsal joint
Hüftgelenk hip joint
Kniegelenk knee joint
Sprunggelenk ankle joint
Fesselgelenk fetlock joint

Operation and maintenance manual
Hoof trimming chute operating manual - 18 of 21 -
Rev. 06/2020 –We reserve the right to make technical modifications.
4 Cleaning the product
NOTE
Follow all safety guidelines contained in the safety data sheet supplied withthe cleaning
agents and disinfectants used.
Dispose of the waste water in accordance with the relevant national regulations.
Never direct a high-pressure cleaner water jet at electronic components.
Wear safety goggles.
Never direct water spray, splash water or water jets at electrical components.

Operation and maintenance manual
Hoof trimming chute operating manual - 19 of 21 -
Rev. 06/2020 –We reserve the right to make technical modifications.
5 Maintenance, servicing and repair
CAUTION
Service work must only be performed by trained, qualified personnel or by the
manufacturer.
Maintenance and service work must only be performed if the lighting in the work area
is sufficient for the work to be performed.
DANGER
Maintenance work must only be performed while the machine is stationary.
5.1 Electrical hazards
DANGER
Contact with live parts
Effects of electricity on the human body
Follow all legal requirements on installing, operating, servicing and testing electrical
equipment.
Have all work performed by qualified electricians only.
Have any damaged components serviced by qualified personnel immediately!
Use suitable plugs and sockets only.
Frequently check your equipment.
Before opening any electrical casings, ensure to disconnect the device from power and
prevent unintentional energising.
The servicing personnel should be familiar with all specific standards and regulations.
5.2 Maintenance and care
To increase your machine’s operating safety, reliability and service life:
Frequently (or after cleaning with a high-pressure cleaner) grease all pressure points.
Grease the pressure roller safety crank with oil.

Operation and maintenance manual
Hoof trimming chute operating manual - 20 of 21 -
Rev. 06/2020 –We reserve the right to make technical modifications.
6 Spare part information
NOTE
If a machine component needs to be replaced, make sure to use genuine parts only.
Third-party replacement or wear parts used for genuine components and accessories
have not been checked or approved by the manufacturer.
Installing and/or using such parts or accessories may negatively affect or reduce the
design properties of your product and compromise product safety.
The manufacturer accepts no liability for, and your warranty will be voided by, any
damage or consequential damage resulting from the use of non-genuine parts or
accessories or from the inappropriate installation or replacement of genuine parts or
accessories.
We recommend using genuine parts even after the warranty period has expired to
ensure the ongoing operational safety and reliability of the machine. For warranty
claims, please contact your local distributor and service partner.
Other manuals for Red 5
1
Table of contents
Other Rosensteiner Farm Equipment manuals

Rosensteiner
Rosensteiner VET PRO STATIONARY User guide

Rosensteiner
Rosensteiner BULL TOP S User manual

Rosensteiner
Rosensteiner RED Q Guide

Rosensteiner
Rosensteiner RS-Q STATIONARY User guide

Rosensteiner
Rosensteiner Kipp Top II Basic User guide

Rosensteiner
Rosensteiner 901557 User manual

Rosensteiner
Rosensteiner Red 5 User manual
Popular Farm Equipment manuals by other brands

FarmTek
FarmTek PolyMax H2-24 manual

Tar River
Tar River Econo-Wrap EW-450A Operator's manual

Amazone
Amazone Cayron 200 operating manual

AGCO
AGCO GSI PNEG-2064 owner's manual

Spearhead
Spearhead SP15 Trisaw Operator instructions

FPM Agromehanika
FPM Agromehanika 627 152 ASSEMBLY / OPERATION/ MAINTENANCE, SPARE PARTS LIST