Rotate the left knob to set the desired ‘Modelling
Light’ level in order to preview your shadow and
highlights on your subject (in %, 0-100%) . You
can use the modelling light to compose your
photograph, or set different levels for multiple AEOS
lights, and have them flash together retaining the
relative set levels in ‘X8’ or ‘X16’ mode
(
Note : AEOS is intentionally less bright whilst in
modelling light mode than regular continuous light
mode, in order to make the light more comfortable for
the subject)
Press, hold AND rotate the left knob to set the
desired ‘Colour Temperature’ for your flash (in
kelvin, from 3150-6300k –
Note: as a bi-colour light,
the flash will be at its brightest at 4200K)
Rotate the right knob to set the desired duration
for the flash, in shutter intervals, i.e. 1/50s, 1/60s,
1/80s, 1/100s…up to 1/2500s (‘1/2K5s’).
Press, hold and rotate the right hand knob to
set the flash output power, ‘MAX’ (=250% of MAX
continuous output), ‘1/2’ (=125%), ‘1/4’ (=62%), ‘X8’
(=modelling light level x 8), and ‘X16’ (= modelling
light level x 16)
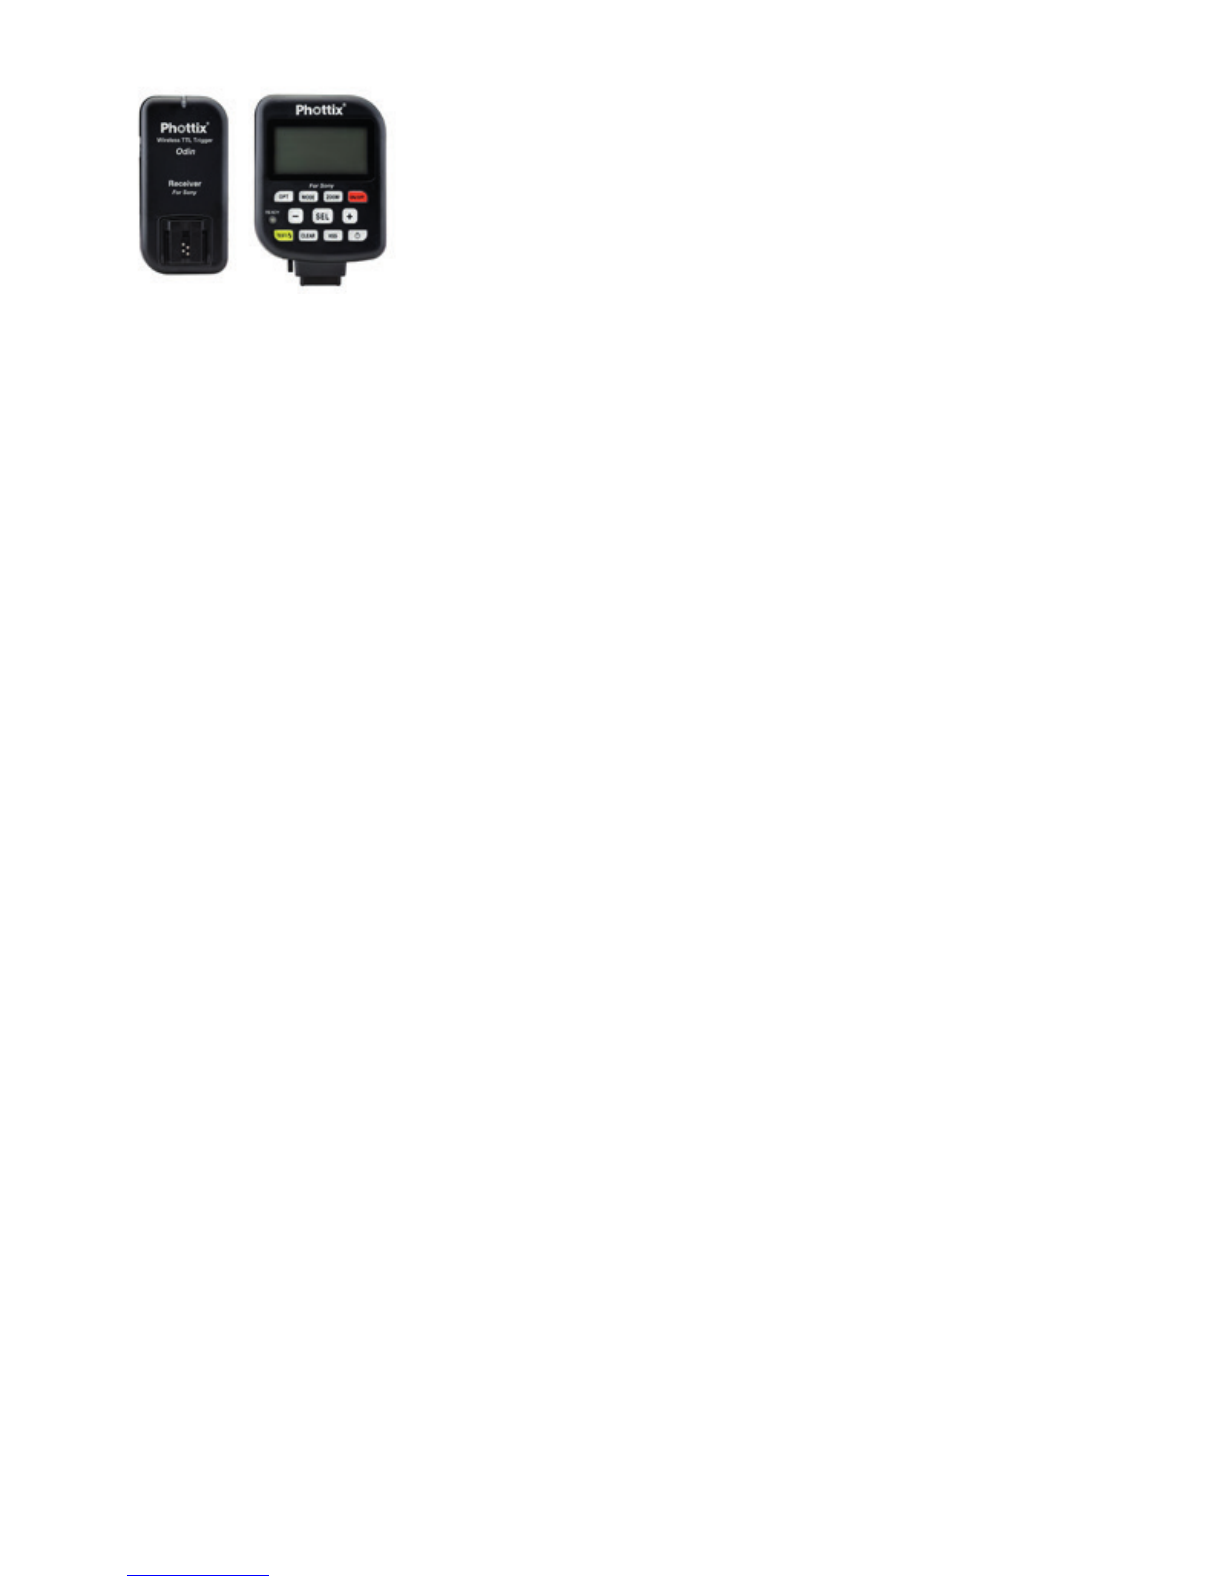
Finally connect a flash receiver or transceiver which
has a PC sync output, with a PC sync able to the
3.5mm mono jack FLASH Trigger input jack located
on the rear of AEOS below the DC Switch. Place the
trigger on top of your camera shoe. Alternatively for
wired operation, connect a long PC syncable from
your cameras PC sync port to the 3.5mm mono jack
on the AEOS.
NOTE: AEOS does not have a built in receiver, you must
use an external trigger/receiver system such as Phottix,
Sony, Pocket Wizard, etc.
Recommended settings for simple one-light
operation:
1) Set flash power to MAX
2) Set flash duration to 1/50th (any faster shutter
speed ie 1/100th will be automatically captured)
3) Set colour temp (Kelvin) to 4200K
09