Royal Vendors Merlin IV Reference manual
Other Royal Vendors Vending Machine manuals

Royal Vendors
Royal Vendors RVV 700 Operation manual
Royal Vendors
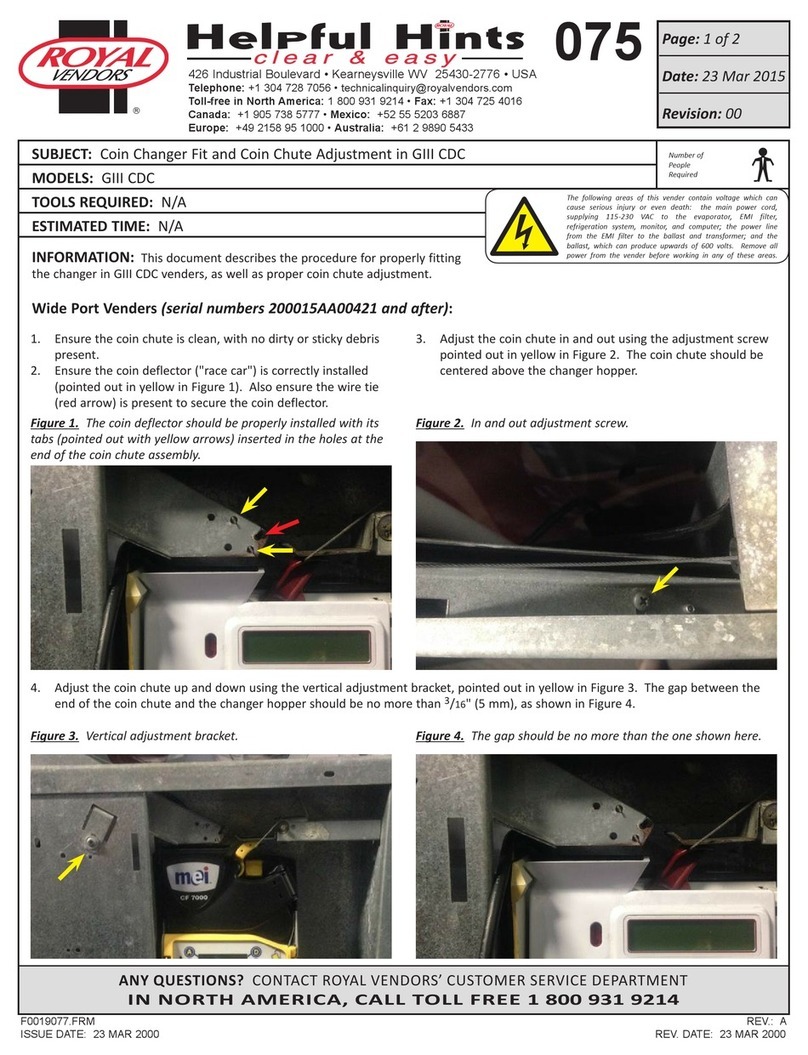
Royal Vendors GIII CDC Service manual

Royal Vendors
Royal Vendors GII Reference manual

Royal Vendors
Royal Vendors RVV Gen II Operation manual

Royal Vendors
Royal Vendors TDV Service manual
Royal Vendors
Royal Vendors Merlin IV Building instructions

Royal Vendors
Royal Vendors Merlin IV Building instructions
Popular Vending Machine manuals by other brands

LAUREL
LAUREL 300 Operation & service manual

Macas
Macas MACES7C-300-90-00 Series Service manual

Godrej
Godrej Minifresh 2000 user manual

Dixie Narco
Dixie Narco SIID Operation and service manual

VendNet
VendNet CB500-SA Service manual
Necta Vending Solutions SpA
Necta Vending Solutions SpA Sfera Installation, use and maintenance manual

Coffee Queen
Coffee Queen BRILLIANCE 3.0 user manual

Three Square Market
Three Square Market Kiosk Guide

ABBERFIELD
ABBERFIELD NPD600 Installation & operation instructions
Jofemar
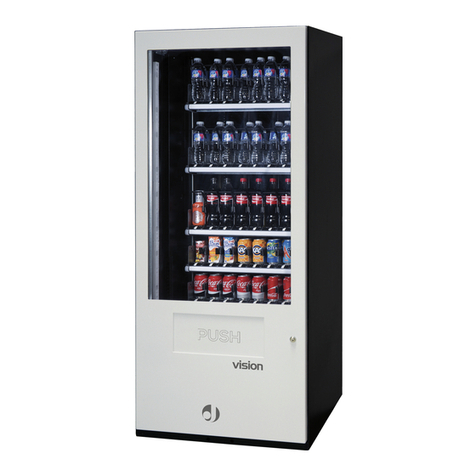
Jofemar Vision ES-PLUS Technical manual
Jacobs Douwe Egberts Professional
Jacobs Douwe Egberts Professional Instant Omni Operator's manual

Crane
Crane P Series manual

Westomatic
Westomatic Primo Compact installation manual

LAVAZZA
LAVAZZA KLIX Series Operator's manual

SandenVendo
SandenVendo Snack Safety Point SVE SSP Programming manual
Seaga
Seaga Naturals2GO NTG4000 owner's manual
AMS
AMS 28 Slim Gem Operation and service manual
Vendors Exchange
Vendors Exchange VE CONNECT user manual

