EN
DA
DE
ES
FR
IT
JA
KO
NL
NO
PL
RU
ZH
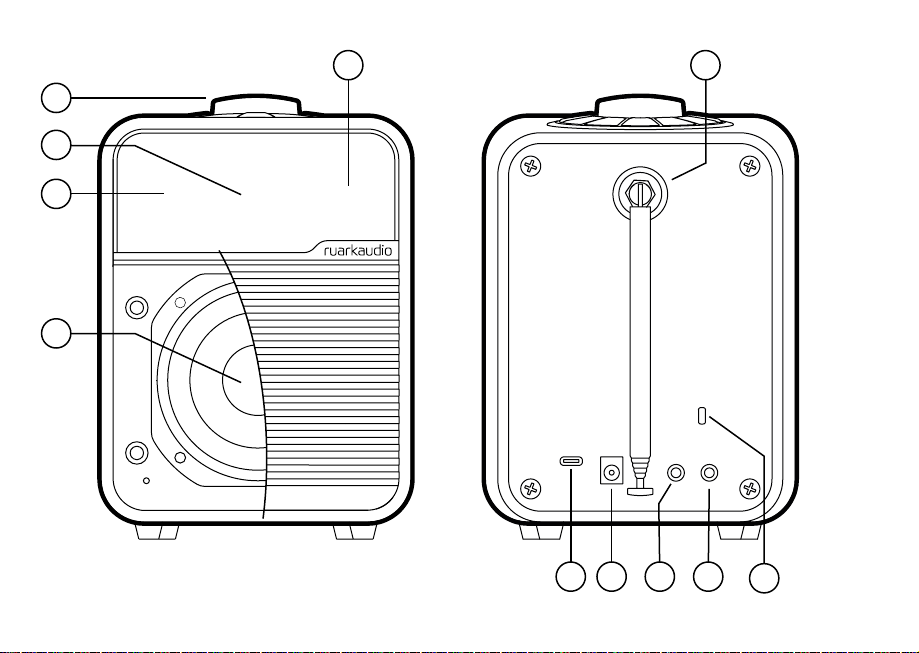
Specications
Amplier and driver
75mm Ruark NS+ driver
9W Class AB amplier
Connectivity
DAB, DAB+
Multiregional FM Tuner with RDS
Bluetooth V4.2 SBC, AAC, BLE, A2DP
Line input 3.5mm jack (1.4Vrms max)
Headphone 3.5mm output jack (6Ω)
USB C 2.0, (5V 1A) MP3, AAC up to 48kHz 320kbps,
FLAC up to 24-bit 96kHz, WAV up to 24-bit 96kHz,
WMA up to 44.1kHz 320kbps
Features
High-contrast OLED with auto dimming
Real time clock with internal battery backup
Kensington compatible security slot
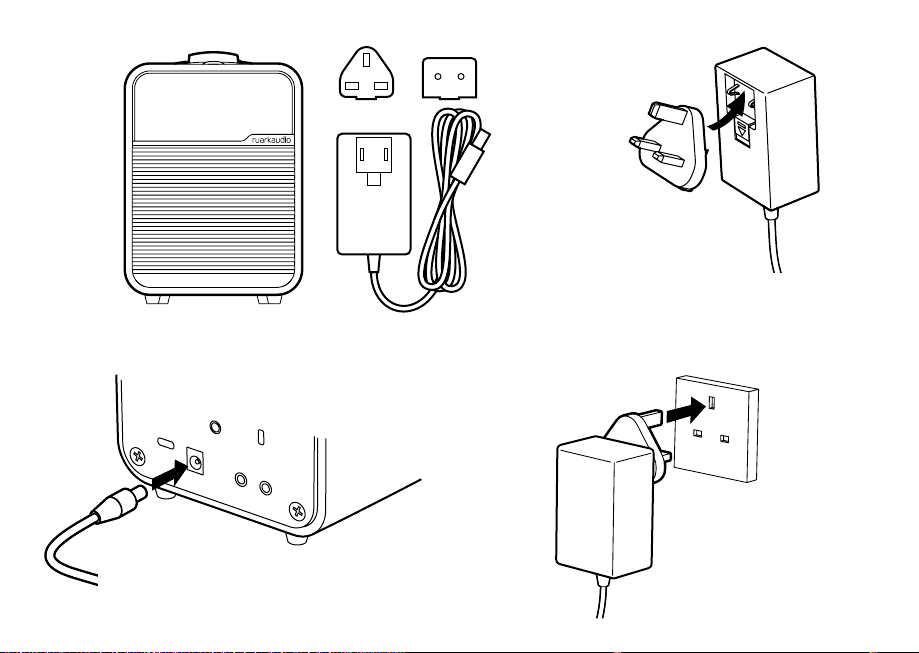
Power adapter
100-240V AC, 50-60Hz input, 14V DC 1.5A output
Dimensions
H175 x W130 x D135mm (6.9 × 5.1 × 5.3in)
1.4kg (3.1lbs)
Specication and design subject to change.
Troubleshooting
For help with your product, please refer to the FAQ
(Frequently Asked Questions) page in the support area
of our website www.ruarkaudio.com/support.
If you accidentally select the incorrect language you
can factory reset your radio by pressing and holding
the standby key for 10s with your radio in standby.
(Quick reset not available on all models.)
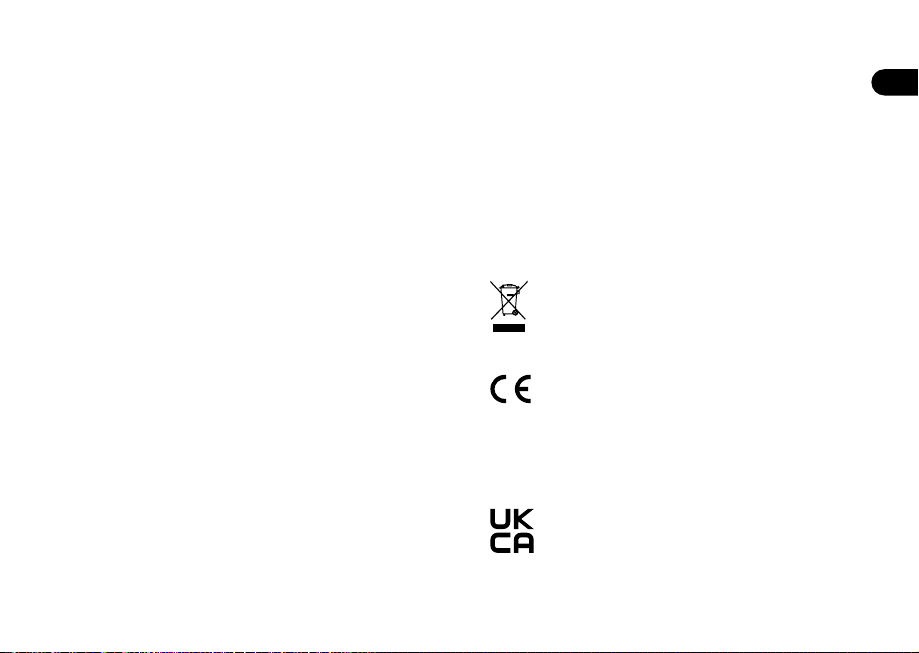
Regulatory information
This device is labelled in accordance with European Directive
2012/19/EU concerning waste electrical and electronic
equipment. This symbol indicates that the product or
associated batteries should not be disposed of as general
household waste. As with any electrical equipment, please dispose of
it according to local regulations.
CE COMPLIANCE INFORMATION
This product conforms to all EU Directive requirements as
applicable by law. Hereby, Ruark Audio, declares that this device
complies with the essential requirements and other relevant
provisions of the European Radio Equipment Directive 2014/53/
EU. You can download the full CE Declaration of Conformity at
www.ruarkaudio.com/doc/R1mk4doc.pdf
UK CONFORMITY ASSESSMENT INFORMATION
This product conforms to all UK Conformity Assessment regulations
as applicable by law. You can download the full UKCA Declaration of
Conformity at www.ruarkaudio.com/doc/R1mk4UKCA.pdf