manuals.online logo
Brands
  1. Home
  2. •
  3. Brands
  4. •
  5. Rubbermaid
  6. •
  7. Indoor Furnishing
  8. •
  9. Rubbermaid Dovetail Drawer Series User manual

Rubbermaid Dovetail Drawer Series User manual

Other Rubbermaid Indoor Furnishing manuals
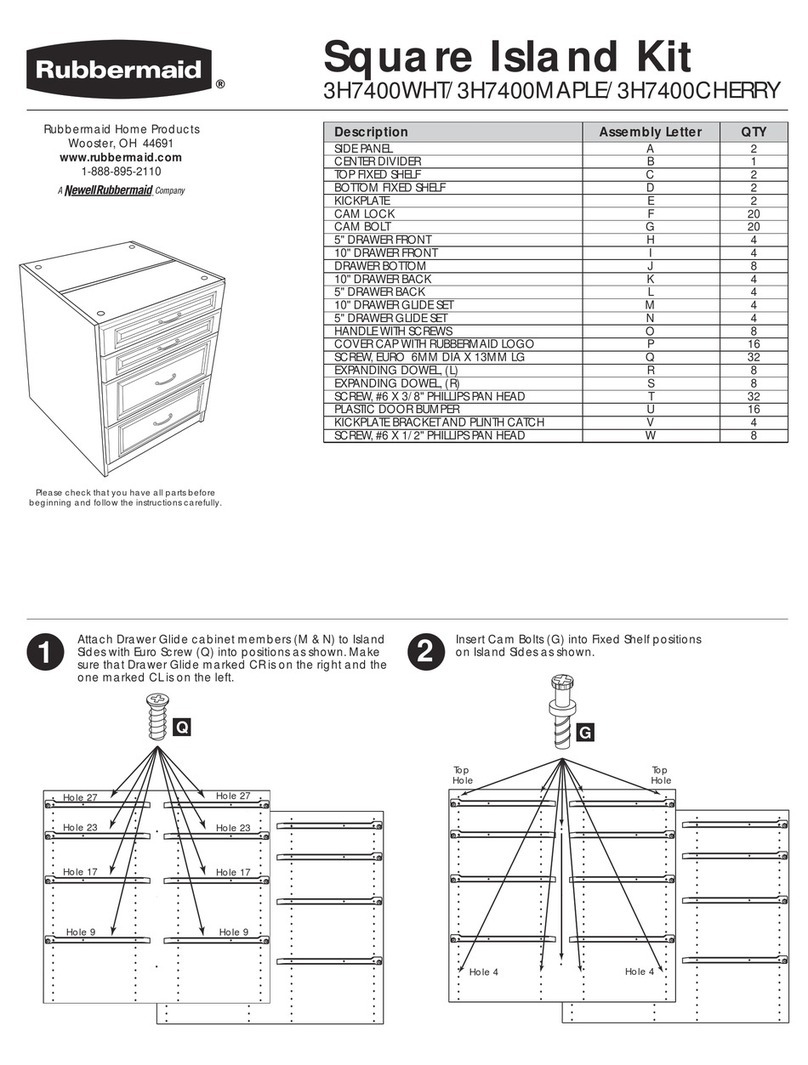
Rubbermaid Square Island Kit User manual

Rubbermaid

Rubbermaid Square Island Kit User manual

Rubbermaid 3749 User manual

Rubbermaid

Rubbermaid 3749 User manual

Rubbermaid FASTTRACK 7W96 User manual

Rubbermaid

Rubbermaid FASTTRACK 7W96 User manual
Rubbermaid 7Y93 User manual

Rubbermaid

Rubbermaid 7Y93 User manual

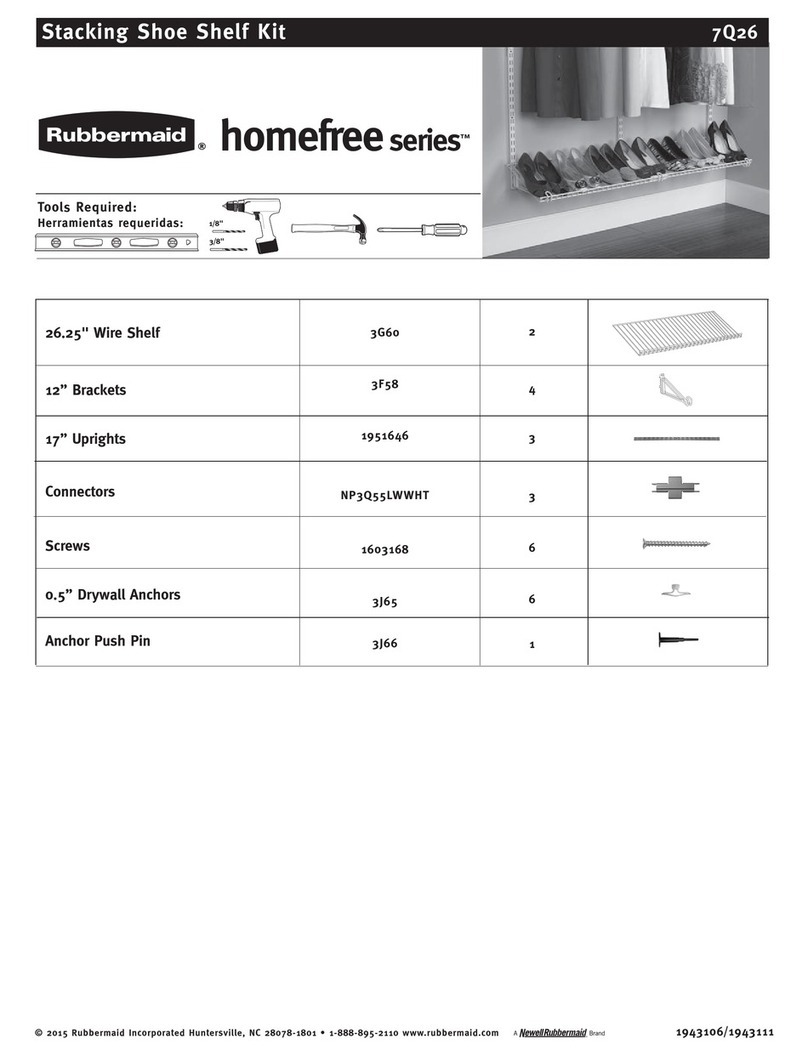
Rubbermaid homefree Series User manual

Rubbermaid

Rubbermaid homefree Series User manual

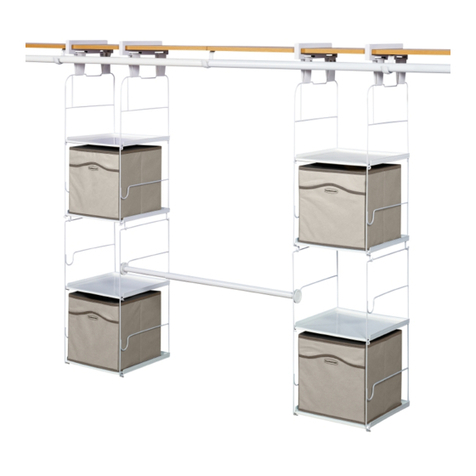
Rubbermaid MAX Add-On Closet Organizer User manual

Rubbermaid

Rubbermaid MAX Add-On Closet Organizer User manual

Rubbermaid 1M89 User manual

Rubbermaid

Rubbermaid 1M89 User manual

Rubbermaid Homefree Series User manual

Rubbermaid

Rubbermaid Homefree Series User manual

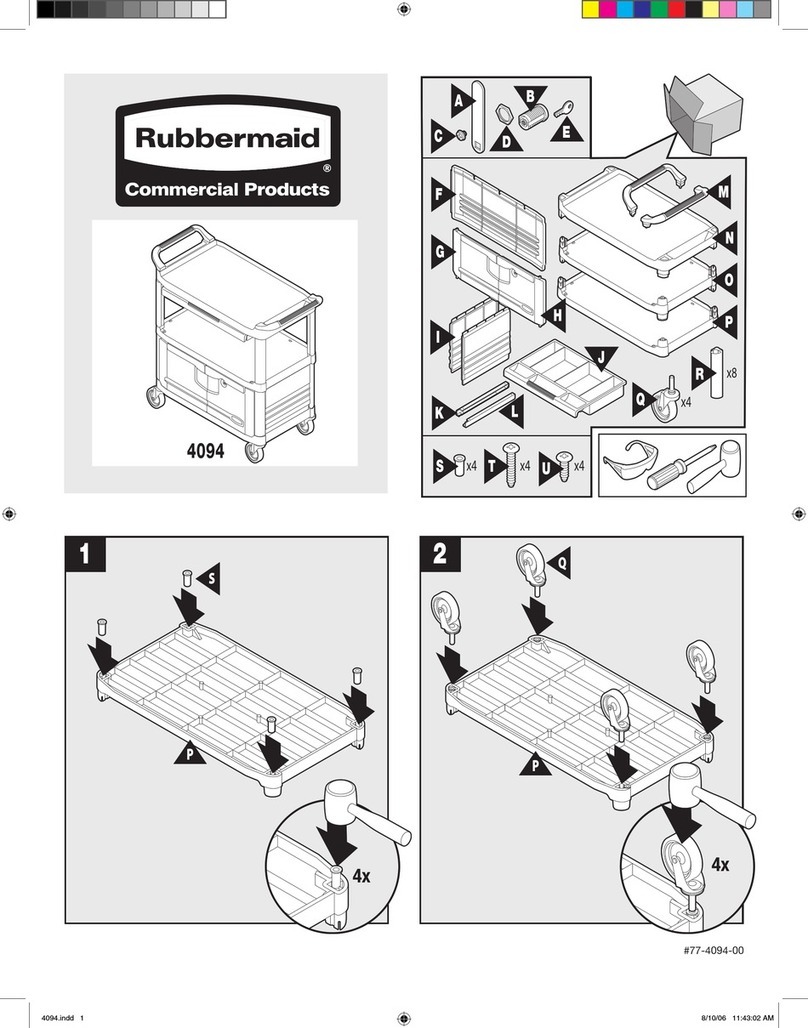
Rubbermaid 4094 User manual

Rubbermaid

Rubbermaid 4094 User manual

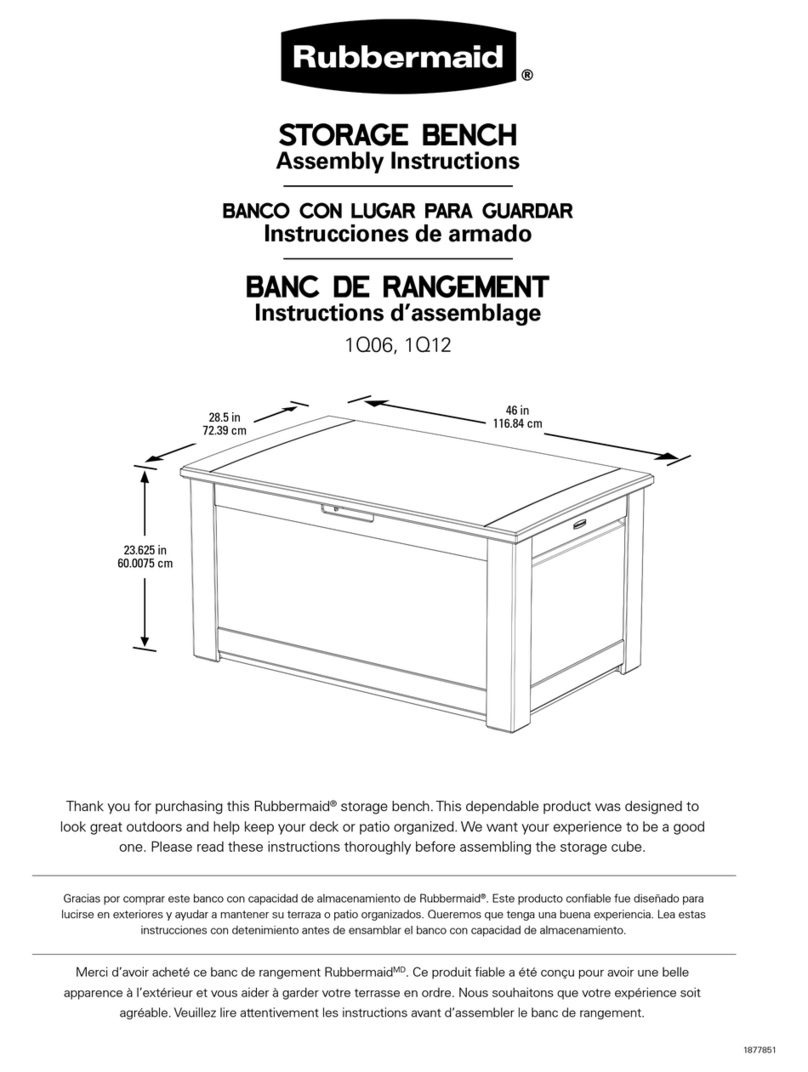
Rubbermaid 1Q06 User manual

Rubbermaid

Rubbermaid 1Q06 User manual

Rubbermaid 1T00 User manual

Rubbermaid

Rubbermaid 1T00 User manual

Rubbermaid homefree Series User manual

Rubbermaid

Rubbermaid homefree Series User manual

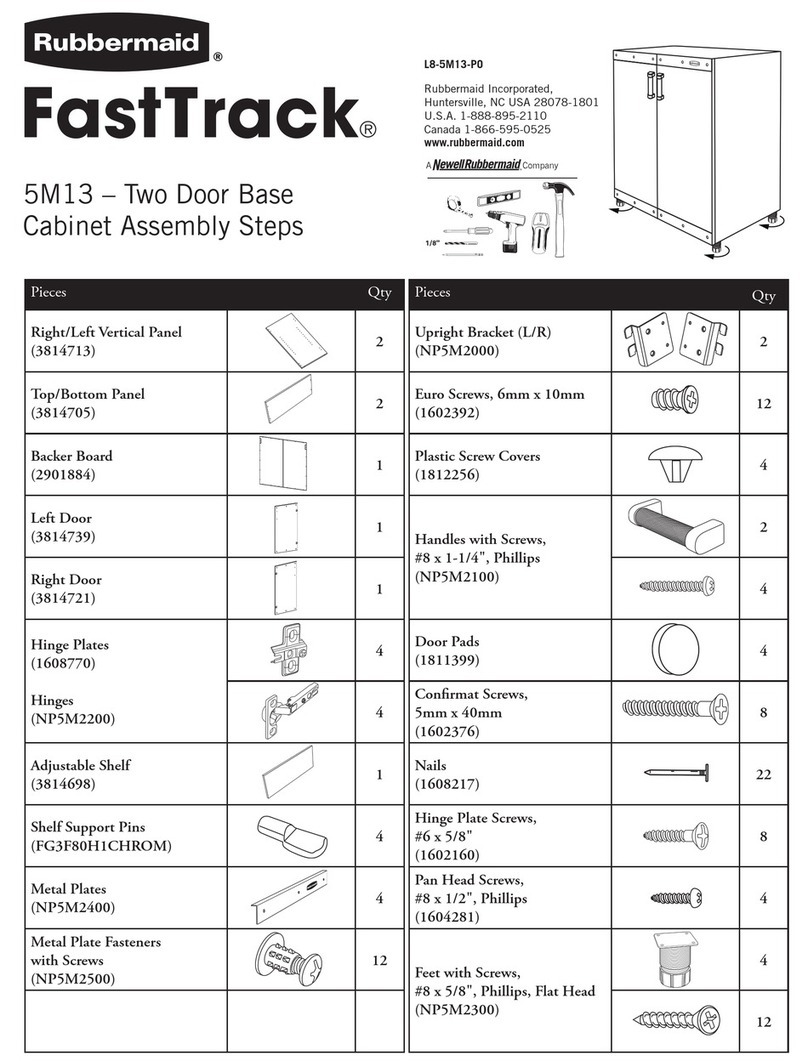
Rubbermaid FastTrack 5M13 User manual

Rubbermaid

Rubbermaid FastTrack 5M13 User manual

Rubbermaid FastTrack 5G76 User manual

Rubbermaid

Rubbermaid FastTrack 5G76 User manual

Rubbermaid homefree Series User manual

Rubbermaid

Rubbermaid homefree Series User manual

Rubbermaid HomeFree Series User manual

Rubbermaid

Rubbermaid HomeFree Series User manual

Rubbermaid Homefree Series User manual

Rubbermaid

Rubbermaid Homefree Series User manual

Rubbermaid LARGE VERTICAL STORAGE SHED User manual
Rubbermaid

Rubbermaid LARGE VERTICAL STORAGE SHED User manual

Popular Indoor Furnishing manuals by other brands

Regency LWMS3015 Assembly instructions

Regency

Regency LWMS3015 Assembly instructions

Furniture of America CM7751C Assembly instructions

Furniture of America

Furniture of America CM7751C Assembly instructions

Safavieh Furniture Estella CNS5731 manual

Safavieh Furniture

Safavieh Furniture Estella CNS5731 manual

PLACES OF STYLE Ovalfuss Assembly instruction

PLACES OF STYLE

PLACES OF STYLE Ovalfuss Assembly instruction

Trasman 1138 Bo1 Assembly manual

Trasman

Trasman 1138 Bo1 Assembly manual

Costway JV10856 manual

Costway

Costway JV10856 manual

moss DESIGN Caisson Credenza Assembly instructions

moss DESIGN

moss DESIGN Caisson Credenza Assembly instructions

Aquaglide FULL DECK 15.0 owner's manual

Aquaglide

Aquaglide FULL DECK 15.0 owner's manual

AREBOS AR-HE-SW30 user manual

AREBOS

AREBOS AR-HE-SW30 user manual

Till-Hilft Fulda 87005.330 Assembly instructions

Till-Hilft

Till-Hilft Fulda 87005.330 Assembly instructions

Twoey Outside 2010 quick start guide

Twoey Outside

Twoey Outside 2010 quick start guide

Hettich Easys 200 operating instructions

Hettich

Hettich Easys 200 operating instructions

The bedboss RELAX 404 Series owner's manual

The bedboss

The bedboss RELAX 404 Series owner's manual

Oeseder Möbelindustrie Bern 991 720 Assembly instructions

Oeseder Möbelindustrie

Oeseder Möbelindustrie Bern 991 720 Assembly instructions

Costway HW68469 user manual

Costway

Costway HW68469 user manual

Next ALIX A27743 Assembly instructions

Next

Next ALIX A27743 Assembly instructions

BROSA Hans Assembly guide

BROSA

BROSA Hans Assembly guide

Prodigg MINIKA PBA015T-FUR installation manual

Prodigg

Prodigg MINIKA PBA015T-FUR installation manual

manuals.online logo
manuals.online logoBrands
  • About & Mission
  • Contact us
  • Privacy Policy
  • Terms and Conditions

Copyright 2025 Manuals.Online. All Rights Reserved.

JC
C
STEP 3 STEP 4
STEP 2
A
B
C
D
E
F
G
Description Qty
Rubbermaid Incorporated,
Huntersville, NC 28078-1801
U.S.A. 1-888-895-2110
Canada 1-866-595-0525
www.rubbermaid.com
2101798
Letter
Decorative Drawer Front (sold separately)
Dovetail Drawer Box
Undermount Glide Set (Left & Right)
Drawer Lock Clip (Right)
Drawer Lock Clip (Left)
Door Bumper Set of 4
Adjusters
Handle with Screws (sold separately)
Screw, #7 x ½” Wood Screw
Screw, 6mm x 10mm Euro Screw
Screw, #8 - 32 x 7/8” Notched Machine Screw
Screw, #6 x 5/8” Wood Screw
Screw, #8 x 1” Wood Screw
Description Qty
Letter
H
I
J
K
L
M
1
2
6
2
4
2
1
1
1
1
1
1
2
STEP 1
Pound adjusters into back of drawer face panel.
A
G
G
Angle teeth
this direction.
Please check thatyou have all parts before beginning and follow the instructions carefully.
FRONTBACKBACK FRONT
Attach (1) Drawer Lock Clip Right (D) and Drawer Lock Clip Left (E) to
underside of Dovetail Drawer Box (B) using (4) Screw, #6 x 5/8” Wood
Screws (L). Note: Attach clips to forward most corners and screw
into front of drawer box using clip’s hole locations. Adjust clips as
needed.
Attach the Drawer Glides (C) to the Vertical Panels with (4) Euro
Screws (J) for the 14” Drawer Kits. For the 19” Drawer Kits attached
with (6) Euro Screws (J). Add (2) additional screws, #7 x ½” Wood
Screw, (I) in glide location shown. Note: Extending the glides aids in
accessing the hole locations.
Note: Mounting Hole Location for #7 x ½”
Wood Screw (N). This hole is not
pre-drilled in melamine.
Mounting Hole Locations. Note: 19” Drawer
Kits requires a third mounting location.
Place drawer face
panel flat onto
solid surface.
Drill through
the desired
Pilot Holes.
A
NOTE: Drill bit size recommended is #9 drill bit.
HANDLE
FRONT
KNOB
B
E
D
E
B
L
FRONT
14" & 19" Depth
Dovetail Drawer Kits
Tools Required
OR
STEP 6
STEP 5
STEP 7
STEP 8
Fully extend the undermount glides. Place the
drawer on the undermount glides and slide in.
The drawer lock clips will fasten with the
undermount glides. Adjust as needed.
Drawer clips have integrated height
adjustment to aid in alignment.
Attach knob (handle).
A
H
H
For Shaker Style Fronts:
Break two screws from within handle
hardware bag to a 3/4”length. Attach handle.
Break two screws to 7/8”length.
Attach drawer face to drawer box
with just the bottom two screws.
Then adjust.
Adjust
K
K
M
M
Secure top of face. TIPS
Put all drawers into
cabinet then adjust
face panel position
before tightening
screws.