manuals.online logo
Brands
  1. Home
  2. •
  3. Brands
  4. •
  5. Rubbermaid
  6. •
  7. Indoor Furnishing
  8. •
  9. Rubbermaid Square Island Kit User manual

Rubbermaid Square Island Kit User manual

This manual suits for next models

3

Other Rubbermaid Indoor Furnishing manuals
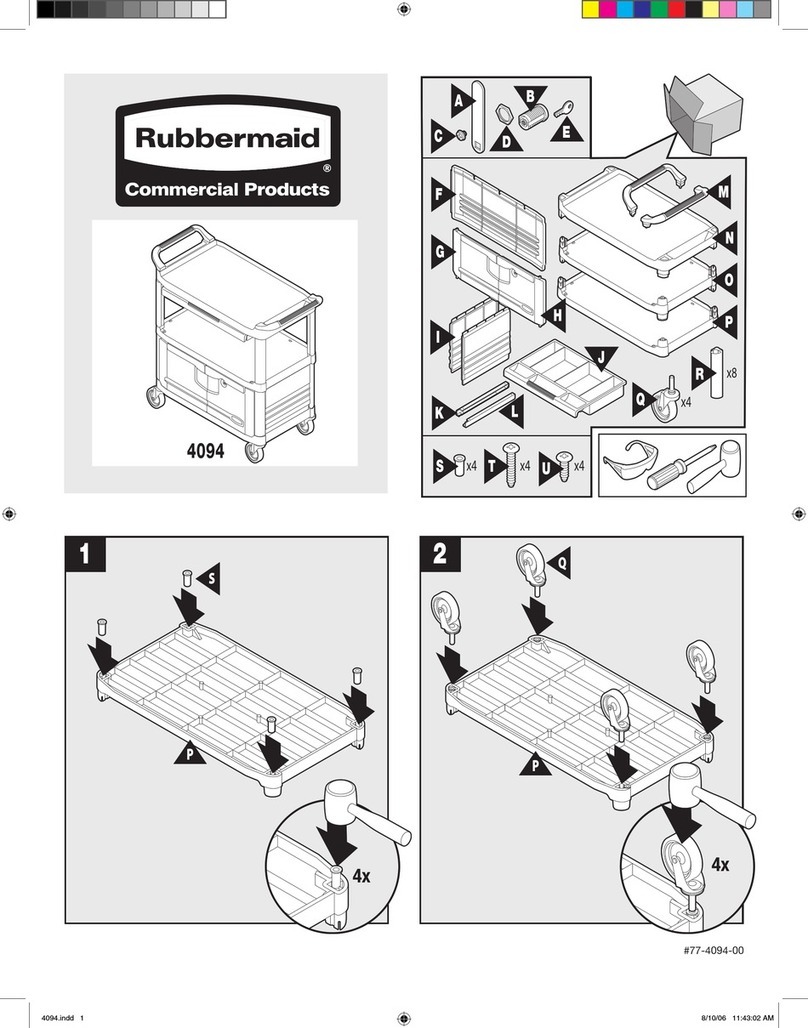
Rubbermaid 4094 User manual

Rubbermaid

Rubbermaid 4094 User manual

Rubbermaid 1T00 User manual

Rubbermaid

Rubbermaid 1T00 User manual

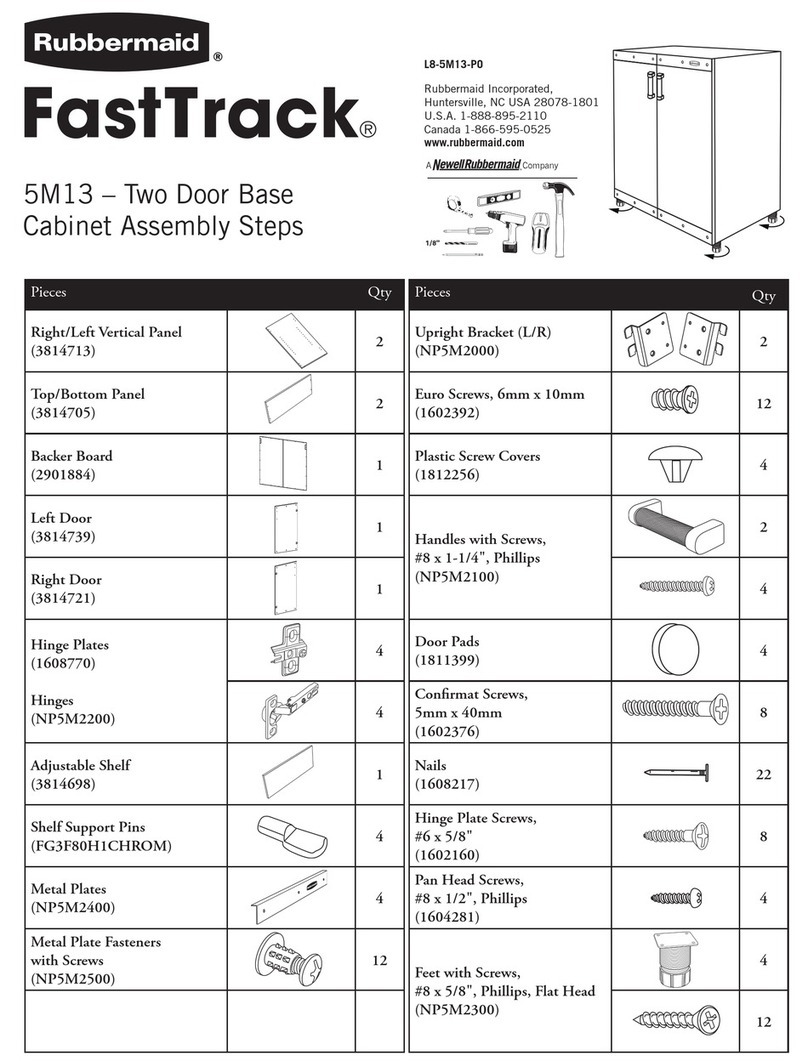
Rubbermaid FastTrack 5M13 User manual

Rubbermaid

Rubbermaid FastTrack 5M13 User manual

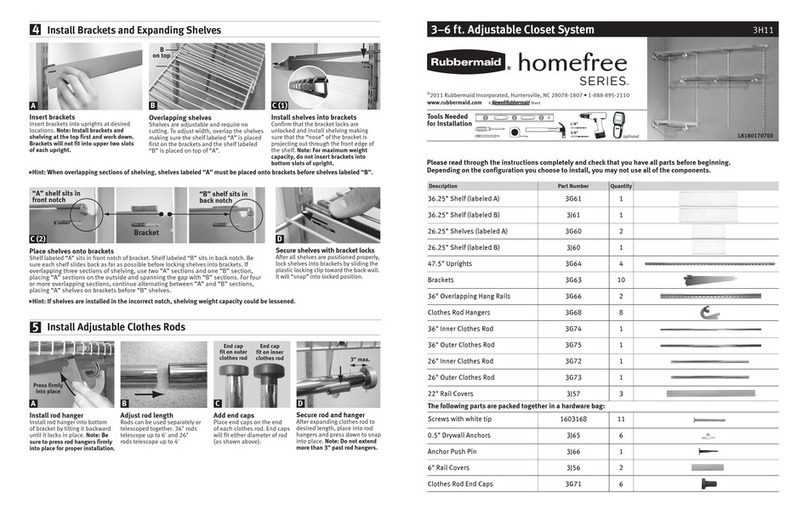
Rubbermaid homefree Series User manual

Rubbermaid

Rubbermaid homefree Series User manual

Rubbermaid FASTTRACK 7W96 User manual

Rubbermaid

Rubbermaid FASTTRACK 7W96 User manual

Rubbermaid Homefree Series User manual

Rubbermaid

Rubbermaid Homefree Series User manual

Rubbermaid 7Y93 User manual

Rubbermaid

Rubbermaid 7Y93 User manual
Rubbermaid FastTrack 5G76 User manual

Rubbermaid

Rubbermaid FastTrack 5G76 User manual

Rubbermaid Dovetail Drawer Series User manual

Rubbermaid

Rubbermaid Dovetail Drawer Series User manual

Rubbermaid HomeFree Series User manual

Rubbermaid

Rubbermaid HomeFree Series User manual

Rubbermaid homefree Series User manual

Rubbermaid

Rubbermaid homefree Series User manual

Rubbermaid 3749 User manual

Rubbermaid

Rubbermaid 3749 User manual

Rubbermaid Homefree Series User manual

Rubbermaid

Rubbermaid Homefree Series User manual

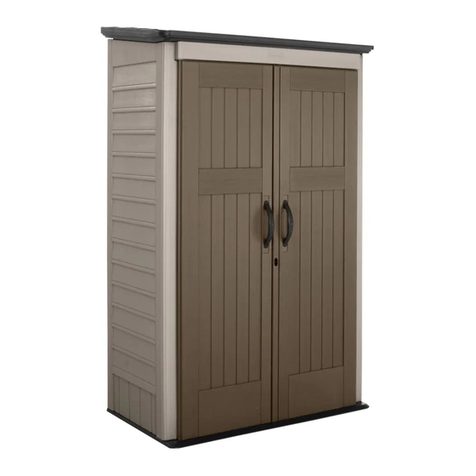
Rubbermaid LARGE VERTICAL STORAGE SHED User manual

Rubbermaid

Rubbermaid LARGE VERTICAL STORAGE SHED User manual

Rubbermaid MAX Add-On Closet Organizer User manual

Rubbermaid

Rubbermaid MAX Add-On Closet Organizer User manual

Rubbermaid 1Q06 User manual

Rubbermaid

Rubbermaid 1Q06 User manual

Rubbermaid homefree Series User manual

Rubbermaid

Rubbermaid homefree Series User manual

Rubbermaid 1M89 User manual

Rubbermaid

Rubbermaid 1M89 User manual
Popular Indoor Furnishing manuals by other brands

Regency LWMS3015 Assembly instructions

Regency

Regency LWMS3015 Assembly instructions

Furniture of America CM7751C Assembly instructions

Furniture of America

Furniture of America CM7751C Assembly instructions

Safavieh Furniture Estella CNS5731 manual

Safavieh Furniture

Safavieh Furniture Estella CNS5731 manual

PLACES OF STYLE Ovalfuss Assembly instruction

PLACES OF STYLE

PLACES OF STYLE Ovalfuss Assembly instruction

Trasman 1138 Bo1 Assembly manual

Trasman

Trasman 1138 Bo1 Assembly manual

Costway JV10856 manual

Costway

Costway JV10856 manual

moss DESIGN Caisson Credenza Assembly instructions

moss DESIGN

moss DESIGN Caisson Credenza Assembly instructions

Aquaglide FULL DECK 15.0 owner's manual

Aquaglide

Aquaglide FULL DECK 15.0 owner's manual

AREBOS AR-HE-SW30 user manual

AREBOS

AREBOS AR-HE-SW30 user manual

Till-Hilft Fulda 87005.330 Assembly instructions

Till-Hilft

Till-Hilft Fulda 87005.330 Assembly instructions

Twoey Outside 2010 quick start guide

Twoey Outside

Twoey Outside 2010 quick start guide

Hettich Easys 200 operating instructions

Hettich

Hettich Easys 200 operating instructions

The bedboss RELAX 404 Series owner's manual

The bedboss

The bedboss RELAX 404 Series owner's manual

Oeseder Möbelindustrie Bern 991 720 Assembly instructions

Oeseder Möbelindustrie

Oeseder Möbelindustrie Bern 991 720 Assembly instructions

Costway HW68469 user manual

Costway

Costway HW68469 user manual

Next ALIX A27743 Assembly instructions

Next

Next ALIX A27743 Assembly instructions

BROSA Hans Assembly guide

BROSA

BROSA Hans Assembly guide

Prodigg MINIKA PBA015T-FUR installation manual

Prodigg

Prodigg MINIKA PBA015T-FUR installation manual

manuals.online logo
manuals.online logoBrands
  • About & Mission
  • Contact us
  • Privacy Policy
  • Terms and Conditions

Copyright 2025 Manuals.Online. All Rights Reserved.

Square Island Kit
3H7400WHT/3H7400MAPLE/3H7400CHERRY
Please check that you have all parts before
beginning and follow the instructions carefully.
Rubbermaid Home Products
Wooster, OH 44691
www.rubbermaid.com
1-888-895-2110
Description Assembly Letter QTY
SIDE PANEL A 2
CENTER DIVIDER B 1
TOP FIXED SHELF C 2
BOTTOM FIXED SHELF D 2
KICKPLATE E 2
CAM LOCK F 20
CAM BOLT G 20
5" DRAWER FRONT H 4
10" DRAWER FRONT I 4
DRAWER BOTTOM J 8
10" DRAWER BACK K 4
5" DRAWER BACK L 4
10" DRAWER GLIDE SET M 4
5" DRAWER GLIDE SET N 4
HANDLE WITH SCREWS O 8
COVER CAP WITH RUBBERMAID LOGO P 16
SCREW,EURO 6MM DIA X 13MM LG Q 32
EXPANDING DOWEL,(L) R 8
EXPANDING DOWEL,(R) S 8
SCREW,#6 X 3/8" PHILLIPS PAN HEAD T 32
PLASTIC DOOR BUMPER U 16
KICKPLATE BRACKET AND PLINTH CATCH V 4
SCREW,#6 X 1/2" PHILLIPS PAN HEAD W 8
12Insert Cam Bolts (G) into Fixed Shelf positions
on Island Sides as shown.
G
Hole 4 Hole 4
Top
Hole
Top
Hole
Attach Drawer Glide cabinet members (M & N) to Island
Sides with Euro Screw (Q) into positions as shown.Make
sure that Drawer Glide marked CR is on the right and the
one marked CL is on the left.
Q
Hole 27
Hole 23
Hole 17
Hole 9
Hole 27
Hole 23
Hole 17
Hole 9
6With Island Sides laying down on floor, assemble Fixed Shelves
to Cam Bolts on Island Sides. Fixed Shelves MUST be positioned
as indicated. Note: To lock into place,Cam Locks only require
20 lbs of force and a counterclockwise turn of 180 degrees.
Excessive force or over tightening may result in improper
assembly or damage to Cam Lock.
8
3
Insert Kickplate Plinth Bracket (V) onto Island Sides
as shown.
4
Insert Cam Locks (F) into Fixed Shelves (C & D).
V
F
W
Insert Cam Locks (F) into Divider Panel.
F
Assemble Divider Panel to Cam Bolts on Island Sides.
Note: To lock into place,Cam Locks only require
20 lbs of force and a counterclockwise turn of 180
degrees. Excessive force or over tightening may
result in improper assembly or damage to Cam Lock.
5
7
C
F
D
Holes
2&3
Holes
2&3
E
V
Attach Metal Plinth Catch (V) vertically to Kickplate (E)
using #6 x 1/2" Phillips Screw (W) in center hole of catch.
Then snap Kickplate into place.
D
D
C
C
Insert the two 5" drawers into the top two sets of
drawer glides then insert the bottom two 10" drawers
into the remaining drawer glides.
9
J
M&N
K&L
H&I
R
S
10 Optional Step for assembling Island Top.
Attach top with 4 screws and washers provided
in optional Top Set.
11
Slide Drawer Back (K&L) onto Drawer
Bottom at rear of Drawer Sides.Align
holes on Drawer Back with Drawer
Sides. Secure with (4) #6 x 3/8" Phillips
Screws (T).
T
Insert L-left and R-right Expanding
Dowels (R&S) into Drawer Front
(H&I).Left and Right should be as
drawer is in unit and closed facing.
*Also note top of drawer has greatest
distance between hole and top edge.
Place Drawer Bottom (J) onto Drawer Side
Panels (M&N).
Press tabs into predrilled holes.