manuals.online logo
Brands
  1. Home
  2. •
  3. Brands
  4. •
  5. Rubbermaid
  6. •
  7. Indoor Furnishing
  8. •
  9. Rubbermaid MAX Add-On Closet Organizer User manual

Rubbermaid MAX Add-On Closet Organizer User manual

INSTRUCTIONS & PRODUCT INFORMATION
Component Letter Quantity Description
Left
A2 Top Wire Frame
Right
B2 Top Wire Frame
C4 Bottom Frame
D 8 Wire Connectors
E 4 Wood Shelf Attachment Bracket
(for use with your wood shelving)
F8 Wire Shelf Attachment Bracket
(for use with your wire shelving)
G1 Inner Hang Rod and End Cap
H1 Outer Hang Rod and End Cap
I 8 Plastic Shelf
J8 Support Strap
K0, 4, Cubby Insert
or 8
Closet Organizer
MAX Add-On™
6. Hang Bottom Frames
Continue to build the tower by hanging bottom frames (C) from the outward facing hooks on the top frames.
Make sure the hang rod slots face forward.
7. Connect Bottom Left and Right Frames
Connect the bottom frames with wire braces (D) as completed in Step 4.
8. Install Bottom Plastic Shelves
Snap 2 plastic shelves (I) into each of the bottom frames as completed in Step 5.
9. Connect Two Towers with Hang Rod
Place the inner hang rod (G) inside the outer hang rod (H). Place the hang rods in the desired height location between the tower frames.
Depending on your existing shelf height, adjust height of hang bar to fit your space.
10. Push Unit Against Back Wall
Push the unit into place, against the back wall of your closet.
This will provide additional support.
11. Insert Cubbies or Drawers
Insert fabric cubbies as bins or drawers, as desired.
Place Hang Rod
Optional Hang
Rod locations
L81806116PO
C
H
G
C
C
Installation Notes: Wood brackets are made to fit existing wood shelves measuring 5/8" to 3/4" thick x 12" deep.
Each plastic shelf is designed to hold up to 10 pounds of evenly distributed weight. The hang rod is designed to hold up to 20 lbs.
WARNING nYou must never exceed the rated load capacity of your installed shelving system. Please consult the manufacturer
of your shelving system for the rated load capacity of your components.
2. Determine Necessary Shelf Attachment
Select the required shelf attachment brackets for your existing shelving. If your existing shelf is wood, move to step 2a. If your existing shelf
is wire, move to step 2b.
1. Determine the System Location Within Your Closet
The maximum width of this system is 67" and the minimum width is 50.5" (when used with the telescoping hang rod).
2a. For Existing Wood Shelving:
Start assembling the first tower by sliding two wood brackets
(E) on your existing wood shelf (slot side down). They should
be approximately 12" apart (center to center).
2b. For Existing Wire Shelving:
Thread all 8 wire brackets (F) with
straps (J). Do not affix the snaps.
3 wires covered
Insert one strap (J) through each slot in the brackets,
but do not affix the snaps. Go to step 3.
Locate the positions of your 2 towers
(Keep in mind the maximum and
minimum spans stated in step 1).
For each tower location, place 4
brackets with straps on top of your
existing wire shelf, as shown below.
Brackets for each tower should be
spaced 12" apart (center to center).
Brackets should cover 3 wires, and the fabric strap should straddle 1 wire.
Do not affix the snaps.
3. Begin Building the Metal Frame for Each Tower
Hang the left (A) and right (B) frames from the corresponding straps and secure the snaps.
Be sure to position the frames with the hang rod slots facing front and hooks facing outward.
4. Connect the Left and Right Frames
Using wire connectors (D), hook left and right frames together in locations shown
at right. These connectors will serve as shelf supports in the next step.
5. Secure Plastic Shelves in Place
Begin by facing the Rubbermaid logo on the plastic shelf (I), towards the front. Next, insert the shelf into the tower and snap the shelf into
the back vertical wires (as shown). Then snap the shelf into place along the sides, fully engaging the shelves with the metal frame.
EE
12"
Insert Straps
Tower 1 Tower 2
Max = 67", Min = 50.5"
F
J
JJ
Brackets for 1 Tower
12"
“Snap”
“Snap”
Push back
I
D
Hang rod slots should be
located in front of tower
Tower hooks face out
Wire
connectors
D
Snap down back corners and sides
12"
Tower 1 Tower 2
Left Straps Right Straps Left Straps Right Straps
“Snap”
“Snap”
Other Rubbermaid Indoor Furnishing manuals

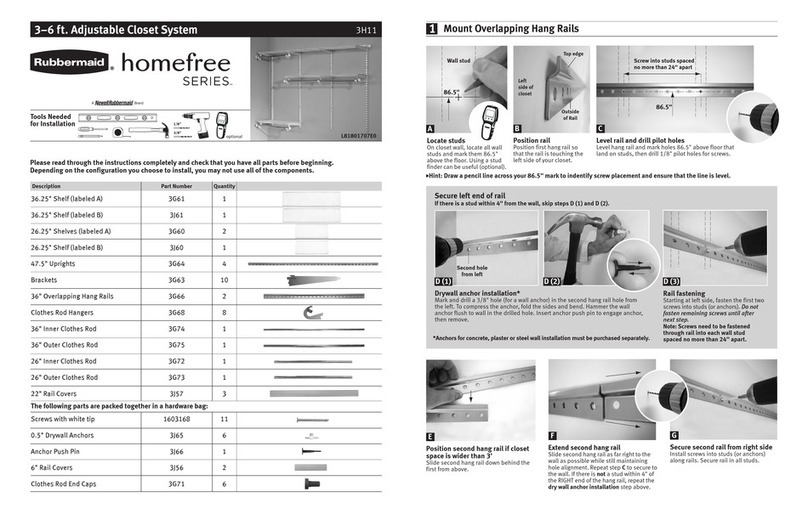
Rubbermaid homefree Series User manual

Rubbermaid

Rubbermaid homefree Series User manual

Rubbermaid homefree Series User manual

Rubbermaid

Rubbermaid homefree Series User manual

Rubbermaid 3749 User manual

Rubbermaid

Rubbermaid 3749 User manual

Rubbermaid Homefree Series User manual

Rubbermaid

Rubbermaid Homefree Series User manual

Rubbermaid FastTrack 5M13 User manual

Rubbermaid

Rubbermaid FastTrack 5M13 User manual

Rubbermaid Dovetail Drawer Series User manual

Rubbermaid

Rubbermaid Dovetail Drawer Series User manual

Rubbermaid FASTTRACK 7W96 User manual

Rubbermaid

Rubbermaid FASTTRACK 7W96 User manual

Rubbermaid LARGE VERTICAL STORAGE SHED User manual

Rubbermaid

Rubbermaid LARGE VERTICAL STORAGE SHED User manual

Rubbermaid 1M89 User manual

Rubbermaid

Rubbermaid 1M89 User manual

Rubbermaid homefree Series User manual

Rubbermaid

Rubbermaid homefree Series User manual

Rubbermaid Homefree Series User manual

Rubbermaid

Rubbermaid Homefree Series User manual

Rubbermaid 1T00 User manual

Rubbermaid

Rubbermaid 1T00 User manual

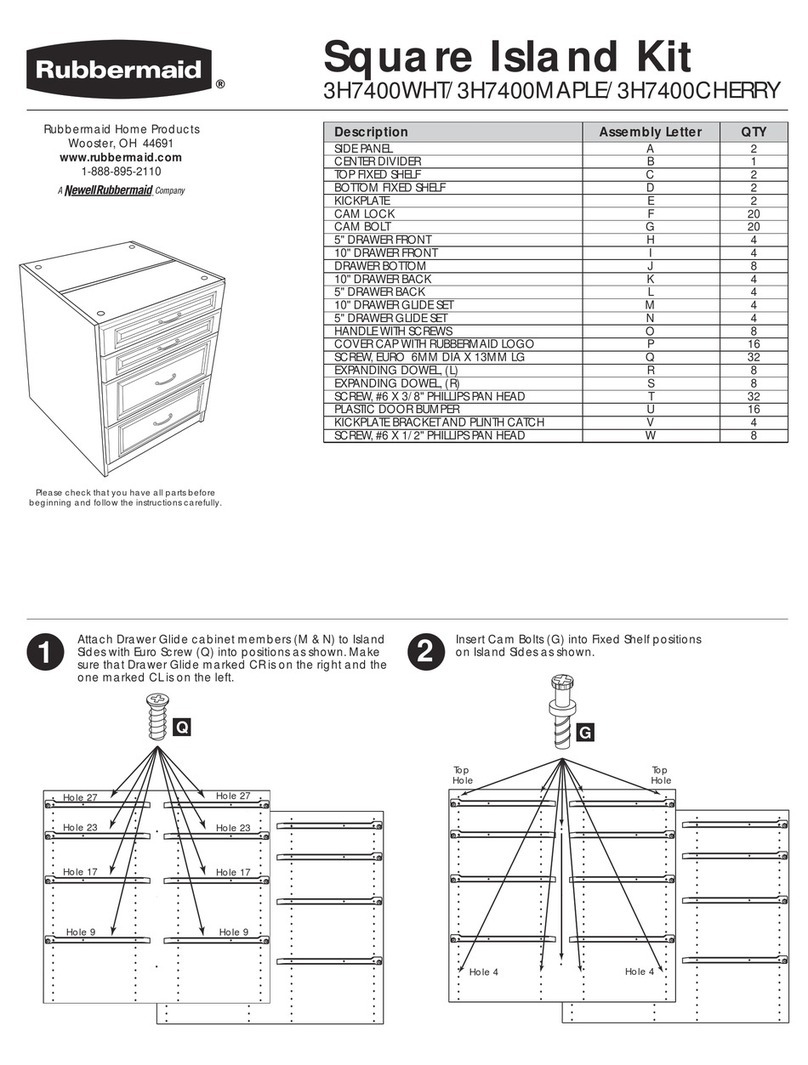
Rubbermaid Square Island Kit User manual

Rubbermaid

Rubbermaid Square Island Kit User manual

Rubbermaid 1Q06 User manual

Rubbermaid

Rubbermaid 1Q06 User manual

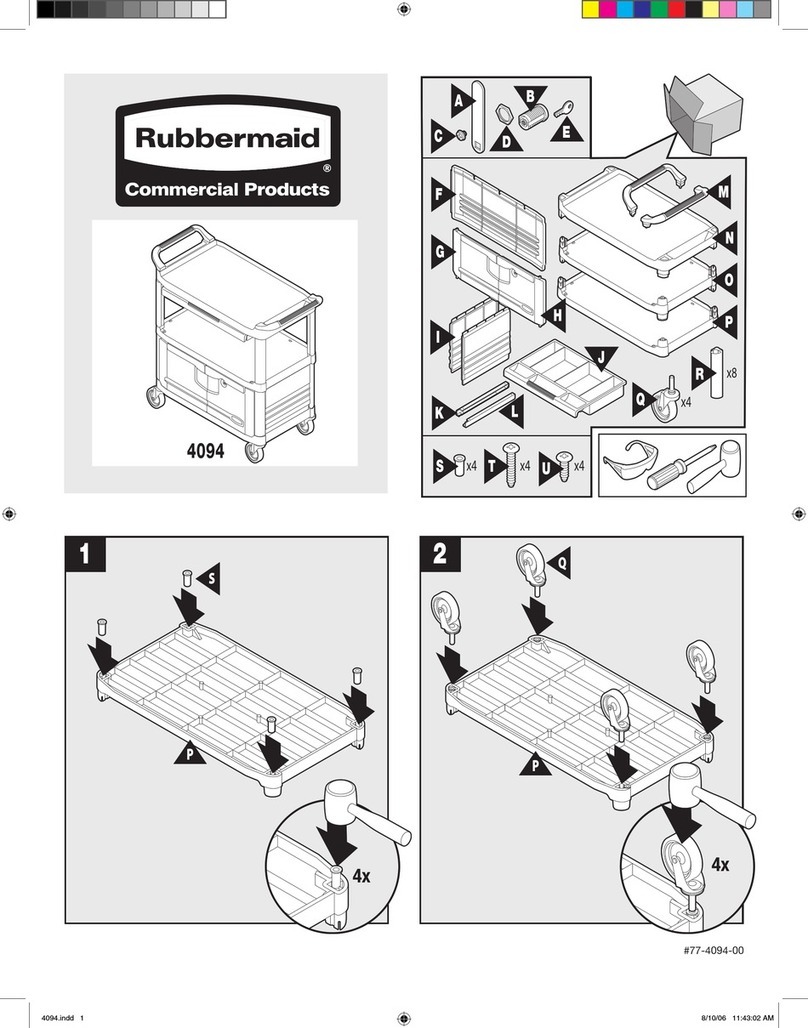
Rubbermaid 4094 User manual

Rubbermaid

Rubbermaid 4094 User manual

Rubbermaid HomeFree Series User manual

Rubbermaid

Rubbermaid HomeFree Series User manual

Rubbermaid FastTrack 5G76 User manual

Rubbermaid

Rubbermaid FastTrack 5G76 User manual

Rubbermaid 7Y93 User manual

Rubbermaid

Rubbermaid 7Y93 User manual

Popular Indoor Furnishing manuals by other brands

promotal 2152 Series user guide

promotal

promotal 2152 Series user guide

Lorell LLR84863 Assembly instructions

Lorell

Lorell LLR84863 Assembly instructions

Rockler Salice GRP40159 instructions

Rockler

Rockler Salice GRP40159 instructions

NRS Healthcare P64519 User instructions

NRS Healthcare

NRS Healthcare P64519 User instructions

Great Little Trading Abbeville Storage- Four CubeUnit manual

Great Little Trading

Great Little Trading Abbeville Storage- Four CubeUnit manual

Urban Barn Barret Assembly instructions

Urban Barn

Urban Barn Barret Assembly instructions

RiverRidge Somerset 06-038 Assembly instructions

RiverRidge

RiverRidge Somerset 06-038 Assembly instructions

Bonaldo CIRCUS manual

Bonaldo

Bonaldo CIRCUS manual

Artek KAARI REB 009 manual

Artek

Artek KAARI REB 009 manual

Blanco BLANCOPERFORMA 513-644 Specification sheet

Blanco

Blanco BLANCOPERFORMA 513-644 Specification sheet

Mäusbacher 755 1RL Assembly instructions

Mäusbacher

Mäusbacher 755 1RL Assembly instructions

Decor Living HANNA EC7300 Use and care guide

Decor Living

Decor Living HANNA EC7300 Use and care guide

Germania GW-Duo 1691 Assembly instruction

Germania

Germania GW-Duo 1691 Assembly instruction

Southern Enterprises MS834100TX Assembly instruction

Southern Enterprises

Southern Enterprises MS834100TX Assembly instruction

Home affaire Vinales 788614 Assembly instructions

Home affaire

Home affaire Vinales 788614 Assembly instructions

BALTON B III 370950 Assembly instructions

BALTON

BALTON B III 370950 Assembly instructions

Atlantic Raised Panel Trundle Assembly instructions

Atlantic

Atlantic Raised Panel Trundle Assembly instructions

Displays2go TVCON49MO Assembly instructions

Displays2go

Displays2go TVCON49MO Assembly instructions

manuals.online logo
manuals.online logoBrands
  • About & Mission
  • Contact us
  • Privacy Policy
  • Terms and Conditions

Copyright 2025 Manuals.Online. All Rights Reserved.