manuals.online logo
Brands
  1. Home
  2. •
  3. Brands
  4. •
  5. Runva
  6. •
  7. Winch
  8. •
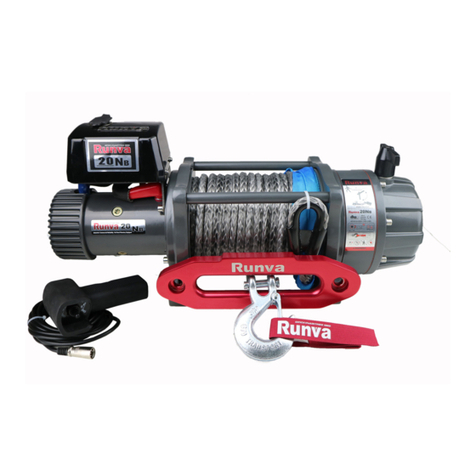
  9. Runva Premium Series User manual

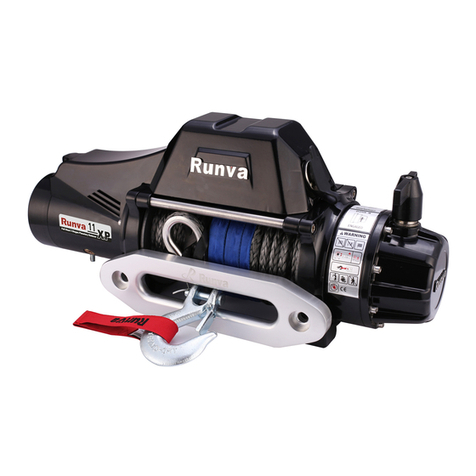
Runva Premium Series User manual

YOUR BATTERY
Please make sure your battery is in good condition
and no smaller than 750CCA. Using a battery smaller
than this could cause damage to your winch motor or
solenoid and void yourwarranty.
GEARBOX ROTATION
If you need to rotate your gearbox please
follow the instructions included, or visit
www.runvawinch.com.au/support
FITTING YOUR WINCH
Bolt the winch into your winch bar or other winch rated
plate as per that manufacturer instructions.
Runva is not able to provide fitting instructions or
technical support that is specific to your vehicle or bar.
If you are unsure how to fit your winch we recommend
going to a 4X4 specialist or installer.
For bolt torque settings visit the Support page
on www.runvawinch.com.au/support
WIRING YOUR WINCH
Your winch motor has clearly marked colour coded
insulators on all the terminals for easy wiring.
Simply attach the corresponding colour leads to the
corresponding terminals. The two longer 1.8M leads
supplied are your main powerleads.
The long red power lead that runs from the control box
connects to one of the terminals
on the isolator switch.
THANK YOU FOR CHOOSING ONE OF OUR PREMIUM EDITION WINCHES
Make sure you connect the earth lead from the winch
motor directly to the negative terminal on your vehicle
battery. (Connecting it to the chassis instead of to the
battery could cause damage to your winch motor or
solenoid and void your warranty).
If you have a smart alternator or vehicle which does not
allow the winch being connected directly to the negative
terminal on the battery, the winch earth lead will need to
be bolted to the battery earth on the chassis instead of
directly to the battery itself.
The thin black cable from the control box attaches
to the same terminal on the winch motor as the main
earthlead.
POWER ISOLATOR
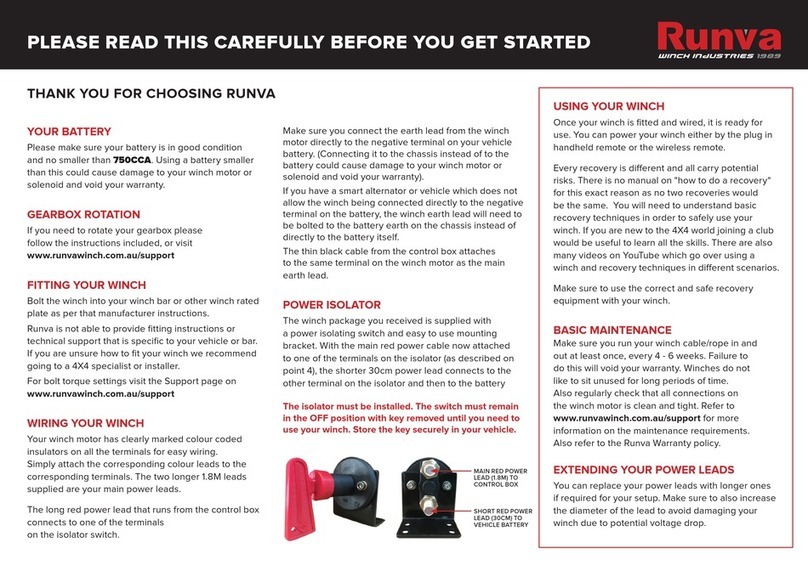
The winch package you received is supplied with
a power isolating switch and easy to use mounting
bracket. With the main red power cable now attached
to one of the terminals on the isolator (as described
on point 4), the shorter 30cm power lead connects to
the other other terminal on the isolator and then to the
battery positive terminal. With the key in and turned on,
the power to the winch is live. When the key is turned to
the o position all power is cut o.
Theisolator must be installed. Theswitch must remain
in the OFF position with key removed until you need to
use your winch. Store the key securely in yourvehicle.
USING YOUR WINCH
Once your winch is fitted and wired, it is ready for
use. You can power your winch either by the plug in
handheld remote or the wireless remote.
Every recovery is dierent and all carry potential
risks. There is no manual on "how to do a recovery"
for this exact reason as no two recoveries would be
the same. You will need to understand basic recovery
techniques in order to safely use your winch. If you
are new to the 4X4 world joining a club would be
useful to learn all the skills. There are also many
videos on YouTube which go over using a winch and
recovery techniques in dierent scenarios.
Make sure to use the correct and safe recovery
equipment with your winch
BASIC MAINTENANCE
Make sure you run your winch cable/rope in and
out at least once, every 4 - 6 weeks. Failure to
do this will void your warranty. Winches do not
like to sit unused for long periods of time.
Also regularly check that all connections on
the winch motor is clean and tight. Refer to
www.runvawinch.com.au/support for more
information on the maintenance requirements.
Also refer to the Runva Warranty policy.
EXTENDING YOUR POWER LEADS
You can replace your power leads with longer ones
if required for your setup. Make sure to also increase
the diameter of the lead to avoid damaging your
winch due to potential voltage drop.
HIDING YOUR CONTROL BOX
If you choose to hide your control box we can
supply a remote extension plug so you can still use
your handheld remote. Please visit our website for
moreinformation.
PLEASE READ THIS CAREFULLY BEFORE YOU GETSTARTED
MAIN RED POWER
LEAD (1.8M) TO
CONTROL BOX
SHORT RED POWER
LEAD (30CM) TO
VEHICLE BATTERY
PLEASE READ THIS CAREFULLY BEFORE YOU GETSTARTED
BE CAREFUL
Your winch rope is secured into the drum with an alumin-
ium crimp. This crimp is held in place with a grub screw.
If you are walking the rope out make sure not to pull it all
the way out with too much force as this could cause the
rope to separate from the crimp. (They are well secured
but with enough force it will come out) If you are taking
the rope o for any reason, don’t forget to undo the grub
screw first before trying to pull the crimp out of the drum.
(This applies to synthetic rope and also steelcable).
When using the winch, a minimum of 5 tightly wrapped
turns of cable/rope must remain on the drum before
winching anyload.
FAQs
Where is my wireless remote controller?
This is packaged up with the control box.
Can I rotate my gearbox?
Yes you can. Please see instructions included
with the winch.
Can I rotate my motor?
Yes you can. Remove bolts that hold the motor
onto the main bracket. Rotate andre-fit.
Can I rotate my winch 180 degrees as this
will suit my fitmentbetter?
Yes you can. You MUST unspool all of the
rope and feed it onto the drum in the opposite
direction as before. The rope will now feed over
the top of the drum rather than from the bottom.
(Thestandard fitment position is having the
motor on the left and gearbox on the right when
looking at the winch front on). Follow the arrow
direction on your winch. Failure to change the
rope direction will likely damage your winch and
void yourwarranty.
How do I install the winch on my winchbar?
Please refer back to your winch bar manufacturer
for instructions on fitting this winch into your bar
if you are unsure. Ifyou do not have the manual,
the winch bar manufacturer should be able to
assistyou.
For all other information please visit
www.runvawinch.com.au/support
YOUR CONTROL BOX
Your winch is supplied with a 2in1 control box mounting
bracket system (for mounting the control box on top
of the winch) as well as a winch bar angled mounting
bracket.
2in1 Bracket for mounting the control box to the
winch itself
Bullbar Bracket for mounting control box to a
winchbar

Other Runva Winch manuals

Runva EWB20000 Quick reference guide

Runva

Runva EWB20000 Quick reference guide

Runva 750CCA User manual

Runva

Runva 750CCA User manual

Runva 20000NH Quick reference guide

Runva

Runva 20000NH Quick reference guide

Runva 10DB Quick reference guide

Runva

Runva 10DB Quick reference guide

Runva 9.5 XS Guide

Runva

Runva 9.5 XS Guide

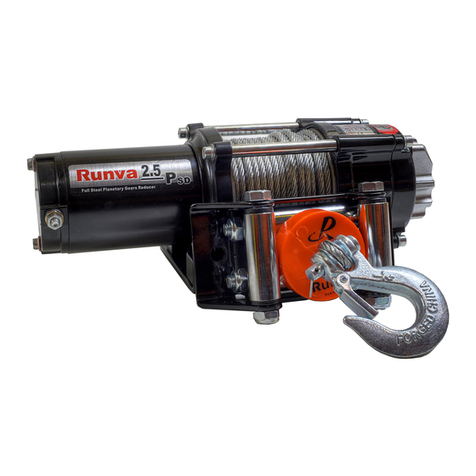
Runva 2.5 PSD User manual

Runva

Runva 2.5 PSD User manual

Runva EWD8000 Quick reference guide

Runva

Runva EWD8000 Quick reference guide

Runva EWK2000 Quick reference guide

Runva

Runva EWK2000 Quick reference guide

Runva HWP20000 Series Quick reference guide

Runva

Runva HWP20000 Series Quick reference guide

Runva EWB9500 Quick reference guide

Runva

Runva EWB9500 Quick reference guide

Runva EWX5000 Quick reference guide

Runva

Runva EWX5000 Quick reference guide

Runva EWB25000 Quick reference guide

Runva

Runva EWB25000 Quick reference guide

Runva T-2000 Quick reference guide

Runva

Runva T-2000 Quick reference guide

Runva 11 XP Guide

Runva

Runva 11 XP Guide

Runva EWP2500 Quick reference guide

Runva

Runva EWP2500 Quick reference guide

Popular Winch manuals by other brands

P.Lindberg 9028455 Original manual

P.Lindberg

P.Lindberg 9028455 Original manual

Badland ZXR 3500 user manual

Badland

Badland ZXR 3500 user manual

KFI SE35 Owner's Manual and Operating Instructions

KFI

KFI SE35 Owner's Manual and Operating Instructions

Ribimex Ribitech PRTRM1000 User and maintenance manual

Ribimex

Ribimex Ribitech PRTRM1000 User and maintenance manual

TJM TORQ ATV Operator's manual

TJM

TJM TORQ ATV Operator's manual

Tulsa Rufnek 100 Service manual

Tulsa

Tulsa Rufnek 100 Service manual

Ingersoll-Rand Force 5 Parts, operation and maintenance manual

Ingersoll-Rand

Ingersoll-Rand Force 5 Parts, operation and maintenance manual

DRAGON WINCH DWKO 26 HD installation instructions

DRAGON WINCH

DRAGON WINCH DWKO 26 HD installation instructions

Topex 97X080 Instructions for use

Topex

Topex 97X080 Instructions for use

C-Max VIGO Installation & operation manual

C-Max

C-Max VIGO Installation & operation manual

Warrior Winches GLADIATOR 80FTA12 owner's manual

Warrior Winches

Warrior Winches GLADIATOR 80FTA12 owner's manual

Ingersoll-Rand HU Series Operation and maintenance manual

Ingersoll-Rand

Ingersoll-Rand HU Series Operation and maintenance manual

Harken 16.2 Two Speed Winch Installation service

Harken

Harken 16.2 Two Speed Winch Installation service

BRADEN CH330 Installation maintenance and service manual

BRADEN

BRADEN CH330 Installation maintenance and service manual

Comeup CWG-30075 quick start guide

Comeup

Comeup CWG-30075 quick start guide

Ingersoll-Rand Force 5 FH5 Parts, operation and maintenance manual

Ingersoll-Rand

Ingersoll-Rand Force 5 FH5 Parts, operation and maintenance manual

Monzana DBSW003 instructions

Monzana

Monzana DBSW003 instructions

Harken Powered Performa Installation and maintenance manual

Harken

Harken Powered Performa Installation and maintenance manual

manuals.online logo
manuals.online logoBrands
  • About & Mission
  • Contact us
  • Privacy Policy
  • Terms and Conditions

Copyright 2025 Manuals.Online. All Rights Reserved.