1. Introduction
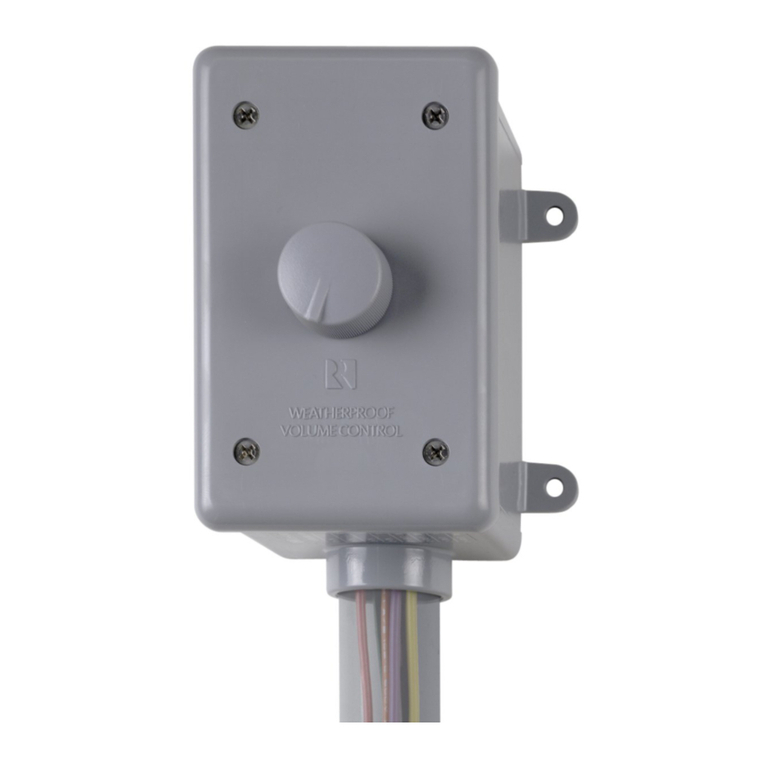
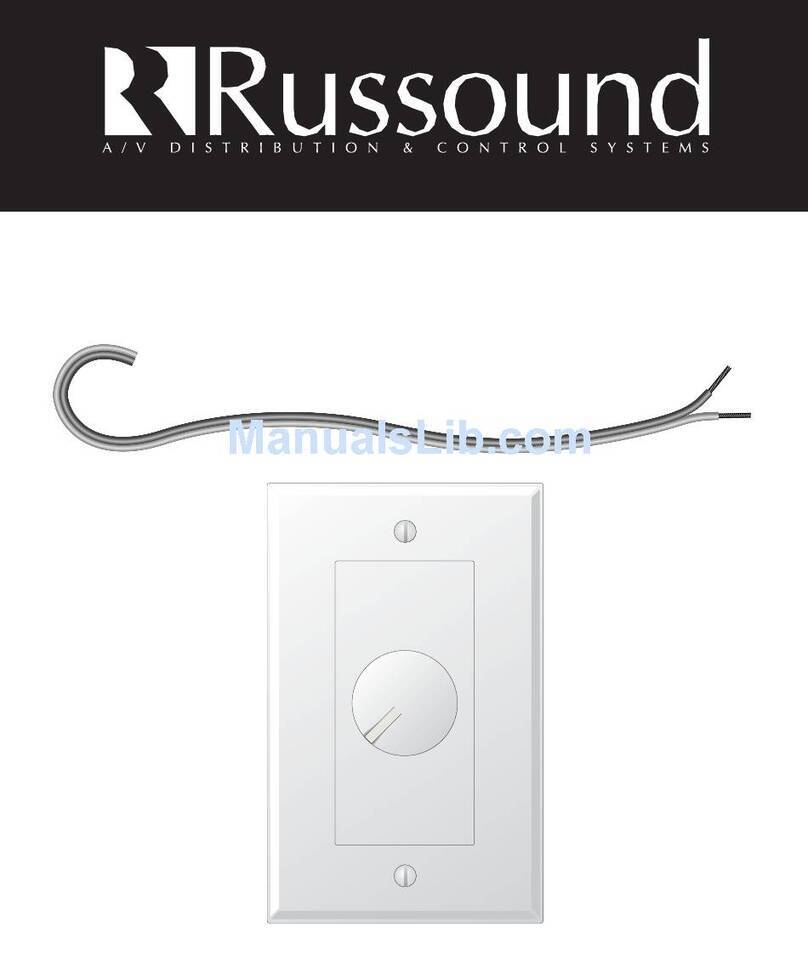
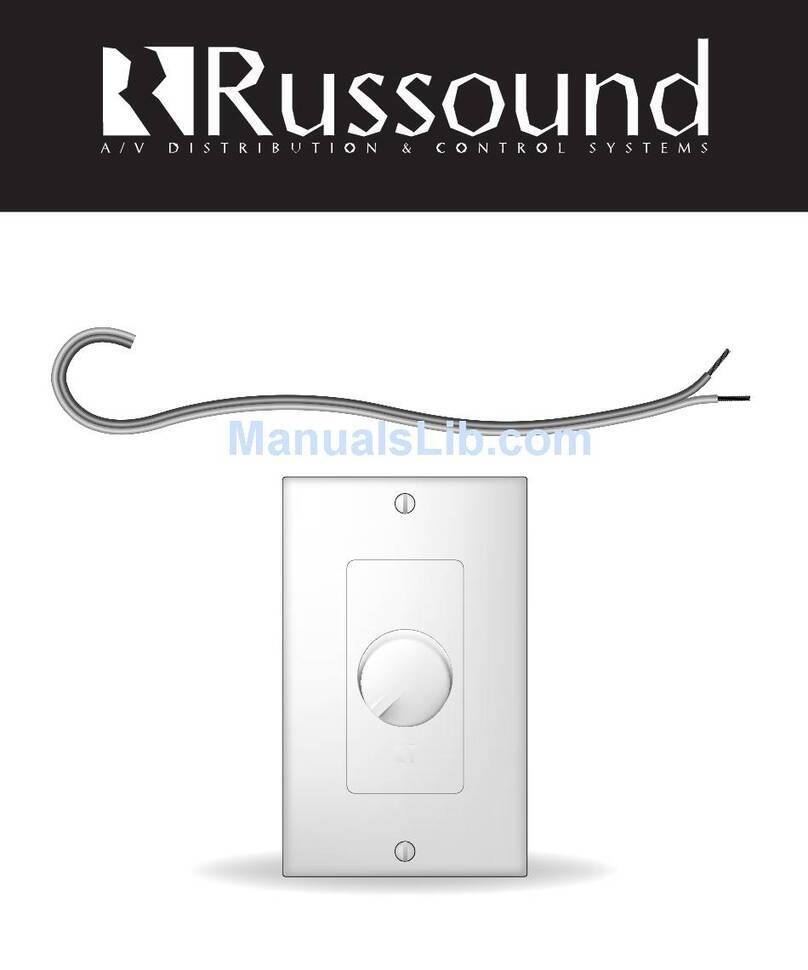
The XLT StereoVolume Control is a wall-mount, Decora®-style, stereo speaker volume
control with built-in impedance-matching capabilities. It connects between the speak-
er-level output of an amplifier or receiver, speaker selector, etc. and a pair of speakers.
The application of the XLT is to adjust the volume of the connected speakers.
The XLT adjusts the volume of the speakers connected to it by adjusting the signal from
the amplifier to the speakers. All Russound volume controls are manufactured using a
high-quality autoformer design. Autoformers provide excellent frequency response and
efficient use of amplifier power.
2. P-Ring and Electrical Boxes
The depth of the volume control is 2 3/4”. A minimum 20 cubic inch junction box, or backless junction box (P-
ring) is required for mounting. Some building codes require that all low voltage devices be enclosed in electrical
boxes. Check your local building code.
3.Type of Speaker Wire
For most applications, we recommend you use 16 or 14 gauge, stranded copper speaker wire for the XLT volume
control. For wire runs longer than 100 feet, 14 gauge wire is recommended. Do not use wire that is larger than
14 gauge, as it may not fit into the junction box and it will not fit the connector on the XLT control. Never use
solid or aluminum electrical wire. When running speaker wires inside the walls, most states and municipalities in
the U.S. specify that you must use a speaker cable with a minimum fire rating of “CL-2”or “CL-3”. Consult your
Russound dealer or electrician. Russound offers “CL-3”rated speaker cable which is multi-stranded and enclosed
in temperature resistant PVC jackets specifically designed for this application.
ELECTRICAL CAUTION! Do not install your volume control in the same junction box with any electrical device.
Check the National Electric Code for minimum distance required for low voltage devices.
4. XLT Stereo Wall MountVolume Control Operation
The Russound XLT volume control is a combination of a standard and impedance-matching control. When used
with an impedance-matching speaker selector, the XLT volume control should be set in the X1 jumper position.
In this position, the speaker selector is providing the impedance matching and protection. When there is no
impedance-matching speaker selector in the system, the jumper on the volume control must be set in a position
that correctly multiplies the impedance of the system to a level that is equal to or greater than the impedance of
the amplifier.This will protect the amplifier from damage, and the jumper setting can be determined using the
following simple steps.
Step #1 - Determine the minimum impedance capability of the amplifier. Normally, this information can be
found near the speaker output terminals on the back of the amplifier. (Look for a measurement in OHMS.)
WRITETHE MINIMUM IMPEDANCE HERE:______________________________
Step #2 - Determine the impedance of the speakers. Most speakers have this information printed on the back
near the speaker terminals. Most speakers are 4Ωor 8Ω.
WRITETHE IMPEDANCE HERE:______________________________________
* If you are using speakers of different impedances, you need to determine the average or common impedance.
For example, a pair of 4Ωspeakers can be considered 2 pair of 8Ωspeakers.
Step #3 - Count the number of pairs of speakers connected to the amplifier.
WRITETHE NUMBER OF PAIRS HERE:_________________________________
Step #4 - By dividing the impedance of the speakers ( step #2) by the number of pairs of speakers (step #3), you
can determine the system impedance.
EXAMPLE: 8 ohm speakers ÷4 pair of speakers = 2 ohm system impedance.
1
