Genuine Rustibus® parts only!
BUILDING A DISPOSABLE CHAIN DRUM FROM SCRATCH
DISPOSABLE CHAIN DRUM FOR RUSTIBUS® 2000
Information guide for use and installation of the system.
The rotation unit to the Rustibus® 2000 is now more ecient with the new Disposable Chain Drum system.
This new one-piece unit is delivered complete and therefore does not require further replacement of spare parts.
Simply use it until it is totally destroyed and then replace it with a new one.
The Rustibus® 2000 should only be used on a at horizontal surfaces. All sorts of obstacles should be avoided at
all times such as sockets,edges etc. De-scaling should be done along side weldings NOT across. If one of the chain
links / pins should brake and create an unbalance in the machine, simply cut the chain links on the opposite side of
the broken one.
You are then able to fasten it all
in place with the TWO nuts and
washer. First place the washer (D).
We recommend that you use Loctite.
A.
D.
C.
C. B.
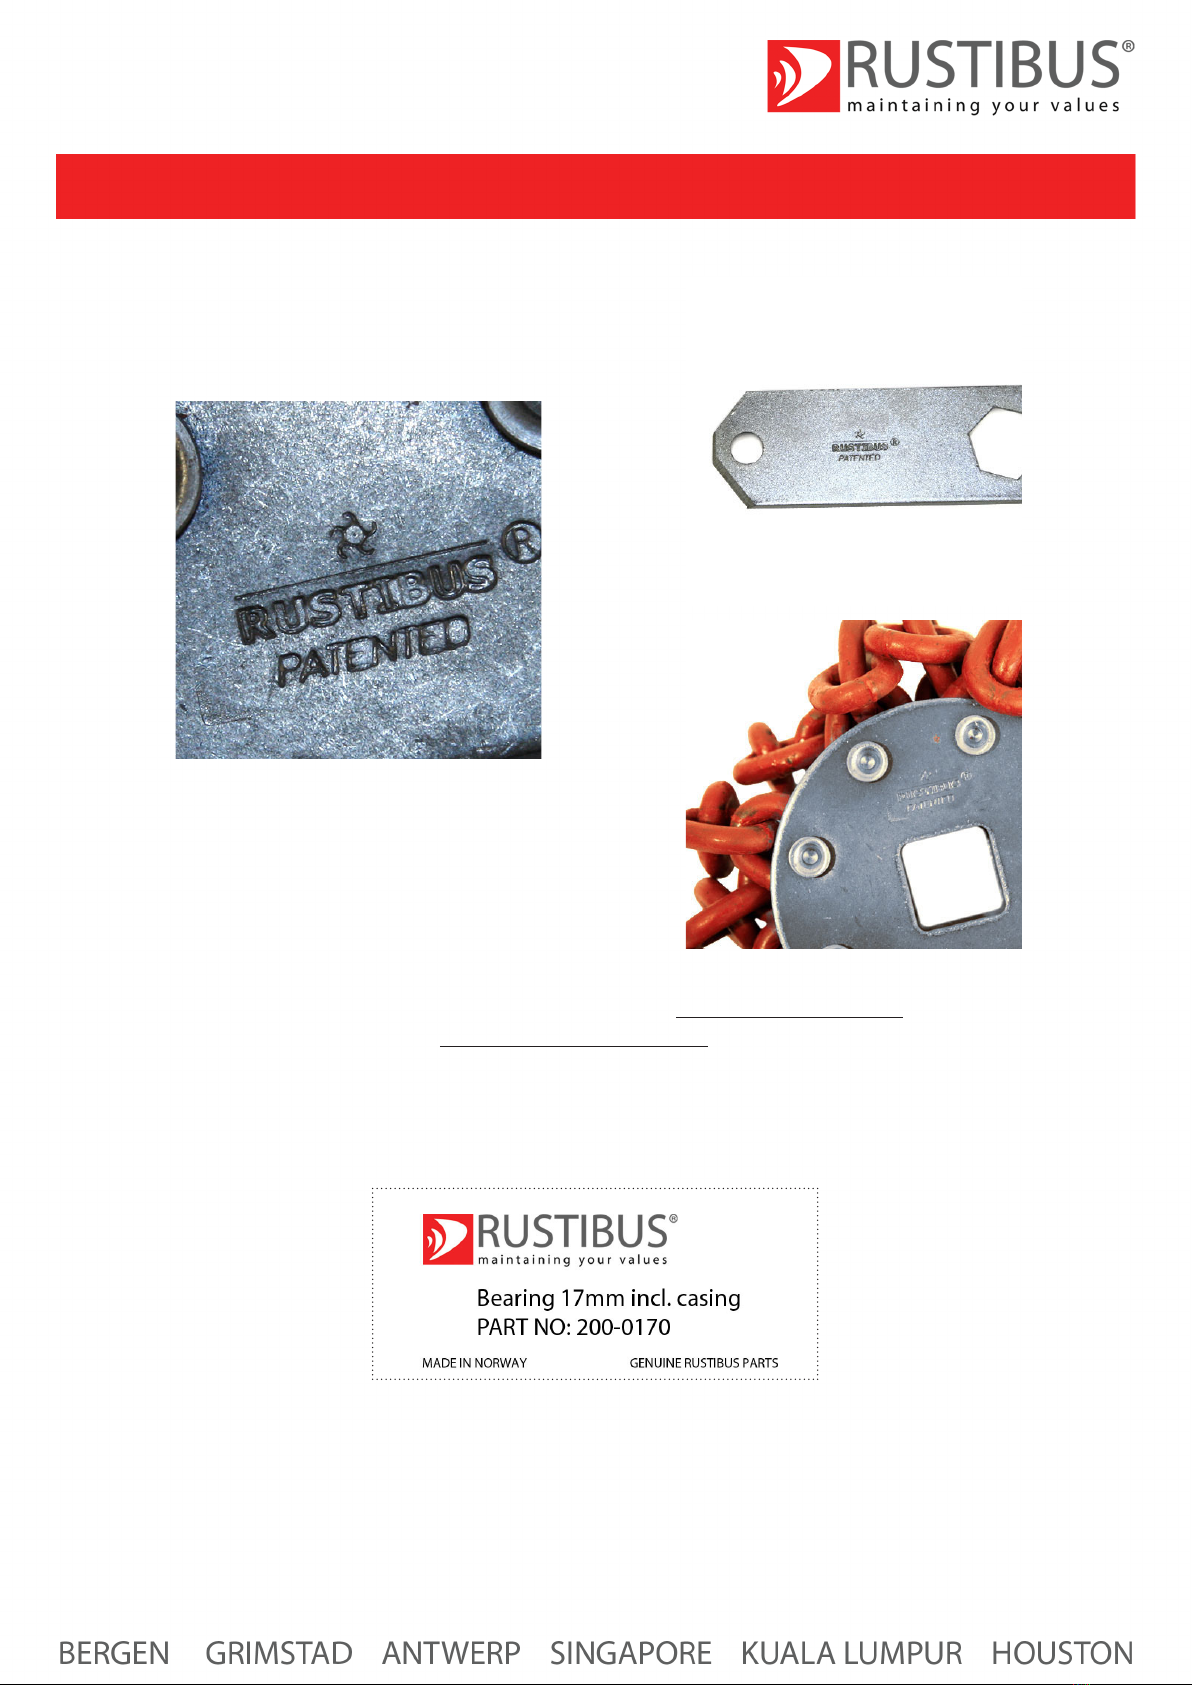
Part Numbers:
200- 0156 - Disposable Chain
Drum Set
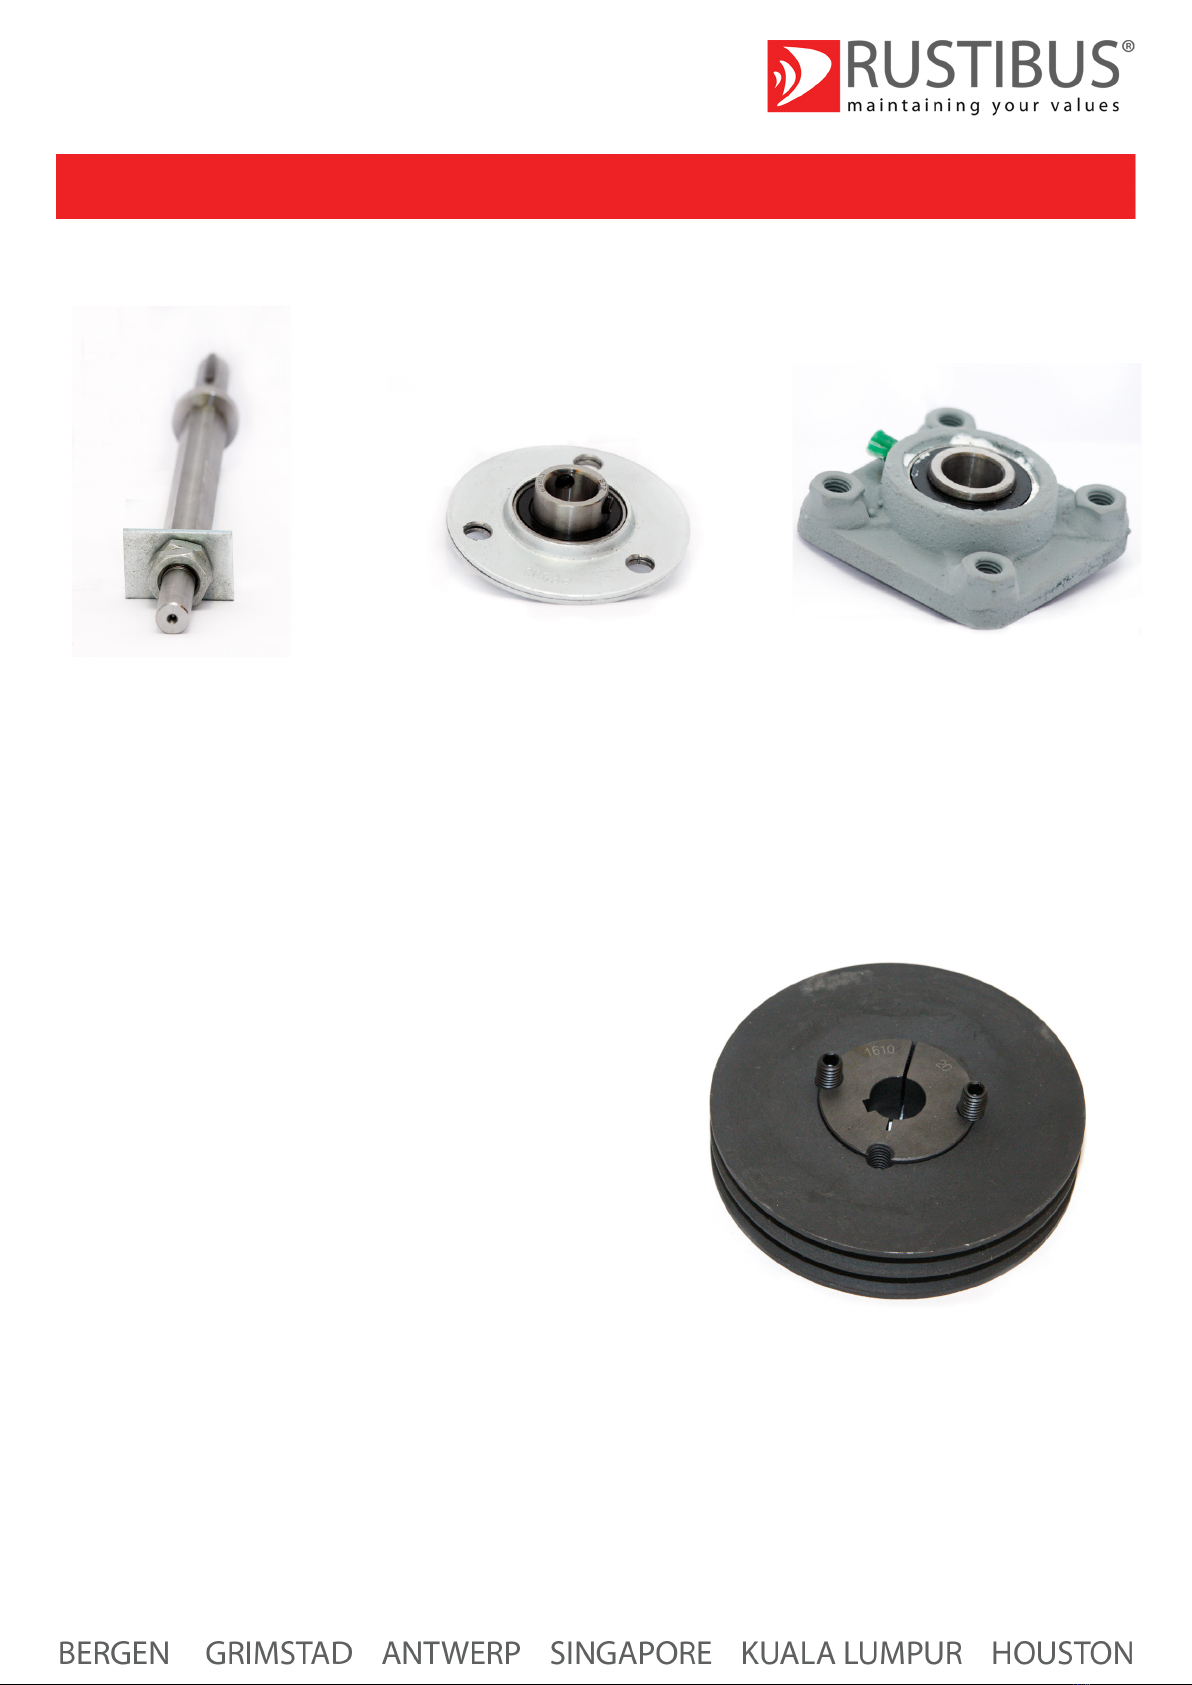
200- 2300 - Shaft for Head
(Incl.Washer & Nuts)
The next step is to place the other
Disposable Chain Cassettes on the
shaft, making sure the rivet heads
(B) are facing in the same
direction towards the base and
that the Cleft sections (C) line up
with each other accordingly.
Firstly place one of the Chain
Cassettes on the shaft until it
contacts with the shaft base (A)
- The order of assembly is clearly
shown in pictures 1 – 6.
1.
4.
2.
5.
3.
6.
When mounting the Chain
cassettes on the shaft make sure
that the rivets of each cassette are
in contact with those of the next,
this ensures that ALL the chain
links are free and not caught
between the Chain Cassette
sections.
Machine may vary from pictures