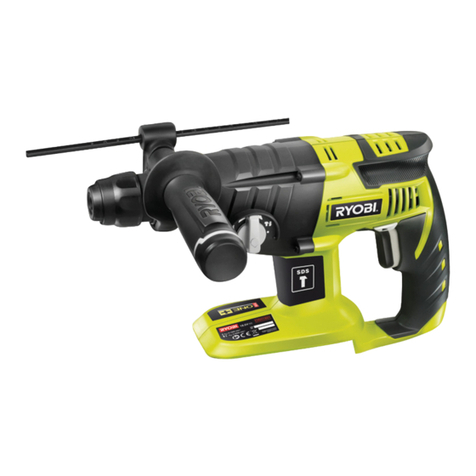
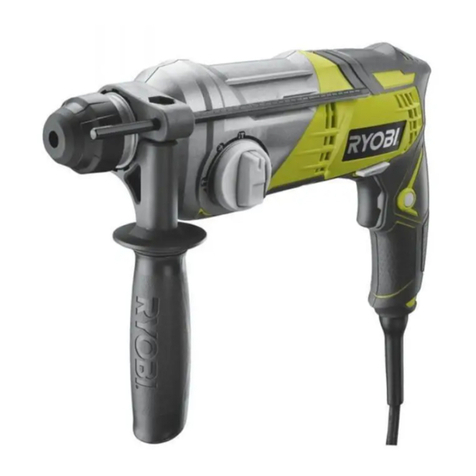
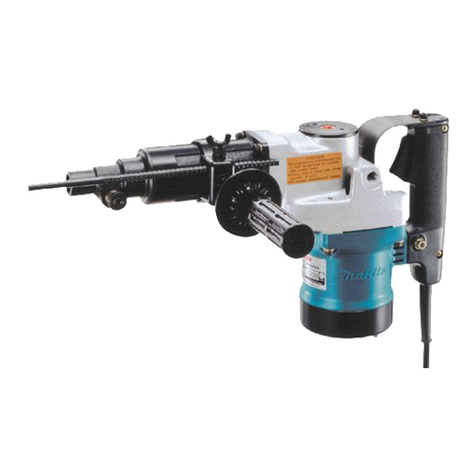
Ryobi ERH-600V User manual

ROTARY HAMMER DRILL
USER’S MANUAL
ERH-600V / ERH-600VA

Fig. 1 Fig. 2
Fig. 3 Fig. 4
Fig. 5 Fig. 6
ERH-600V-17 languages 31/03/04 14:45 Page A2

Sous réserve de modifications techniques / Subject to technical modifications / Technische Änderungen vorbehalten /
Bajo reserva de modificaciones técnicas / Con riserva di eventuali modifiche tecniche / Com reserva de modificações técnicas /
Technische wijzigingen voorbehouden / Med förbehåll för tekniska ändringar / Med forbehold for tekniske ændringer /
Med forbehold om tekniske endringer / Tekniset muutokset varataan / Υπ την επιφύλαξη τεχνικών τροποποιήσεων /
A műszaki módosítás jogát fenntartjuk / Změny technických údajů vyhrazeny / åÓ„ÛÚ ·˚Ú¸ ‚ÌeÒeÌ˚ ÚeıÌ˘eÒÍËe ËÁÏeÌeÌËfl /
Sub rezerva modificaţiilor tehnice / Z zastrzeżeniem modyfikacji technicznych
Attention ! Il est indispensable que vous lisiez les instructions contenues dans ce manuel avant
le montage et la mise en service de l’appareil.
Important! It is essential that you read the instructions in this manual before mounting and operating
this machine.
Achtung! Bitte lesen Sie unbedingt vor Montage und Inbetriebnahme die Hinweise dieser Bedienungsanleitung.
¡Atención! Es imprescindible que lea las instrucciones de este manual antes del montaje y de la
puesta en servicio.
Attenzione! Prima di procedere al montaggio e alla messa in funzione, è indispensabile leggere
attentamente le istruzioni del presente manuale.
Atenção! É indispensável ler as instruções deste manual antes de montar e pôr em serviço.
Let op! Het is absoluut noodzakelijk vóór montage en inbedrijfstelling de aanwijzingen in deze
handleiding te lezen.
Observera! Det är nödvändigt att läsa instruktionerna i denna bruksanvisning före montering och
driftsättning.
OBS! Denne brugsanvisning skal læses igennem inden montering og ibrugtagning.
Advarsel! Vennligst les instruksjonene i denne bruksanvisningen før du monterer og tar i bruk
maskinen.
Huomio! On ehdottoman välttämätöntä lukea tässä käyttöohjeessa annetut ohjeet ennen
asennusta ja käyttöönottoa.
Προσοχή! Είναι απαραίτητο να διαβάσετε τις συστάσεις των οδηγιών αυτών πριν τη
συναρµολγηση και τη θέση σε λειτουργία.
Figyelem! Feltétlenül fontos, hogy a jelen használati útmutatóban foglalt előírásokat az
összeszerelés és az üzembe helyezés ellőt elolvassa !
Důležité upozornění! Před montáží nářadí a uvedením do provozu je nutné si přečíst následující pokyny.
ÇÌËχÌËe! èee‰ Ò·ÓÍÓÈ Ë Á‡ÔÛÒÍÓÏ ËÌÒÚÛÏeÌÚ‡ ÌeÓ·ıÓ‰ËÏÓ ÔÓ˜eÒÚ¸ ËÌÒÚÛ͈ËË ËÁ ̇ÒÚÓfl˘e„Ó
ÛÍÓ‚Ó‰ÒÚ‚‡.
Atenţie! Este indispensabil sã citiţi instrucţiunile conţinute în acest mod de utilizare înainte de montaj
şi de punerea în funcţiune.
Uwaga! Przed montowaniem i uruchomieniem, koniecznie musicie się Państwo zapoznać
z zaleceniami zawartymi w niniejszym sposobie użycia.
ERH-600V-17 languages 31/03/04 14:45 Page A3

SAFETY INSTRUCTIONS
Warning
When using electric tools, basic safety
precautions should always be followed to reduce
the risk of fire, electric shock and personal injury.
Read all these instructions before attempting to
operate this tool and save these instructions.
■Keep work area clean. Cluttered areas and benches
invite injuries.
■Consider work area environment. Do not expose
power tools to rain. Do not use power tools in damp
or wet locations. Keep work area well lit. Do not use
power tools near flammable liquids or gases.
■Guard against electric shock. Avoid body contact
with grounded surfaces (e.g. pipes, radiators,
ranges, refrigerators).
■Keep children away. Do not let visitors touch the tool
or extension cord. All visitors should be kept away
from the work area.
■Store idle tools. When not in use, tools should be
stored in a dry, high, or locked-up place, out of the
reach of children.
■Do not force the tool. It will do the job better and
safer at the rate for which it was intended.
■Use the right tool. Do not force small tools to do the
job of heavy-duty tools. Do not use tools for purposes
not intended. For example, do not use a circular saw
for cutting tree limbs or logs.
■Dress properly. Do not wear loose clothing or
jewellery that can get caught in moving parts. Rubber
gloves and non-skid footwear are recommended
when working outdoors. Wear protective hair covering
to contain long hair.
■Use safety glasses. Also use a face or dust mask if
the cutting operation is dusty.
■Do not abuse the cord. Never carry the tool by the
cord or yank it to disconnect it from the socket.
Keep the cord away from heat, oil and sharp edges.
■Secure work. Use clamps or a vice to hold the
work piece. It is safer than using your hand and it
frees both hands to operate the tool.
■Do not overreach. Keep proper footing and balance
at all times.
■Maintain tools with care. Keep tools sharp and
clean for better and safer performance. Follow
instructions for lubricating and changing accessories.
Inspect tool cords periodically and, if damaged, have
them repaired by a qualified technician at an
Authorised Ryobi Service Centre. Inspect extension
cords periodically and replace them if damaged. Keep
handles dry, clean and free from oil and grease.
■Disconnect tools. Your tool must be disconnected
when not in use, before servicing, and when changing
accessories such as blades, bits and cutters.
■Remove adjusting keys and wrenches. Get into the
habit of checking to see that adjusting keys and
wrenches are removed from the tool before turning it on.
■Avoid unintentional starting. Do not carry the
plugged-in tool with a finger on the variable switch.
Make sure the switch is off when plugging it in.
■Use appropriate extension cords. When the tool is
used outdoors, use only extension cords intended
for outdoor use.
■Stay alert. Watch what you are doing. Use common
sense. Do not operate the tool when you are tired.
■Check for damaged parts. Before further use of the
tool, a guard or other part that is damaged should be
carefully checked to ensure that it will operate properly
and perform its intended function. Check for alignment
of moving parts. Check that no part is bound or
broken. Check the mounting and any other condition
that may affect tool operation. A guard or other part
that is damaged should be properly repaired or
replaced by an authorised service centre unless
otherwise indicated elsewhere in this instructions
manual. Have defective switches replaced by an
Authorised Ryobi Service Centre. Do not use the tool
if the switch does not turn it on and off.
Warning
The use of any accessory or attachment other
than those recommended in this user's manual
may present a risk of personal injury.
■Have your tools repaired by a qualified technician.
This tool complies with the relevant safety rules for
electric tools. To avoid all risks of injury, do not attempt
to repair it yourself. Have it repaired by a qualified
technician in an Authorised Ryobi Service Centre.
■Connect the dust extraction device. Wherever there
are facilities for fitting a dust extraction system, make
sure it is properly connected and correctly used.
■Noise level. Noise level (or sound pressure level) in
the work area can exceed 85 dB(A). In this case,
operators should take appropriate measures to
ensure sound insulation and wear ear protectors.
English
5

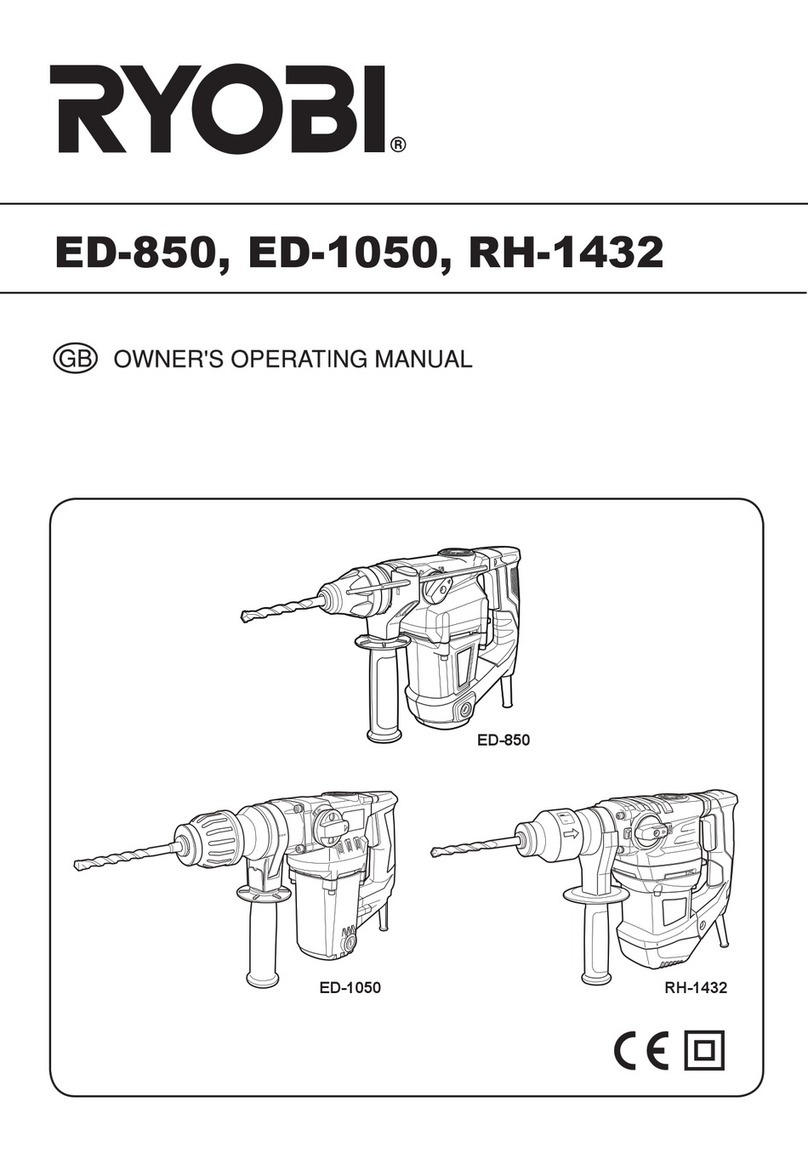
DESCRIPTION (FIG. 1)
1. Fastening sleeve
2. Variable switch with reverse action
3. Lock-on button
4. Auxiliary handle
5. Depth stop
6. Mode selector
ITEMS SUPPLIED
- Case
- Hammer drill
- Depth stop
- Auxiliary handle
PRODUCT SPECIFICATIONS
Voltage 230 V / 110 V 50 Hz
AC only
Power consumption 600 W
No Load Speed 0 - 850 min-1
No load speed in hammer mode 0 - 4,400 min-1
Maximum drilling capacity:
- steel 10 mm
- concrete / stone 20 mm
Tool Attachment SDS-Plus
Weight 2.8 kg
Vibration level 5.0 m/s2
Insulation class II
Noise and vibration values measured according to
EN 50144.
SAFETY PRECAUTIONS
Important
To protect yourself from the risk of electric shock,
injury and fire when using an electric tool, it is
imperative to take the following basic safety
precautions. Before you use your tool, read
these instructions carefully and make sure that
you understand them thoroughly.
■Make sure that the voltage (Volts) used corresponds
to the voltage marked on the tool's rating plate.
■When using cable drums, run all the cable off the
drum. Minimum cable across section: 1.0 mm.
■When using the electric hammer drill outdoors,
connect it to an outdoor-grade extension cable type
H07RN-F 2G, 1.0 mm and rain-water-protected plugs
in proper working order.
■Make sure of your footing on ladders and scaffolding
when drilling freehand.
■Use a line detector to locate concealed electric,
water or gas lines in walls. Avoid touching live
components or conductors.
■Wear goggles and use a dust mask on jobs
generating dust.
■Do not use your hammer drill near flammable liquids
or gases.
■Always pull the plug out of the socket before cleaning
your tool or changing accessories.
■Keep the power cable in good condition. Oil and acid
can damage the cable.
■Never overload the tool.
■Make sure your workplace is safe.
Important
It is imperative to follow all national safety
regulations concerning installation, operation and
maintenance of the tool.
■If incorrectly fitted, chisel bits and drill bits may be flung
out of the tool accidentally and cause serious injury.
Before you start using your hammer drill, always
check that the chisel or drill bit is properly locked in
the chuck.
■Examine the chuck regularly for signs of wear or
damage.
■Always press the hammer drill against the work
surface (wall, ceiling, etc.) before you start it.
■When you are finished, unplug the hammer drill from
the power supply and remove the chisel or drill bit.
■Always disconnect the hammer drill from the power
supply before you change the chisel or drill bit.
■Wear safety goggles to protect your eyes from flying
particles and splinters. Have other workers do the
same. Wear a helmet and put up partition walls in
your work place!
■Wear work gloves to protect fingers from bruising
and grazing.
■Vibrations can injure the hand-arm system. Keep
exposure to vibrations as short as possible.
■Always keep the power cord behind the tool.
■Store the tool out of the reach of children.
■When using the tool, always hold it with both hands
and ensure that you have stable footing.
6
English

BEFORE STARTING TO USE YOUR
HAMMER DRILL
■Examine the place where the tool is to be used for
hidden electrical cables, gas, and water pipes using a
pipe finding device.
■Before you plug in your tool, make sure that the voltage
used corresponds to that indicated on the rating plate.
FITTING AND CHANGING BITS (FIG. 2)
The device is equipped with an SDS-plus attachment
system.
■Clean the bit and grease it with a thin layer of
machine grease before inserting it into the chuck.
■Pull back the fastening sleeve (A. Fig. 2) and hold it.
■Push and rotate the dust-free tool into the bit holder
as far as it will go. The bit will lock automatically.
■Check that it has locked by pulling on it.
REMOVING THE BIT FROM THE SDS-PLUS
SYSTEM (FIG. 3)
Pull back the fastening sleeve (A) and remove the bit.
SWITCHING ON/OFF
■Speed control
You can modify the speed at any time by pressing on
the variable switch (2). The more you press on the
variable switch (2), the greater the speed.
■Lock-on button
If you want to keep your hammer drill operating at a
constant speed, press the lock-on button (3) while
pressing the variable switch. To unlock this function,
briefly press the variable switch (2) then release it.
AUXILIARY HANDLE (FIG. 4)
For reasons of safety, only use the hammer drill when it
is fitted with the auxiliary handle.
Rotate the auxiliary handle anticlockwise until your are in
a safe and comfortable working position.
Then lock the auxiliary handle in this position.
DEPTH STOP (FIG. 5)
Loosen the knob and place the depth stop in the hole.
Adjust the depth stop to the desired depth then tighten
the knob.
MODE SELECTOR (FIG. 6)
Your hammer drill is equipped with a hammer stop facility
for smooth drilling.
■To deactivate the hammer action, turn the mode
selector (6) clockwise to position (b).
■To reactivate the hammer action, the mode selector (6)
has to be reset to position (a).
You can use the selector to change modes even when
the hammer drill is operating (at low speed). The selected
mode is only activated once the variable switch (2) is
pressed to start the tool.
Note: Anti-clockwise rotation during impact drilling
damages the drill bit. Deactivate the hammer
action when using a diamond drill bit.
REVERSING THE DIRECTION OF ROTATION
The rotational direction switch (2) can only be activated
when the tool is at a standstill!
The rotational direction switch (2) has two positions:
■Clockwise rotation: Set the rotational direction
switch (2) to the right position.
■Anti-clockwise rotation: Set the rotational direction
switch (2) to the left position.
Important
When hammer drilling, you do not need to force
the drill. Too much pressure will place unnecessary
load on the motor. Check the drill bits regularly.
Re-sharpen or replace blunt drill bits.
MAINTENANCE
■Unplug the hammer drill before making any
adjustment, servicing or cleaning the tool.
■Keep your machine clean at all times.
■Never use caustic agents to clean the plastic parts.
■At the end of your work, to prevent dust deposits you
should use compressed air (max. 3 bar) to clean out
the ventilation slots.
■Check the carbon brushes regularly (dirty or worn
carbon brushes result in excessive sparking and
speed faults).
English
7

98/37/EC,73/23/EEC,89/336/EEC,2000/14/EC,EN50144, EN55014, EN61000
Sound pressure level
Sound power level
The weighted root mean
square acceleration value.
dB(A)
dB(A)
m/s2
GUARANTEE - STATEMENT
This product is guaranteed from defects in material and workmanship, for a period of 24 months, effective and
evidenced from date of original invoice or delivery note.
Defects caused by normal wear and tear, unauthorized / improper maintenance/handling or overload are excluded
from this guarantee as are accessories such as blades and bits, etc.
In the event of malfunction within the guarantee period, please return the product UNDISMANTLED with proof of
purchase, to your dealer or nearest Ryobi Service Centre.
Your statutory rights in respect of defective products remain unaffected by the warranty
Name of company: RYOBI TECHNOLOGIES (UK) LTD.
Address: ANVIL HOUSE, TUNS LANE,
HENLEY-ON-THAMES,
OXFORDSHIRE, RG9 1SA
UNITED KINGDOM
Name/Title:
Managing Director
Signature:
Tel: +44-1491-848700 Fax: +44-1491-848701
Mark Pearson
Machine: ROTARY HAMMER DRILL Type: ERH-600V / ERH-600VA
This manual suits for next models
1
Table of contents
Other Ryobi Rotary Hammer manuals

Ryobi
Ryobi RBC36X26E User manual

Ryobi
Ryobi ED-850 User manual

Ryobi
Ryobi CRH1801 User manual

Ryobi
Ryobi P221 Quick setup guide

Ryobi
Ryobi SDS60K User manual

Ryobi
Ryobi XRH-2020 Operation manual

Ryobi
Ryobi CRH1801 Operation manual

Ryobi
Ryobi P223K1 User manual

Ryobi
Ryobi ED-382NP User manual

Ryobi
Ryobi SDS60K Quick setup guide