More info, articles, tutorials and videos at: support.safescan.com More info, articles, tutorials and videos at: support.safescan.com
2 3
EnglishEnglish
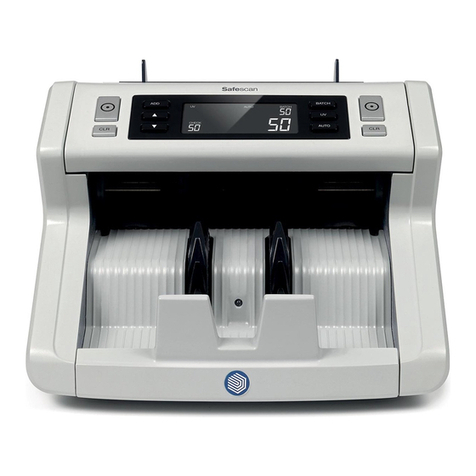
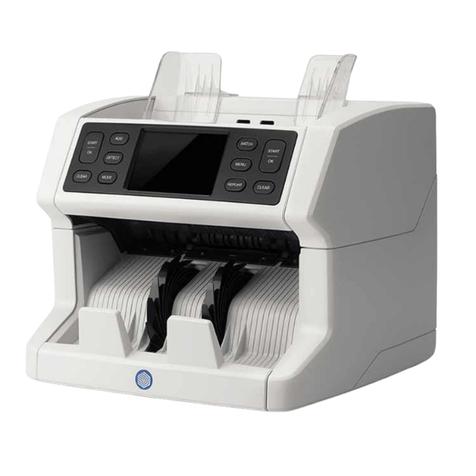
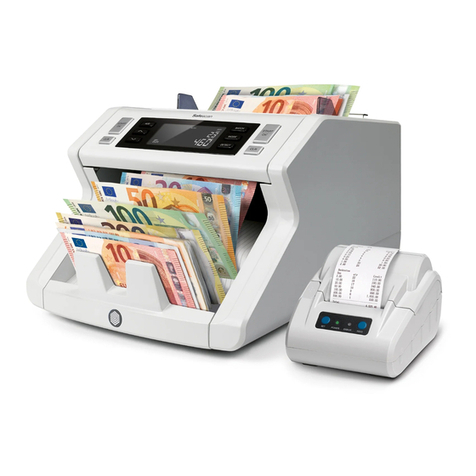
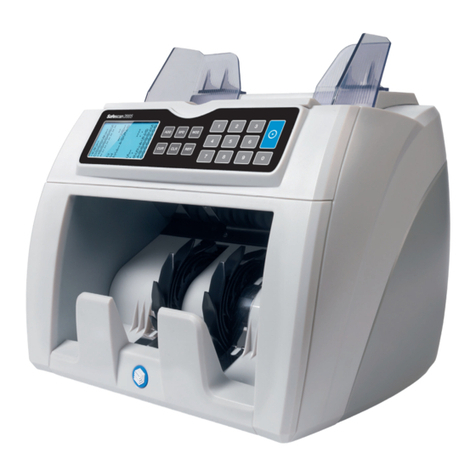
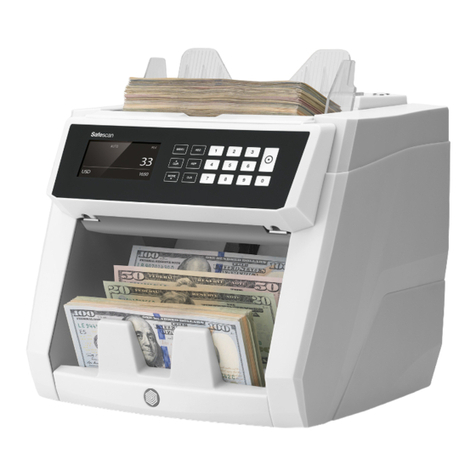
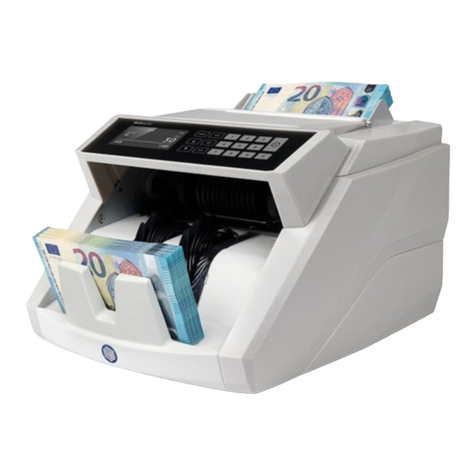
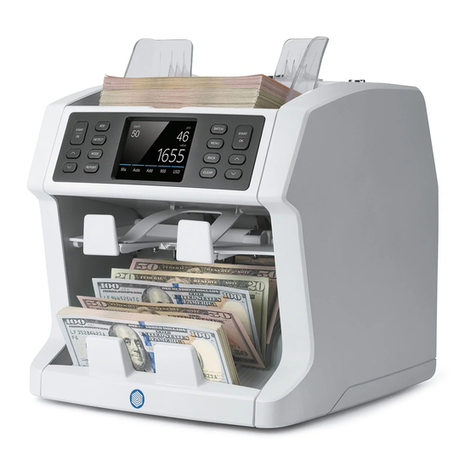
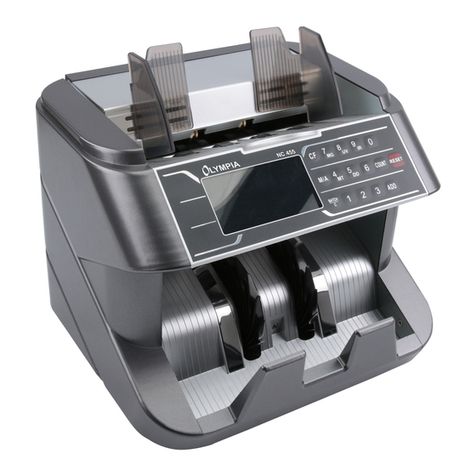
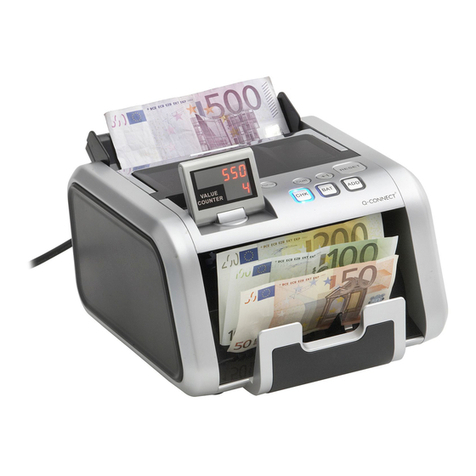
Thank you for purchasing a Safescan 2985-SX / 2995-SX banknote
counter. For proper use and maintenance we advise you to read
this user manual carefully.
- Place the machine on a at and stable surface.
- Do not place the machine in dusty or dirty environments.
- Use the supplied dust cover when the machine is not in use.
- Do not place the machine in direct sunlight or near heat sources
or air conditioners.
- Always connect the device to a grounded power outlet.
- Use only the supplied power cord.
- Operation temperature 15-35 °C / 59-95 °F.
- Operation humidity 30-80% R.H.
- Do not use the machine outdoors.
- Do not expose the machine to liquids.
- This machine contains rotating parts. Never touch the moving
parts when the machine is switched ON.
- Please ensure that no foreign objects (coins, paper clips, staples,)
fall into the machine, these may block the mechanical parts and
the sensors of the machine and damage or break them and will
void your warranty.
- Keep jewellery, long hair, ties and other protruding parts away
while operating the machine.
- Never disassemble the machine.
- To prevent shock hazard, do not touch the power cable with wet
hands.
- Unplug the device if you want to move it to another position.
- Hold the plug when disconnecting the unit from the power outlet,
never pull the cord.
Please note
Should the equipment be altered in any way or used in a manner
for which it was not intended at the time of delivery, the supplier
of the equipment accepts no responsibility for injury or damage
to personnel or equipment. If the conditions for use of the
equipment are changed, the supplier must be contacted or the
declaration of conformity will be invalidated.
Safety instructionsIntroduction

