manuals.online logo
Brands
  1. Home
  2. •
  3. Brands
  4. •
  5. Sam4s
  6. •
  7. Cash Register
  8. •
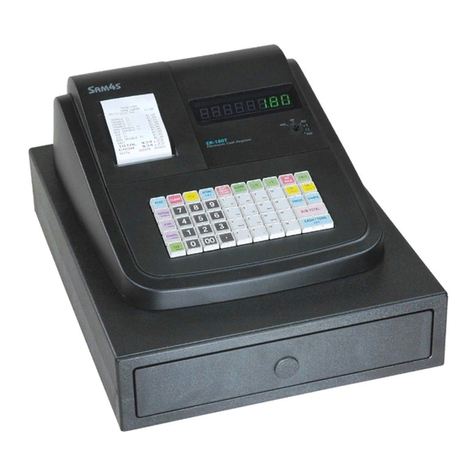
  9. Sam4s ER-180 User manual

Sam4s ER-180 User manual

ER-180
Electronic Cash Register
Quick Setup Guide
For 10 Departments Model
Loading Paper
•Place paper roll in the paper
holder (D)
•Insert the paper end straight
into the paper inlet of printer
(E)
•Press “FEED” button until
the paper catches and
advances through the printer
(F)
•For use as a receipt pass the
paper through the receipt
window of the printer cover
(L)
•For use as a journal attach
paper roll to the Take up
Spool.
Keyboard Layout of ER-180
FEED
RETURN
VOID
CLERK
TAX
NO
SALE
RA
( + )
CHECK
Dept
4

Dept
5

Dept 8

Dept 9

Dept 10

CALC
PO
( - )
CHARGE
Dept
1

C / CONV
-
- %
Dept
2

Dept
3

+ %
Dept 7

SUBTOTAL
CASH / TEND
( = )
CLEAR PLU
7
4
1
0
8
5
2
00
9
6
3
•
X/TIME
( X )
Dept 6

RCPT
ON / OFF
Get Ready (cont.)
1
Unpack the Cash Register
Remove the cash register from the packaging.
Locate the following items:
•1 DC power supply
•1 roll of 57mm paper (ReorderP5757)
•1 set of keys (5 keys in total)
•3 AA batteries
•1 user manual
•1 Take up spool set.
PLEASE FOLLOW THESE STEPS IN ORDER
Install Batteries
•Remove battery from the
packaging.
•Remove the battery cover
which is located where the
paper roll sits.
•Push the negative pole of
the battery against the
spring firmly.
•Push the battery into
position.
•Repeat for the second and
third batteries and then
replace the battery cover.
•Incorrect installation of
one or more batteries will
result in “E Lo 0.00”
showing on the display
when the register is
plugged into the power
point.
Get Ready
1
RAM (Memory) All Clear - Reset
A “RAM All Clear” will reset the register back to the
factory default settings. It is strongly recommended
that a “RAM ALL CLEAR” is preformed on all new
registers before use.
•Switch the power to the
register off.
•Insert the C key and turn to
S-Mode (a hidden position
after PGM-Mode)
•Hold down the 00 button
and power up the register.
•Release the 00 button after hearing two beeps.
“02151409” will show on the display and the printer
will print EPROM information. For example,
“yyyyyyyy, 02 15 14 09 then 1y0
PO
”.
The “RAM All Clear” procedure is now complete
turn the key to the REG position.
Log in ER-180
After the RAM All Clear, a log in
procedure is needed in order to
use ER-180.
•The display will show
CLOSEd
•Press 1 on the 0~9 key pad
followed by the CLERK
button which is to the left of
1, the display will show
“0.00” and is now ready for
use.
DO NOT USE THE DECIMAL POINT ON THE REGISTER
WHEN ENTERING AN AMOUNT.
At this point, all 16 Departments and 100 PLUs are
preset to 10% on Tax1 (GST) and OPEN PRICE (a
price must be entered for each item sale); all PLUs
link to Department 1.
RAM All Clear
2
OFF
y
REG
y
VOID
y
y
S
y
PGM
y
X
y
Z
OFF
y
REG
y
VOID
y
y
S
y
PGM
y
X
y
Z
The ER-180 has two reporting modes, one for printing
out the information without resetting any figures; this
is referred to as the X-Mode
The second is for printing and
resetting the figures back to zero
ready for next day (End of Day),
this is referred to as the Z-Mode.
•Use either a Z, Por CKey and
turn to X-Mode or Z-Mode.
•Press one of the buttons from
the table below to print out
the required report
Button Mode Report
CASH-X or Z Financial
VOID-X or Z Financial Level 2
CHECK-X or Z Period-to-Date Financial
CHARGE-X or Z Department
CLERK-X or ZClerk
Date Programming
•Use a Por Ckey and turn to
PGM-Mode
•Enter two digits for the Day
the Month and the Year in
MMDDYY format.
For example, for 15 Jul 2011,
enter 0 7 1 5 1 1-
•Press the CHECK button to finalise programming
Time Programming
•Use a Por Ckey and turn to
PGM-Mode
•Enter two digits for the Hour
and Minutes in HHMM in 24
hours format.
For example, for 3:28pm,
enter 1 5 2 8-
•Press the CASH button to finalise programming.
Status and Preset Price Programming
After a RAM All Clear, all Departments and PLUs
default to open price. When a preset price is required
the Tax or Non Tax is part of the program sequence.
For a Department
•Use a Por C key and turn to PGM-Mode
•Enter the preset price (up to 7
digits) do not use decimal
point while entering price.
•The 8th digit is the Tax status
(please refer to the table
below)
•Press the Department you
wish to program.
For example
Five Dollars with GST would be 5001
For a PLU
•Use a Por C key and turn to PGM-Mode
•Enter PLU number followed by the PLU-button
•Enter the preset price (up to 7
digit) do not use decimal
point while entering price)
•The 8th digit is the Tax status
(please refer to the table
below)
•Press PLU button to finalise
For example.
Three dollars without GST would be 3000
8th digit When Tax is VAT,
0 Non Single Item, Tax Free
1 Non Single Item, GST
5 Single Item, Tax Free
6 Single Item, GST
¾For full list, please refer to ER-180 User Manual.
Programming Status and Price
3 Reporting
4
Note

OFF
y
REG
y
VOID
y
y
S
y
PGM
y
X
y
Z
OFF
y
REG
y
VOID
y
y
S
y
PGM
y
X
y
Z
OFF
y
REG
y
VOID
y
y
S
y
PGM
y
X
y
Z
OFF
y
REG
y
VOID
y
y
S
y
PGM
y
X
y
Z
OFF
y
REG
y
VOID
y
y
S
y
PGM
y
X
y
Z

Other manuals for ER-180

3

Other Sam4s Cash Register manuals

Sam4s ER-285M Owner's manual

Sam4s

Sam4s ER-285M Owner's manual

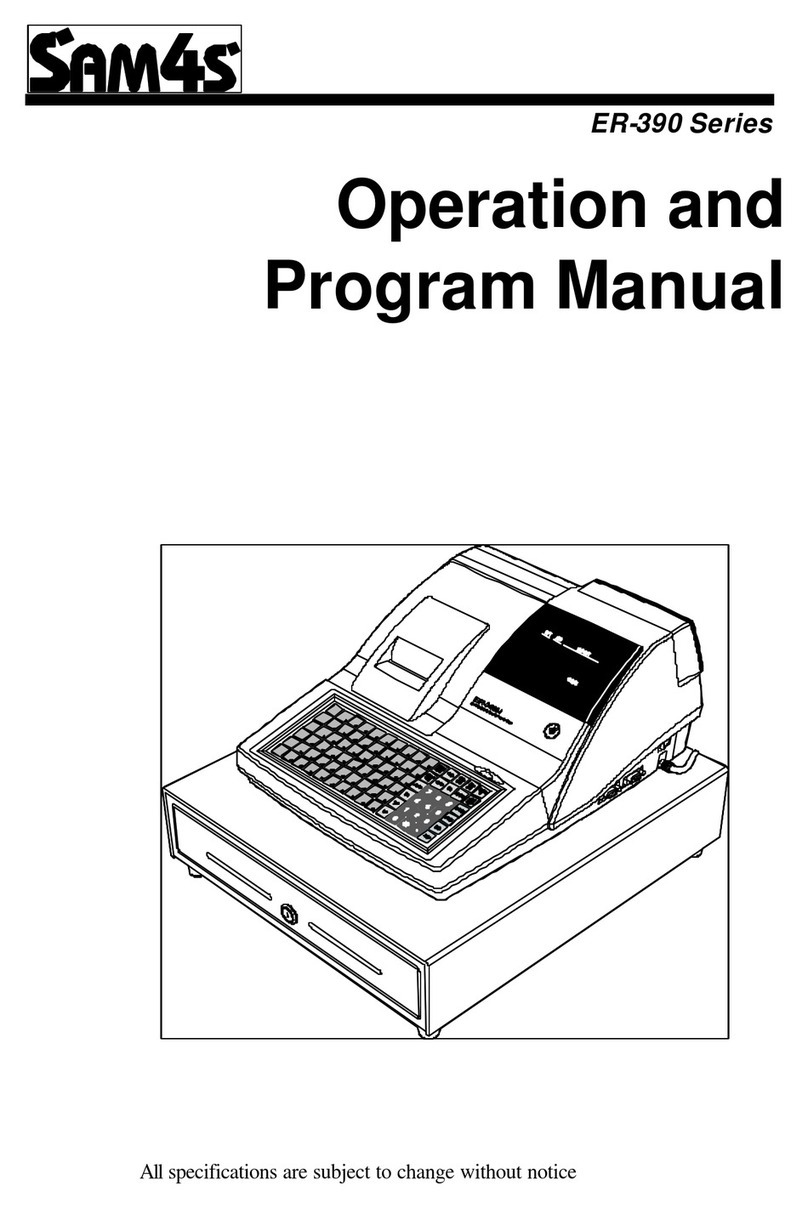
Sam4s ER-390 SERIES User manual

Sam4s

Sam4s ER-390 SERIES User manual

Sam4s SER-7000 User manual

Sam4s

Sam4s SER-7000 User manual

Sam4s ER-180T Owner's manual

Sam4s

Sam4s ER-180T Owner's manual

Sam4s ER-150 User manual

Sam4s

Sam4s ER-150 User manual

Sam4s ER-390 SERIES Troubleshooting guide

Sam4s

Sam4s ER-390 SERIES Troubleshooting guide

Sam4s ER-230 Series Troubleshooting guide

Sam4s

Sam4s ER-230 Series Troubleshooting guide

Sam4s NR-500R User manual

Sam4s

Sam4s NR-500R User manual

Sam4s SPS-500 User manual

Sam4s

Sam4s SPS-500 User manual

Sam4s ER-390M Troubleshooting guide

Sam4s

Sam4s ER-390M Troubleshooting guide

Sam4s SPS-500 User manual

Sam4s

Sam4s SPS-500 User manual

Sam4s ER-260 SERIES Owner's manual

Sam4s

Sam4s ER-260 SERIES Owner's manual

Sam4s ER-180 Owner's manual

Sam4s

Sam4s ER-180 Owner's manual

Sam4s ER-260EJ Owner's manual

Sam4s

Sam4s ER-260EJ Owner's manual

Sam4s ER-150II User manual

Sam4s

Sam4s ER-150II User manual

Sam4s ER-230 Series Troubleshooting guide

Sam4s

Sam4s ER-230 Series Troubleshooting guide

Sam4s ER-180 User manual

Sam4s

Sam4s ER-180 User manual

Sam4s ER-180 User manual

Sam4s

Sam4s ER-180 User manual

Sam4s ER-390M Troubleshooting guide

Sam4s

Sam4s ER-390M Troubleshooting guide

Sam4s SPS-300 Series User manual

Sam4s

Sam4s SPS-300 Series User manual

Sam4s SPS-300 Series User manual

Sam4s

Sam4s SPS-300 Series User manual

Sam4s ER-380M User manual

Sam4s

Sam4s ER-380M User manual

Sam4s ER-180U Series User manual

Sam4s

Sam4s ER-180U Series User manual

Sam4s ER-430M Troubleshooting guide

Sam4s

Sam4s ER-430M Troubleshooting guide

Popular Cash Register manuals by other brands

Royal 480nt operating manual

Royal

Royal 480nt operating manual

Olivetti ECR 8200 S user guide

Olivetti

Olivetti ECR 8200 S user guide

TEC TEC FS-3600 owner's manual

TEC

TEC TEC FS-3600 owner's manual

Integrated System Laboratory ISL 4006 user manual

Integrated System Laboratory

Integrated System Laboratory ISL 4006 user manual

Sharp XE-A206 Guía de inicio Rápido

Sharp

Sharp XE-A206 Guía de inicio Rápido

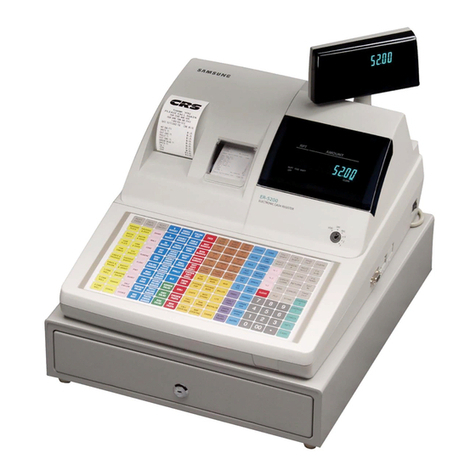
Samsung ER 5215 Operator's manual

Samsung

Samsung ER 5215 Operator's manual

Toast Toast Quick setup guide

Toast

Toast Toast Quick setup guide

QUORION CR 1200 user manual

QUORION

QUORION CR 1200 user manual

Olivetti ECR 7700 LD eco Plus user guide

Olivetti

Olivetti ECR 7700 LD eco Plus user guide

Sharp XE-A137-WH Operation Basic user manual

Sharp

Sharp XE-A137-WH Operation Basic user manual

Sharp XE-A203 - Cash Register Thermal Printing Graphic Logo... instruction manual

Sharp

Sharp XE-A203 - Cash Register Thermal Printing Graphic Logo... instruction manual

TEC TEC MA-1060 owner's manual

TEC

TEC TEC MA-1060 owner's manual

American Changer CLASSIC Series Operation manual

American Changer

American Changer CLASSIC Series Operation manual

Sharp XE-A130 Bedienungsanleitung

Sharp

Sharp XE-A130 Bedienungsanleitung

Casio PCR-T273 user manual

Casio

Casio PCR-T273 user manual

Sharp ER-2540 Service manual

Sharp

Sharp ER-2540 Service manual

Sharp ER-2540 Service manual

Sharp

Sharp ER-2540 Service manual

Casio QT-7300 Series user manual

Casio

Casio QT-7300 Series user manual

manuals.online logo
manuals.online logoBrands
  • About & Mission
  • Contact us
  • Privacy Policy
  • Terms and Conditions

Copyright 2025 Manuals.Online. All Rights Reserved.