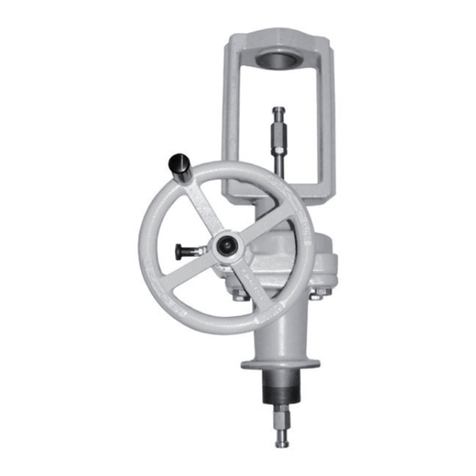
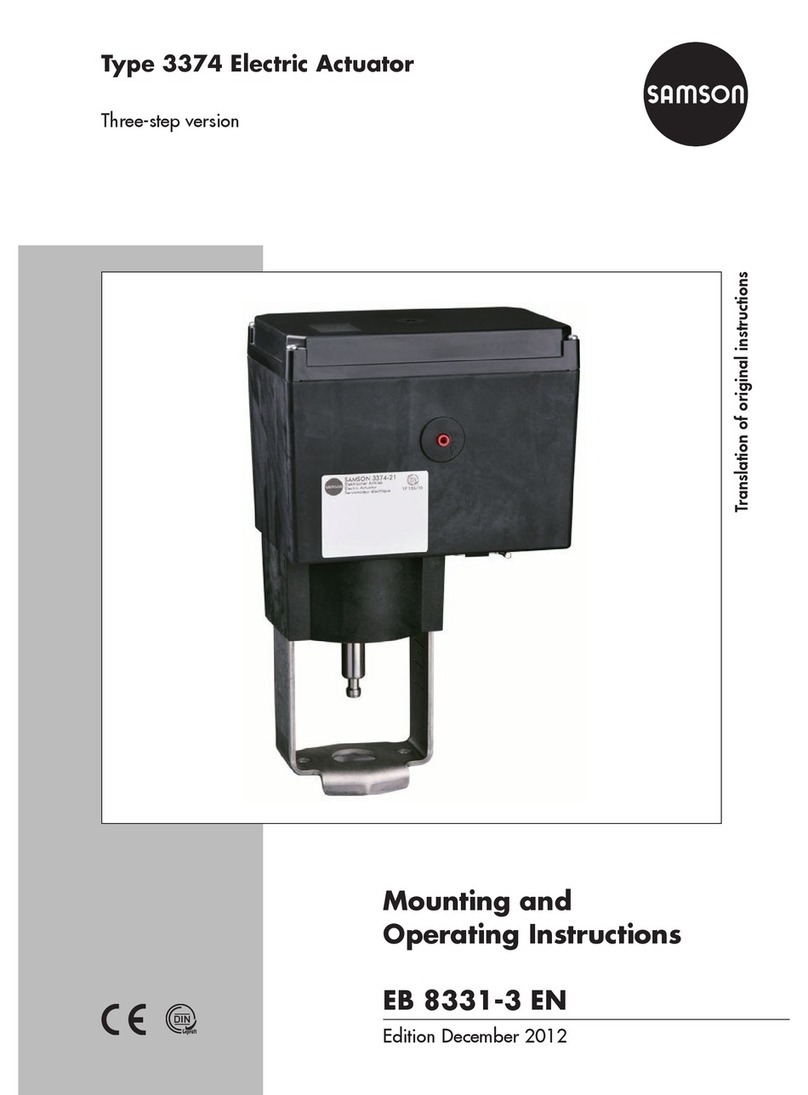
Samson 3374 Service manual
Other Samson Controllers manuals

Samson
Samson 46-7 Service manual
Samson
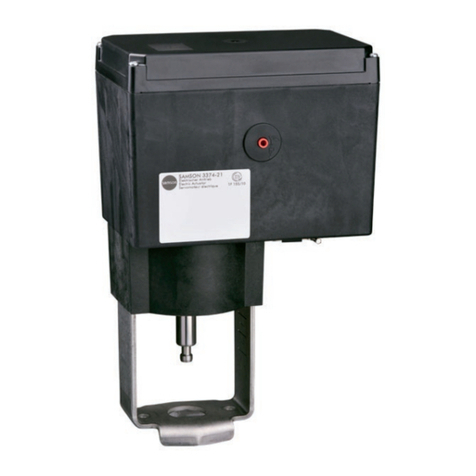
Samson 3374-10 Service manual
Samson
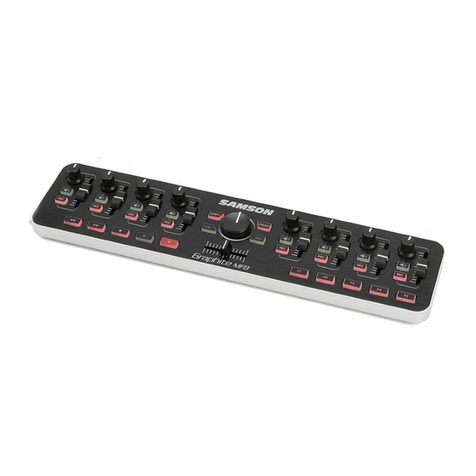
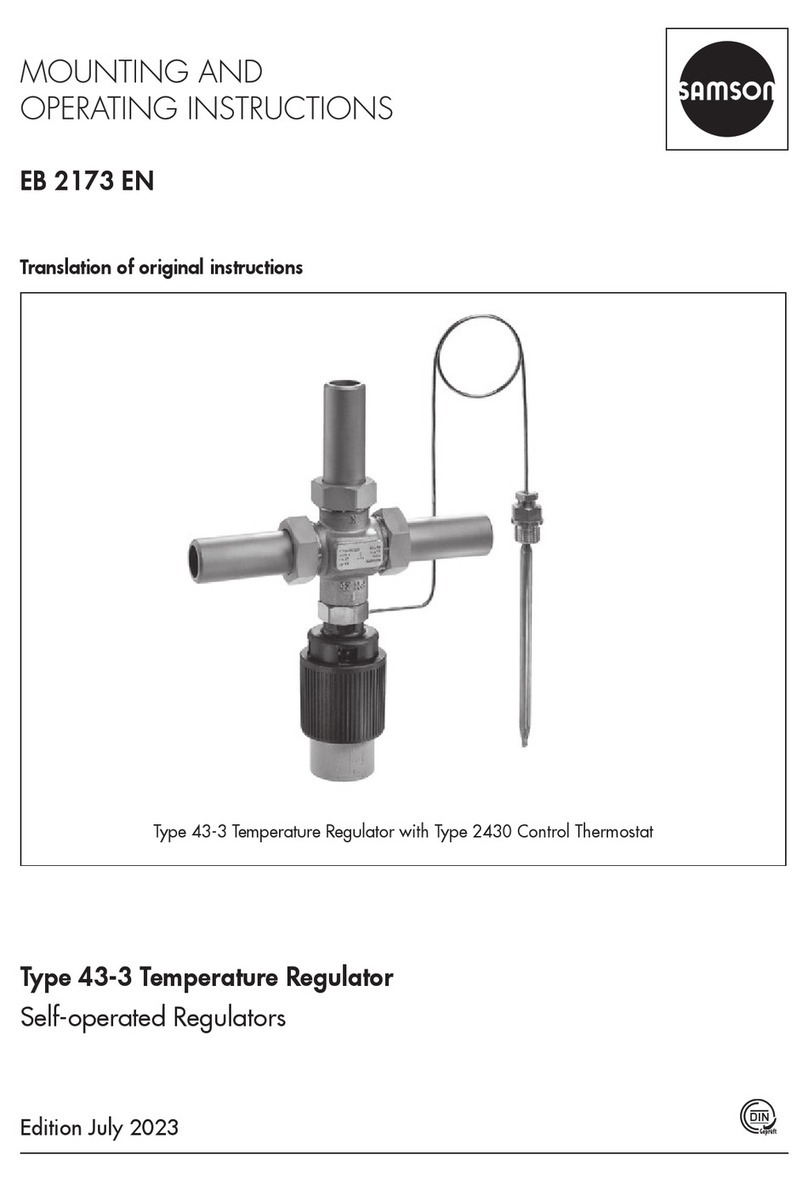
Samson Graphite MF8 User manual
Samson
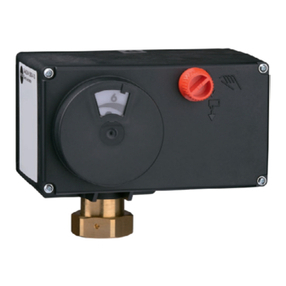
Samson 43-3 Service manual
Samson
Samson Type 5824 Service manual

Samson
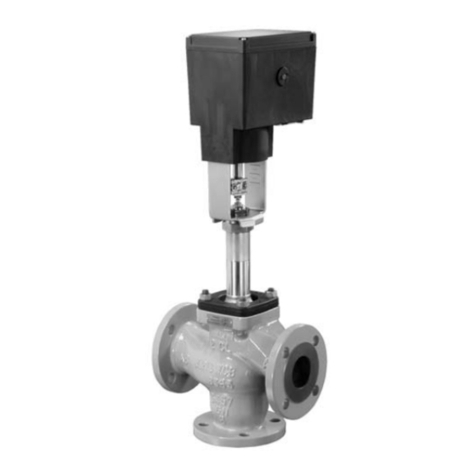
Samson 45-6 Service manual
Samson
Samson 3374 Service manual
Samson
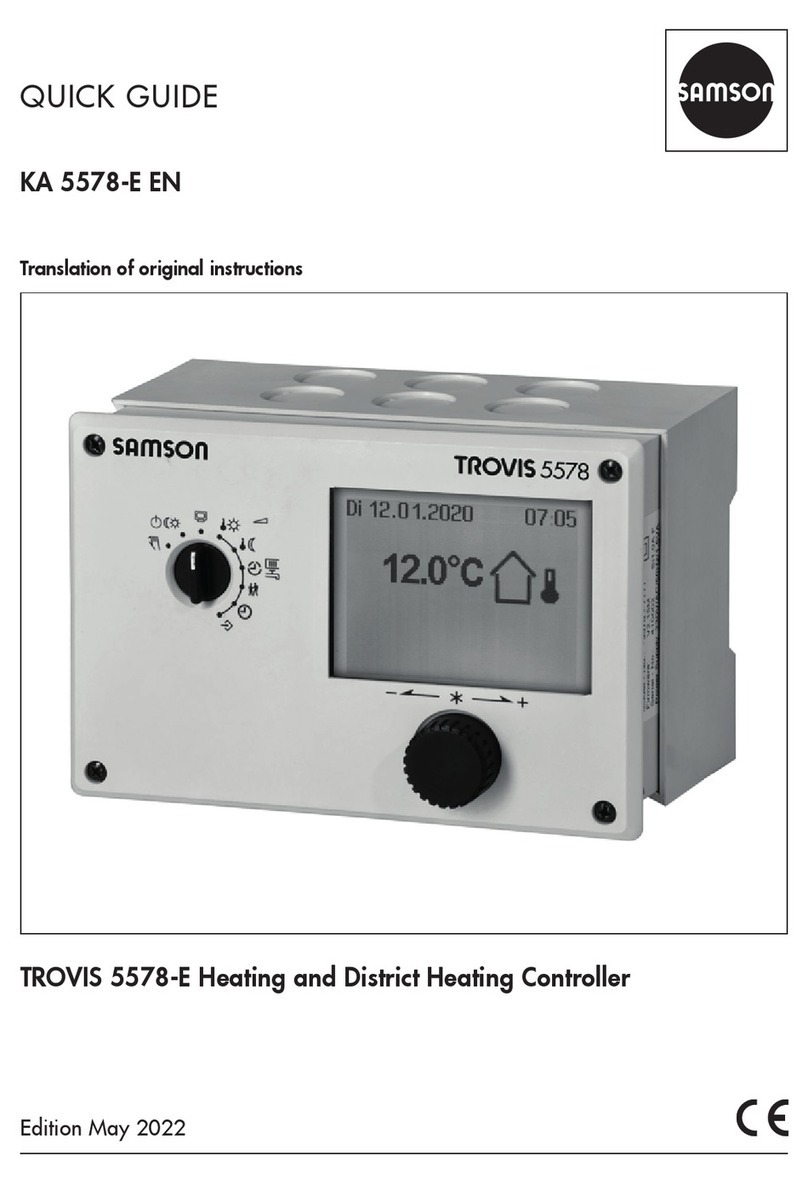
Samson TROVIS 5578-E Setup guide
Samson
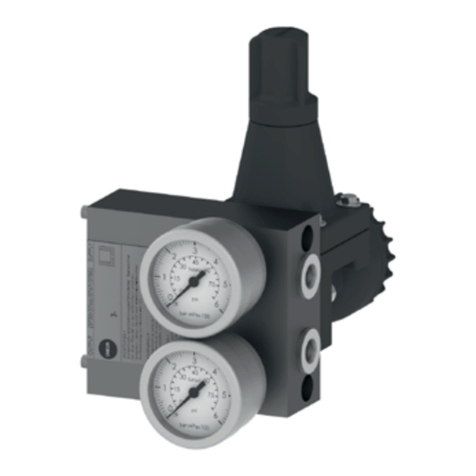
Samson Type 4708 Service manual
Samson
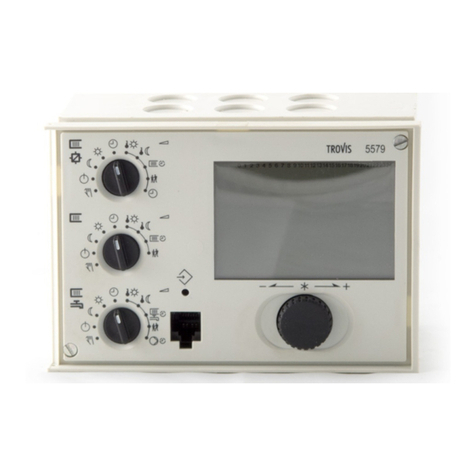
Samson TROVIS 5579 Service manual
Samson
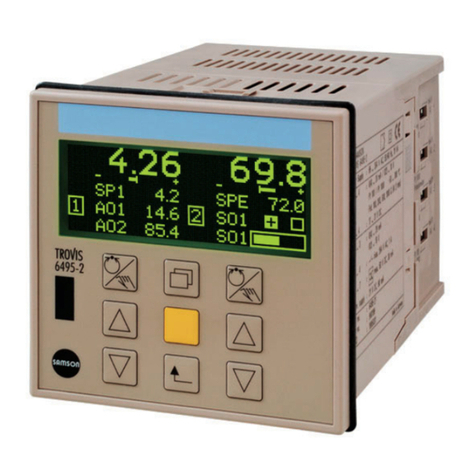
Samson TROVIS 6495-2 Service manual
Samson
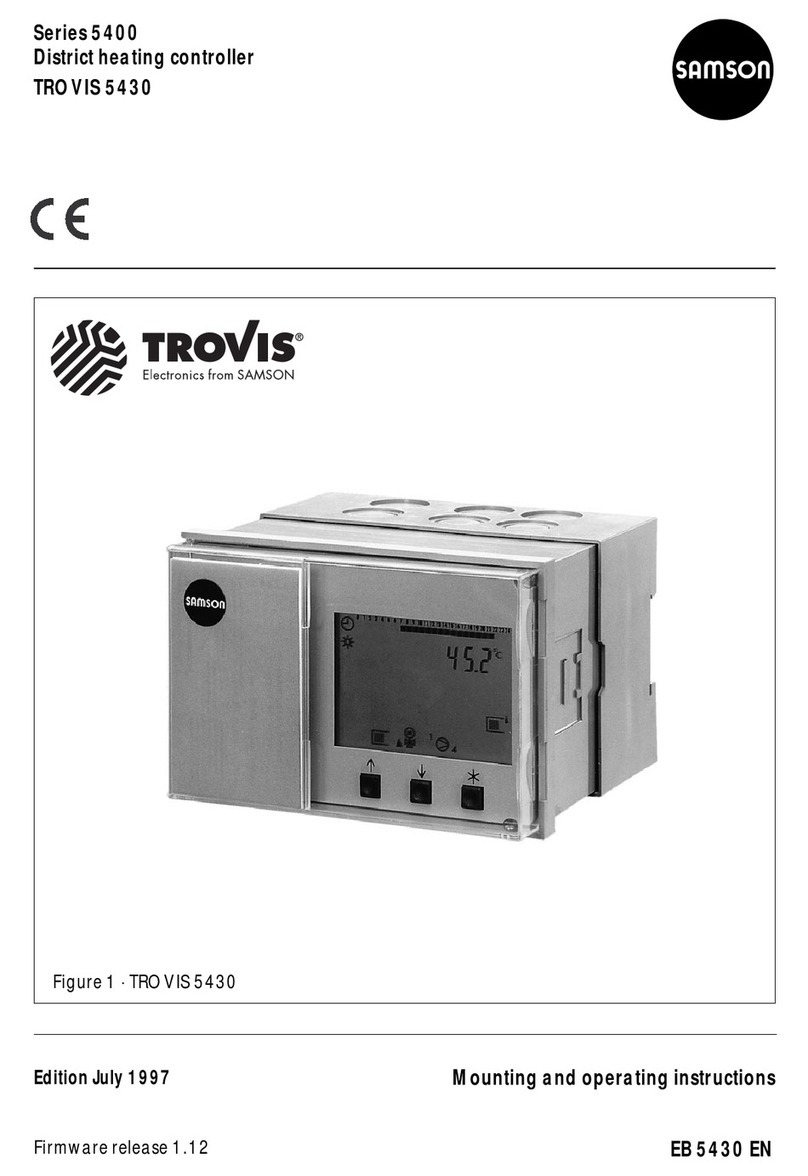
Samson TROVIS 5400 Series Service manual

Samson
Samson 3730-6 Service manual
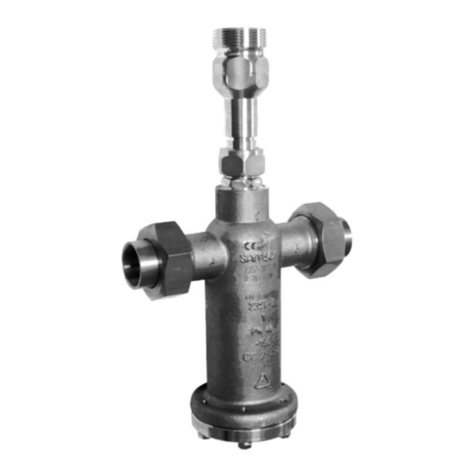
Samson
Samson 2357-3 Service manual
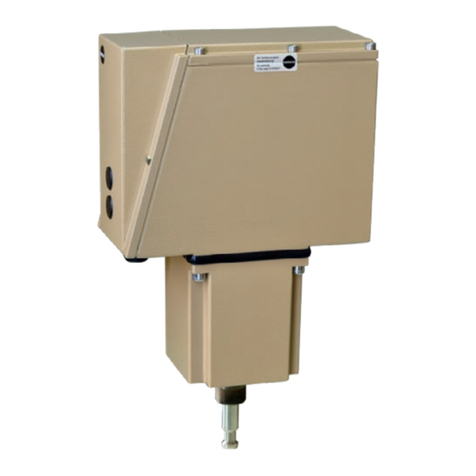
Samson
Samson 3274 Service manual

Samson
Samson 42-36 Service manual

Samson
Samson 1060 Operating manual

Samson
Samson 3271-5 Service manual
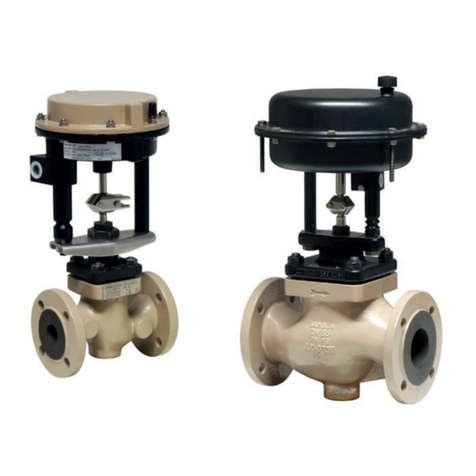
Samson
Samson 3371 Series Service manual
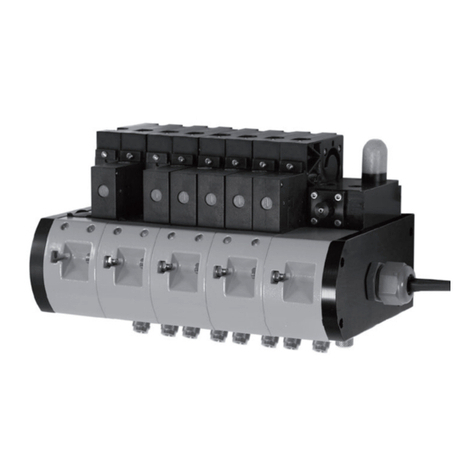
Samson
Samson 3965 Service manual
Popular Controllers manuals by other brands

Digiplex
Digiplex DGP-848 Programming guide

YASKAWA
YASKAWA SGM series user manual

Sinope
Sinope Calypso RM3500ZB installation guide

Isimet
Isimet DLA Series Style 2 Installation, Operations, Start-up and Maintenance Instructions

LSIS
LSIS sv-ip5a user manual

Airflow
Airflow Uno hab Installation and operating instructions
