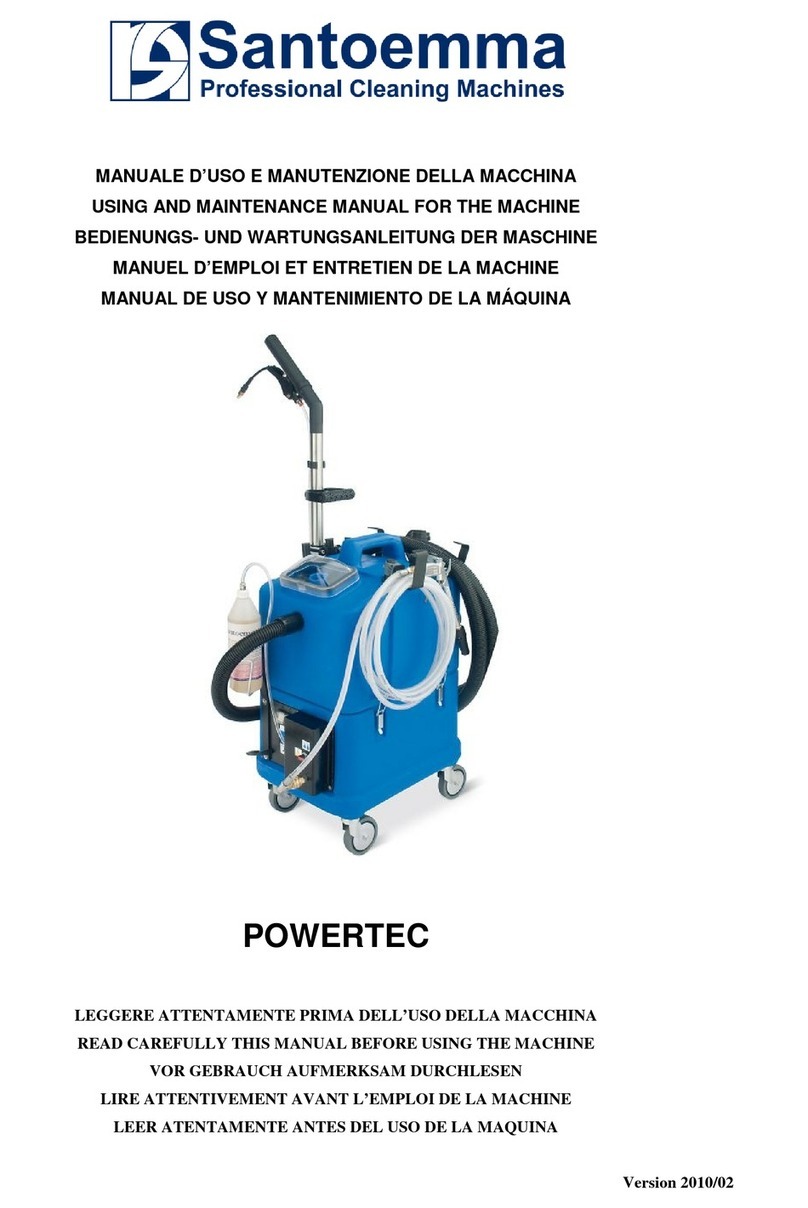
Santoemma Sabrina-Foam-Light Guide

USING AND MAINTENANCE MANUAL FOR THE MACHINE
Sabrina-Foam-Light is a machine designed to clean upholstery, seats and other
padded textiles. This machine sprays a special foam on the surface to be
cleaned. This foam is obtained by mixing compressed air with a special
detergent, T-FOAM. Unlike a normal solution of water and detergent, this foam
does not penetrate in the depth of the textile, but acts only on the superficial
layer, just where the dirt is present. Therefore the result in terms of cleanliness
and of drying time is excellent. Compressed air must be supplied to the machine
from an external source. For this reason, it is necessary to have a compressor
which can be connected to the machine.

Structure of the machine
Sabrina Foam Light is made by the following parts:
•Machine body,
•Accessory to spray foam, complete with its solution pipe for the connection
to the machine body,
•Vacuum plastic hand tool and vacuum hose for the connection to the
machine body.
The machine body contains all the necessary devices for spraying foam and then
vacuuming:
•The lower tank, containing the water and chemical solution used for
cleaning,
•The upper tank, used to recovery the dirt sucked by the vacuum motor,
•The solution pump and the vacuum motor, situated inside the lower tank,
•The control panel for the pump and the motor,
•The air compressor and the compressed air tank, located in the lower part,
•The control panel for the regulation of foam,
•The coupling for the incoming compressed air, located in the regulation
panel.
Preparation for work
To prepare the machine for work, do the following operations:
1. Insert the male quick disconnect coupling (located at the end of the solution
pipe coming out from the foam regulation panel) into the female quick
disconnect coupling (located at the pump outlet). In this way you allow the
solution sprayed by the pump to enter inside the lower part, where the foam is
generated.
2. Check that the valve at the foam outlet from the compressor is closed.
Connect the hose to spray foam to the coupling from which the foam goes out

and then open the valve again. In this way, foam is allowed to be sprayed by
the machine.
3. Connect the vacuum hose with the machine.
4. Connect the lance with the hose to spray foam and then the hand tool to the
vacuum hose.
5. Raise the recovery tank, after releasing the lateral hooks fixing it to the lower
tank.
6. Put some fresh or warm water into the solution tank, through the circular hole,
adding the product T-FOAM, in the dilution rate: 1 part of chemical to 4 parts
of water (we suggest you should put not more than 2 litres chemical and 8
litres water).

NOTE: The machine was studied to work correctly with the product T-
FOAM. We cannot grant the correct working of the machine with different
products. Therefore, we strictly recommend to use the product T-FOAM.
7. Re-connect the recovery tank to the solution tank, through the lateral hooks.
8. Connect the plug of the machine to a proper electrical socket, provided of
grounding. Read carefully the indications in the safety regulation paragraph.
9. Connect the hose coming from the external compressor to the quick
disconnect coupling on the regulation panel. In this way the machine can take
the compressed air necessary for the production of foam directly form the
external compressor.
NOTE: Please check that the compressor connected to the machine is able
to provide the quantity of foam needed by the machine without any
problem.
10.Switch on the external compressor and wait for it to work at full capacity.
While waiting, the needle of the manometer which shows the pressure is
moving towards higher pressure values.
11.Regulate the pressure by using the knob located in the machine regulation
panel until the pressure shown by the manometer is around 3,5 bars.
12.Switch on the solution pump, putting the switch in the position “I”. The pump
switch is situated on the pump and motor control panel.
At this point the machine is ready to produce the detergent foam.
13.Switch on the vacuum motor to vacuum foam with the hand tool.

Motor
Switch
Interruttore
Pompa
Air Input
Pressure
regulation
ManometerFoam
outlet
Pump
outlet
Regulation panel
Control panel
Pump
Switch

Working method
1. It is possible to work with various accessories, connected to the machine
through the connection hoses.
2. In order to spray foam, press the lever on the accessory. Spray foam
uniformly on the surface you have to clean. The ideal thickness of the foam
should be about 4-5 mm.
3. Let the foam sprayed acting on the surface for some seconds. In case of
persistent spots, you can brush the surface.
4. Vacuum foam from the surface. Avoid to vacuum suddenly a big quantity of
foam, which might be sucked by the vacuum motor from the recovery tank! In
case the motor sucks foam, this causes a damage to the motor.
ATTENTION: In case you are using the accessory NS10PN-FOAM, you must
not spray and vacuum foam at a time. By doing so, the foam could be sucked by
the motor and this could cause a damage. You have to wait some seconds
(about 20 or 30) in order to be able to vacuum foam.
In some cases it might be advisable to use a defoamer, which must be put inside
the recovery tank. This is useful to re-melt the foam sucked into the recovery
tank, preventing it from being sucked by the vacuum motor.
Foam regulation control panel
During the tests in Santoemma factory the machine is tuned in order to obtain a
good quality of the generated foam. Nevertheless, by acting on the pressure of
the air which mixes with the solution, it is possible to tune the machine in order to
obtain a drier or wetter foam.
Before regulating the air pressure, you have to wait for the compressor to be at a
steady working and for the pressure inside the compressed air tank to be stable.

In order to obtain a drier foam, you must increase air pressure. On the contrary,
in order to obtain a more humid foam you must reduce air pressure.
Standard tuning of the air pressure
The air pressure, which in the air tank is varying with the time, is regulated and
kept at a steady value by a pressure regulator, which also allows to fix the value
of the air pressure.
If you press for few seconds the valve on the spray accessory, you can see that
the pressure indicated by the manometer reduces while you are spraying, while it
comes back to the initial value when you stop spraying.
Several tests show that the optimal pressure is 3 bar while spraying (that is with
lever of the spray accessory pressed), which correspond to about 4 bars when
not spraying (that is with the lever of the spray accessory not pressed).
Pressure values under 3 bars can generate a too liquid foam, while pressure
values higher than 3 bars can generate a too dry foam.
If for any reason the regulation of the pressure in your machine should change,
you can reset it by simply rotating the pressure regulation knob, clockwise to
increase the pressure and counter clockwise to reduce the pressure.
Proceed “cut-and-try” until you reach the condition 3 bars while spraying.
Pull the knob before turning it and push it after the regulation in order to block it.
Maintenance
The model Sabrina Foam Light is a professional machine. The warranty on these
machines is of 1 year and regards the faults due to manufacturing defects. The
faults due to improper use are not covered by warranty. For further details
regarding warranty, contact the distributor supplying the machine.
For a good preservation and a long duration of the machine, do the following:
1. After using the machine, before storing it, remove all the water from the 2
tanks. Put then some liters of water inside the solution tank and drain it

completely by letting the pump work and keeping the spray lever pressed.
This operation is useful to clean the hydraulic circuit of the machine, including
the pump, the couplings, the nozzle.
2. After each use, switch off the motor and the pump, then close the security
valve of the air outlet.
3. Periodically clean the water filter, removing it from the machine and rinsing it
under water.
4. Periodically check and clean the filter of the vacuum motor, which is located
between the 2 tanks.
5. Eliminate the lime that, in the long run, deposits in the hydraulic circuit, by
putting a special anti-lime chemical in the solution tank and letting it work from
some hours. Use the same products used for dishwashers. Empty and then
rinse the solution tank. This operation should be done every 6-8 months.
6. Periodically bring the machine to a technical service point, to check the
correct working of all the parts subject to wear. In particular: pump, vacuum
motor and compressor. There are some parts, like carbon brushes, bearings,
and so on, which must be replaced on time to avoid serious damages to the
components upon which they are assembled. These damages cannot be then
covered by warranty.
7. Periodically drain (every 2-3 months) the air tank from condensate that may
originate during the normal working.
ATTENTION: This operation must be done with the compressor completely
empty and with the machine switched off.
Table of contents
Other Santoemma Cleaning Equipment manuals
Popular Cleaning Equipment manuals by other brands

Ryobi
Ryobi EZCLEAN RY3112FB Operator's manual

Abicor Binzel
Abicor Binzel ABICLEANER Signature set operating instructions

cedis
cedis e 125.DUS operating instructions

Build with Robots
Build with Robots Breezy Blue Response user manual

LEHMANN
LEHMANN QLEEN PURASTART E quick guide

IMC
IMC POT BOY 6 Series Installation, operating and maintenance manual

Stark
Stark RSW_S Operating and maintenance manual

Westfalia
Westfalia 94 54 47 Original instructions

Streamline
Streamline STREAMVAC 70ltr instruction manual

i-team
i-team i-wash Basic user manual

Spray Master Technologies
Spray Master Technologies POWER CLEAN C Series owner's manual

Kogan
Kogan SuperScrub 360 KASUSCR360A Quick start up guide