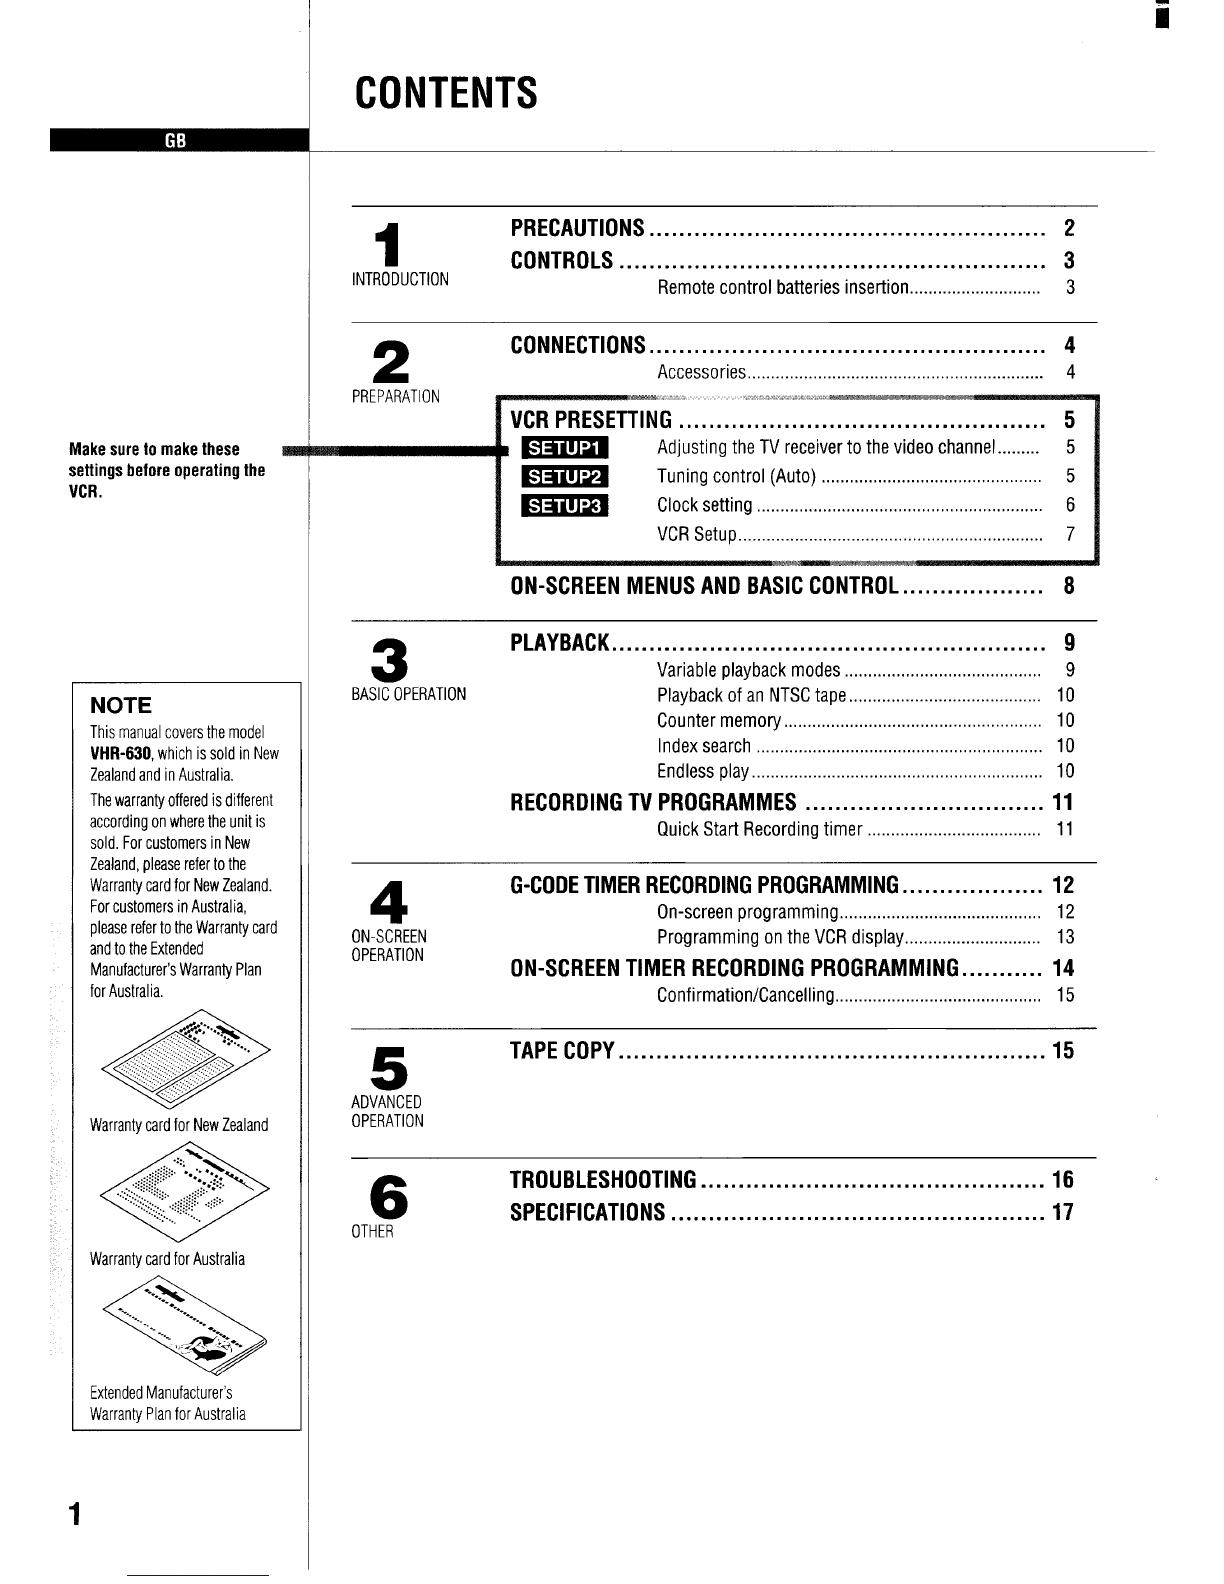
Emn
Clock setting
&an@e: Date. 9December, 1996
Time... 16:15
1Press the MENLVTVbutton.
2Set the date and time using the numeric
buttons (O-9).
Enter in sequence, 0912961615.
\
CLOCK SET
09.12.96 16:15
[+/-] +Tl ME SHIFT
[CLEAR] +TO CORRECT
[OKI +ENTER
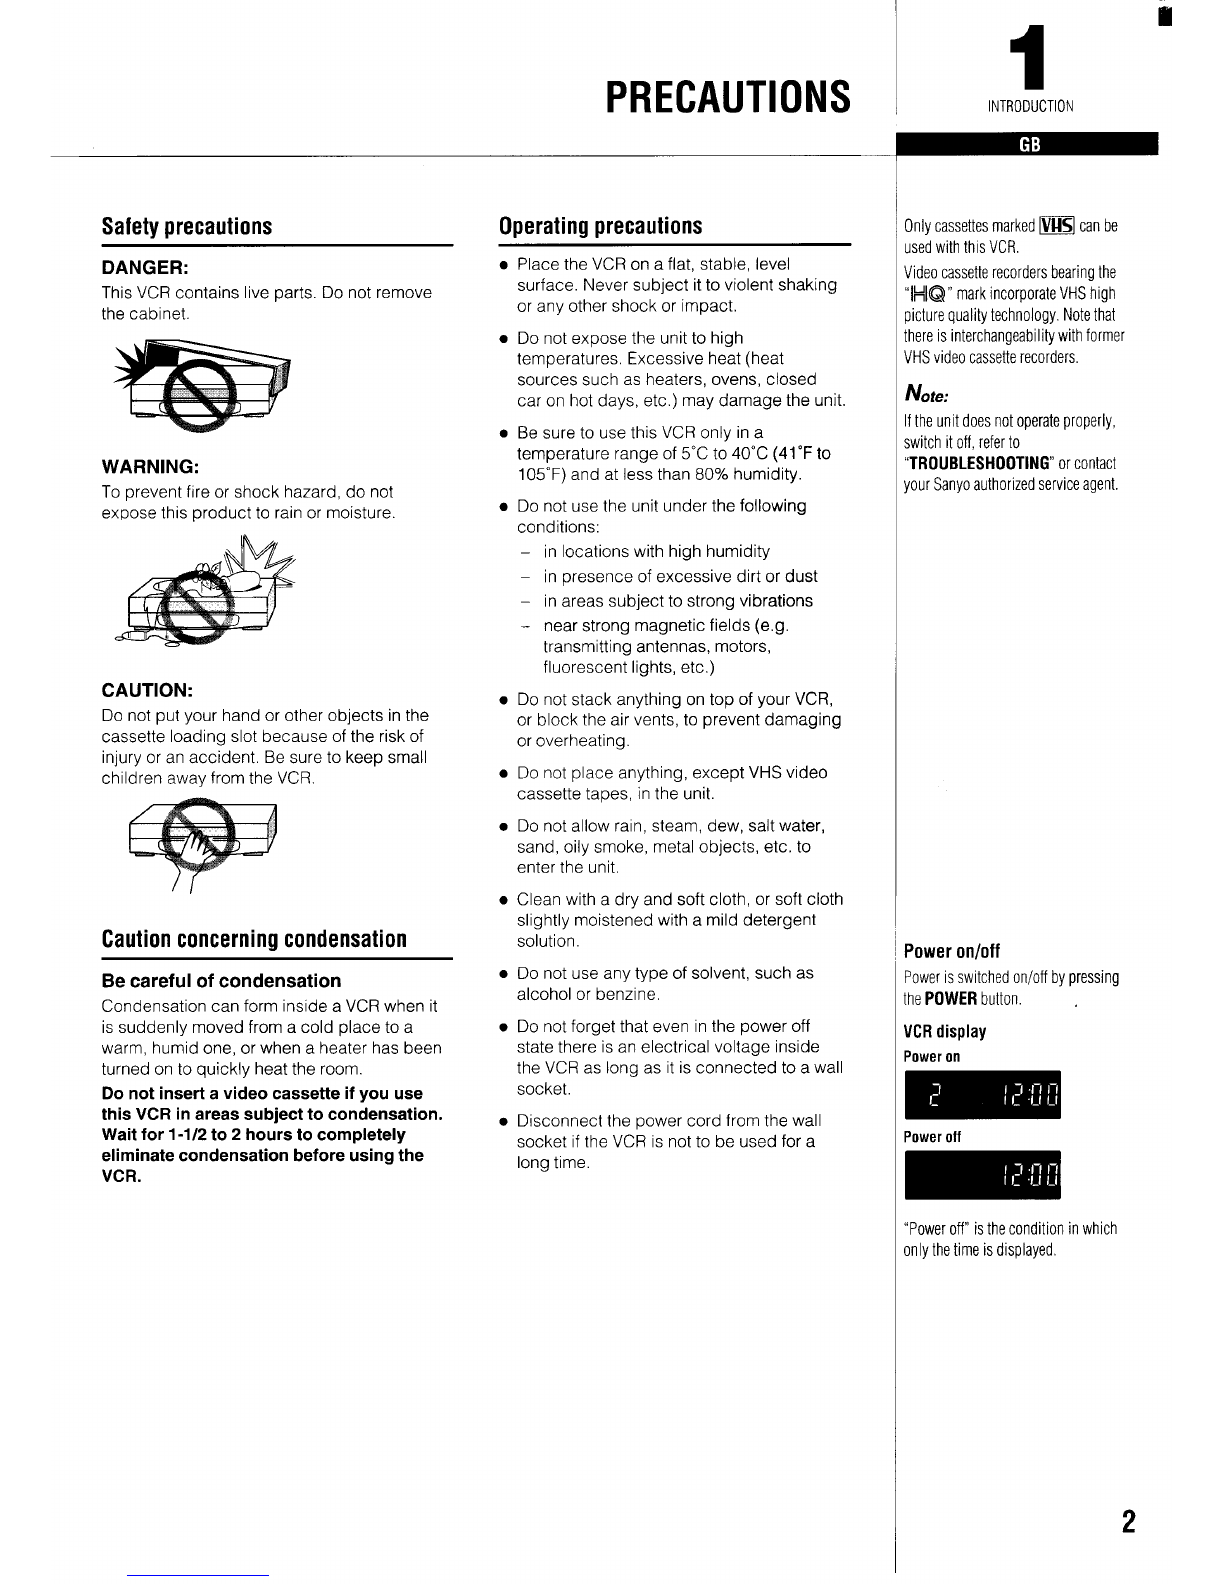
If you entered awrong number, press the
CLEAR button to delete it, then enter the
correct number.
For time shifting adjustment, simply press the
(CH+ or CH-) button.
3When finished, press the OK button.
●Seconds will start counting from “00” as
the OK button is pressed.
●The normal TV broadcast screen will return,
Additional tuning adjustments
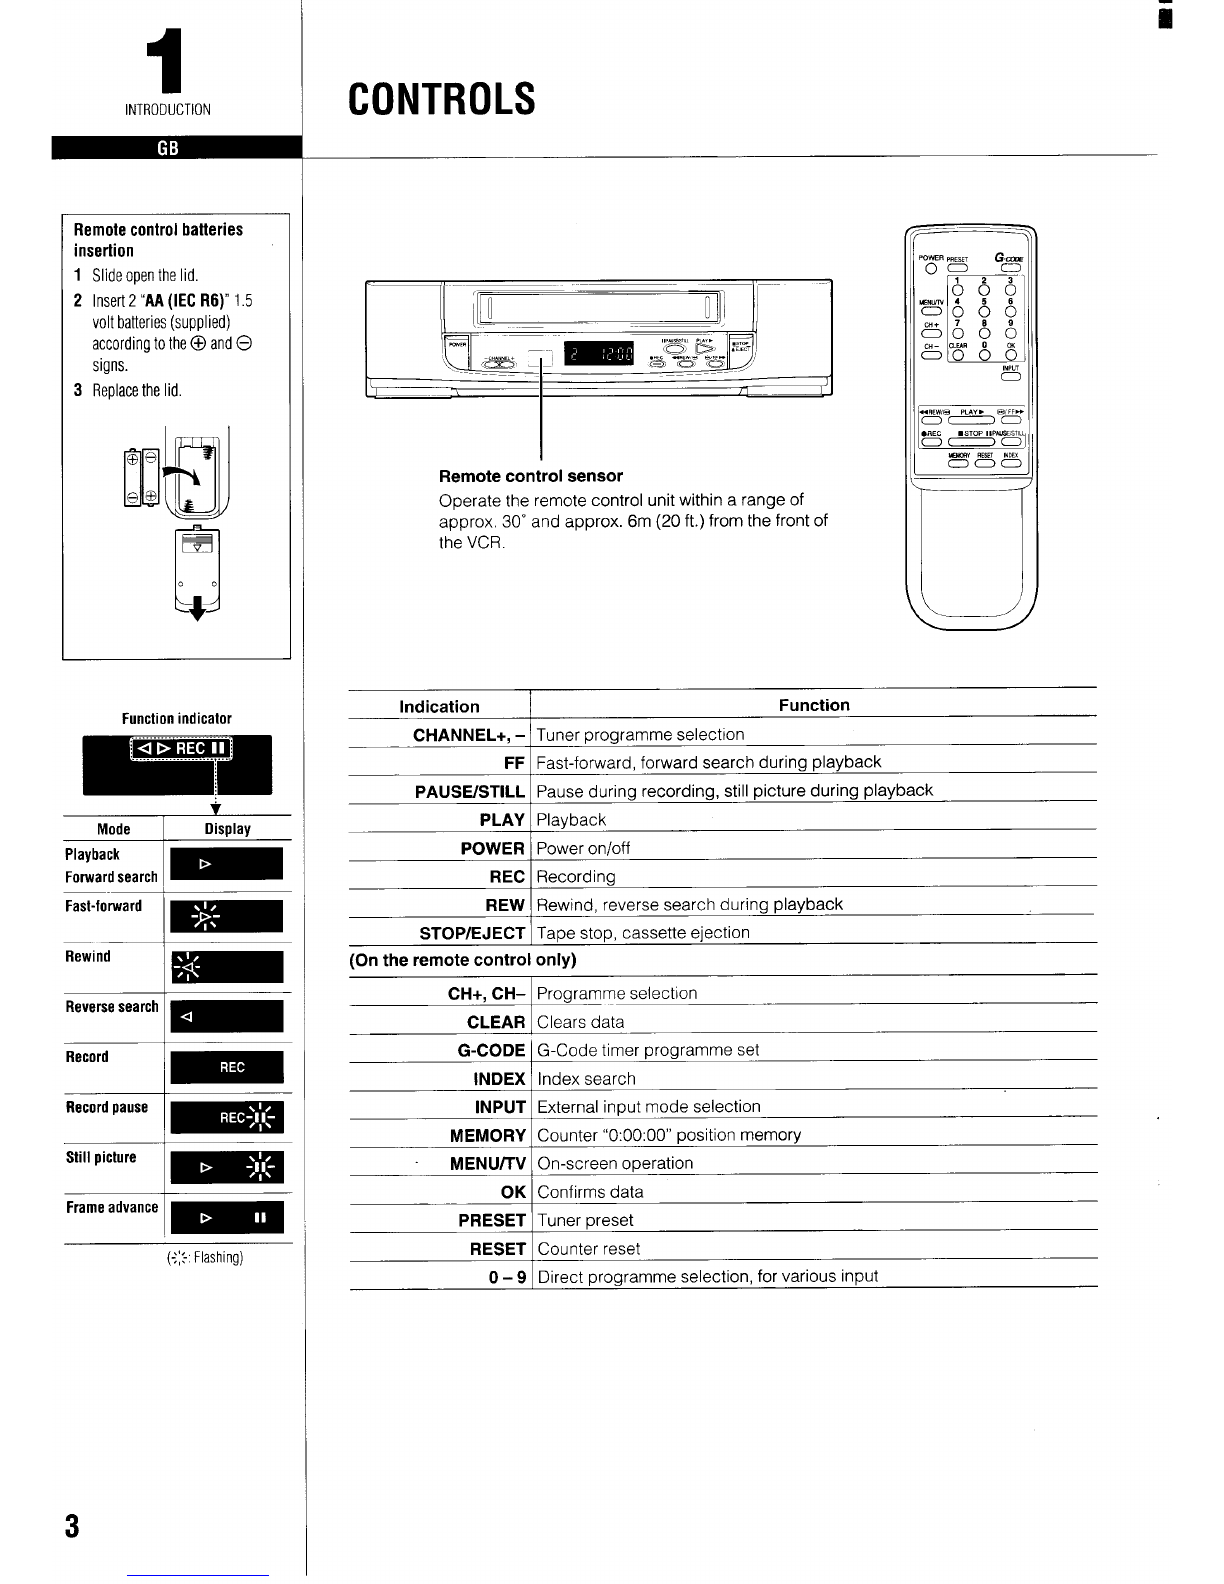
Sorting the TV stations
&/e: TOchange TV1 from programme
position “4” to programme position “1”.
ITV4 TV2 TV3 !Tvl \
..............
TV station
Programmepositionl ~2 3 ~4~
1
2
~
J~J/
4~1~
i............i
Press the PRESET button.
Using the (CH+ or CH–) button select the
desir;d TV station (e.g.’TVl).
TV1
I
3Using the numeric buttons (O -9), enter the
target programme position number (e.g.
“01 “).
4Press the OK button
Repeat steps 2to 4to change another TV
station programme position number.
5When finished, press the PRESET button.
Fine tuning
If the tuning is not optimum, it can be
improved by manual fine tuning.
1Press the PRESET button.
2Press the FF or REW button to obtain the
best possible picture and sound.
3Press the OK button.
4When finished, press the PRESET button.
Skip function
If only programme position numbers 1to 30
have been preset, set the skip function for
programme position numbers 31 to 44, so
that only the preset TV stations will appear
when pressing the (CH+ or CH-) button.
1Press the PRESET button,
2Using the numeric buttons or the (CH+ or
CH–) button, select the programme
position number to skip,
3Press the CLEAR button.
●The “S” indicator will light,
To cancel the skip function, press the
CLEAR button again to erase the “S”
indicator,
4Press the OK button.
Repeat steps 2to 4for every programme
position number to skip.
5When finished, press the PRESET button.
Manual tuning
This tuning mode can be used to modify the
settings entered by the Auto tuning function,
or to manually preset the TV stations to
particular programme position numbers
1
2
3
4
Press the PRESET button.
Using the (CH+ or CH-) button, select the
desired programme position number.
Press the PLAY button.
If the search stops on a broadcast other
than the one desired, press the PLAY
button again until the broadcast from the
desired TV station appears on the TV
screen.
Press the OK button when the desired TV
station appears on the TV screen.
Repeat steps 2to 4to preset another TV
station to another programme position
number,
5When finished, press the PRESET button.
2
PREPARATION
i
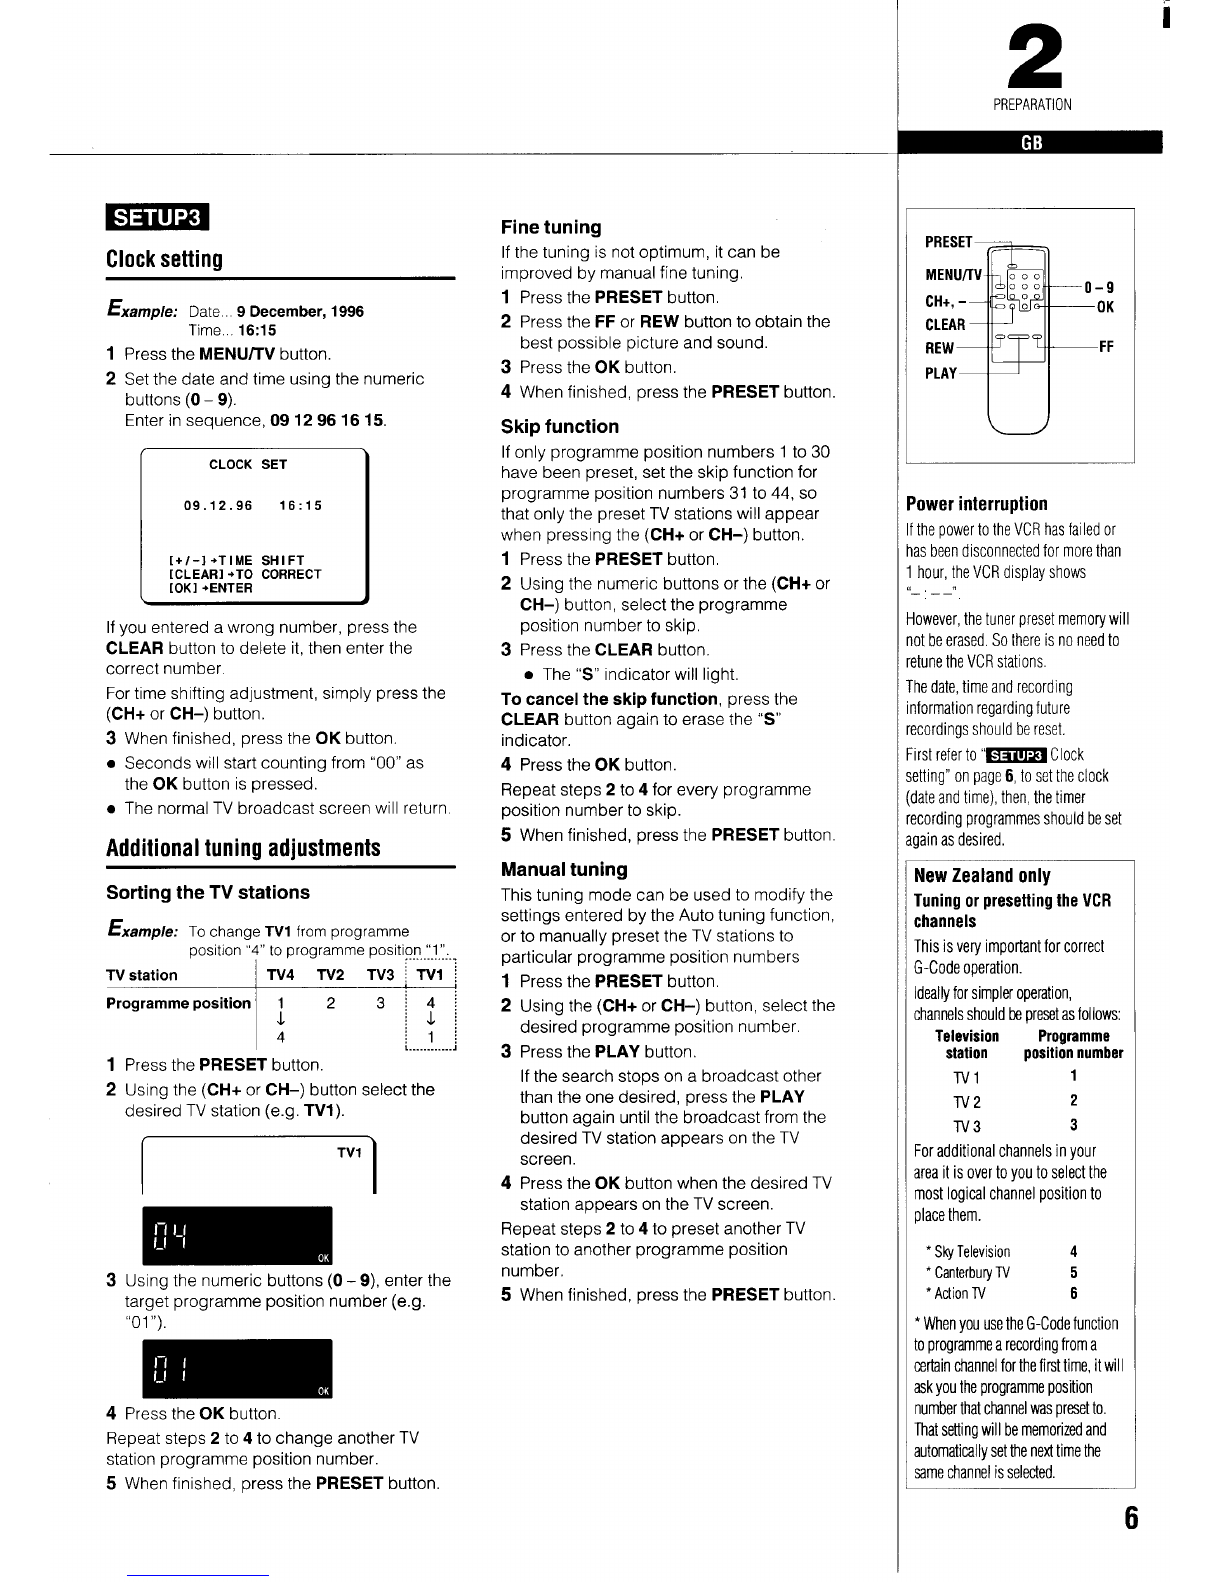
‘REsET7Fil
PLAY
u
ower interruption
thepower to the VCRhasfailed or
is beendisconnectedfor morethan
hour, the VCRdisplay shows
,,
.,-—
owever,the tuner presetmemorywill
]t beerased,Sothere is no needto
tunethe VCRstations.
]edate,timeandrecording
formationregardingfuture
cordingsshouldbereset,
rstreferto “m Clock
!tting” on page6, to settheclock
ateand time), then, the timer
cording programmedshould beset
lain asdesired.
MewZealand only
runingorpresettingtheVCR
;hannels
rhis isvery important for correct
;-Code operation.
deallyfor simpleroperation,
:hannelsshould bepresetasfollows:
Television Programme
station position numbar
Tvl 1
TV2 2
TV3 3
coradditional channels in your
~reait is overto you to selectthe
nest logical channel position to
]Iacethem.
*SkyTelevision 4
*CanterburyTV 5
*ActionTV 6
●Whenyou usetheG-Codefunction
toprograrnmearecordingfroma
certainchannelforthefirsttime,itwill
askyoutheprogrammeposition
numberthatchannelwaspresetto,
Thatsettingwill bememorizedand
automaticallysetthenexttimethe
samechannelisselected.