manuals.online logo
Brands
  1. Home
  2. •
  3. Brands
  4. •
  5. Sargent
  6. •
  7. Lock
  8. •
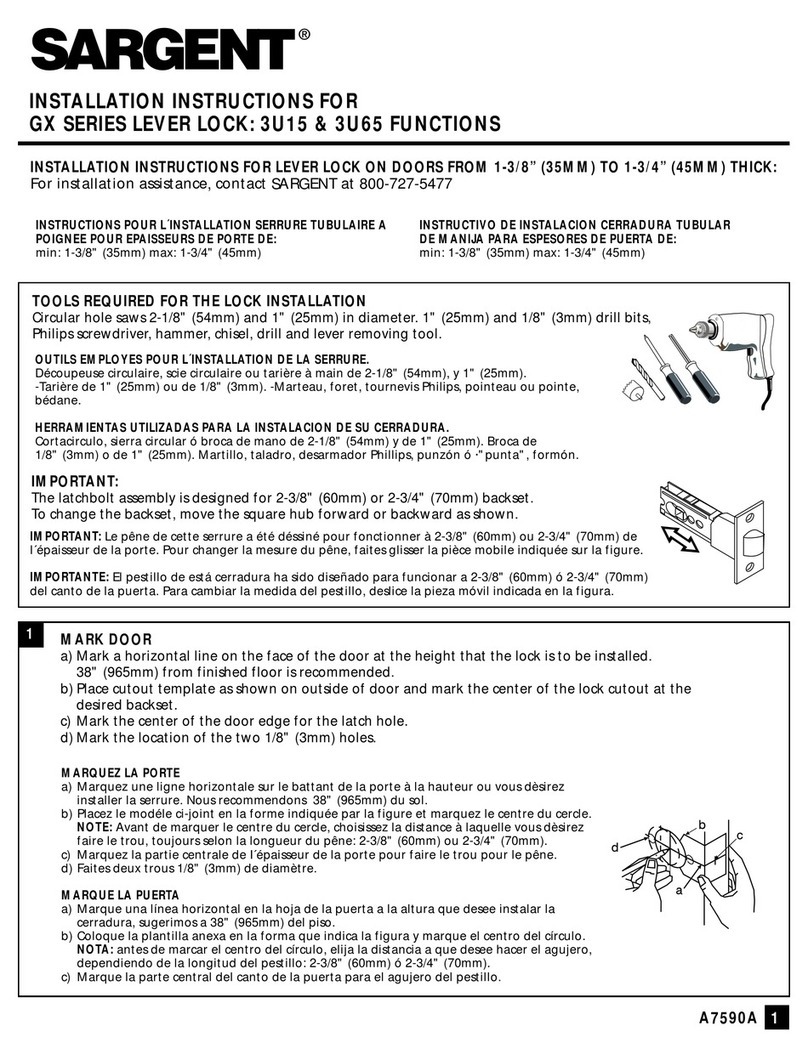
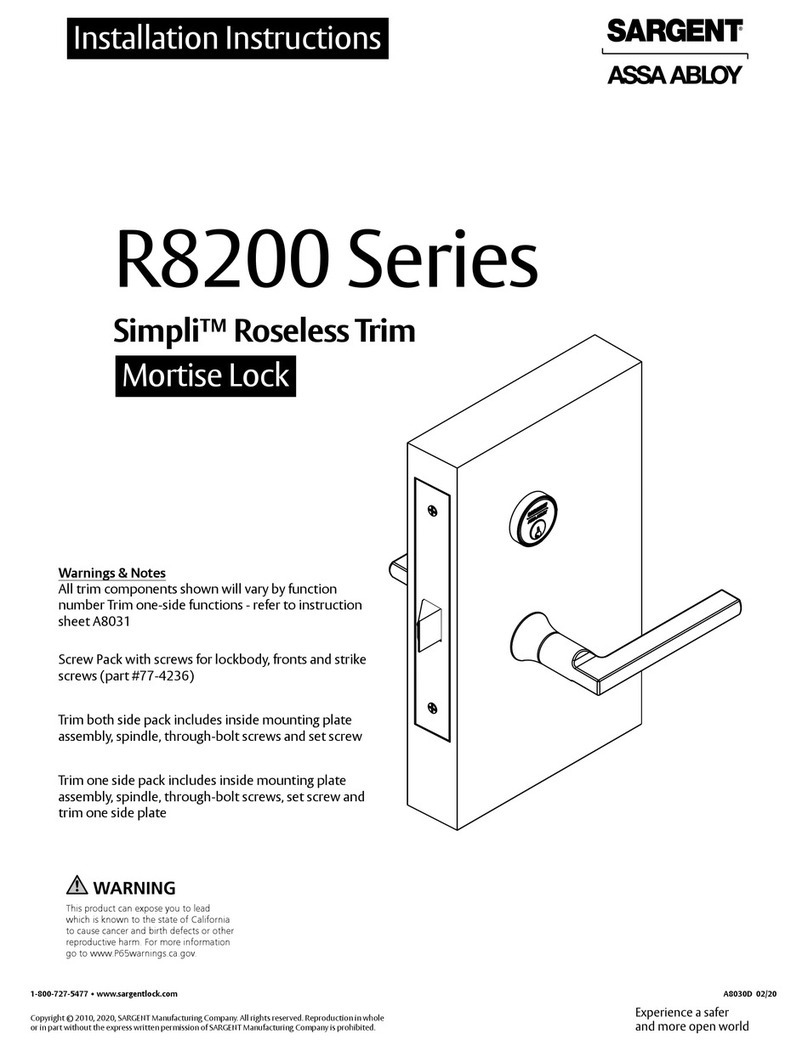
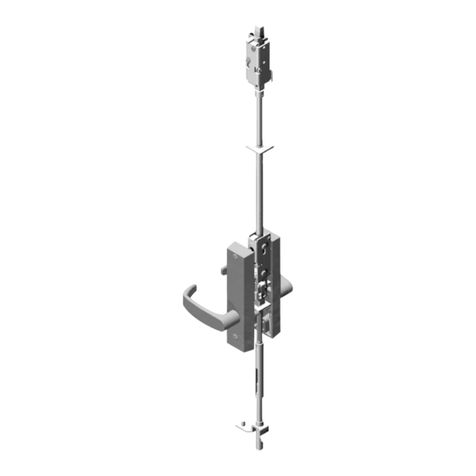
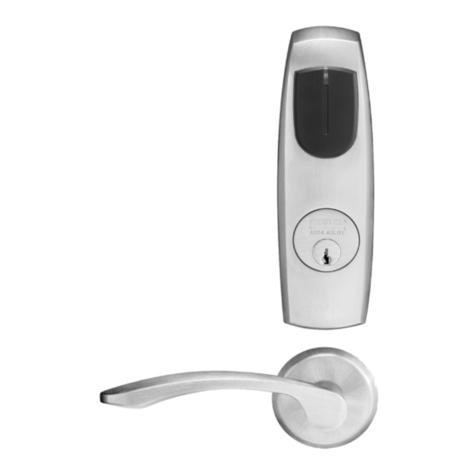
  9. Sargent ASSA ABLOY 8200 User manual

Sargent ASSA ABLOY 8200 User manual

H W T REVERSE L CK
1CHECK D R PREPARATI N
A. Clean out lockbody pocket in edge of
door to assure it is clear of debris. For
Triad Lock also clear debris from
hookbolt pockets and track in edge
of door.
2INSTALL L CKB DY
A. Insert lockbody (and
hookbolts for Triad) into door
prep. Check that lockbody fits
easily in door with screw holes
aligned. Secure lockbody to the
door using lockbody screws.
Do not tighten fully at this time.
If a cylinder is not included in your lock
function, proceed to step 7
3INSTALL UTSIDE ESCUTCHE N ASSEMBLY
B. Important
Insert spindle
into retaining
nut to secure
this position.
4INSTALL INSIDE ADAPTER &PLATE ASSEMBLY
A. With outside escutcheon
assembly in hand tighten
the retaining nut against
the mounting plate as far
as it will go by hand. To
insure a tight fit in this
assembly, back off
retaining nut just one
notch, until star pattern
aligns with square
corners. (see pattern
shown)
C
A. With adapter and plate
assembly in hand repeat
important steps 3A and
3B as above. For retaining
nut and spindle only.
B. Insert spindle with
adapter and plate into
square hole in lockbody
on inside face of door.
C. Secure adapter and plate
with thrubolt screws making
certain the lock washers are
attached before tightening
screws into thrubolt post of
the outside rose assembly.
Do not over tighten.
5INSTALL INSIDE ESCUTCHE N
6SECURE CYLINDER (IF PR VIDED)
A. Lay inside escutcheon
flush against door face
and screw the inside
escutcheon to the outside
escutcheon using trim
screws.
Do not over tighten.
7INSTALL INSIDE LEVER/KN B
B
Set Screw - Proper Location
Lever/Knob
Note: This plate assembly
will be circular in shape
on KW1 and LW1 trim
Escutcheon/Rose
Face of Door
INSIDE
INSIDE
OUTSIDE
OUTSIDE
LEFT HAND
LEFT HAND
REVERSE 
BEVEL
RIGHT HAND
RIGHT HAND
REVERSE 
BEVEL
DOOR HANDS DETERMINED FROM OUTSIDE
DOOR HANDING
Inside Adapter
C
A
C
B
D. If LE3 or LE4 trim design
skip to step 6. With
outside lever in the
horizontal orientation,
as shown, carefully insert
the mounting posts
through the door and
lockbody, making sure
the spindle is engaged in
the lock. Outside
escutcheon assembly
should be flush with
door surface.
A. Single Cylinder: Screw cylinder, along
with cylinder spring and blocking ring
behind it (if provided), into escutcheon
and lockbody.
Double Cylinder: Screw both cylinders,
with cylinder spring and collar behind,
into lock so that the cams within the
lock do not touch while the cylinder
face lays flush with collar edge, when
collar is held against the escutcheon
face. Note: It is easier to use a key,
slightly out of position in cylinder, to
help screw the cylinder down
completely. Over tightening cylinder
could cause malfunction in lock.
B
A. Place inside lever/knob horizontally
onto spindle. Position lever/knob
edge so it is 1/16" from inside
escutcheon face. Hold lever/knob in
place while securing with set screw.
B. Lever/knob set screw must rest in
groove on inside adapter for proper
installation. See illustration.
C. Pull on lever/knob to test if set screw
is properly secured.
A
A
B. Secure cylinder in place by tightening the
cylinder retainer through hole in edge of
door (shown) with Phillips screwdriver.
C. Test cylinder for proper operation. If LE3 or
LE4 trim design, return to step 3 to continue.
D. Now tighten the lockbody screws completely.
E. Secure the outside front plate to the
lockbody with front screws.
F. For LE2 or LE4 trim designs, attach outside
escutcheon with small set screws using allen
wrench.
C. If a thumbturn
tail piece is
attached to both
the inside and
outside escutcheons,
make both tail pieces
shorter by snapping them
off at the seam.
Important: Test lock for all operations before closing the door.
Spindle
red color
locking piece
Note: Red color indicates locked side of door
or hold back side (91 and 92 Function).
A7031D
Copy ight ©2004, 2008, Sa gent Manufactu ing Company, an ASSA ABLOY
G oup company. All ights ese ved. Rep oduction in whole o in pa t without the
exp ess w itten pe mission of Sa gent Manufactu ing Company is p ohibited.
A7031D
Copy ight ©2004, 2008, Sa gent Manufactu ing Company, an ASSA ABLOY
G oup company. All ights ese ved. Rep oduction in whole o in pa t without the
exp ess w itten pe mission of Sa gent Manufactu ing Company is p ohibited.
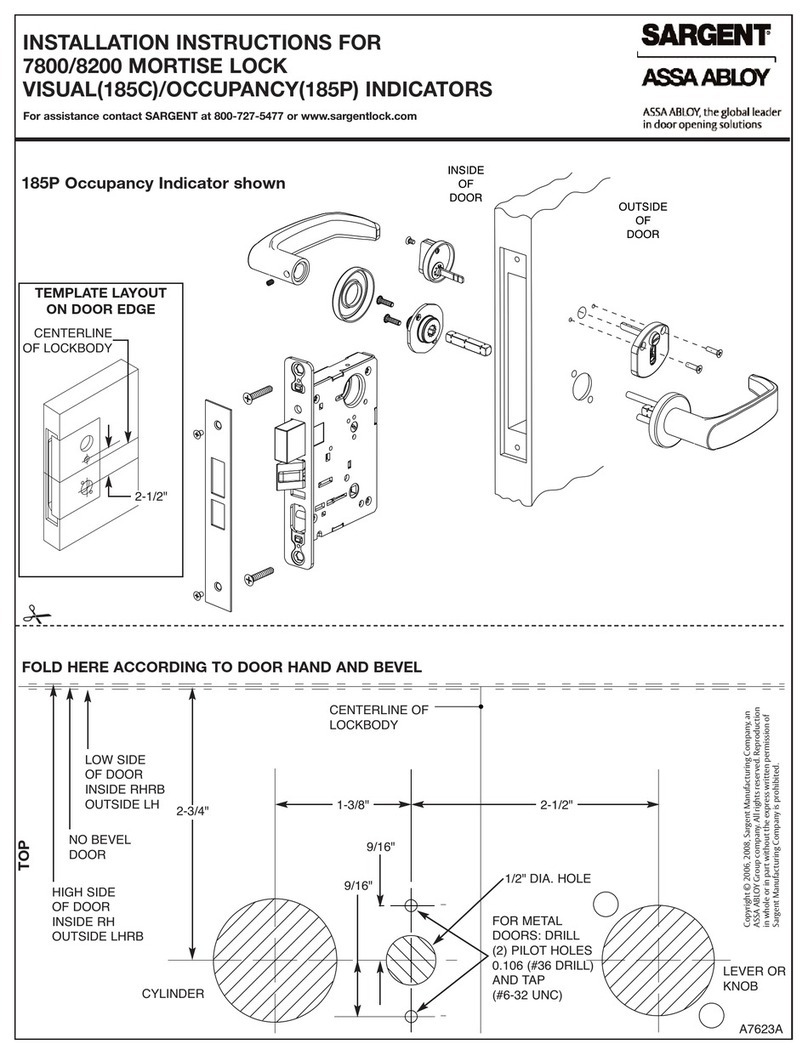
INSTRUCTI NS F R INSTALLING SARGENT 7800 KN BS/8200 LEVERS M RTISE
L CK AND 3P-8225 LEVERS TRIAD L CK WITH ESCUTCHE N TRIM- CE, KE/LE
(1, 2, 3, 4), KW/LW & TE DESIGNS
U.S. Patent No. 5,678,870
Parts List Description
1. Inside Lever
2. Spring
3. Lever/Knob Set Screw (1)
Varies by Lever design
4. Spindles (2)
5. Trim Screws (2)
(# 8-32 x 1-7/8" FH)
6. Inside Escutcheon Trim
7. Thrubolt Screws (2) &
Lockwashers (2)(#8-32 x 5/8")
8. Adapter & Plate Assembly
A) Adapter
B) ounting Plate
C) Washer (2)
D) Retaining Nut
9. Outside Escutcheon Trim
A) Lever
B) Escutcheon
C) Thrubolt Posts (2)
D) ounting Plate
E) Washer (2)
F) Retaining Nut
10. Optional - depending on
function and cylinder size
11. Cylinder type –
Varies by 1, 2, 3 & 4 designa-
tion after the KE/LE trims
12. Lockbody
13. Lockbody Screws (2)
(#12 x 1 1/4" WD)
(#12 -24 x 1/2" S)
14. Front Plate
15. Front Screws (2)
(#8 -32 x 1/4")
16. Thumb Turn Tail Piece —
Optional per function
Tools Required
Phillips Screwdriver (standard size)
1/8" Allen Wrench
.050" Allen Wrench
If knobs are used instead of levers
installation is the same.
Triad Lock 3P-8225
Standard 7800/8200 Mortise Lock
25 Function Shown
See template for
hole locations of
other functions.
Triad Only - Parts List
12. Triad Lockbody and
Hookbolt Assembly
13. Lockbody Screws (6)
(WD and S as above)
14. Triad Front Plate
15. Front Screws (6)(as above)
15
13
14
12
7800/8200 TEMPLATE
1
2
5
4
6
3
7
8
15
14
13
12
4
9
11
10
11
LE3, LE4
Trim Version
16
Outside of Door
(Secure/Locked Side)
Outside of Door
N TE:
For Triad door prep,
reference Template #4511
Inside of Door
A7031D
Copy ight ©2004, 2008, Sa gent Manufactu ing Company, an ASSA ABLOY
G oup company. All ights ese ved. Rep oduction in whole o in pa t without the
exp ess w itten pe mission of Sa gent Manufactu ing Company is p ohibited.
A7031D
Copy ight ©2004, 2008, Sa gent Manufactu ing Company, an ASSA ABLOY
G oup company. All ights ese ved. Rep oduction in whole o in pa t without the
exp ess w itten pe mission of Sa gent Manufactu ing Company is p ohibited.

This manual suits for next models

2

Other Sargent Lock manuals

Sargent Profile Series User manual

Sargent

Sargent Profile Series User manual

Sargent IN220 User manual

Sargent

Sargent IN220 User manual

Sargent Passport 1000 P2 User manual

Sargent

Sargent Passport 1000 P2 User manual

Sargent Assa Abloy IN120 User manual

Sargent

Sargent Assa Abloy IN120 User manual

Sargent Profile Series v.S2 User manual

Sargent

Sargent Profile Series v.S2 User manual

Sargent ASSA ABLOY Profile Series User manual

Sargent

Sargent ASSA ABLOY Profile Series User manual

Sargent SE LP10 7000 Series User manual

Sargent

Sargent SE LP10 7000 Series User manual

Sargent IN100 User manual

Sargent

Sargent IN100 User manual

Sargent v.G1.5 User manual

Sargent

Sargent v.G1.5 User manual

Sargent 7800 User manual

Sargent

Sargent 7800 User manual

Sargent PASSPORT 1000 Exit Device User manual

Sargent

Sargent PASSPORT 1000 Exit Device User manual

Sargent 7800 Series User manual

Sargent

Sargent 7800 Series User manual

Sargent IN100 User manual

Sargent

Sargent IN100 User manual

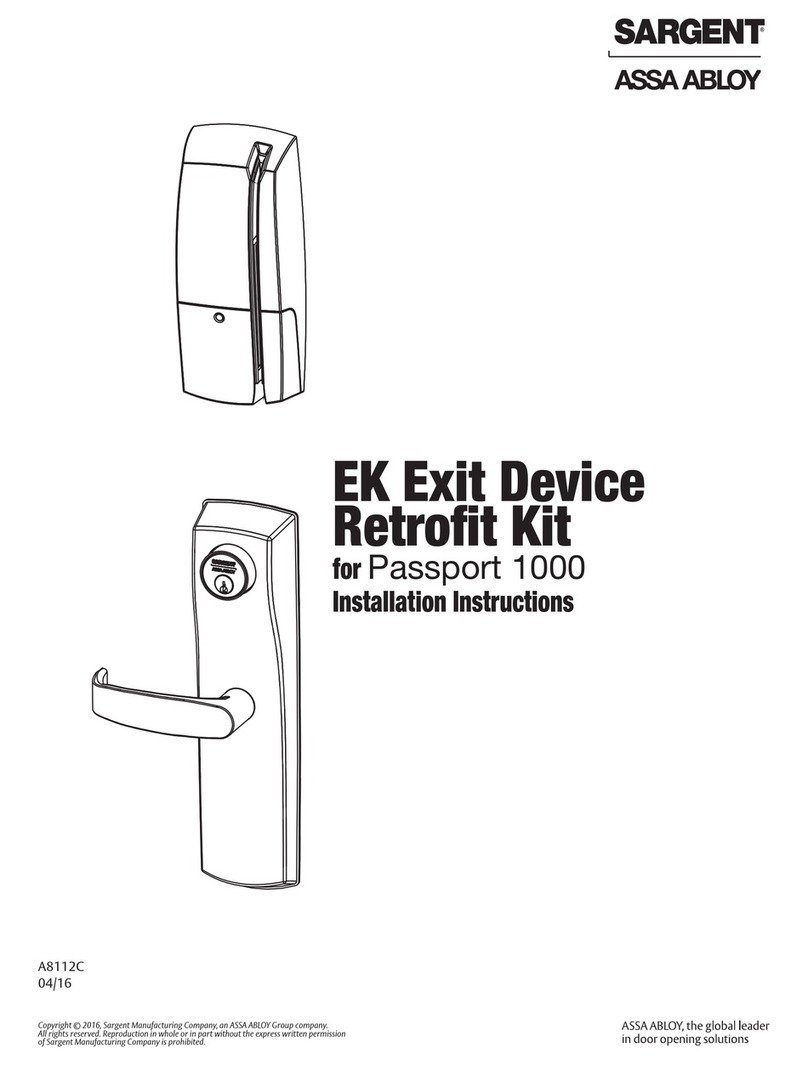
Sargent EK Exit Device Retrofit Kit User manual

Sargent

Sargent EK Exit Device Retrofit Kit User manual

Sargent ASSA ABLOY IDP-H1 User manual

Sargent

Sargent ASSA ABLOY IDP-H1 User manual

Sargent Assa Abloy 9900 User manual

Sargent

Sargent Assa Abloy 9900 User manual

Sargent ASSA ABLOY Simpli R8200 Series User manual

Sargent

Sargent ASSA ABLOY Simpli R8200 Series User manual

Sargent ASSA ABLOY Harmony Series User manual

Sargent

Sargent ASSA ABLOY Harmony Series User manual

Sargent RDL User manual

Sargent

Sargent RDL User manual

Sargent ASSA ABLOY Harmony Series User manual

Sargent

Sargent ASSA ABLOY Harmony Series User manual

Sargent ASSA ABLOY SN Series User manual

Sargent

Sargent ASSA ABLOY SN Series User manual

Sargent ASSA ABLOY SE LP10 User manual

Sargent

Sargent ASSA ABLOY SE LP10 User manual

Sargent ASSA ABLOY FM7100 Series User manual

Sargent

Sargent ASSA ABLOY FM7100 Series User manual

Sargent Profile Series User manual

Sargent

Sargent Profile Series User manual

Popular Lock manuals by other brands

D&D Technologies LokkLatch Round instructions

D&D Technologies

D&D Technologies LokkLatch Round instructions

Stock Loks C8718 instruction sheet

Stock Loks

Stock Loks C8718 instruction sheet

Burg Wächter 610/53 Operation instructions

Burg Wächter

Burg Wächter 610/53 Operation instructions

Yale Real Living YRDZW Installation and programming instructions

Yale

Yale Real Living YRDZW Installation and programming instructions

Burg Master operating manual

Burg

Burg Master operating manual

Tinewa DLE602 user guide

Tinewa

Tinewa DLE602 user guide

Sewosy CPREG-4 Series Implementation manual

Sewosy

Sewosy CPREG-4 Series Implementation manual

CODELOCKS CL50 instructions

CODELOCKS

CODELOCKS CL50 instructions

PS 10TEN manual

PS

PS 10TEN manual

SecuLock ND-P Series user manual

SecuLock

SecuLock ND-P Series user manual

DORMA-Glas MUNDUS COMFORT PT 21 Mounting instructions

DORMA-Glas

DORMA-Glas MUNDUS COMFORT PT 21 Mounting instructions

Kayoba 944-100 User instructions

Kayoba

Kayoba 944-100 User instructions

DoorHan Lock N installation manual

DoorHan

DoorHan Lock N installation manual

Yale Conexis Smart Lock L2 user manual

Yale

Yale Conexis Smart Lock L2 user manual

Orno OR-ZS-817 manual

Orno

Orno OR-ZS-817 manual

LEMAAR 59200 quick start guide

LEMAAR

LEMAAR 59200 quick start guide

Esco systeQ-S 7665 Assembly instructions

Esco

Esco systeQ-S 7665 Assembly instructions

Relcross Door Controls REL1001 installation instructions

Relcross Door Controls

Relcross Door Controls REL1001 installation instructions

manuals.online logo
manuals.online logoBrands
  • About & Mission
  • Contact us
  • Privacy Policy
  • Terms and Conditions

Copyright 2025 Manuals.Online. All Rights Reserved.