manuals.online logo
Brands
  1. Home
  2. •
  3. Brands
  4. •
  5. Satel
  6. •
  7. Security Sensor
  8. •
  9. Satel GRAPHITE User manual

Satel GRAPHITE User manual

®
GRAPHITE
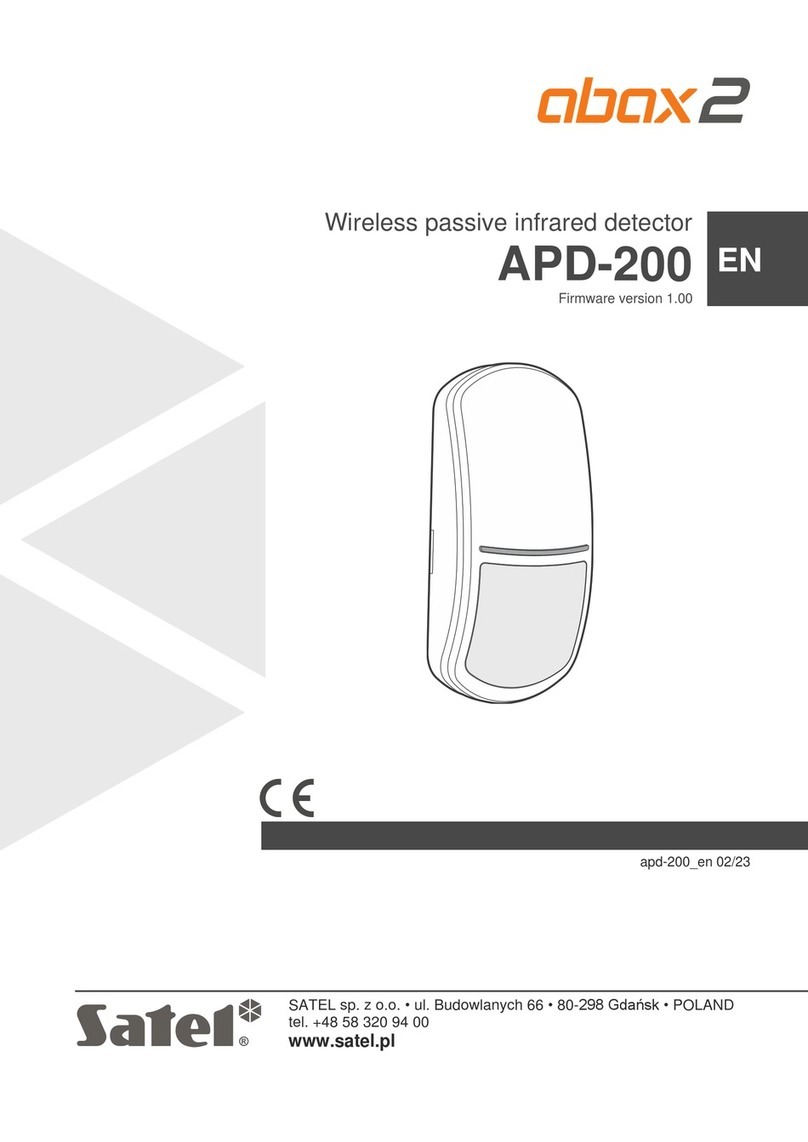
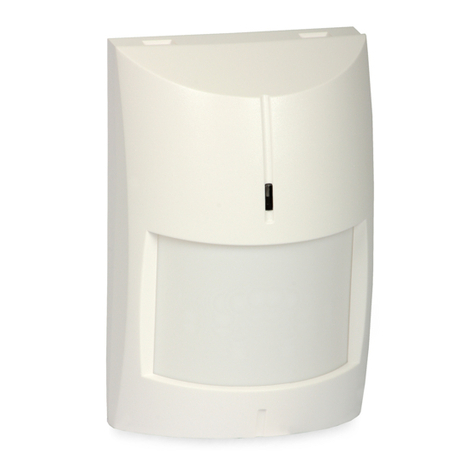
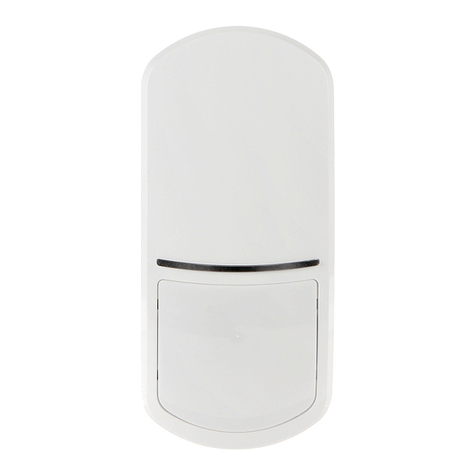
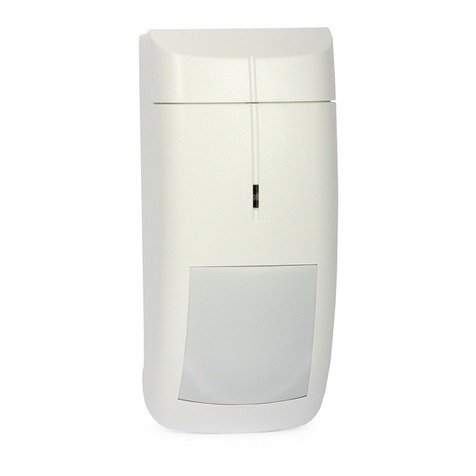
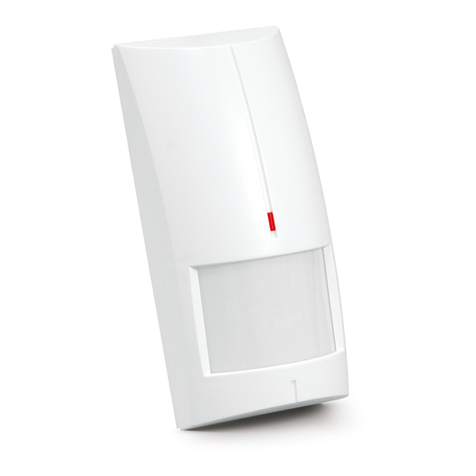
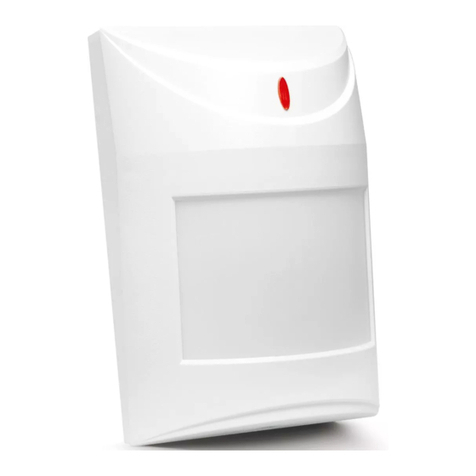
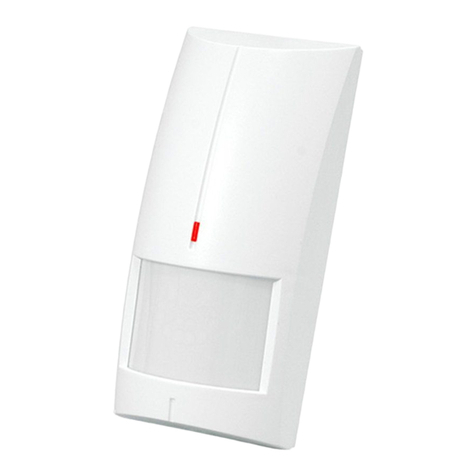
DIGITAL PASSIVE INFRARED DETECTOR
graphite_e 11/06
The GRAPHITE digital motion detector is characterized by high sensitivity, as well
as high immunity to interference and false alarms. The detector construction is
based on an advanced signal processor with a high resolution transducer. A dual
pyroelectric element is used in the detector. An advanced digital temperature
compensation feature enables operation within a wide range of temperatures.
Other advantages of the detector include alarm memory and remote on/off
switching of the LED indicator.
NC TMP COM 12V
NC TMP LED MEM
JP1
LED ON/OFF
SENSIT.
1
23
4
5
7
8
6
9
Figure 1. View of the detector electronics board.
Explanations for Figure 1:
1 – terminals:
NC – relay (NC).
TMP – tamper contact.
COM – common ground.
12V – power supply input.
LED – the input enables the LED indicator to be remotely switched
ON/OFF, if the jumper is removed from the LED ON/OFF pins. The
LED will signal violations, when the LED input is short-circuited to
the common ground. For control of the input, you can use the OC
type output of the control panel, programmed e.g. as SERVICE
MODE INDICATOR or BI SWITCH.
MEM – the alarm memory control input. It is required that the OC type
output of the alarm control panel, programmed as ARMED STATUS
INDICATOR be connected to the input. When the input is shorted to
the ground and the detector registers a motion, thus triggering the
alarm, the LED blinking will signal the alarm memory. The alarm
memory signaling will continue until the input is shorted to the
ground again. Cut-off of the input from the ground (disarming) will
not erase of the alarm memory.
2 – LED indicator. It lights red for approx. 2 seconds after registration of
movement by the detector and activation of the relay (opening of the NC
contacts). It allows the installer to check the detector performance and to
approximately determine the supervised area. Blinking of the LED indicates
alarm memory.
3 – LED ON/OFF pins. Setting the jumper will activate signaling by means of the
LED, irrespective of the LED input status.
4 – alarm relay.
5 – pyroelectric element.
6 – tamper contact.
7 – graduation for positioning the pyroelectric element against the lens (see
Table 1 and Figure 4).
8 – mounting screw hole.
9 – potentiometer for detector sensitivity adjustment.
For 30 seconds after power-up, the detector remains in the starting state, which
is signaled by short flashes of the LED indicator. Only after this time the detector
will enter the ready state.
The detector is monitoring power supply voltage and availability of the signal path.
In case of a voltage drop below 9V (±5%), lasting longer than 2 seconds, or
detection of a fault in the signal path, the detector will signal a trouble by activating
the alarm relay and steady lighting of the LED. The signaling continues as long as
the trouble exists.
Installation
The detector is designed for indoor installation. It can be mounted on the wall,
either directly or on the included holder (mounting on the holder is recommended
by the manufacturer).
It is advisable that you exercise particular care during installation
so as not to soil or damage the pyroelectric element.
Remember during installation that the detector should not be
directed towards heat sources or air-conditioning outlets, as well as
objects exposed to strong solar radiation.
1. Open the housing as shown in Figure 2.
Figure 2. The way to open the housing.
2. Remove the electronics board.
3. Make suitable holes for screws and cable in the rear housing panel.
4. Pass the cable through the prepared opening.
5. Secure the rear housing panel to the included holder or the wall.
Figure 3. Mounting the detector on holder.
6. Fasten the electronics board, taking into account the height at which the
detector is mounted (see Table 1 and Figure 4).
Mounting height Graduation position against housing index
above 2.4m middle graduation mark above the index
2.4m middle graduation mark aligned with the index
below 2.4m middle graduation mark below the index
Table 1. Positioning the pyroelctric element against the lens.
Note: If the detector is installed at a height above 2.4m, it is recommended that
the holder be used, and the detector be mounted in inclined position.
7. Connect the wires to corresponding terminals.
8. Using potentiometer, determine sensitivity of the detector.
9. Close the detector housing.
Figure 4. How the mounting height affects the detector supervised area and how
the pyroelectric element should be positioned against the lens to optimize the
area.
Start-up
1. Turn power supply on (the LED will start blinking, which indicates the starting
state).
2. When the detector enters the ready state (the LED stops blinking), carry out
a test for the detector range, i.e. check that a movement within the supervised
area will activate the alarm relay or cause the LED light up. During the test, the
LED ON/OFF pins must be shorted, or the LED input must be shorted to the
common ground.
3. If necessary, change the detector sensitivity.
Technical data
Nominal supply voltage (±15%) .................................................................. 12V DC
Average current consumption (±10%)............................................................ 11mA
Violation signaling time ........................................................................................ 2s
Operating temperature range.................................................................-10...+55°C
Detectable motion speed ....................................................................... up to 3 m/s
Dimensions.........................................................................................62x96x48mm
Recommended mounting height ......................................................................2.4m
SATEL sp. z o.o.
ul. Schuberta 79
80-172 Gdańsk
POLAND
tel. + 48 58 320 94 00
[email protected]
www.satel.pl
The latest EC declaration of conformity and certificates are available
for downloading on our website www.satel.pl
Figure 5. Distribution of lens beams.
Note: Effective range of the detector may differ from that shown in the drawing.

Other manuals for GRAPHITE

2

Other Satel Security Sensor manuals

Satel SLIM-DUAL-PRO User manual

Satel

Satel SLIM-DUAL-PRO User manual

Satel AOD-200 User manual

Satel

Satel AOD-200 User manual

Satel AGD-100-BR User manual

Satel

Satel AGD-100-BR User manual

Satel SLIM-DUAL User manual

Satel

Satel SLIM-DUAL User manual

Satel OPAL Plus User manual

Satel

Satel OPAL Plus User manual

Satel micra MPD-300 User manual

Satel

Satel micra MPD-300 User manual

Satel AQUA PLUS User manual

Satel

Satel AQUA PLUS User manual

Satel COBALT User manual

Satel

Satel COBALT User manual

Satel ADD-200 User manual

Satel

Satel ADD-200 User manual

Satel INDIGO User manual

Satel

Satel INDIGO User manual

Satel AQUA PRO User manual

Satel

Satel AQUA PRO User manual

Satel AQUA RING User manual

Satel

Satel AQUA RING User manual

Satel ABAX 2 APD-200 User manual

Satel

Satel ABAX 2 APD-200 User manual

Satel ARD-100 User manual

Satel

Satel ARD-100 User manual

Satel APD-100 User manual

Satel

Satel APD-100 User manual

Satel CD-2 User manual

Satel

Satel CD-2 User manual

Satel PDB-100 User manual

Satel

Satel PDB-100 User manual

Satel IVORY User manual

Satel

Satel IVORY User manual

Satel MAGENTA User manual

Satel

Satel MAGENTA User manual

Satel AOCD-250 User manual

Satel

Satel AOCD-250 User manual

Satel MGD-300 User manual

Satel

Satel MGD-300 User manual

Satel VD-1 User manual

Satel

Satel VD-1 User manual

Satel MAGENTA User manual

Satel

Satel MAGENTA User manual

Satel COBALT User manual

Satel

Satel COBALT User manual

Popular Security Sensor manuals by other brands

OPPLE LEDSmart-BLE2-Rc-MW-Sensor quick start guide

OPPLE

OPPLE LEDSmart-BLE2-Rc-MW-Sensor quick start guide

Miller FALCON MP20 Operation and maintenance manual

Miller

Miller FALCON MP20 Operation and maintenance manual

Roland R4000 manual

Roland

Roland R4000 manual

Leedarson Multi-Sensor quick start guide

Leedarson

Leedarson Multi-Sensor quick start guide

Risco iWave RWX95 user manual

Risco

Risco iWave RWX95 user manual

Solutions UWT NivoGuide 8200 Technical Information/Instruction manual

Solutions

Solutions UWT NivoGuide 8200 Technical Information/Instruction manual

Doberman SE-0134A quick guide

Doberman

Doberman SE-0134A quick guide

Risco LuNAR PR RK2000DPC installation instructions

Risco

Risco LuNAR PR RK2000DPC installation instructions

MSA Chillgard VRF operating manual

MSA

MSA Chillgard VRF operating manual

Listec d-LIST SCU 835 Instructions for use

Listec

Listec d-LIST SCU 835 Instructions for use

Petzl EXO ESCAPE D30015 B manual

Petzl

Petzl EXO ESCAPE D30015 B manual

Kusam-meco 286 SVD Operation manual

Kusam-meco

Kusam-meco 286 SVD Operation manual

Honeywell Lyric quick start guide

Honeywell

Honeywell Lyric quick start guide

Pepperl+Fuchs RMS-FRW manual

Pepperl+Fuchs

Pepperl+Fuchs RMS-FRW manual

RAB Lighting Stealth STL110H installation manual

RAB Lighting

RAB Lighting Stealth STL110H installation manual

Sky Country SQ-23 user manual

Sky Country

Sky Country SQ-23 user manual

Ei Electronics Ei208W Quick start quide

Ei Electronics

Ei Electronics Ei208W Quick start quide

Visonic SRN-2000 SERIES installation instructions

Visonic

Visonic SRN-2000 SERIES installation instructions

manuals.online logo
manuals.online logoBrands
  • About & Mission
  • Contact us
  • Privacy Policy
  • Terms and Conditions

Copyright 2025 Manuals.Online. All Rights Reserved.