manuals.online logo
Brands
  1. Home
  2. •
  3. Brands
  4. •
  5. SATO
  6. •
  7. Measuring Instrument
  8. •
  9. SATO SK-960A User manual

SATO SK-960A User manual

1
Graph: Relation between displayed
moisture value and resistance value
Resistance
Moisture
Instruction manual for
Moisture Checker Model SK-960A
Thank you for purchasing Sato’s Moisture Checker Model SK-960A.
Read this manual thoroughly before use and keep it in a safe place for future reference whenever necessary.
Before Use
SK-960A is designed to measure the electric resistance between two electrodes on the probe and display a value
that represents the moisture content. As it has temperature compensation function, you do not need to compensate
temperature against the measured value within 5 to 40°C. Note that powdered or granular objects cannot be
measured.
The displayed reading is not an absolute value but is relative to electric conductance. If the sample has a high
concentration of highly conductive substances such as salt or metals, the reading will be higher than the actual
moisture content. However, as long as these substances are in small quantities and are evenly distributed throughout
the sample, and so have little effect on the moisture content value, this device is useful for comparative examinations
after proper setting.
SK-960A has eight editable ranges including one standard range
(RANGE1) and seven users’ ranges (RANGE2 to RANGE8).
By default, the setting values in all ranges are tentatively set that the
angle is 100 and the equilibrium is 0.0 as shown in the right graph. The
setting values can be individually changed in all ranges. Refer to “Setting
of Users’ Ranges.”
Note: The RANGE1 can also be edited but it is recommended to not to
change it for future convenience.
If the unit is not used for a long period of time, remove the battery.
Otherwise, the battery may leak resulting in malfunctions.
Names of Parts
How to Use
1. Check that the electrode is clean. When the part is dirty, wipe it with a dried cloth.
2. Press START key and confirm that “L” (below the range) is displayed.
3. Press + or − key to choose the range from RANGE1 to RANGE8.
4. Apply the electrodes of probe to a sample (object to be examined), then press either START key or measurement
button on the probe.
Be sure to apply two electrodes to the sample with the same pressure, and the temperature difference
between the unit and the sample is fairly small.
Main body
Probe
Measurement
button
Electrode
Display
START key
(red)
AVE/OFF key
(blue)
+ (Plus) key
− (Minus) key
Display content
Battery
indicator
Average value is shown
when “AVE.” blinks
RANGE1 to 8:
Number of the range
TIME1 to 9:
Counts of measurements
after last display of average
Moisture content
2
Note: As for Type 5 (Clip type), the measurement failures if a sample, such as noodle, is torn between two electrodes
on the clip.
5. For accurate reading, measure the same sample repeatedly, then press AVE/OFF key to show an average. Stored
data are reset each time when the average is calculated.
6. After the measurement, be sure to clean the electrode.
7. Pressing AVE/OFF key for more than 3 seconds will turn off the device.
Setting of Users’ Ranges
It is possible to individually set the suitable value responds to each sample in seven users’ ranges. Angle and
equilibrium of a relation function are editable for each range.
Parallel change (equilibrium change)
1. After turning on the device, Press + or − key to choose the
range to be edited.
2. Press + and − keys simultaneously.
The character at upper right changes to “H” and the current
equilibrium is shown. The default setting is “0.0” in all ranges.
3. Press + or − key to modify the value, available between −99
and 99.9. It can vary in steps of 0.1 between −19.9 and 99.9.
The value increases or decreases continuously by a long press.
In the right case, set it to −3.0.
4. Press AVE/OFF key to complete. If a measured value was
displayed before this setting, a recalculated value is displayed.
Otherwise, “L” is displayed.
Angle change
1. After turning on the device, Press + or − key to choose the
range to be edited.
2. Press + and − keys simultaneously, and then press START key.
The character at upper right changes to “A” and the current
angle is shown. The default setting is “100” in all ranges.
3. Press + or − key to modify the value, available between 0 and
999. The value increases or decreases continuously by a long
press.
In the right case, set it to 66 following the equation A*.
4. Press AVE/OFF key to complete.
Specifications
Name: Moisture Checker Model SK-960A
Measuring method :Electric resistance measurement
Measuring range: 9.0 to 40.0% (Types 1, 2, 3 and 5 by default, can be modified)
12.1 to 58.0% (Type 4 by default, can be modified)
Operating ambient 5 to 40°C
Resolution: 0.1%
Power requirement: Two AA batteries
Dimensions: Main body: 70 (W) x 155 (H) x 24 (D) mm
Cord length: 0.6 m
Electrode length: 3 mm (Types 1, 2), 12 mm (Type 3), 25 mm (Type 4)
Weight: 166 g (Type 1, 2, 3, 4), 182 g (Type 5) including batteries
Accessories: Two AA zinc-carbon batteries, hand strap
3-4, Kanda-kajicho, Chiyoda-ku, Tokyo 101-0045 Japan
https://www.sksato.co.jp/en/
Difference of known values 20%−10%
Difference of measured values 25%−10%
A* = = = 66%
Measured
value
Known moisture content
Function
before
setting
Scatter
plots
Set to
−3%
Plots
of 20%
Plots
of 10%
Measured
value
Known moisture content
Set to
66%*
Function
after setting

Other SATO Measuring Instrument manuals

SATO SK-970A User manual

SATO

SATO SK-970A User manual

SATO PC-7980GTI User manual

SATO

SATO PC-7980GTI User manual

SATO SK-L754 Series User manual

SATO

SATO SK-L754 Series User manual

SATO SK-10S User manual

SATO

SATO SK-10S User manual

SATO SK-73D User manual

SATO

SATO SK-73D User manual

SATO SK-110TRH-B-EX User manual

SATO

SATO SK-110TRH-B-EX User manual

SATO SK-110TRH Use and care manual

SATO

SATO SK-110TRH Use and care manual

SATO TH-300 User manual

SATO

SATO TH-300 User manual

SATO TH-100 User manual

SATO

SATO TH-100 User manual

SATO SK-950A User manual

SATO

SATO SK-950A User manual

SATO SK-L750 User manual

SATO

SATO SK-L750 User manual

SATO S100WP-01 User manual

SATO

SATO S100WP-01 User manual

SATO SK-640PH User manual

SATO

SATO SK-640PH User manual

SATO SK-670PH User manual

SATO

SATO SK-670PH User manual

SATO SK-180GT User manual

SATO

SATO SK-180GT User manual

SATO SK-150GT User manual

SATO

SATO SK-150GT User manual

SATO SK-940A User manual

SATO

SATO SK-940A User manual

Popular Measuring Instrument manuals by other brands

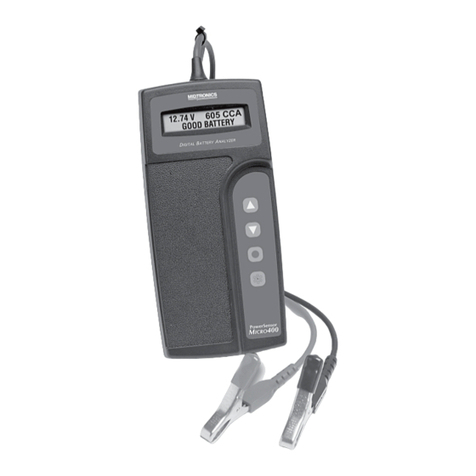
Midtronics PowerSensor MICRO400 instruction manual

Midtronics

Midtronics PowerSensor MICRO400 instruction manual

Lafayette Instrument J00111 user manual

Lafayette Instrument

Lafayette Instrument J00111 user manual

resideo R200 Monitor Installation and setup guide

resideo

resideo R200 Monitor Installation and setup guide

GANN M 4050 instruction manual

GANN

GANN M 4050 instruction manual

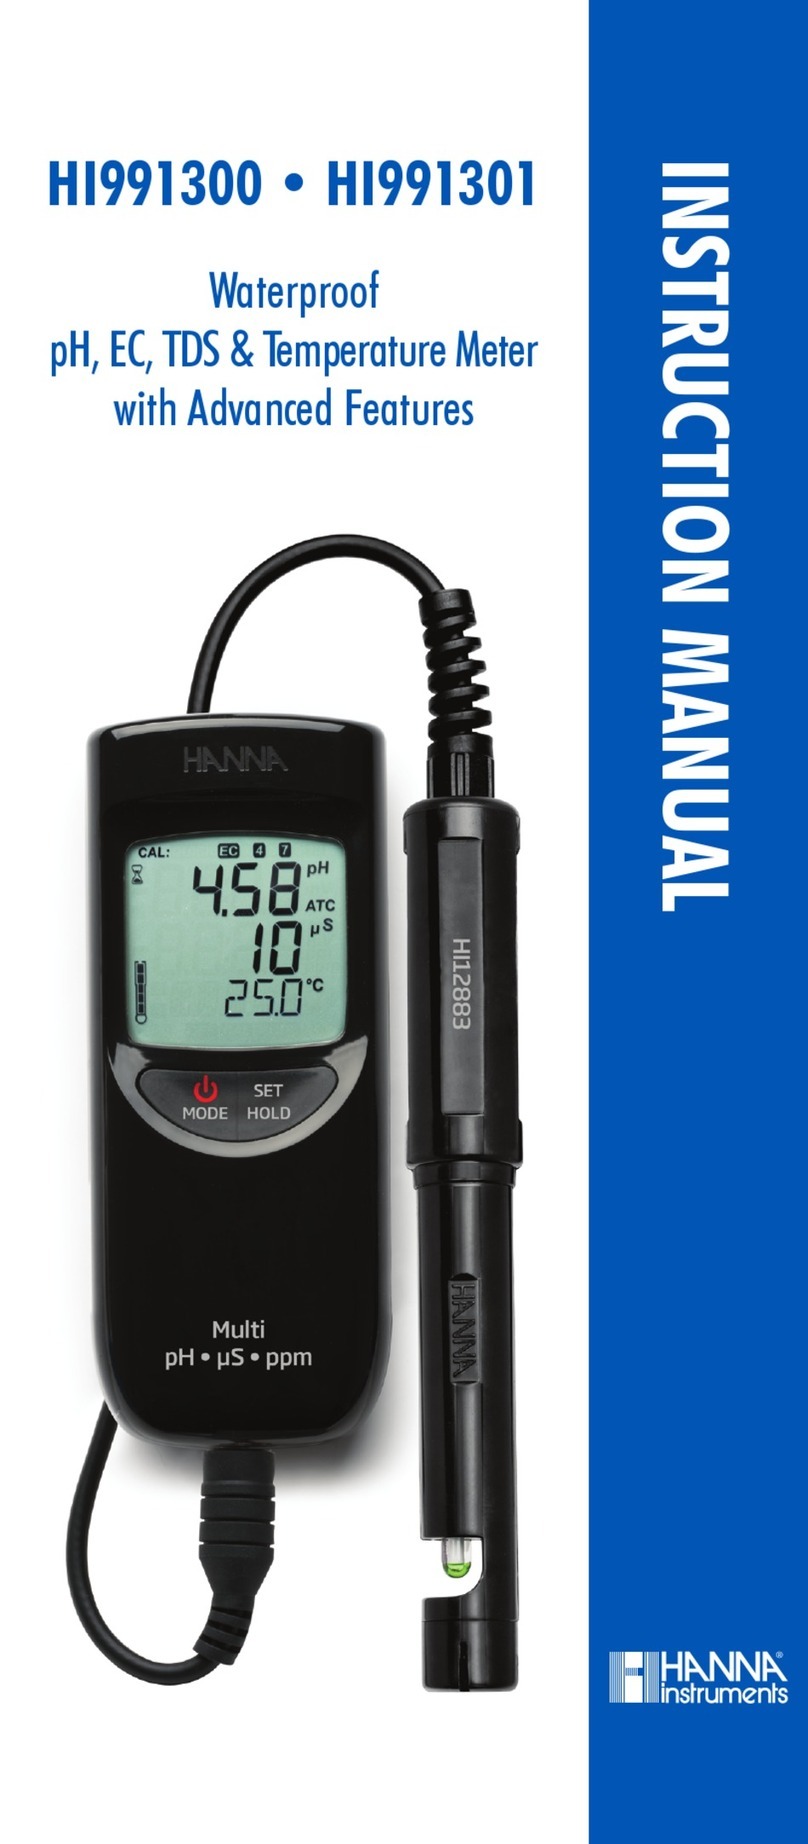
Hanna Instruments HI 991300 instruction manual

Hanna Instruments

Hanna Instruments HI 991300 instruction manual

Nebusens n-Core Sirius A Device user manual

Nebusens

Nebusens n-Core Sirius A Device user manual

Salter Brecknell 400 Series Setup & operation manual

Salter Brecknell

Salter Brecknell 400 Series Setup & operation manual

Oakton pH 5+ operating instructions

Oakton

Oakton pH 5+ operating instructions

PCB Piezotronics J353B11 Installation and operating manual

PCB Piezotronics

PCB Piezotronics J353B11 Installation and operating manual

Futech DISTY60 user manual

Futech

Futech DISTY60 user manual

Sanwa YX-361TR instruction manual

Sanwa

Sanwa YX-361TR instruction manual

Geokon 4200ER instruction manual

Geokon

Geokon 4200ER instruction manual

Pulsar Measurement Greyline AVFM 6.1 instruction manual

Pulsar Measurement

Pulsar Measurement Greyline AVFM 6.1 instruction manual

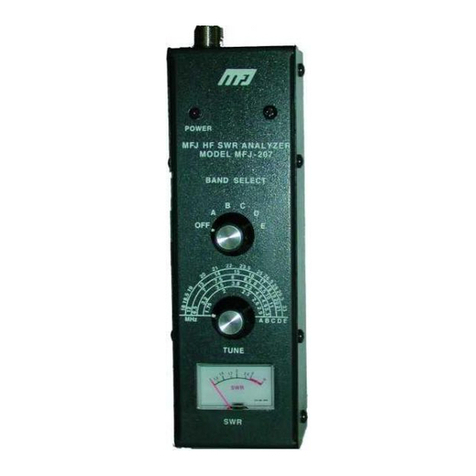
MFJ MFJ-207 manual

MFJ

MFJ MFJ-207 manual

Armstrong Monitoring Corporation AMC-CD2 instruction manual

Armstrong Monitoring Corporation

Armstrong Monitoring Corporation AMC-CD2 instruction manual

Extech Instruments HD300-NISTL user guide

Extech Instruments

Extech Instruments HD300-NISTL user guide

Agilent Technologies 4263B Operation manual

Agilent Technologies

Agilent Technologies 4263B Operation manual

MKS 146C instruction manual

MKS

MKS 146C instruction manual

manuals.online logo
manuals.online logoBrands
  • About & Mission
  • Contact us
  • Privacy Policy
  • Terms and Conditions

Copyright 2025 Manuals.Online. All Rights Reserved.