i
PN 9001024
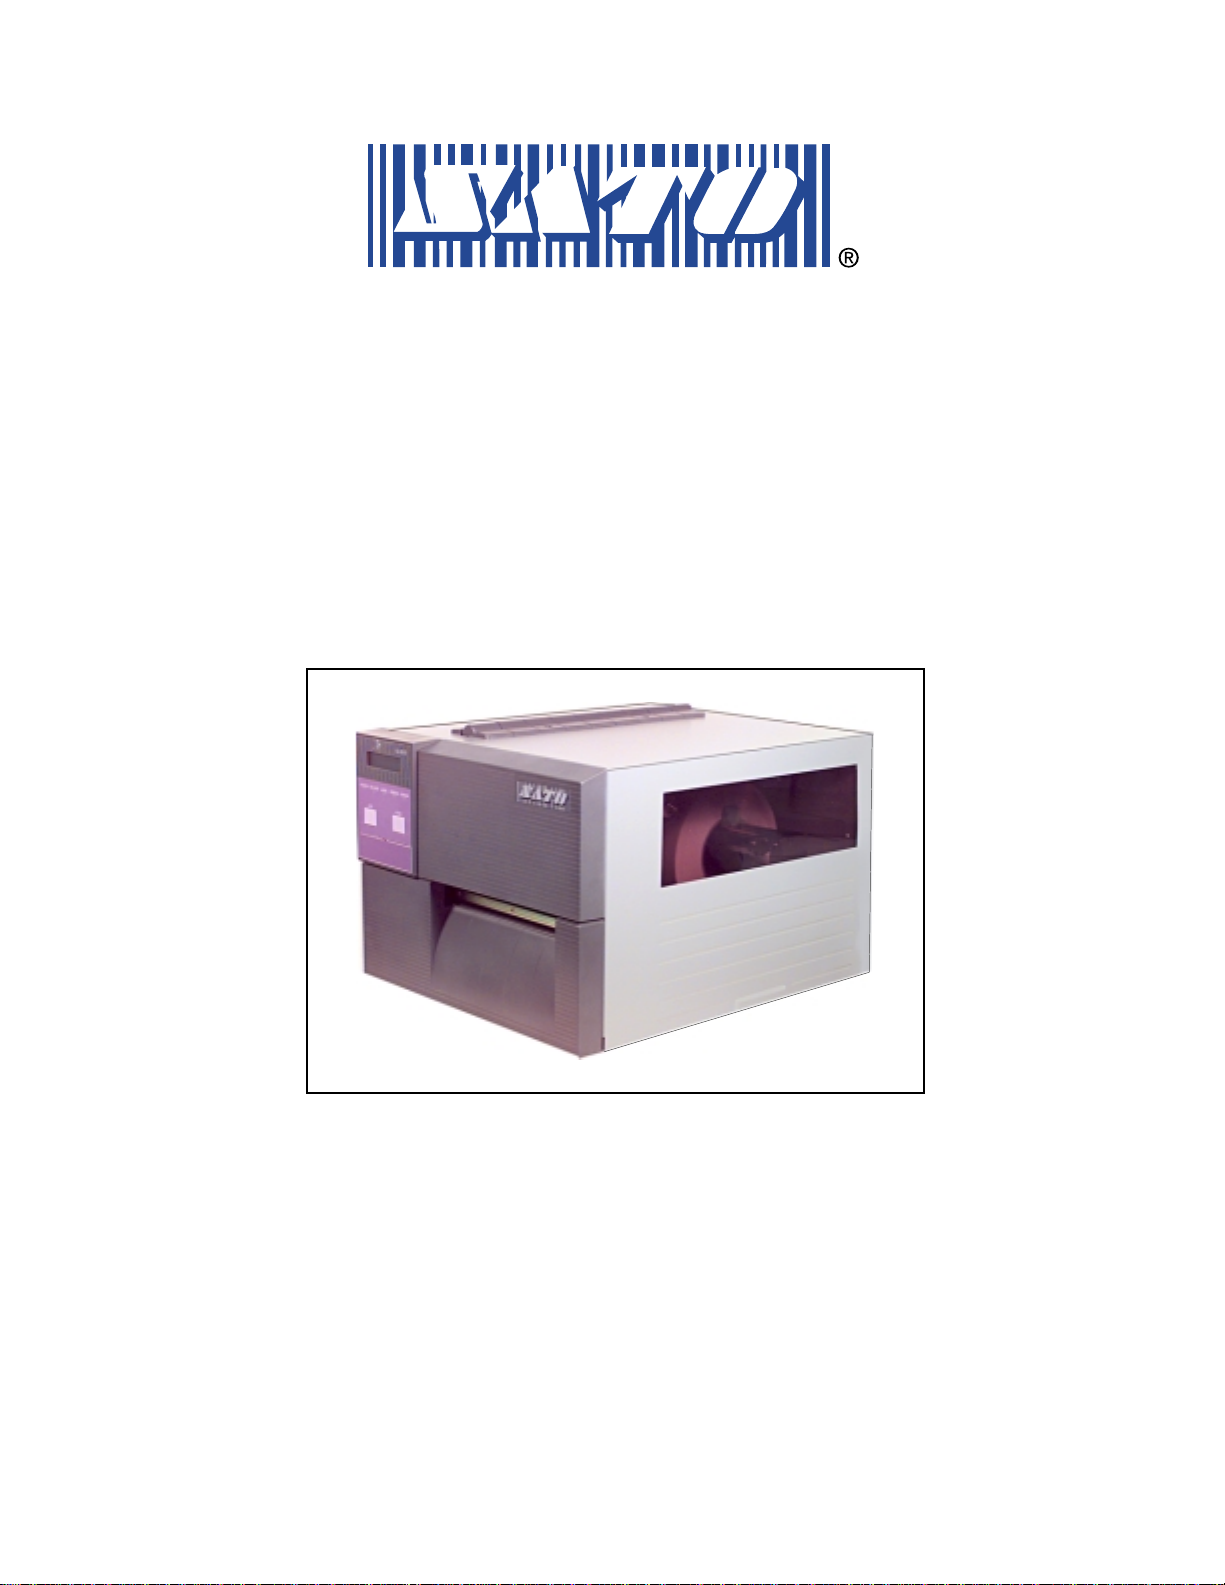
Rev. B Jan. 2000 SATO CL608 & CL612 SERVICE MANUAL
Contents Page
Section 1. OVERVIEW & SPECIFICATIONS
Overview ...................................................................................................... 1-1
Physical Characteristics.............................................................................. 1-2
Components ................................................................................................ 1-4
Ribbon.......................................................................................................... 1-7
Installation Considerations ........................................................................ 1-7
Switches and Sensors ................................................................................ 1-8
Operator Panel/Displays ............................................................................. 1-10
Optional Accessories .................................................................................. 1-12
Environment & Approvals .......................................................................... 1-12
Print .............................................................................................................. 1-13
Media, Sensing and Ribbon........................................................................ 1-13
Controls and Signals, Adjustments ........................................................... 1-14
Interface Connections................................................................................. 1-15
Processing ................................................................................................... 1-15
Character Fonts........................................................................................... 1-16
Bar Codes and Other Features ................................................................... 1-17
Section 2. CONFIGURATION
Dip Switch Settings ..................................................................................... 2-1
Default Settings ........................................................................................... 2-9
Printer Adjustments .................................................................................... 2-10
Advanced Mode Settings and Adjustments............................................... 2-16
Printing Test Labels .................................................................................... 2-25
Section 3. INTERFACE SPECIFICATIONS
Overview ...................................................................................................... 3-1
Interface Types ............................................................................................ 3-1
Receive Buffer ............................................................................................. 3-2
RS232C Serial Interface .............................................................................. 3-3
Dip Switch Settings for RS232C Serial Interface....................................... 3-11
Centronics Parallel Interface ...................................................................... 3-13
Accessory (EXT) Connector....................................................................... 3-15
Section 4. ELECTRICAL CHECKS AND ADJUSTMENTS
Overview ...................................................................................................... 4-1
Steps Prior to Some Procedures ................................................................ 4-2
Power Supply Checks ................................................................................. 4-3
Potentiometer Assignments....................................................................... 4-6
Pitch Potentiomter (User adjustment)........................................................ 4-7
Offset Adjustment (User adjustment)......................................................... 4-8
Label Gap Adjustment................................................................................. 4-9
Eye-Mark Adjustment.................................................................................. 4-11
Ribbon Senser Adjustment ........................................................................ 4-13
LCD Display Adjustment............................................................................. 4-15
Print Darkness Adjustment ........................................................................ 4-16