Initial Set-Up
ConnectingthePrinter
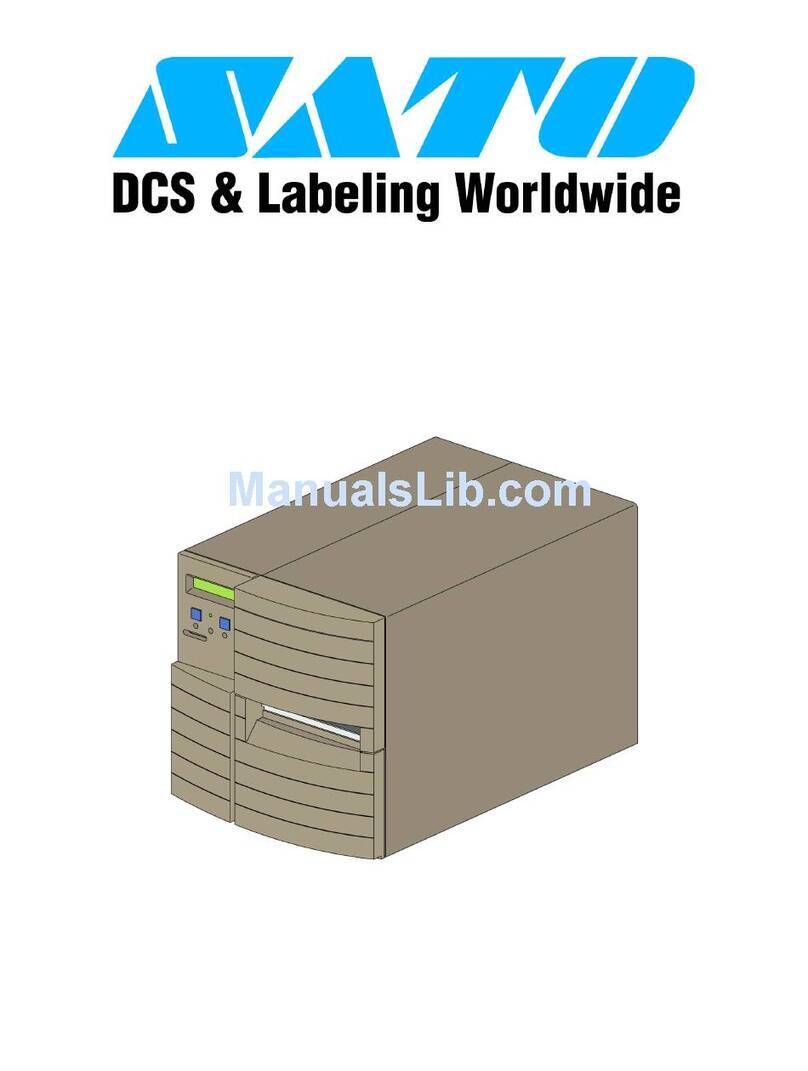
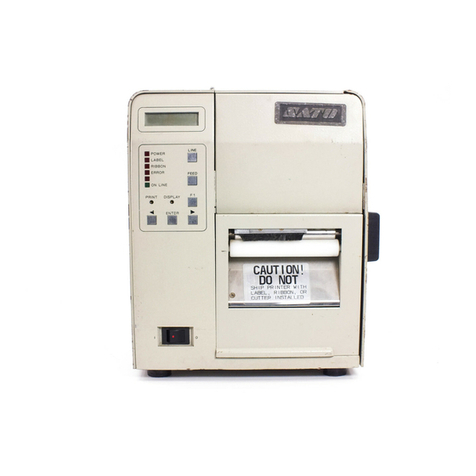
1. Locate asuitablespotfor the printer. It shouldbewithin 6 ft. of the
hostif usinganIEEE1284 Parallel interface or within 35 ft. if usinga
HighSpeedRS232 interface. For other types of Plug-Ininterface
cards, seetheOperator andTechnical ReferenceManual. Makesure
thereis adequateroomaboveandtotheright of theprinter for the la-
bel access door to swingopen.
2. PlugtheAC cable providedinto the back of the printer andconnect
to a suitable 115VAC outlet.
3. Opentheprintheadandloadtheribbonusingtheribbonrouting
guidelocatedontheinsideof thetopcover. Besure to positionthe
ribbonroll correctly ontheRibbonSupply Spindleandplacethe
sparetake-upcoreontheTake-UpSpindle. Tape thefree endof the
ribbontothetake-upcoreso thatitwill take-upwhenrotating ina
counter clockwisedirection.
4. Placethe label roll on theLabel Supply Spindleandpushthegreen
Label Roll Retainer on thespindleuntil itpushes thelabel roll all the
way totheinsideof theprinter. Thelabels shouldcomeoff thebot-
tomof theroll (labels woundface-inontheroll).
5. Routethe labels as indicatedby thelabel routingdiagramonthein-
sideof thetopcover. The labels shouldgounder the plastic guide,
throughthe Label Sensor Assembly, under the print headandoutthe
frontof theprinter. PositiontheLabel EdgeGuidetowardtheinside
of theprinter until it barely contacts the outsideedgeof thelabels.
6. ClosethePrint HeadLatchandthenthesideaccess door last.
7. Selecttheproper label sensingmethodusingthefrontpanel DIP
switches. The DIP switchfunctionchartis locatedontheinsideof
thefront cover. The printer comes fromthe factory set for label gap
detection(DSW2-2, DSW3-3 bothOFF). Notethat the OFF position
for theDSW switches is downandthe ON positionup.
8. Apply power by placingthefrontpanel Power switchinthe“1" posi-
tion.
9. ThePower andOn-Line LEDs shouldbeilluminatedandONLINE
shouldbedisplayedontheLCD.
10. Press theLINE key once. TheOnLineLED shouldgooutand
OFFLINE shouldbedisplayedonthe LCD.
11. Press theFEED key once. Theprinter shouldfeedoutonelabel and
stop.
Page 6 PN 9001067 Rev B
CL408e/412e Quick Guide
