FRC-P100-00 | 009-0490-01 | 151030
45 Perseverance Way, Hyannis, MA 02601
Copyright © 2015 Savant Systems, LLC
Savant.com | 508.683.2500
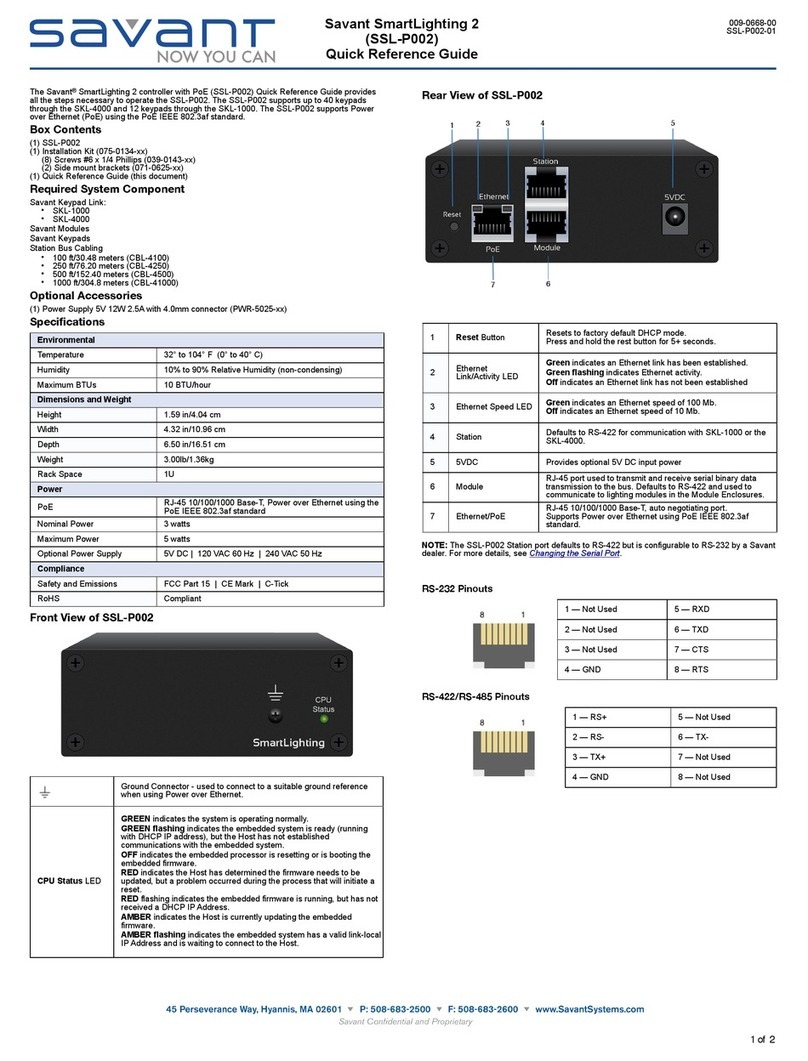
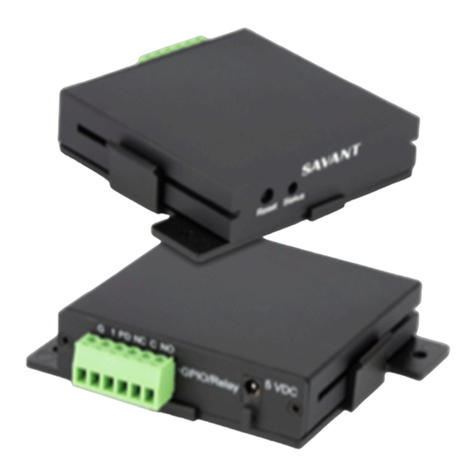
Resets the FRC-P100 network settings to the factory
default of DHCP. Hold reset button down for five
seconds. After system reboots, any IP Address that
has been set will be lost and need to be reset.
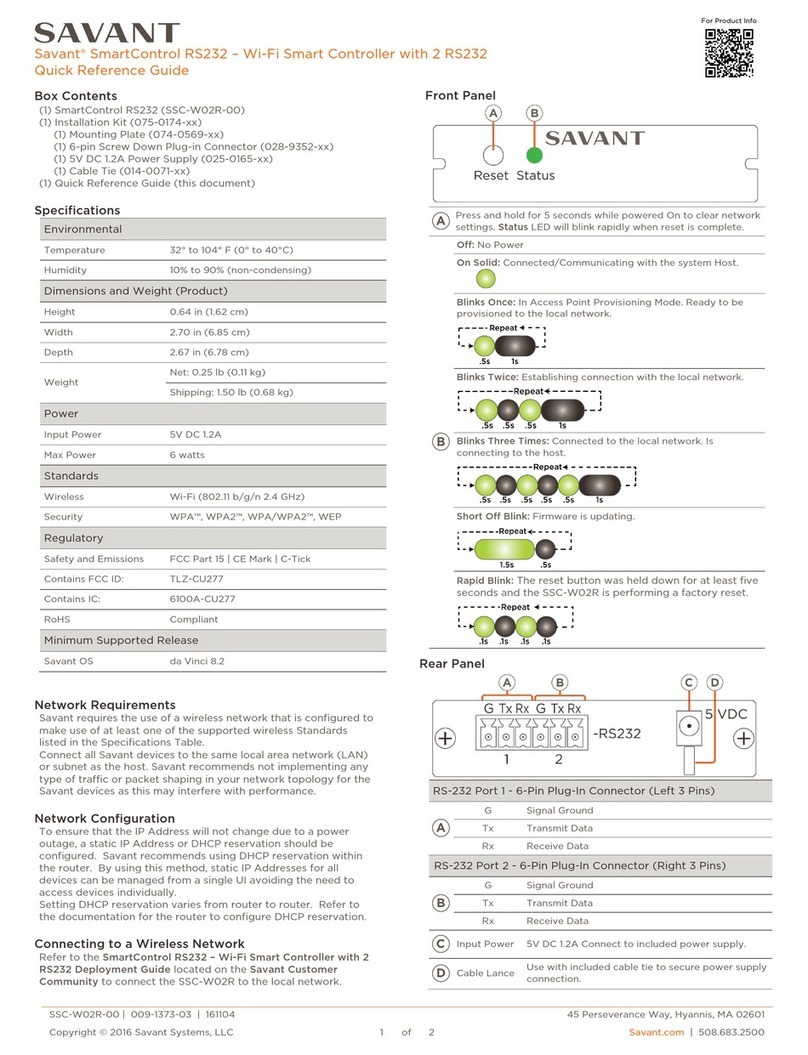
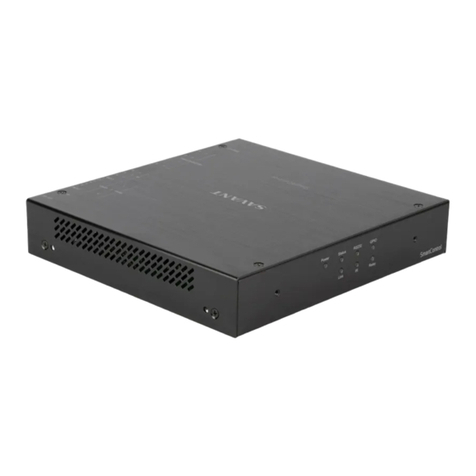
CPU Status LED
Off – Processor is resetting or FRC-P100 is booting the
embedded firmware
Green – Savant Host has established communications
with the FRC-P100.
Green Flashing – FRC-P100 has been provisioned with
an IP address but is not communicating with the
Savant Host.
Red – A firmware update is required but a problem
during the update process has occurred and the
update failed.
Red Flashing – Firmware is running but FRC-P100 does
not have an IP Address assigned to it.
Amber – Firmware is currently updating. The host
initiates the updates.
Amber Flashing – FRC-P100 has acquired a valid link
local IP Address and is waiting to connect to the host.
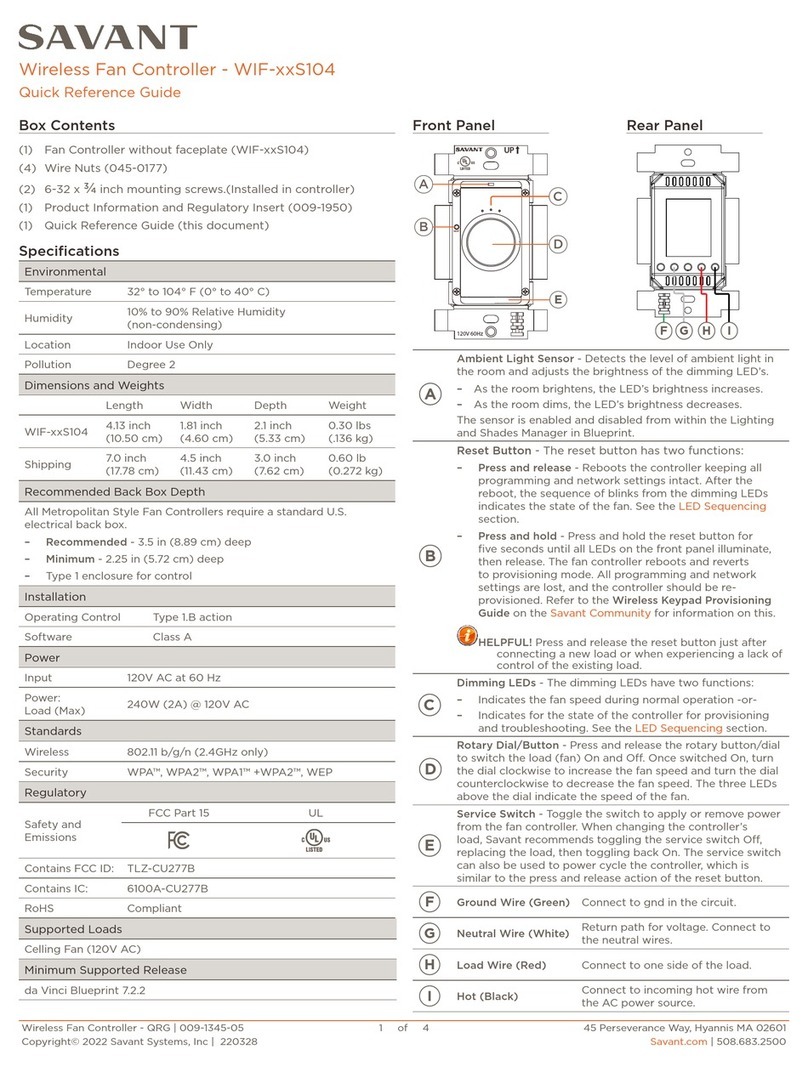
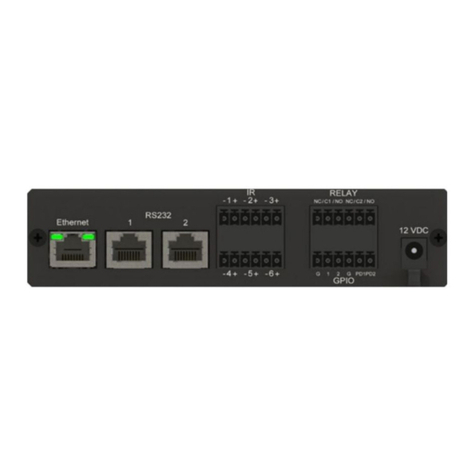
Two RS-232 (RJ-45) ports available for transmitting
and receiving serial data. These two ports are used for
controlling an external device via serial binary data
communication. Each RS-232 port can be configured
with or without flow control (RTS/CTS).
The IR output ports transmit IR signals to devices such
as an IR flasher. The signals from the IR flasher are
then used to control devices with an IR input or IR
receiver.
Each GPIO (General Purpose Input/Output) port can
be configured as either a binary input or output.
•When configured as an input, the GPIO port will
detect a binary input voltage from 0-30V DC with a
threshold of 2.4V DC.
•When configured as an output, the GPIO port can
supply either 0.0 or 11.3V DC. The maximum current
per port is 150 milliamps (450 mA total).
See GPIO Wiring below.
Note: The total current available from all three GPIO
outputs when utilizing the IEEE 802.3af PoE standard
must be limited to 150 mA. If the devices connected to
the GPIO ports require more current, either the IEEE
802.3at PoE standard or the optional external power
supply (PWR-12025-00) must be used.
Two RS-232 (RJ-45) ports available for transmitting
and receiving serial data. These two ports are used for
controlling an external device via serial binary data
communication. Each RS-232 port can be configured
with or without flow control (RTS/CTS).
Fiber Optic Protective Caps
Before plugging a fiber cable into the Fiber In port, remove the
protective caps as shown in the diagram below.
IMPORTANT!
Always keep the protective cap on the Fiber In port
when the fiber optic cable is not plugged in.
Installation
Follow the instructions below to install.
1. Determine the location for mounting the FRC-P100.
•Ensure adequate ventilation for proper cooling.
•Ensure proper spacing for wiring. This should include
enough spacing to allow for a proper bend radius on the
fiber optic cabling.
2. Connect the supplied side mounted brackets using the (4)
M3 x 8MM flathead screws. Two screws per bracket.
3. Mount the FRC-P100 to a solid base utilizing the brackets
just installed.
4. Connect a Cat 5e/6/7 Ethernet cable between the FRC-
P100 Ethernet port and the local network router/switch.
5. Connect the fiber optic cable between the Fiber In
connection on the left side of the FRC-P100 and a VOM
card located in a Savant matrix switcher chassis. Allow for
proper bend radius when making this connection.
6. If required, connect an external power supply such as the
PWR-12025-xx to the 12 V DC port. Connect the input to
the power supply to a surge protected circuit.
IMPORTANT!
If powering the FRC-P100 using PoE (Power over
Ethernet) an external power supply is not required. In
this situation, connect a ground wire from the grounding
screw on the left panel of FRC-P100 to a proper
grounding point within the Savant Control system. Also,
use port Ethernet -3 when powering the system using
PoE.
7. Make connections between the external devices and the
FRC-P100. Refer to the wiring diagrams in this document
or the Training Videos located in the Savant University that
is accessible through the Savant Customer Community.
8. Arrange and tie-wrap all wiring in a neat and safe manner.
!
