manuals.online logo
Brands
  1. Home
  2. •
  3. Brands
  4. •
  5. Saxby Lighting
  6. •
  7. Floodlight
  8. •
  9. Saxby Lighting Salde User manual

Saxby Lighting Salde User manual

www.saxbylighting.com
Instruction manual
91860, 91861, 91862, 91863
Salde Floodlight
Saxby Lighting. BH17 7BY
V1 04/03/2020
We recommend cleaning with a soft dry cloth. Do not use solvents or abrasive cleaners as these could damage the finish.
For your safety, always switch off the power supply before cleaning.
Care and Safety
Technical data
240 V~, 50 Hz
Supply
Voltage:
Bulb
Type:
91860: 10W LED module (SMD), 4000K / 91861: 20W LED module (SMD), 4000K
91862: 30W LED module (SMD), 4000K / 91863: 50W LED module (SMD), 4000K
The light source of this luminaire is not replaceable; when the light source reaches its end of life the whole
luminaire shall be replaced.
Conformity with all relevant EC Directive requirements.
This is a Class 1 product and must be earthed.
Waste electrical products should not be disposed of with household waste. Please recycle where facilities
exist. Check with your Local Authority or local store for recycling advice.
This product is rated at IP65.
IP
65
Caution! Risk of electric shock!
These units must be installed in a vertical position, and fitted up to 1.8-2.5m above the
ground.
Accessories available: 91864, 91865, 91866
Light
Sensor
PIR sensor-91864
The PIR sensor can be adjusted by turning the ‘SENS’ and ‘TIME’ screw using the small
screwdriver, allowing the detection distance to be altered to suit the location. The
detection angle is set at 120º. The detection range up to max 10 metres (<24ºC). The
duration that lamp stays on can also be altered from 10±3 seconds - 7±2 minutes.
When adjusting the sensitivity (detection distance) in daylight it will be necessary to cover
the sensor to simulate night time.
Photocell sensor-91866
Ambient Light: <10 LUX on, >40LUX off
MANUAL OVERRIDE FUNCTION:
• How to activate override mode: When the sensor is in automatic sensor mode and the light
is ON, turn OFF-ON-OFF-ON the wall switch within 3 seconds, and the sensor will be in
override mode - the light will illuminate continuously.
• How to return to automatic sensor mode: Switch off the wall switch, wait 10 seconds and then
switch it back on, then the sensor will be back in automatic sensor mode.
MV sensor-91865
The PIR sensor can be adjusted by turning the ‘SENS’ and ‘TIME’ screw using the small
screwdriver, allowing the detection distance to be altered to suit the location. The detection
angle is set at 120º. The detection range up to max 10 metres. The duration
that lamp stays on can also be altered from 10±3 seconds - 7±2 minutes.
When adjusting the sensitivity (detection distance) in daylight it will be
necessary to cover the sensor to simulate night time.
91864 91865 91866
Plug & play
Warning
This is a Class 1 product and must be earthed.
Please read these instructions carefully before commencing any work
This unit must be fitted by a competent and qualified electrician.
Install in accordance with the IEE Wiring regulations and current Building Regulations.
Check the pack and make sure you have all the parts listed.
To prevent electrocution switch off at the mains supply before installing or maintaining this fitting. Ensure other persons cannot
restore the electrical supply without your knowledge.
This light fitting should be connected to a circuit with a 30mA RCD fitted.
If replacing an existing fitting, make a careful note of the connections.
The entire unit gets hot whilst on for a period of time.
This product is not suitable for location in or near a marine environment.
The external flexible cable or cord of this luminaire cannot be replaced. If the cord is damaged, the luminaire must be
destroyed.
This product is supplied with 1 metres of H05RN-F outdoor grade rubber sheathed cable ready for connection to an approved,
outdoor rated terminal block which is not supplied and must be obtained.
Waste electrical products should not be disposed of with household waste. Please recycle where facilities exist. Check with
your local authority or retailer for recycling advice.
Thank you for purchasing this light fitting. Please read the instructions carefully before use to ensure safe and satisfactory
operation of this product. Please retain these instructions for future reference.
Layout
Plan the desired layout of these fittings carefully, ensuring the cables will reach the distances between each light fitting.
Avoid locating any cables in positions that would cause a hazard. Position cables and outdoor rated junction boxes
(not supplied) away from areas where they may be at risk from being cut, trapped or damaged.
The mains supply cable must have a minimum cross section area of 1.0mm2
Cables must be protected using suitable conduit or plastic trunking.
This is a floodlight product, and therefore should be positioned where it will not cause a glare hazard.
Installation
Existing fittings must be completely removed before installation of a new product. Before removing the existing fitting, carefully
note the position of each set of wires.
Note that the switch is turned off before installation.
Lights can install on the ground, wall or brackets according to actual situation such as installation on the brackets with
hexagonal head screw fixed. And dig the hole on ground or wall with suitable expansion bolt (supplied) fixing according
to light's bracket if install on the ground or wall.
You have correctly identified the
wires.
The connections are tight.
No loose strands have been left out
of the connection block.
Check that...
Installed on the ground
• Hold the product in position and mark the
location of the fixing holes. The bracket can
be removed from the fitting for ease of
installation.
• Use screw fix the bracket to the accessory
78970 (not supplied).
• Mount the product on the bracket and
adjust the desired angle.
• Wire as detailed wiring.
Installed on the wall
• Hold the product in position and mark the location of the fixing holes. The
bracket can be removed from the fitting for ease of installation.
• Fix the bracket to the wall using the expansion bolt (not supplied). Take care
to avoid damaging any concealed wiring and pipes. The correct fixings
should be used for brick or cavity walls.
• Using the Allen key (not supplied), loosen the bolts on the side, and adjust
the fitting to the desired angel.
• Wire as detailed wiring.
• Ensure that the cable is not snagged. Re-tighten the bolts.
• Turn on your power switch. your light is ready for use
78970
2
1
Having correctly identified the wiring from your existing light fitting, pull the mains wire through the hole and connect to an
approved outdoor rated terminal block(not supplied) in the following way:
Wiring
SUPPLY LIGHT FITTING
BLUE (N)
NEUTRAL
EARTH
SWITCHED LIVE BROWN (L)
GREEN / YELLOW
1 2
3
4
5
6
Adjust the
desired angle
(both side)
not supplied

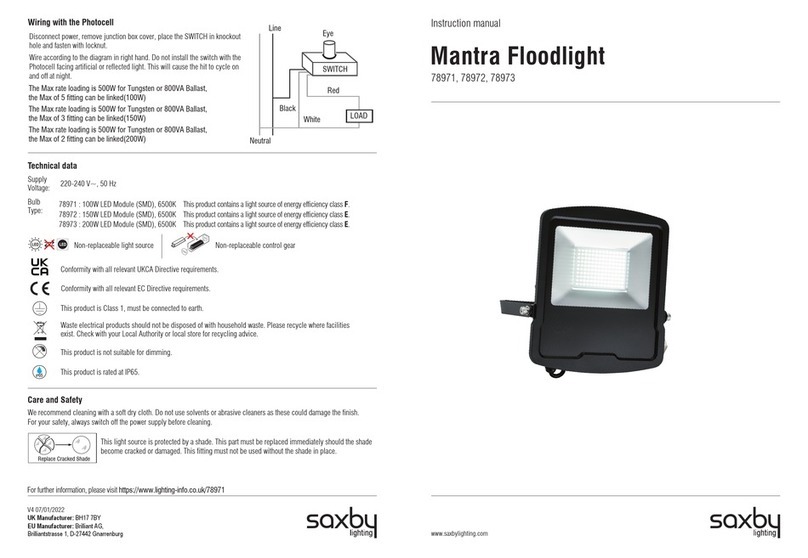
This manual suits for next models

4

Other Saxby Lighting Floodlight manuals

Saxby Lighting Deluge PRS250 Manual

Saxby Lighting

Saxby Lighting Deluge PRS250 Manual

Saxby Lighting 91860 User manual

Saxby Lighting

Saxby Lighting 91860 User manual

Saxby Lighting Vanguard RP500 User manual

Saxby Lighting

Saxby Lighting Vanguard RP500 User manual

Saxby Lighting 48742 Manual

Saxby Lighting

Saxby Lighting 48742 Manual

Saxby Lighting 108672 User manual

Saxby Lighting

Saxby Lighting 108672 User manual

Saxby Lighting Scimitar Series Manual

Saxby Lighting

Saxby Lighting Scimitar Series Manual

Saxby Lighting 98443 User manual

Saxby Lighting

Saxby Lighting 98443 User manual

Saxby Lighting Olea Manual

Saxby Lighting

Saxby Lighting Olea Manual

Saxby Lighting Laryn 5278J Manual

Saxby Lighting

Saxby Lighting Laryn 5278J Manual

Saxby Lighting Mantra 78971 User manual

Saxby Lighting

Saxby Lighting Mantra 78971 User manual

Saxby Lighting Vanguard User manual

Saxby Lighting

Saxby Lighting Vanguard User manual

Saxby Lighting 78963 Manual

Saxby Lighting

Saxby Lighting 78963 Manual

Saxby Lighting Max User manual

Saxby Lighting

Saxby Lighting Max User manual

Saxby Lighting 107632 User manual

Saxby Lighting

Saxby Lighting 107632 User manual

Saxby Lighting Magma 43784 Manual

Saxby Lighting

Saxby Lighting Magma 43784 Manual

Popular Floodlight manuals by other brands

BEGA 77 009 Instructions for use

BEGA

BEGA 77 009 Instructions for use

Francis Searchlights A6074 User instruction & installation manual

Francis Searchlights

Francis Searchlights A6074 User instruction & installation manual

DIMON TECHNOLOGY HAAE instruction manual

DIMON TECHNOLOGY

DIMON TECHNOLOGY HAAE instruction manual

Platek NANO Series Assembly instructions

Platek

Platek NANO Series Assembly instructions

EuroLite TS-5 user manual

EuroLite

EuroLite TS-5 user manual

Health Zenith SH-5512 instruction manual

Health Zenith

Health Zenith SH-5512 instruction manual

Cooper SEB 8 operating instructions

Cooper

Cooper SEB 8 operating instructions

Thorn Champion installation instructions

Thorn

Thorn Champion installation instructions

Sealey LED15WFL manual

Sealey

Sealey LED15WFL manual

Current EVOLVE E2SC Series installation guide

Current

Current EVOLVE E2SC Series installation guide

OmniSistem onyxpro 75 user manual

OmniSistem

OmniSistem onyxpro 75 user manual

Francis Searchlights FH380 User instruction & installation manual

Francis Searchlights

Francis Searchlights FH380 User instruction & installation manual

Bargeheights LED 54AW user manual

Bargeheights

Bargeheights LED 54AW user manual

Cameo CLPFLATPRO7 user manual

Cameo

Cameo CLPFLATPRO7 user manual

Chauvet LED PAR 38-18UVB user manual

Chauvet

Chauvet LED PAR 38-18UVB user manual

Eterna FL124B installation instructions

Eterna

Eterna FL124B installation instructions

ViSAGE VIS0495 Operation manual

ViSAGE

ViSAGE VIS0495 Operation manual

GTV LD-ILUXC10W-64 user manual

GTV

GTV LD-ILUXC10W-64 user manual

manuals.online logo
manuals.online logoBrands
  • About & Mission
  • Contact us
  • Privacy Policy
  • Terms and Conditions

Copyright 2025 Manuals.Online. All Rights Reserved.