Schäfter+Kirchhoff SK1024U3HU User manual

Instruction Manual SK1024U3HU shared_Titel_ML.indd
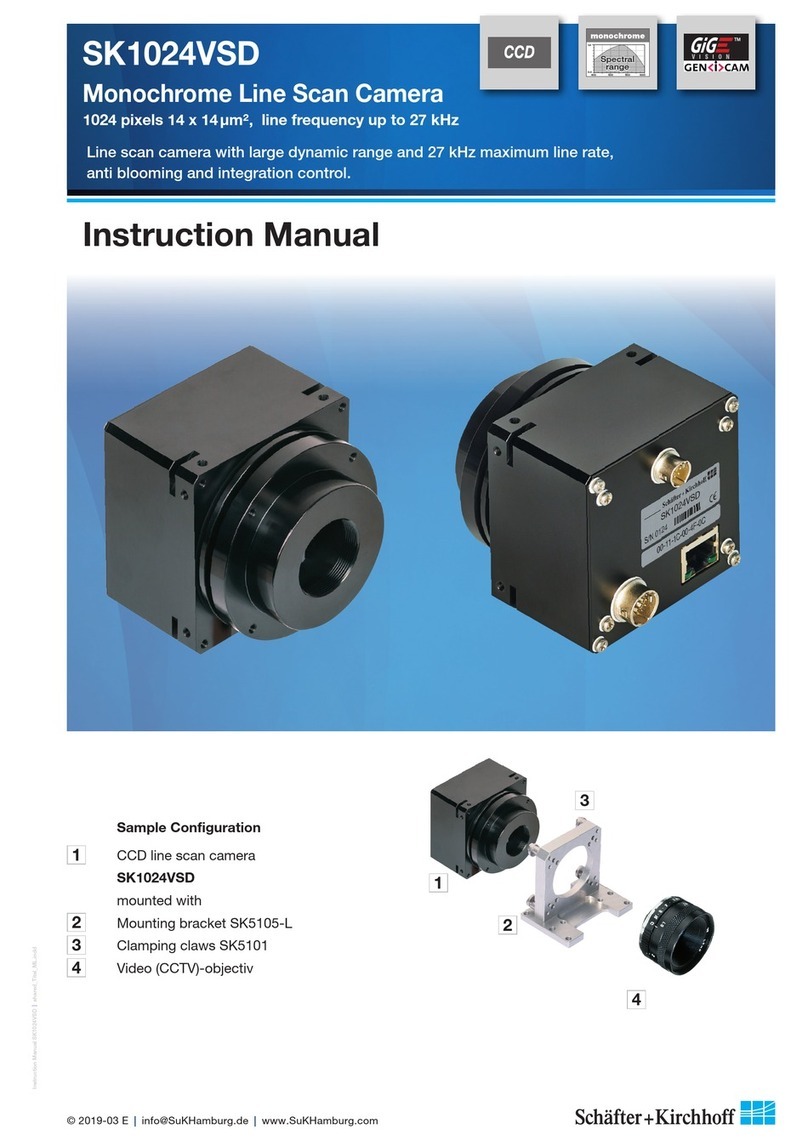
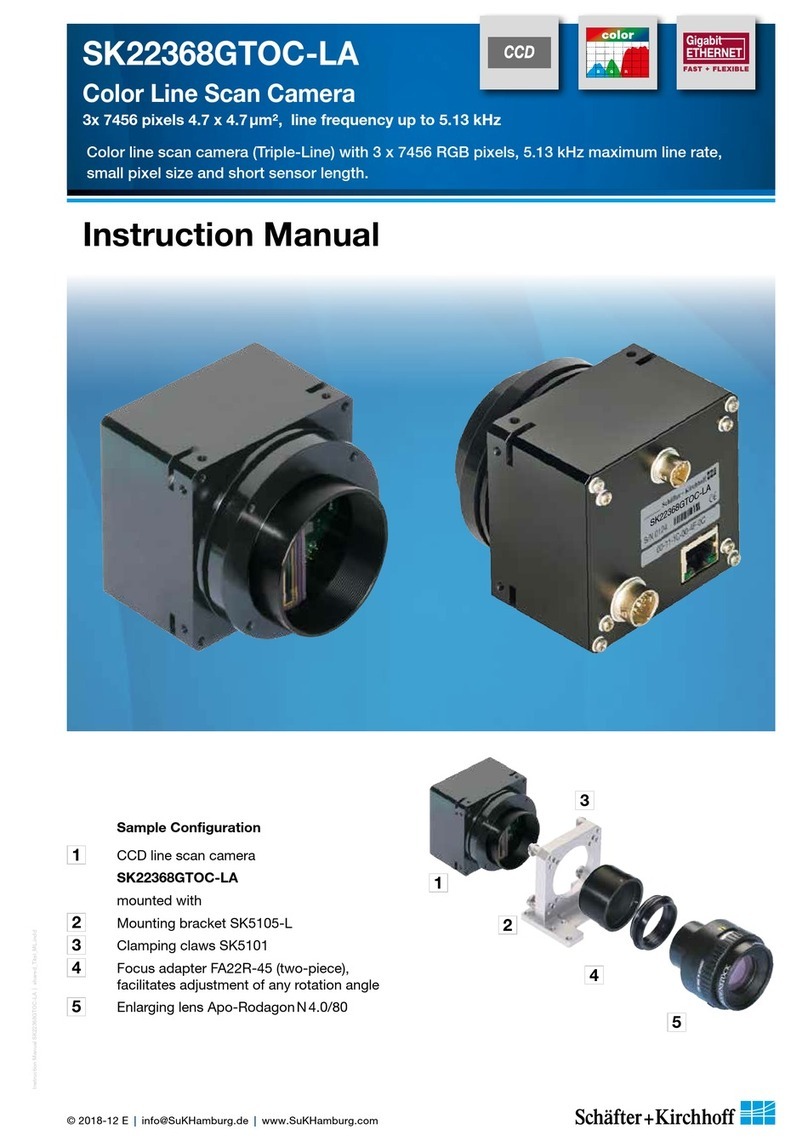
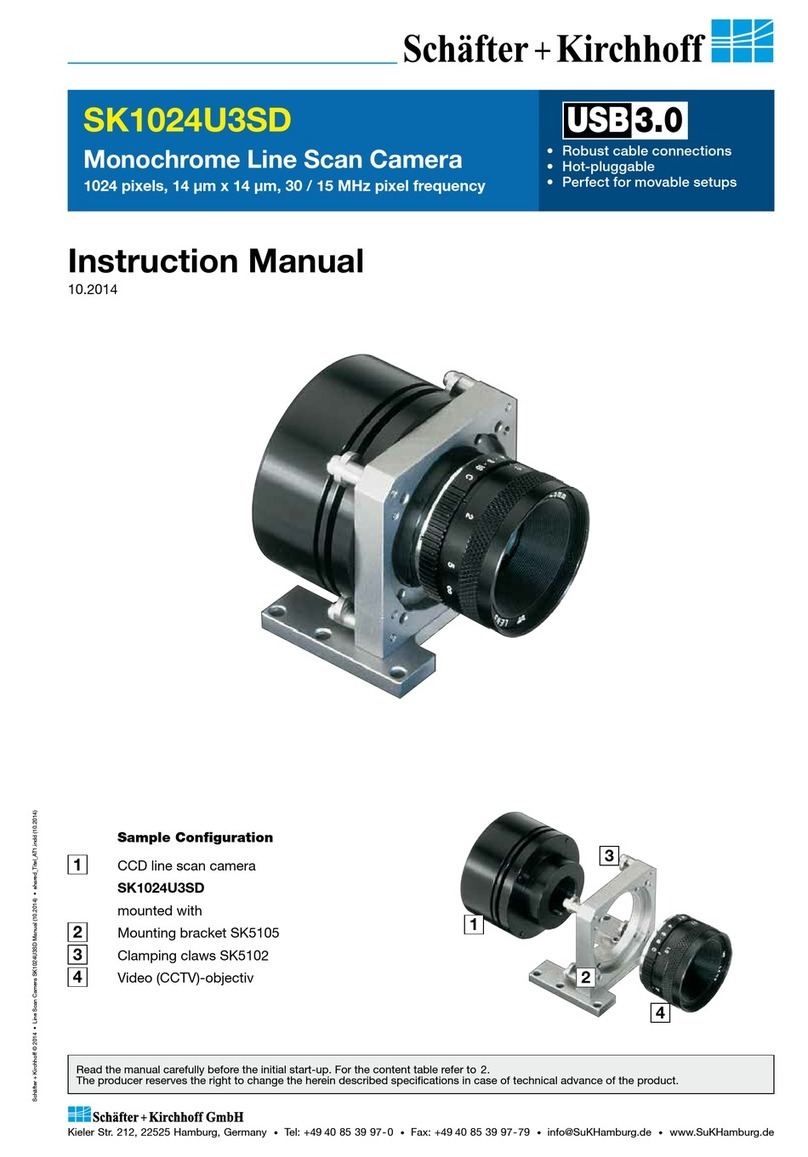
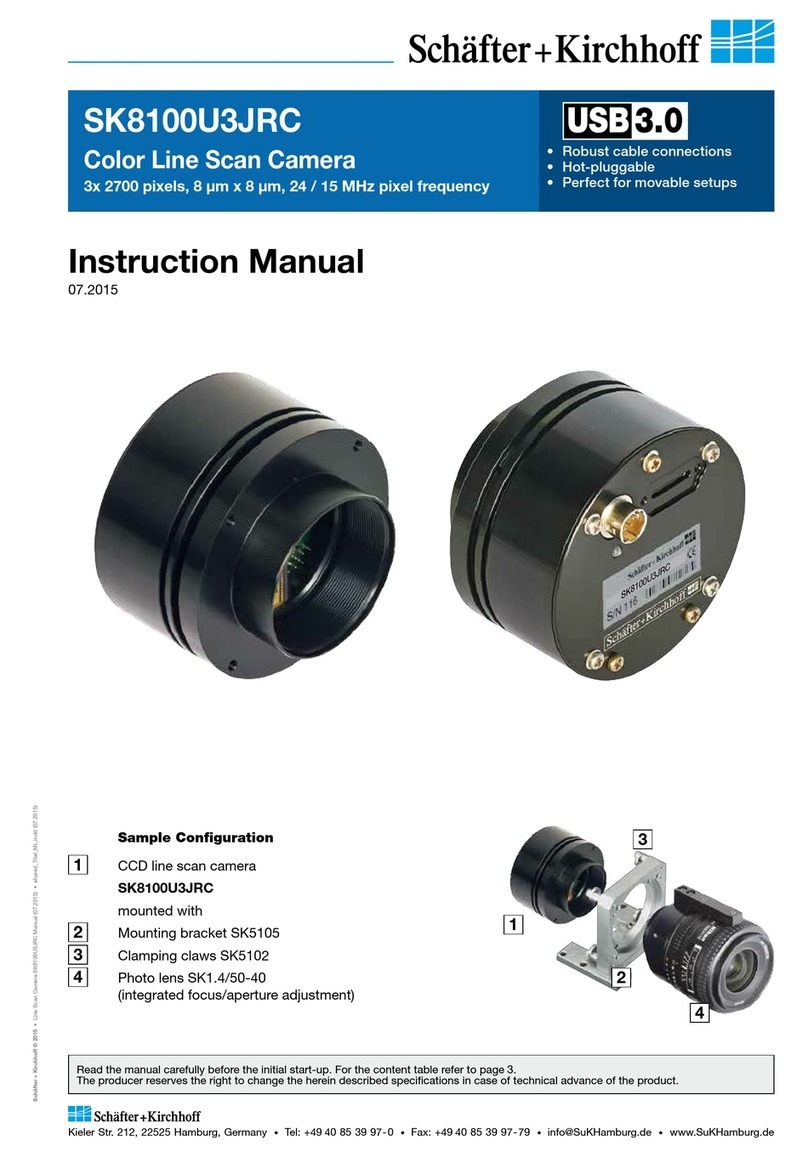
SK1024U3HU
Monochrome Line Scan Camera
1024 pixels 12.5 x 500 µm², line frequency up to 13.88 kHz
Instruction Manual
SK1024U3HU
3
2
4
1
Sample Configuration
1CCD line scan camera
SK1024U3HU
mounted with
2Mounting bracket SK5105
3Clamping claws SK5102
4Video (CCTV)-objectiv
1.0
0.0
400 600
Wavelength (nm)
800 1000
Spectral
range
CMOS line scan camera, spectral range 200 to 1000 nm, 13.9 kHz line rate,
rectangular pixel shape, suitable for spectrophotometry.

Instruction Manual SK1024U3HU shared_Hinweise.indd
2
Instruction Manual SK1024U3HU © 2019-07 E
How to Use this Instruction Manual
Electricity Warning
Assembly and initial operation of the line scan camera must be carried out under dry
conditions.
Do not operate the camera if you notice any condensation or moisture in order to avoid danger
of a short circuit or static discharge!
Risk of High Power Lighting
According to the application, laser or high power LED light sources might be used. These can
affect your eyesight temporarily or even cause permanent damage to the eyes or skin.
Do not look directly into the light beam!
Mechanics Warning
Ensure that the motion device and the scan way is free to move and that no obstacles are in
the way.
Do not place any part of the body in the way of moving parts!
Line scan cameras are mostly used in combination with a motion device such as a translation
stage, a conveyer or a rotational drive, as well as with high intensity light sources.
For assembly close down these devices whenever possible. Beyond that, please consider the
following warnings:
Safety Warnings
Please read the following sections of this Instruction Manual before unpacking, assembly or use
of the Line Camera System:
The safety warnings on this page
Introduction to the system, page 4
Installation and Setup, page 6
Keep this Instruction Manual in a safe place for future reference.
!

Instruction Manual SK1024U3HU shared_Contents.indd
3
Instruction Manual SK1024U3HU © 2019-07 E
Contents
How to Use this Instruction Manual 2
Safety Warnings 2
Contents 3
1 Introduction ������������������������������������������������������������������������������������������ 4
1.1 Intended Purpose and Overview 4
1.2 System Setup at a Glance 4
1.3 Computer System Requirements 5
1.4 SK1024U3HU Line Scan Camera - Specifications 5
2 Installation and Setup ������������������������������������������������������������������������������� 6
2.1 Mechanical Installation: Mounting Options and Dimensions 6
2.2 Electrical Installation: Connections and I/O Signals 7
2.3 USB3 Connections and SkLineScan Software Installation 8
SkLineScan Installation and Automatic Camera Driver Installation 8
SkLineScan Start-up 8
Camera Setup 8
Initial Function Test 9
3 Camera Control and Performing a Scan �������������������������������������������������������� 11
3.1 Software: SkLineScan 11
Function Overview: SkLineScan Toolbar 11
Visualization of the Sensor Output 12
3.2 Adjustments for Optimum Scan Results 13
Lens Focussing 13
Sensor Alignment 14
Gain/Offset Adjustment 14
Shading Correction 15
Optimum brightness adjustment, Integration Time 16
Synchronization of the Image Acquisition with the Feed Rate of the Object 17
Synchronization Modes 18
4 Advanced Camera Control Functions ����������������������������������������������������������� 20
4.1 Camera Control by Commands 20
Set Commands 21
Request Commands 21
4.2 Advanced Synchronization Control 22
Advanced Trigger Functions and Sync Control Register (SCR) Settings 22
Example Timing Diagrams 23
5 Sensor Information �������������������������������������������������������������������������������� 24
Glossary 27
CE-Conformity 29
Warranty 29
Accessories 30

Introduction
Instruction Manual SK1024U3HU shared_Introduction_USB3_ML.indd
4
Instruction Manual SK1024U3HU © 2019-07 E
The SK line scan camera series is designed for a wide
range of vision and inspection applications in industrial
and scientific environments. The SK1024U3HU is
highly portable and the robustly attached dedicated
connections enable external synchronization of the
camera and the output of data to the USB 3.0 port of
the computer.
The USB 3.0 connection supplies power to the camera
and the camera is hot-pluggable, providing the greatest
degree of flexibility and mobility. The computer does not
require a grabber board, allowing a laptop to be used
when space or weight restrictions are also at a premium.
Once the camera driver and the SkLineScan®program
have been loaded from the SK91USB3-WIN CD then the
camera can be parameterized. The parameters, such
as integration time, synchronization mode or shading
correction, are permanently stored in the camera even
after a power-down or disconnection from the PC.
The oscilloscope display in the SkLineScan®program
can be used to adjust the focus and aperture settings, for
evaluating field-flattening of the lens and for orientation
of the illumination and the sensor, see Software:
SkLineScan, p. 11.
1 Introduction
1.1 Intended Purpose and Overview
red: SK1024U3HU scope of delivery
blue: accessories for minimum system configuration
black: optional accessories
For accessory order details see Accessories, p. 30.
1.2 System Setup at a Glance
Motion unit
with encoder
Synchronization cable
USB cable
Computer
Schäfter + Kirchhoff
USB 3.0 camera driver
Schäfter + Kirchhoff
Software Development Kit
Schäfter+Kirchhoff
VI library for LabVIEW®
Line scan camera
Clamping claw
Mounting bracket
Optics (e. g. lens,
focus adapter,
tube extension ring)

Sensor category CCD Monochrome Sensor
Sensor type S11637-1024Q
Pixel number 1024
Pixel size (width x length) 500 x 12.5 µm2
Pixel spacing 12.5 µm
Active sensor length 12.8 mm
Anti blooming x
Integration control x
Shading correction x
Threshold detection x
Line synchronization modes Line Sync, Line Start, Exposure Start, Exposure Active
Frame synchronization x
Pixel frequency 15 MHz
Maximum line frequency 13.88 kHz
Integration time 0.01 ... 20 ms
Dynamic range 1:5000 (rms)
Spectral range 200 ... 1000 nm
Video signal monochrome 8/12 Bit digital
Interface USB 3.0
Voltage USB (350 mA)
Power consumption 1.8 W
Casing Ø65 mm x 52.4 mm (Case type AT1)
Objective mount C-Mount
Flange focal length 17.53 mm
Weight 0.2 kg
Operating temperature +5 ... +45°C
Introduction
5
Instruction Manual SK1024U3HU shared_SystemRequirements_Specs_ML.indd
Instruction Manual SK1024U3HU © 2019-07 E
1.3 Computer System Requirements
1.4 SK1024U3HU Line Scan Camera - Specifications
Introduction
• Intel Pentium Dual Core or AMD equivalent
• RAM min. 4 GB, depending on the size of acquired
images
• USB 3.0 or USB 2.0 interface.
• High-performance video card, PCIe bus
• Operating Systems:
Windows 7 / 8.1 / 10 (64 or 32-bit) or
Linux kernel 3.13 or higher

Installation and Setup
Instruction Manual SK1024U3HU shared_Installation-Mechanic_Axx-BGx_ML.indd
6
Instruction Manual SK1024U3HU © 2019-07 E
2 Installation and Setup
2.1 Mechanical Installation: Mounting Options and Dimensions
Casing type AT1
Mounting Options
• The best fixing point of the camera is the collar
for the mounting bracket SK5105 (available as an
accessory).
• Four threaded holes M3x 6.5 mm provide further
options for customized brackets.
• The length and weight of the optics might be beyond
the capability of the standard mounting bracket
SK5105. For this purpose, a second mounting
bracket type SK5105-2 to hold the tube extension
ring(s) is more appropriate.
Optics Handling
• If the camera and the optics are ordered as a kit,
the components are pre-assembled and shipped
as one unit. Keep the protective cap on the lens
until the mechanical installation is finished.
• If you must expose the sensor or lens surface,
ensure the environment is as dust-free as possible.
• Gently blow off loose particles using clean
compressed air.
• The sensor and lens surfaces can be cleaned with
a soft tissue moistened with water or a water-based
glass cleaner.
Mounting bracket SK5105
Mounting system SK5105-2
for cameras with a tube
extension > 52 mm
Clamping set SK5102
Set of 4 pcs. clamping claws
incl. screws
66
50
20
16.5
3.5
6.5
10 10
36
M3
Ø3.3
Ø4.3
6
15
50.3
41.7
70
63
40
Ø 42
M4
1/4’’ 20G
6
36
Ø 42
70
3.5 31.5
25
10
3.5
70
63
40
1/4’’20G
M4
Ø4.3
Hex socket head screw
DIN 912–M3x12
Clamping claw
Pixel 1
M3 (4x)
depth 6.5 mm CCD-Sensor
52Ø65
C-Mount 2.5 6
FFL
41.7
Ø42
Lens mount: C-Mount
Seat for bracket: Ø42 mm
Flange focal length: FFL = 17.5 mm
11.1
AT1

1
3
2
Installation and Setup
7
Instruction Manual SK1024U3HU shared_Installation-Electric_USB3_ML.indd
Instruction Manual SK1024U3HU © 2019-07 E
2.2 Electrical Installation: Connections and I/O Signals
All Schäfter+Kirchhoff USB3.0 line scan cameras can be operated with a USB 2.0 interface. Note that there might be
limitations in terms of the maximum data transfer rate. The details for your camera can be found in section Line Scan
Camera - Specifications, p. 5.
If the power consumption of the camera exceeds 4.5 Watt (USB 3.0) or 2.5 Watt(USB 2.0), then connect an external
source to socket 2.
Installation and Setup
Accessories (see also Accessories, p. 30):
• The USB 3.0 interface provides data transfer, camera control and power supply capabilities to the SK1024U3HU
line scan camera. If you want to operate the camera in Free Run (SK Mode 0) trigger mode the USB3.0 cable
is the only connection you have to make.
• For any kind of synchronized operation, the external trigger signal(s) must be wired to socket 2. A frame-
synchronization signal and two separate line-synchronization signals can be handled. The various trigger
modes are described fully in section Synchronization of the Image Acquisition with the Feed Rate of the
Object, p. 17
2
1
3
4
5
6
7
8
9
10
1112
2
1
3
4
5
6
Synchronization
Socket: Hirose series 10A, male 6-pin
2
Pin Signal Pin Signal
1Line Sync B 4NC
2NC 5Line Sync A
3Frame Sync 6GND
Line Sync A/B and Frame Sync: TTL levels
3Status indicator
off no power, check the USB link for a fault.
red power on
green power on, firmware is loaded, camera is ready
External synchronization cable SK9026.x
Use this cable to feed external synchronization signals
into socket 2.
Connectors:
Hirose plug HR10A, female 6pin (camera side)
Phoenix 6 pin connector incl. terminal block
Cable length:
3.0 m SK9026.3
5.0 m SK9026.5
USB 3.0 cable SK9020.x
For connecting socket 1with the PC or USB hub.
Cable length:
1.0 m SK9020.1
3.0 m SK9020.3 (standard)
1Data and power
USB 3.0 socket type µB with threaded holes for locking screws
Power: 1.8 W

Installation and Setup
Instruction Manual SK1024U3HU shared_Installation-Software_USB3.indd
8
Instruction Manual SK1024U3HU © 2019-07 E
2.3 USB3 Connections and SkLineScan Software Installation
This section is a quick reference for installing the SkLineScan adjustment and configuration software and to set
up the USB3 camera driver. SkLineScan and the SkLineScan manual is provided for download on the
Schäfter + Kirchhoff website under http://www.sukhamburg.com/support.html. It is also part of the fee-based
software development kit SK91USB3-WIN.
Step 1: Install SkLineScan. The setup program will
automatically install the Schaefter+Kirchhoff
USB3 Line Scan Camera Driver.
Step 2: Plug in the USB3 connection cable to the
camera. if appropriate switch on the external
power supply.
Step 3: Start the SkLineScan program.
SkLineScan Installation and Automatic Camera Driver Installation
Prior to the installation, power on the PC (not the camera) and unpack the downloaded zip-file to a temporary
folder. Alternatively, if your installation medium is a CD, insert the disk to the drive.
The autostart function may launch the setup program automatically from CD. Otherwise, look for one of these
installation files:
SkLineScan-USB3-Win_x64.msi SK91USB3-Win_x64.msi
SkLineScan-USB3-Win_x86.msi SK91USB3-Win_x86.msi
Then start the applicable installation file manually. This will set up the Schäfter+Kirchhoff SkLineScan camera
control and adjustment tool as well as the USB3 Line Scan Camera Driver.
SkLineScan Start-up
• Start SkLineScan.
• A start-up dialog box pops up and
displays the connected camera(s) that
have been automatically detected. It
also indicates the active USB standard. The optimum
performance is provided by USB3.0.
• The camera LED changes from red to green color light.
Desktop Icon
Camera Setup
Use the Setup dialog for
• activating/deactivating a connected USB3 camera
(activated device is ticked)
• changing the pixel frequency
• setting the bit depth of the video signal to 8 or 12-bit
In USB 2.0 mode the lower pixel frequency and 8-bit video
signal is recommended SkLineScan Setup dialog
Installation and Setup
Installation and Setup
9
Instruction Manual SK1024U3HU shared_Installation-Software_USB3.indd
Instruction Manual SK1024U3HU © 2019-07 E
Initial Function Test
• Quit the SkLineScan startup dialog
box.
• Select "OK" in the SkLineScan
start-up dialog.
The Signal Window showing the current
brightness versus the pixel number
indicates the correct installation.

Instruction Manual SK1024U3HU shared_blank.indd
10
Instruction Manual SK1024U3HU © 2019-07 E

Camera Control and Performing a Scan
Instruction Manual SK1024U3HU shared_CameraControl(1)_SkLineScan_ML.indd
11
Instruction Manual SK1024U3HU © 2019-07 E
3 Camera Control and Performing a Scan
3.1 Software: SkLineScan
This section is a brief introduction to the SkLineScan adjustment and configuration software. A more detailed
description is provided in the separate SkLineScan manual. The pdf is included in the SkLineScan installation
package or is available for download from the Schäfter + Kirchhoff website under http://www.sukhamburg.com/
supporte.html.
Detailed instructions on how to obtain optimal image data and use the data with the Schäfter+Kirchhoff
software package can be found in the SkLineScan Software Manual.
The most common functions of the line scan camera can be controlled by menu items and dialog boxes.
In the "Camera Gain / Offset Control" dialog there is a command line for entering further control commands.
Click on the desktop icon to start the SkLineScan
program.
The SkLineScan program recognizes the connected line
scan cameras automatically. The identified cameras are
shown in the start-up dialog A.
If the SK1024U3HU camera is identified correctly,
confirm with "OK". The "Signal window" graphicaly
showing the intensity signals of the sensor pixels (oscil-
loscope display) will open. It is responsive in real-time
and the zoom function can be used to highlight an area
of interest. The oscilloscope display is ideally suited
for parameterizing the camera, for evaluating object
illumination, for focussing the image or for aligning the
line scan camera correctly.
Function Overview: SkLineScan Toolbar
Platzhalter für Grafiken in anderen Ebenen
New line scan. All open "Signal window" windows will be closed. [F2]
"Camera Control" dialog for parameter settings: integration time, line frequency, synchronization
mode, thresholding
Zooming in and out
New line scan. "Area Scan" windows will be closed, "Signal window" windows will remain open. [F2]
Threshold mode in new binary signal window.
"Shading Correction" dialog to adjust the white balance [Alt+ s]
"Gain/Offset Control" dialog, also for commands input [Shif+F4]
New area scan
SkLineScan: Toolbar
SkLineScan: Start-up dialog
A

Camera Control and Performing a Scan
Instruction Manual SK1024U3HU shared_CameraControl(1)_SkLineScan_ML.indd
12
Instruction Manual SK1024U3HU © 2019-07 E
Visualization of the Sensor Output
• Signal Window / Oscilloscope Display
The signal window plots the digitalized brightness profile as signal intensity (y-axis) versus the sensor length (x-axis)
at a high refresh rate. The scaling of the y-axis depends on the resolution of the A/D converter: The scale range is
from 0 to 255 for 8-bits and from 0 to 4095 for 12-bits. The scaling of the x-axis corresponds with the number of
pixels in the line sensor.
Platzhalter für Grafiken in anderen Ebenen
• Zoom Function
With a high number of sensor pixels, details are lost due to the limited number of display pixels. With the zoom
function you select a part of the sensor for the detailed display. The possible magnification ranges up to the repre-
sentation of the intensity signal of individual pixels.
• Window Split Function
The signal window can be divided horizontally into two areas. Use the slider Bat the top of the vertical scroll bar.
If you then use the zoom function in one frame, the selected section in the other frame will be highlighted in yellow.
Platzhalter für Grafiken in anderen Ebenen
Line scan in Signal
Window: brightness
vs. pixel number
B
Line scan in split
signal window: The
upper frame shows
an enlarged section
of the lower frame.

Camera Control and Performing a Scan
13
Instruction Manual SK1024U3HU shared_CameraControl(2)_Adjustments-1_ML.indd
Instruction Manual SK1024U3HU © 2019-07 E
Camera Control and Performing a Scan
3.2 Adjustments for Optimum Scan Results
•Lens focussing
•Sensor alignment
•Gain/Offset
•Shading correction
•Integration time
•Synchronization of the sensor exposure
and the object surface velocity, trigger
mode options.
Prior to a scan, the following adjustments and parameter settings should be considered for optimum
scan signals:
Start with the signal window / oscilloscope display. Any changes in the optical system or camera parameters
are displayed in real-time when using an open dialog box.
Lens Focussing
The real time Signal Window facilitates the effective focussing of the line scan camera system, even for
two-dimensional measurement tasks. For determining the correct focus, the edge steepness at dark-bright transi-
tions and the modulation of the line scan signal are the most important factors.
Adjust the focus with the aperture fully open to limit the depth of field and enhance the effects of changing the
working distance.
If the sensor is overloaded when the aperture is fully open, the easiest way to reduce the signal amplitude is to
shorten the integration time, as described in section Optimum brightness adjustment, Integration Time (p.
16).
Out-of-focus:
• Low edge steepness
• Signal peaks are blurred
• High spatial frequencies with low modulation depth
Optimum focus:
• Dark-bright transitions with steep edges
• Large modulation in the signal peaks
• High spatial frequencies with high modulation depth
steep edges
high modulation
depth
low modulation depth
low edge steepness

Camera Control and Performing a Scan
Instruction Manual SK1024U3HU shared_CameraControl(2)_Adjustments-1_ML.indd
14
Instruction Manual SK1024U3HU © 2019-07 E
Sensor Alignment
If you are using a linear light source, check the alignment of the light source and sensor before shading correction,
as rotating the line sensor will result in asymmetric vignetting.
Sensor and line lighting slightly twisted in
relation to each other, asymmetric vignetting
Sensor and line lighting aligned in parallel,
symmetric vignetting
Gain/Offset Adjustment
The cameras are supplied with factory-set gain/offset. Open the "Gain/Offset Control" dialog to adjust these
settings.
Platzhalter für Grafik und Text in anderen Ebenen
Adjustment principle
1. Offset
To adjust the zero baseline of the video signal, totally
block the incident light and enter "00" (volts) for
channel 1.
For a two- or multi-channel sensor, minimize any diffe-
rences between the channels by adjusting the other
Offset sliders.
A slight signal noise should be visible in the zero
baseline.
2. Gain
Illuminate the sensor with a slight overexposure in order
to identify the maximum clipping. Use the Gain slider
"1" to adjust the maximum output voltage.
For a two- or multi-channel sensor, minimize any diffe-
rences between the channels by adjusting the other
Gain sliders.
For the full 8-bit resolution of the camera, the maximum
output voltage is set to 255 and for 12-bit is set to
4095.
Offset
and gain
adjustment
for more than
one gain/
offset channel
2. Adjust the gain of channel 1.
Minimize the difference
between the channels with
the other gain controls.
1. Adjust the zero level of
channel 1. Minimize the
difference between the
channels using the other
Offset controls.
The gain/offset dialog contains up to 6 sliders for altering gain and offset. The number of active sliders depends
on the individual number of adjustable gain/offset channels of the camera. If "Coupled Gain Channels" is checked,
all channels are set synchronously with one slider.
Enter commands for advanced software functions in the 'Camera Control' field (see page 11).
Gain/Offset
Control dialog

Camera Control and Performing a Scan
15
Instruction Manual SK1024U3HU shared_CameraControl(2b)_ShadingCorrection_mc.indd
Instruction Manual SK1024U3HU © 2019-07 E
Camera Control and Performing a Scan
Shading Correction
Shading correction compensates for non-uniform illumination, lens vignetting as well as any differences in pixel
sensitivity. The signal of a white homogeneous background is used as a reference. For correction, each pixel of
the sensor is scaled to the intensity maximum with an individual factor (255 at 8 bit resolution and 4095 at 12 bit).
The reference signal is stored in the camera's Shading Correction Memory (SCM). Subsequent scans are norma-
lized with the scaling factors of this white reference.
•Open the "Shading Correction" dialog (Alt+s).
Shading Correction dialog
• Use a homogeneous white object to capture the
reference data, e.g. a white sheet of paper.
• Either take a 2-dimesional scan ("Area Scan
Function" [F3] ) or
use a single line signal that was averaged over a
number of single line scans.
• To suppress influences of the surface structure,
move the displayed object during image acqui-
sition.
• Input the scale range:
Minimum in %: intensity values lower than
“Minimum” will not be changed.
A typical appropriate value is 10% of the full
intensity range, i.e. 26 (= 10% · 255) for an 8-bit
intensity scale.
Maximum in %: target value for scaling
A typical appropriate value is 90% of the full
intensity range. The result will be a homogeneous
line at 230 (= 90% · 255) for an 8-bit intensity scale.
• Click on button New Reference
• Click on Save SCM to Flash to save the SCM
reference signal in the flash memory of the camera
Once the reference signal is copied from the shading
correction memory (SCM) to the camera flash
memory it will persist even after a power down.
On a re-start, this data will be restored from the flash
memory back to the SCM.
The current shading correction status - active or not
active - is also retained after power down.
ON Activate shading correction with the reference
signal stored in the SCM.
OFF Switch off Shading Correction. The shading
correction data will not be loaded from the flash
memory into the SCM the next time the camera
is started - even if the SCM data was previously
stored in the flash memory.
Load File to SCM A stored reference signal
is loaded into the SCM of the camera. Shading
correction is then active.
After shading correction, the line scan signal has a homogeneous intensity
at 255 (8 bit, Maximum 100%)
Shading Correction dialog

Camera Control and Performing a Scan
Instruction Manual SK1024U3HU shared_CameraControl(2c)_IntegrationTime_ML.indd
16
Instruction Manual SK1024U3HU © 2019-07 E
Camera Control and Performing a Scan
Shading Correction Memories and API Functions
As an alternative to the user dialog, a new shading correction reference signal can also be generated using API
(Application Programming Interface) functions. The relationship between the memory locations and the related
API functions are shown in the following figure. The API functions are included in the SK91USB3-WIN software
package. For more information, refer to the SK91USB3-WIN manual.
Structure of the shading correction memories (SCM) and the related API functions for memory handling
Optimum brightness adjustment, Integration Time
The brightness distribution of the line signal is influenced not only by the integration time, but also by the illumi-
nation and the aperture setting. It should be noted that the aperture setting affects the depth of field and thus the
overall quality of the image.
The line signal is optimal if the signal from the brightest area of the object corresponds to 95% of the maximum
output value. At 8-bit digitizing depth, 256 brightness levels are available, at 12-bit 4096. In this setting, optimum
signal sensitivity is achieved and overexposure or even blooming is avoided.
Open the Camera Control dialog.
Menu Edit -> Operation Parameters or [F4]
•The integration time can be set by two vertical sliders
or two input fields in the section Integration Time of
this dialog. The left slider is for coarser the right for
finer adjustments.
•The current line frequency is displayed in the Line
Frequency status field.
•For cameras with integration control function
(shutter), it is possible to shorten the integration time
without increasing the line frequency. This integration
control mode is activated as soon as the maximum
line frequency of the camera is reached by shortening
the integration time or by checking Decoupl. LF and
thus the integration time is decoupled from the line
frequency.
The Default button sets the integration time to the
minimum exposure period that is determined from the
maximum line frequency.
Reset restores the start values.
Cancel closes the dialog without changes.
OK stores the integration time values and closes the
dialog.
For synchronization settings, see section Synchroni-
zation of the Image Acquisition with the Feed Rate of
the Object (p. 17).
A camera signal with insufficient level: The
integration time is too short, since only about
50% of the gray levels are used.
Optimized level of the camera signal after incre-
asing the integration time by a factor of 4 to 95
% of the available scale.
SkLineScan Camera Control dialog

FOV
S
V0
Pixel #1
Pixel #1
WP/ ß
CCD Sensor
Scan Object
Camera Control and Performing a Scan
17
Instruction Manual SK1024U3HU shared_CameraControl(3)_Sync_ML.indd
Instruction Manual SK1024U3HU © 2019-07 E
Camera Control and Performing a Scan
Synchronization of the Image Acquisition with the Feed Rate of the Object
A line scan camera produces a two-dimensional image by moving either the object or the camera. The direction of
the translation movement must be orthogonal to the sensor axis of the line scan camera.
In order to obtain an image with the correct aspect ratio, a line synchronous feed is required. With RGB color
sensors, the color sequence of the individual sensor lines must also be taken into account when processing
the sensor data. The software development kits from Schäfter+Kirchhoff contain easy-to-use functions for this
purpose.
If the object speed is variable or the accuracy requirements are high, external synchronization is required. The
various synchronization modes are described in the next section.
The optimal scan speed for a given line frequency is
calculated as follows:
WP·fL
VO=
ß
If the scanning speed is fixed, the line frequency must
be adjusted accordingly in order to obtain the correct
aspect ratio in the image:
VO·ß
fL=
WP
VO= object scan velocity
WP= pixel width
fL= line frequency
S= sensor length
FOV = field of view
ß= magnification factor
= S / FOV
Example 1:
Calculating the scan velocity for a given field of view and a given line frequency:
Pixel width = 500 µm
Line frequency = 13.88 kHz
S= 12.8 mm
FOV = 20 mm
12.5 µm · 13.88 kHz
VO=
(12.8 mm / 20 mm)
= 271 mm/s
Example 2:
Calculating the line frequency for a given field of view and object scan velocity:
Pixel width = 500 µm
Scan velocity = 200 mm/s
S= 12.8 mm
FOV = 20 mm
200 mm/s · (12.8 mm / 20 mm)
fL=
12.5 µm
= 10.2 kHz

Camera Control and Performing a Scan
Instruction Manual SK1024U3HU shared_CameraControl(3b)_Sync-Modes_GigE+V_USB3_ML.indd
18
Instruction Manual SK1024U3HU © 2019-07 E
Synchronization Modes
The synchronization mode determines the exact timing of the exposure. Synchronization can either be
performed internally or triggered by an external source, e.g. an encoder signal.
There are two different synchronization functions that can be applied together or individually:
1. Line synchronization:
The falling edge of a TTL signal at the LINE SYNC A input triggers each individual exposure of the sensor line
by line.
The SK1024U3HU line scan camera enables extended synchronization control by means of a second trigger
input LINE SYNC B. A detailed description can be found .under Advanced Synchronization Control, p. 22.
2. Frame synchronization:
The recording of a set of lines (frame) representing a two-dimensional image is started by the falling edge of a
TTL signal at the FRAME SYNC input.
Free Run / SK Mode 0
The acquisition of each line is synchronized internally (free-running) and the next scan is started automatically
after completion of the previous line scan. The line frequency is determined by the programmed value.
LineStart / SK Mode 1
After an external trigger pulse, the currently exposed line is read out at the next internal line clock. The start and
duration of the exposure are controlled internally by the camera and are not affected by the trigger pulse. The
exposure time is programmable. The line frequency is determined by the frequency of the trigger signal.
Limitations: The period of the trigger signal must be longer than the exposure time used. Between the external
trigger signal and the internally generated line clock, jitter occurs in the range of the exposure time.
ExposureStart / SK Mode 4 (only available when camera supports integration control)
A new exposure is started exactly at the point in time of the external trigger pulse. The exposure time is deter-
mined by the programmed value. The exposed line is read out after the exposure time has elapsed. The frequency
of the trigger signal determines the line frequency.
Restriction: The period duration of the trigger signal must be longer than the exposure time used.
ExposureActive / SK extSOS (Mode 5)
The exposure time and the line frequency are controlled by the external trigger signal. This affects both the start of
a new exposure (Start of Scan-Pulse, SOS) and the readout of the previously exposed line.
FRAME SYNC
LINE SYNC
Video
Video Valid
Data transmission
Combined frame and line synchronization
FrameTrigger / SK FrameSync
The camera suppresses the data transfer until a falling
edge of a TTL signal occurs at the FRAME SYNC
input. This starts the acquisition of a 2D area scan.
The number of image lines must be programmed in
advance. Any of the available line synchronization
modes can be used for the individual line scans.
Camera Control and Performing a Scan

Camera Control and Performing a Scan
19
Instruction Manual SK1024U3HU shared_CameraControl(3b)_Sync-Modes_GigE+V_USB3_ML.indd
Instruction Manual SK1024U3HU © 2019-07 E
Camera Control and Performing a Scan
•To configure synchronization, open the Camera
Control dialog. [F4]
•Within the Synchronization frame, select one of
the numbered line synchronization modes.
•Within the camera, the trigger control stage
is followed by a divider stage with which the
trigger frequency can be divided by integer
dividers. Enter the division ratio in the Divider
field.
•Select the Frame Sync check box to activate
frame synchronization. In the Delay field, enter
the delay time in milliseconds.
Clock
Select
AD
Converter
Exposure
Time
Advanced
Sync Control
SyC 2
SynC A
SynC B
SyC 0,1
Output
Format
Select
CCD
Sync
Select
Pixel
Counter
Shading
Corr.
Look Up
Table
(LUT)
Line Sync A
CCLK
pixel clock Oscillator
pixel
adress
DVAL
M0 M1
M3 M4
M4
video
video
D[0-11] (monochrome cameras)
R[0-7], G[0-7], B[0-7] (RGB cameras)
trigger
Restart
SOS
discharge
Line Sync B
LVAL
Camera
Interface
SynC 3...7
Sync
Divider
M3
Region of
Interest
(ROI)
pixel clock
~
~
~
Functional diagram of the Camera Control System
Camera Control dialog

Advanced Camera Control Functions
Instruction Manual SK1024U3HU SK1024U3HU_CameraControl(4)_ByCommands.indd
20
Instruction Manual SK1024U3HU © 2019-07 E
4 Advanced Camera Control Functions
4.1 Camera Control by Commands
In addition to user dialog inputs, the SkLineScan software also provides the option to adjust camera settings, such
as gain, offset, trigger modes, by sending control commands directly.
Similarly, current parameters, as well as specific product information, can be read from the camera using the request
commands. All set and request commands are listed in the tables below.
• The commands are entered in the 'Input' field in the 'Camera Control' section of the "Camera Gain/Offset
Control" user dialog, [Shift+F4].
• In the 'Output' field, either the acknowledgement of the set commands (0 =OK, 1 = not OK) or the return values
of the request commands are output.
The parameter settings are stored in the non-volatile flash memory of the camera and are available after a rapid
start-up, even after a complete shut down or loss of power.
Gain/Offset Control dialog: Camera Control input and output in the right section
Table of contents
Other Schäfter+Kirchhoff Security Camera manuals

Schäfter+Kirchhoff
Schäfter+Kirchhoff SK22368U3TOC User manual

Schäfter+Kirchhoff
Schäfter+Kirchhoff SK 10680 DJR User manual

Schäfter+Kirchhoff
Schäfter+Kirchhoff SK22368U3TOC-LA User manual

Schäfter+Kirchhoff
Schäfter+Kirchhoff SK1024VSD User manual

Schäfter+Kirchhoff
Schäfter+Kirchhoff SK512CSH User manual

Schäfter+Kirchhoff
Schäfter+Kirchhoff SK8100U3JRC User manual

Schäfter+Kirchhoff
Schäfter+Kirchhoff SK22368GTOC-LA User manual

Schäfter+Kirchhoff
Schäfter+Kirchhoff SK6288VKOC-4L User manual

Schäfter+Kirchhoff
Schäfter+Kirchhoff SK1024U3SD User manual

Schäfter+Kirchhoff
Schäfter+Kirchhoff SK12240U3KOC-LB User manual